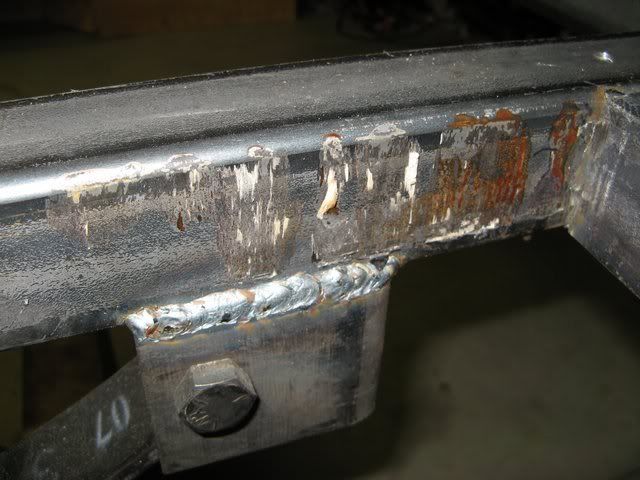
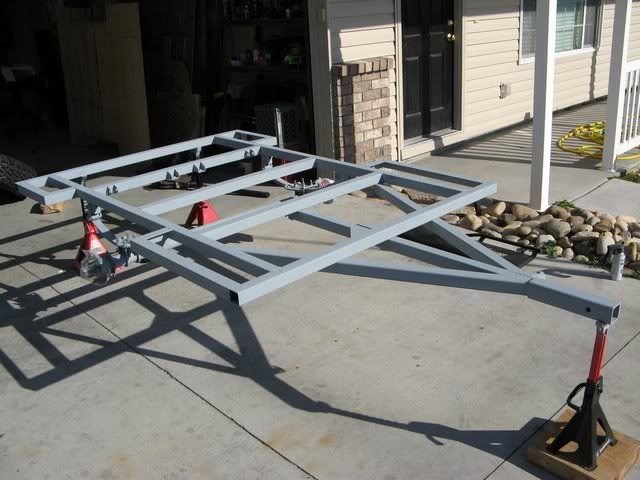
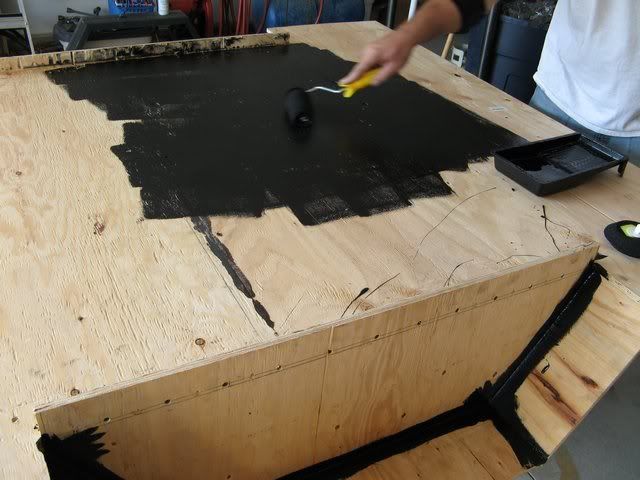
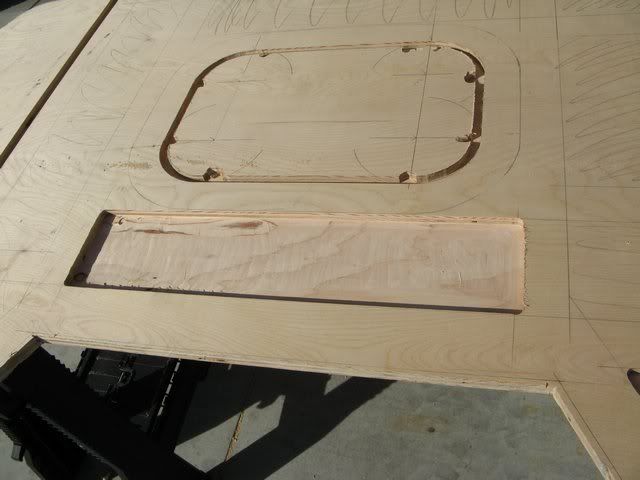
I'm going to try to get the floor glued at the lap joint and get all the bolt holes drilled and tapped in the frame this weekend...
Teardrops n Tiny Travel Trailersor t n ttt for short (tnttt.com) |
![]() by stomperxj » Wed Sep 24, 2008 9:39 pm
by stomperxj » Wed Sep 24, 2008 9:39 pm

![]() by stomperxj » Sat Oct 04, 2008 1:19 am
by stomperxj » Sat Oct 04, 2008 1:19 am
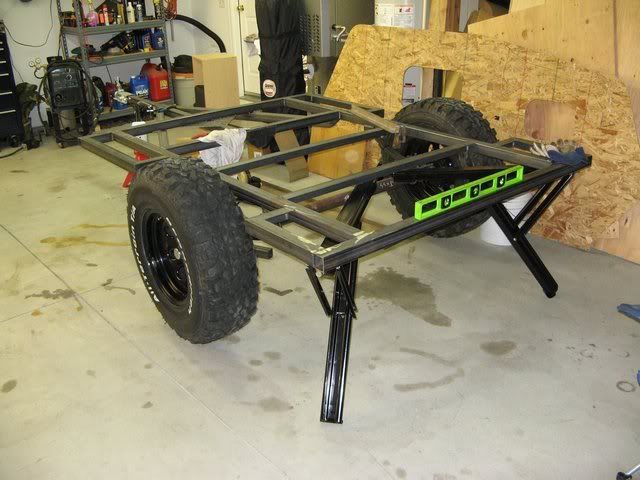

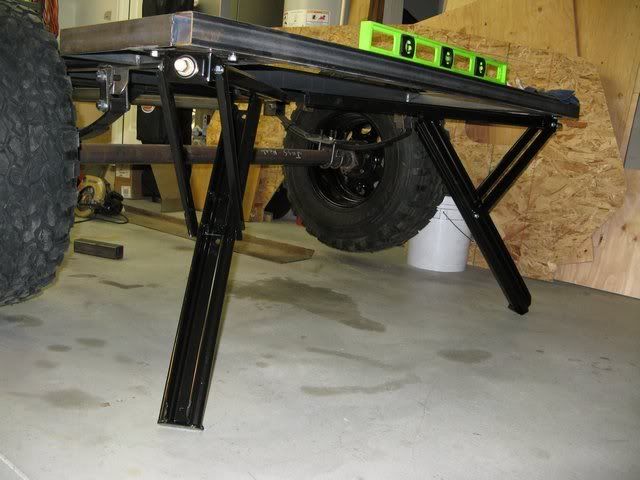

![]() by stomperxj » Sun Oct 05, 2008 11:58 pm
by stomperxj » Sun Oct 05, 2008 11:58 pm


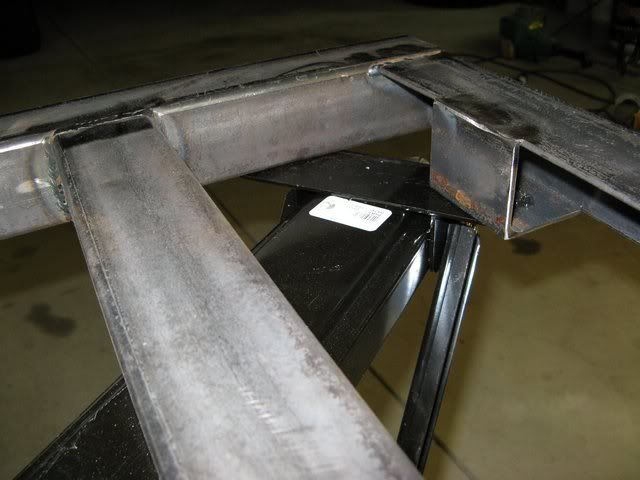
![]() by stomperxj » Tue Oct 14, 2008 9:06 pm
by stomperxj » Tue Oct 14, 2008 9:06 pm
![]() by Endo » Wed Oct 15, 2008 6:52 am
by Endo » Wed Oct 15, 2008 6:52 am
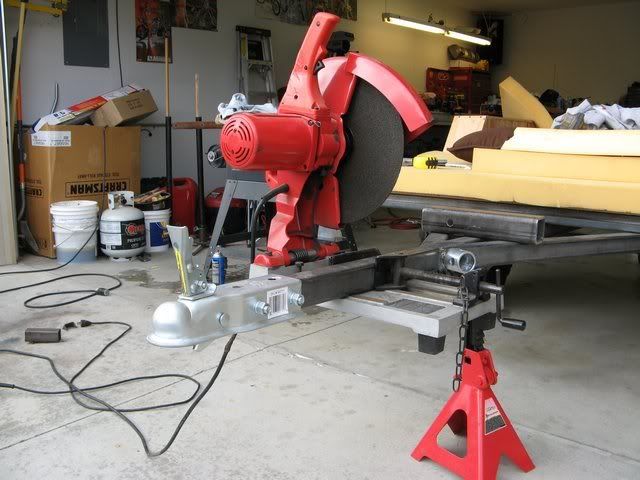
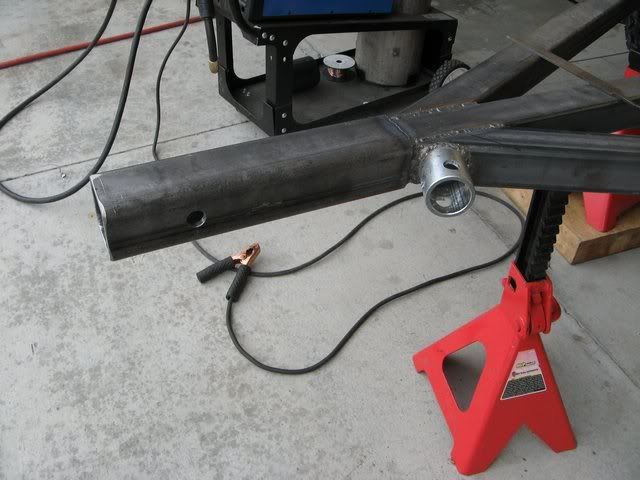
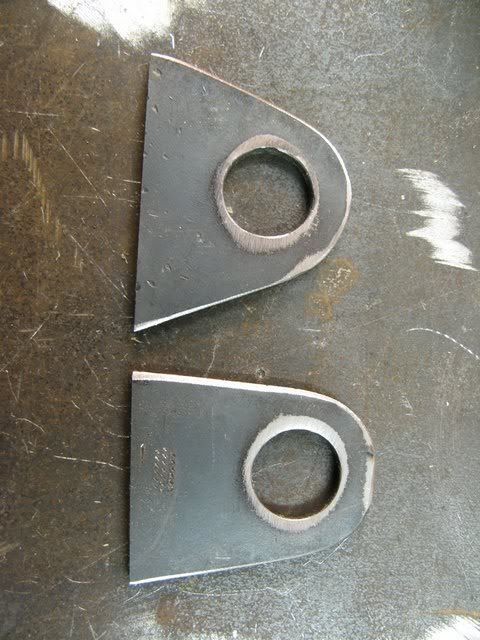
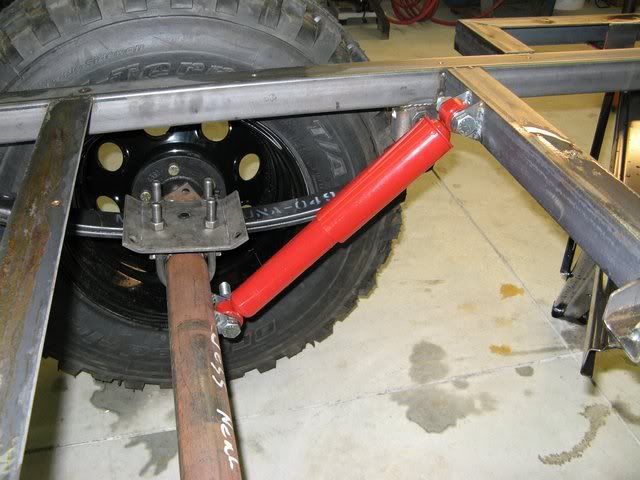
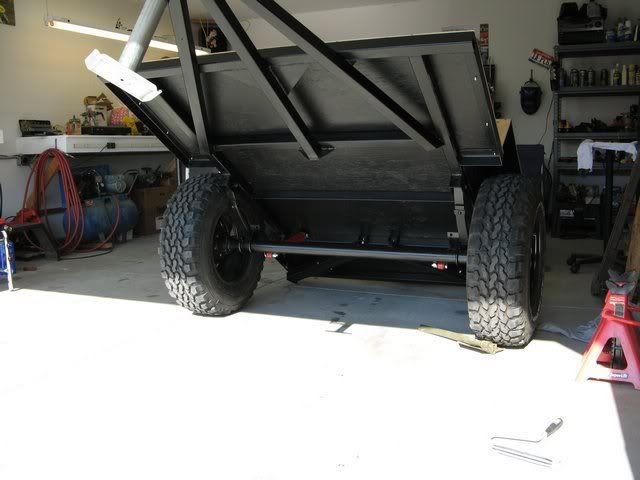
stomperxj wrote:Did some work to the tongue. I wanted to be able to switch between a regular ball coupler and an off road coupler so I added a receiver tube to the tongue...

![]() by stomperxj » Wed Oct 15, 2008 10:17 am
by stomperxj » Wed Oct 15, 2008 10:17 am
Endo wrote:stomperxj wrote:Did some work to the tongue. I wanted to be able to switch between a regular ball coupler and an off road coupler so I added a receiver tube to the tongue...
What off road coupler are you going to use? Did you find a source in the USA?

![]() by Endo » Wed Oct 15, 2008 8:14 pm
by Endo » Wed Oct 15, 2008 8:14 pm
stomperxj wrote:Hey Brad-
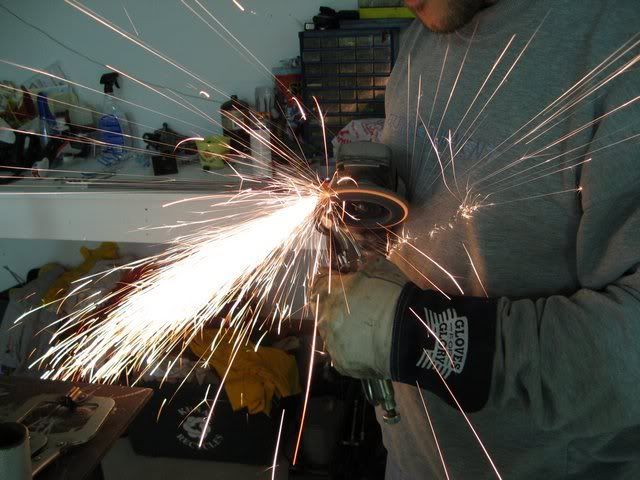
I'm going to build my own. I have seen pictures of quite a few and it doesn't look too hard to make one...
![]() by stomperxj » Wed Oct 15, 2008 9:22 pm
by stomperxj » Wed Oct 15, 2008 9:22 pm
Endo wrote:Make sure to post some pictures when you complete it.
![]() by Ivar the Red » Thu Oct 16, 2008 5:36 am
by Ivar the Red » Thu Oct 16, 2008 5:36 am
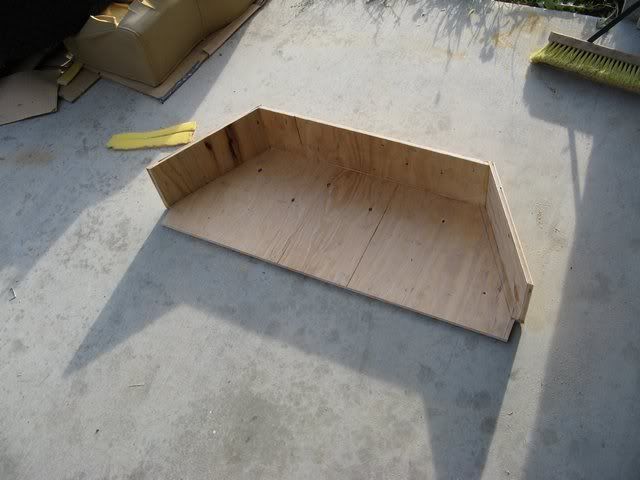
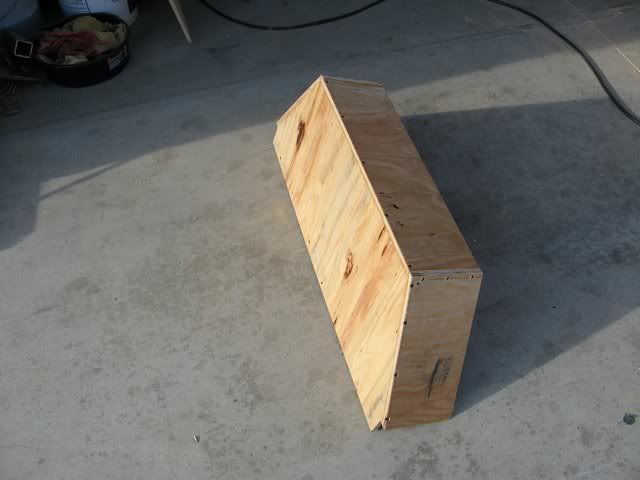
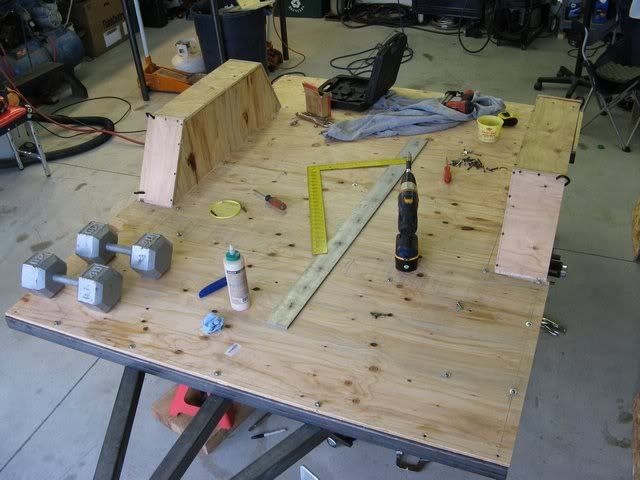
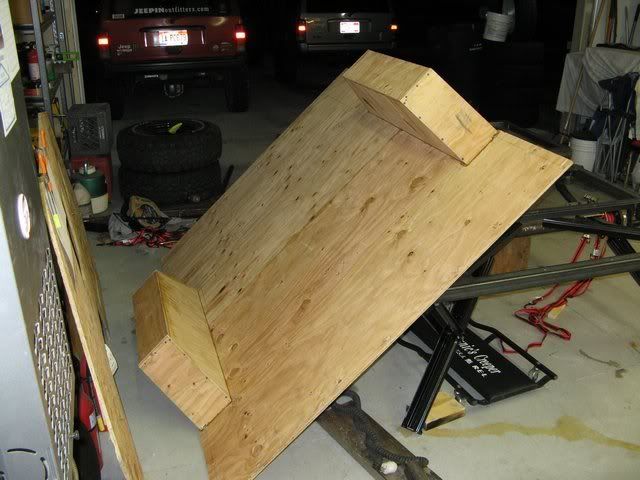
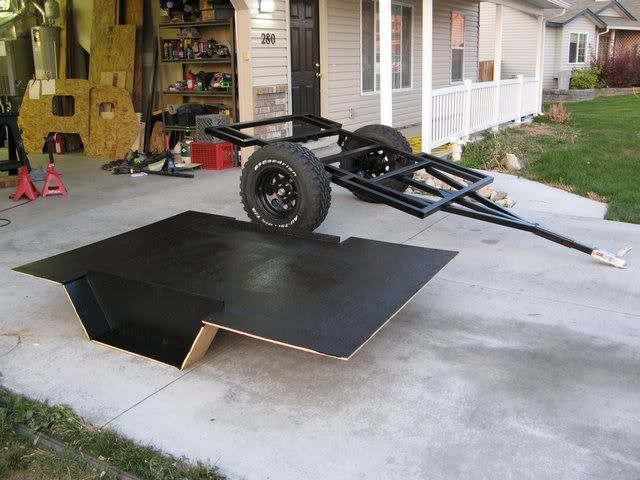
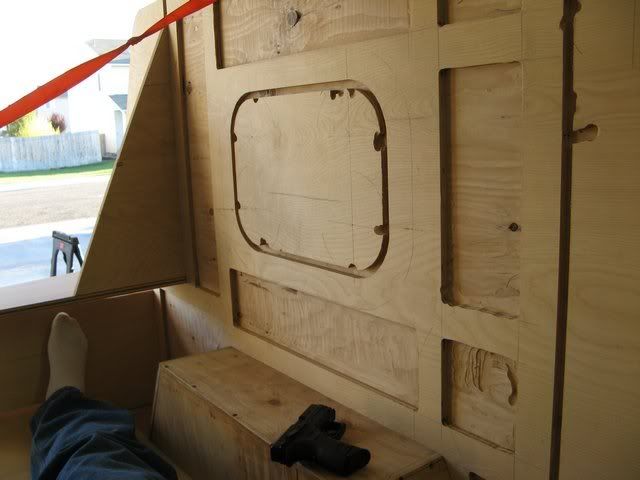
stomperxj wrote:Well I glued and screwed some inner fender wells together tonight. I'm using Titebond III on all the seams/joints. I borrowed a Skilsaw table saw from a buddy and man its nice using that thing. Nice straight cuts and nice bevels...

![]() by stomperxj » Thu Oct 16, 2008 3:12 pm
by stomperxj » Thu Oct 16, 2008 3:12 pm
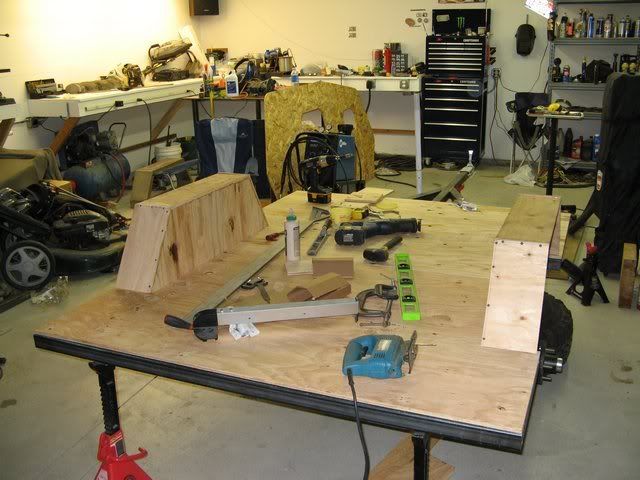
Ivar the Red wrote:I was just wondering, what are your plans for the inside(bottom) of these wheel wells?
![]() by stomperxj » Sat Oct 18, 2008 12:59 am
by stomperxj » Sat Oct 18, 2008 12:59 am
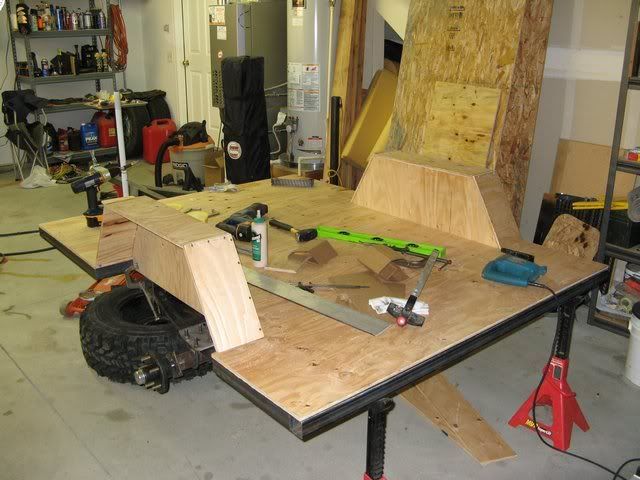
![]() by stomperxj » Sun Oct 19, 2008 7:28 pm
by stomperxj » Sun Oct 19, 2008 7:28 pm
![]() by Wolffarmer » Sun Oct 19, 2008 8:40 pm
by Wolffarmer » Sun Oct 19, 2008 8:40 pm

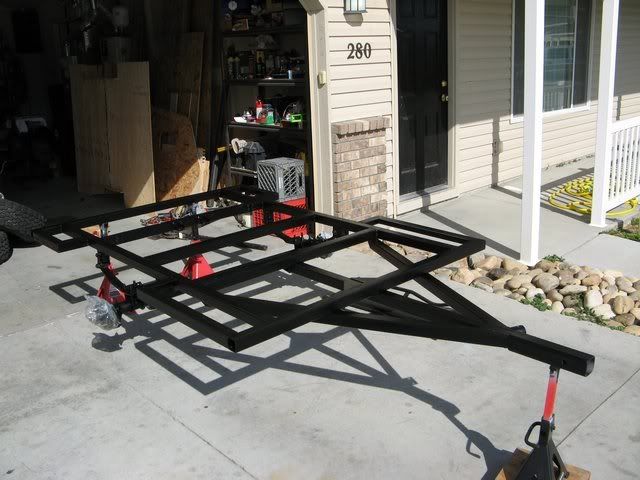
![]() by stomperxj » Sun Oct 26, 2008 8:24 pm
by stomperxj » Sun Oct 26, 2008 8:24 pm
Wolffarmer wrote:Your trailer is coming along nicely. Looks like we need to have a Idaho camp out next year.

Users browsing this forum: No registered users and 8 guests
