SawTooth XL - Update 6.27.11 - Repairs started

Did you just design your very own teardrop or tiny trailer? Want to discuss it? Here's the place to post your design for discussion!

Postby dwgriff1 » Sun Mar 14, 2010 12:46 am

Glad it is going better.

Perseverance pays off (I am told).

One day I want to see this critter! One of my friends stopped to visit you a while back, he gave a good report.

Neighbor dave
User avatar
dwgriff1
500 Club
 
Posts: 947
Images: 4
Joined: Mon Jul 04, 2005 4:20 pm
Location: SW Idaho

Postby stomperxj » Tue Mar 16, 2010 11:33 pm

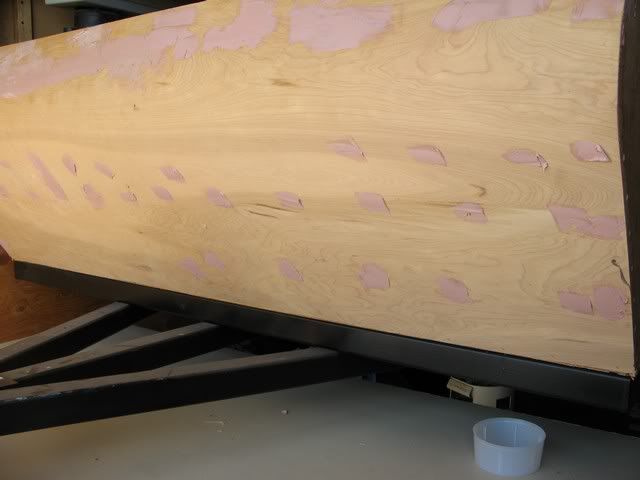
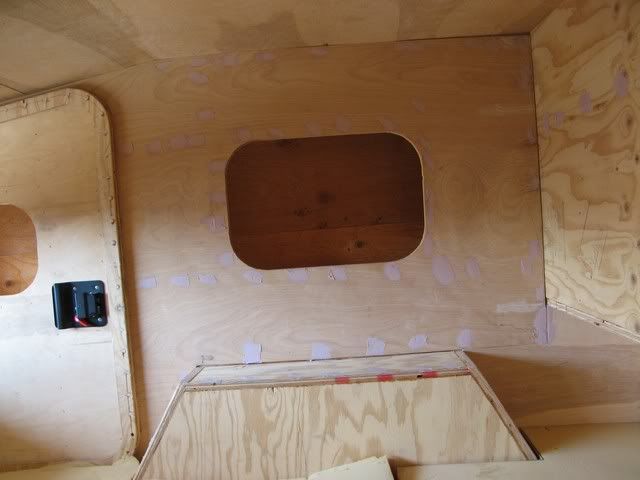
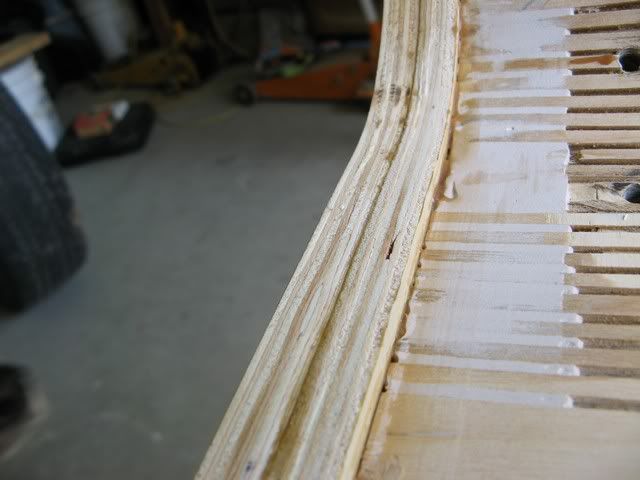
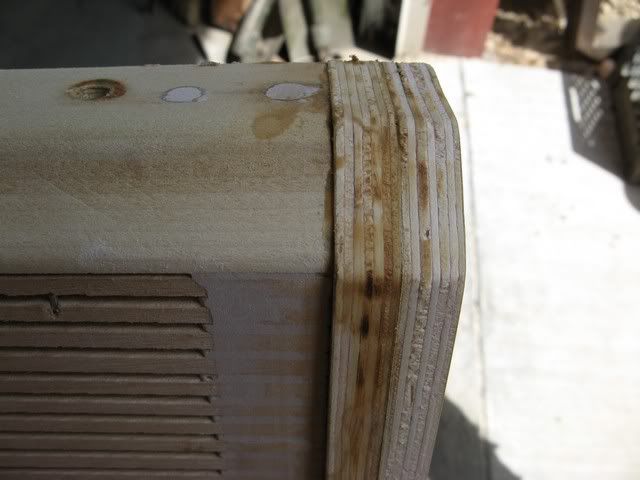
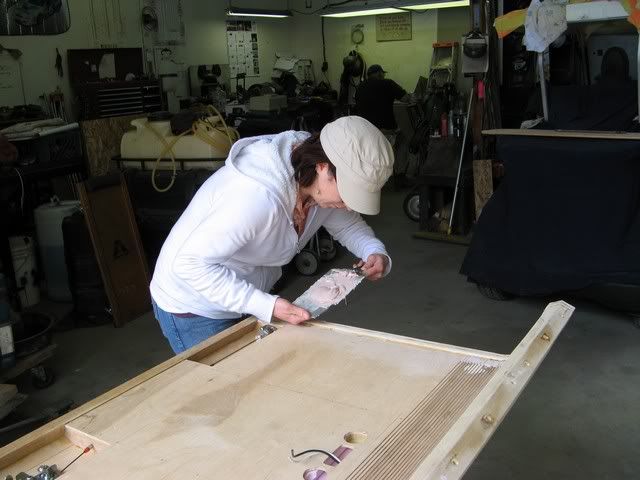
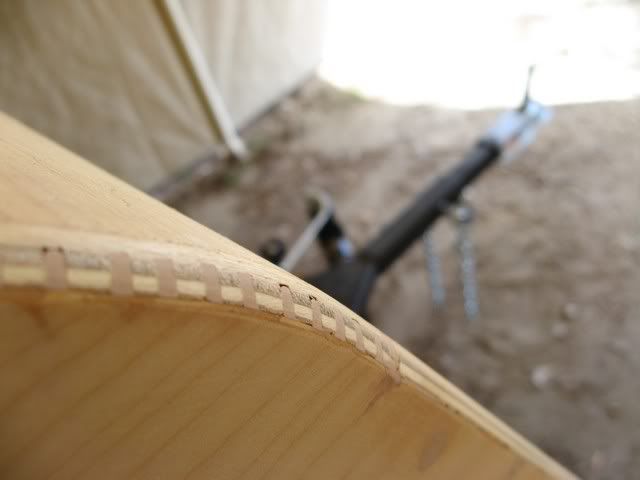
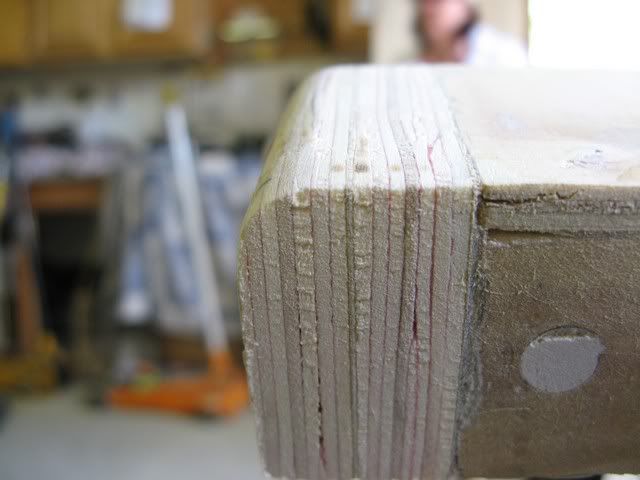
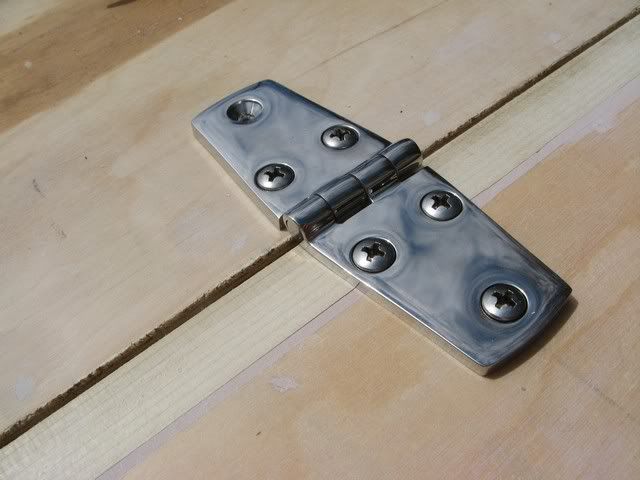
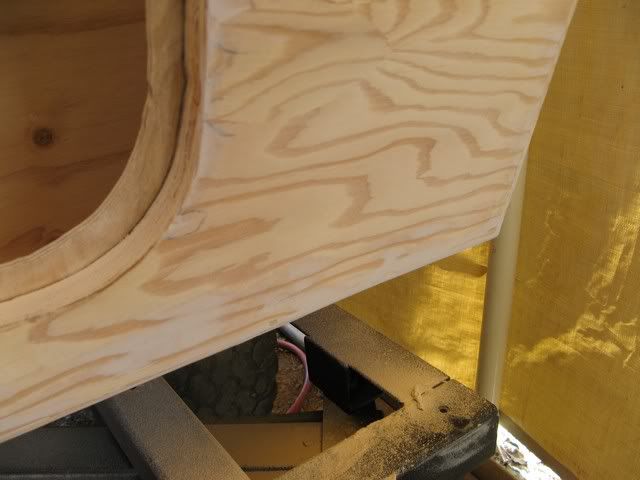
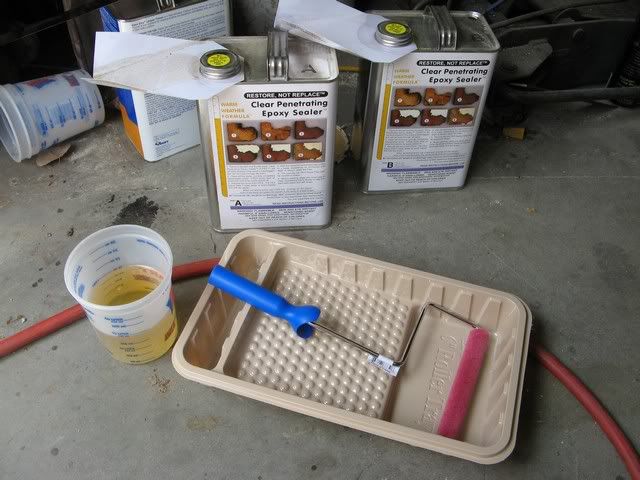
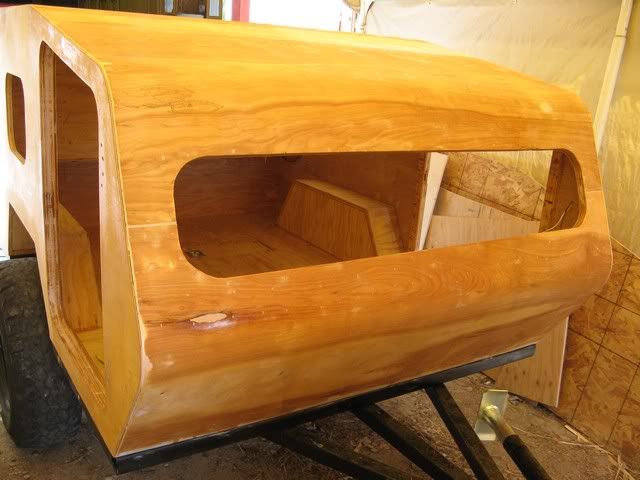
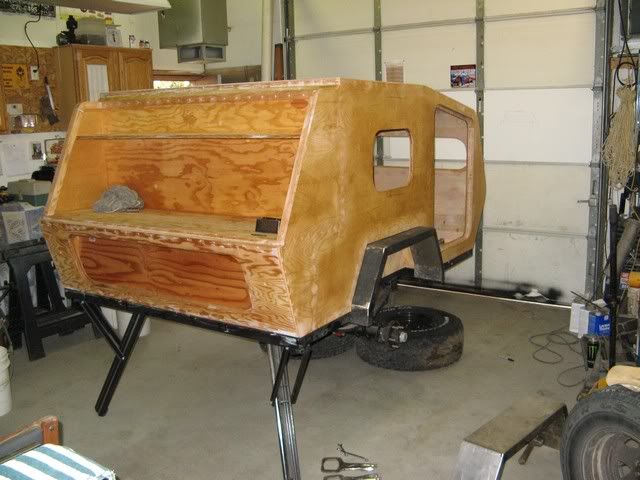
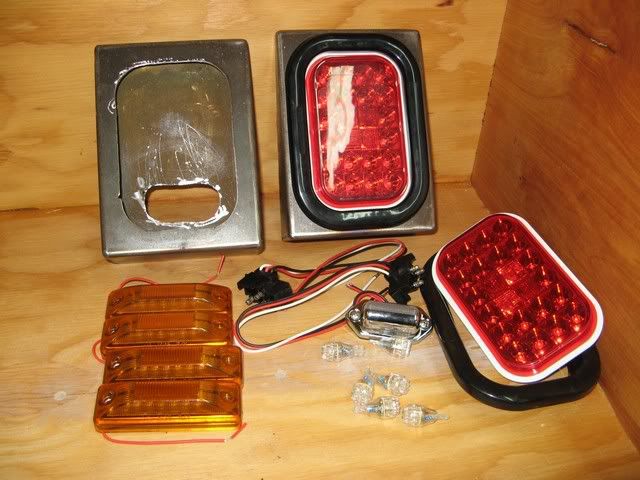
Thanks for the compliments everyone. I have been looking at my trailer spreadsheet and deciding what i can buy and when. I'm hoping to get some CPES on the way in about a month or so. I have one modification i have to do to the hatch seal area and then its ready for some epoxy :)

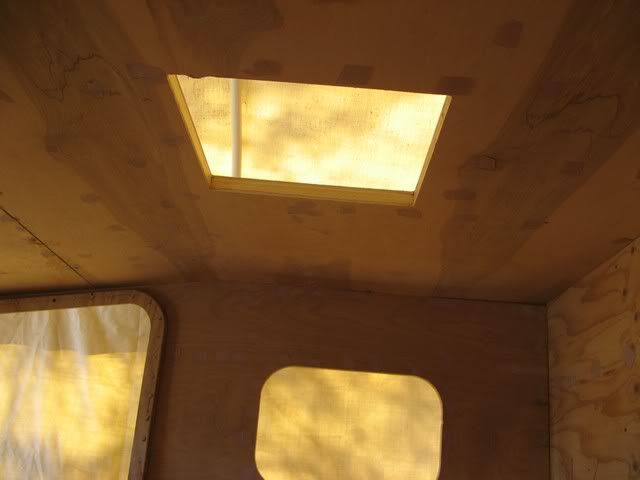
I'll keep you all posted and post pics as soon as there is progress
User avatar
stomperxj
The 300 Club
 
Posts: 395
Images: 1
Joined: Tue Jul 29, 2008 12:25 am
Location: Kuna ID

Postby stomperxj » Sun Apr 11, 2010 7:48 pm

UPDATES!!

Thanks for all the positive encouragement and patience everyone! Finally got something done to the trailer this weekend after being on hiatus for about 9-10 months.... Bondo and sanding time :)

Filled screw and staple holes and also trimmed the hatch area. I'm changing how the hatch fits on the back. I'm extending the hatch out to the edge of the body and that way i'll have a double seal on 3 sides. I also have a helper now :) Nicole is totally gung ho about helping and is a good motivator and wants to get it done :)

Here's some pics:

Image
Image
Image
Image
Image
Image
Image
Image
Image

Updates in a couple weeks hopefully!!
User avatar
stomperxj
The 300 Club
 
Posts: 395
Images: 1
Joined: Tue Jul 29, 2008 12:25 am
Location: Kuna ID
Top

Great...

Postby boujei » Mon Apr 12, 2010 1:05 am

Awesome seeing it coming back to life!! Helps having a helper...and a pretty one to boot!!
User avatar
boujei
Teardrop Inspector
 
Posts: 12
Joined: Sun May 10, 2009 10:05 am
Location: Winchester, Idaho
Top

Postby aggie79 » Tue Apr 13, 2010 8:48 am

:applause: :thumbsup: :applause:

FANTASTIC! (please excuse the caps) Besides the great design, your story is even more motivating. I can't wait to see your progress pictures again.
Tom (& Linda)
For build info on our former Silver Beatle teardrop:
Build Thread

93503
User avatar
aggie79
Super Duper Lifetime Member
 
Posts: 5405
Images: 686
Joined: Tue Aug 07, 2007 5:42 pm
Location: Watauga, Texas
Top

Postby YuGun » Tue Apr 13, 2010 10:45 am

That'is the amazing building story that i have ever seen,
I read don't stop in hours,
very pleased.
I expect you can go everywhere you want with this and do good camps,
User avatar
YuGun
The 300 Club
 
Posts: 445
Joined: Sun Apr 11, 2010 1:25 pm
Location: Turkey
Top

Postby Mikey1975 » Tue Apr 13, 2010 5:21 pm

stomperxj wrote:Good news! I finally scored a real job. IT tech support for a local insurance company. Today is the end of my first week.... I never thought i'd be out of a job for 14 months but its finally over.... So as soon as the weather breaks and i can get some finances squared away I'll be pulling the sawtooth out of storage and buying some CPES :)

:thumbsup:


same here 13 months out of work and this is my seecond week alot less per hour but it is something. :roll:
Mikey1975
Teardrop Builder
 
Posts: 34
Images: 23
Joined: Wed Jul 22, 2009 6:04 pm
Location: Florida
Top

Postby BILLYGOAT » Fri Apr 16, 2010 6:28 pm

wow im a newb and you have totally motivated me to go in a different direction. great build and design. i was un familliar with the hopper till your thread. thanks for some awesome tech. way to go dude.

have you weighed it? :twisted:
BILLYGOAT
Teardrop Inspector
 
Posts: 3
Joined: Thu Apr 15, 2010 6:15 pm
Location: COLORADO SPRINGS
Top

Postby stomperxj » Sun May 02, 2010 7:09 pm

I haven't weighed it yet. My estimate is between 750 and 800lbs.

More progress this weekend. Nicole and I have been sanding like mad off and on for a couple weeks. Im pretty sick of it :)

I put a 3/8" radius on the outside edges to make it look a little better and to prevent any paint chippage later on. Also i added 1" to the outside of the hatch on both ends since i changed the way the hatch lays on the back. I am going to have to get some different hinges for the hatch. The piano hinge isn't going to cut it. I cut the hole for the Fantastic Vent today too... Here are the pics:

Image
Image
Image

Nicole laying up some more bondo
Image
Image
Image
Image
Image

More progress soon hopefully. The next big step is CPES...

Jess
User avatar
stomperxj
The 300 Club
 
Posts: 395
Images: 1
Joined: Tue Jul 29, 2008 12:25 am
Location: Kuna ID
Top

Postby eatatjoz » Sun May 02, 2010 7:45 pm

stomperxj wrote:More progress this weekend. Nicole and I have been sanding like mad off and on for a couple weeks. Im pretty sick of it :)

Maybe you should call it saw dust instead of saw tooth ;)

Seriously, your creation is the reason I have mine. Not nearly as detailed or pretty, but you sure gave it inspiration.
User avatar
eatatjoz
Teardrop Master
 
Posts: 182
Joined: Wed May 27, 2009 9:21 pm
Location: Mayflower, Ar
Top

Postby schaney » Mon May 03, 2010 9:33 am

Nice to see forward progress again. Yes the filling and sanding phase can take a while.
Scott
Camping the "Compact Way"
Image
User avatar
schaney
500 Club
 
Posts: 804
Images: 262
Joined: Tue May 02, 2006 9:27 pm
Location: Salem, OR
Top

Postby stomperxj » Mon May 10, 2010 10:34 pm

More progress.... Have I said i'm sick of sanding yet?

Got a few things done. More bondo and sanding, installed the new stainless hinges from McMaster with stainless #10 screws, tested the new 40lb gas struts, and more bondo and sanding...

Image
Image
Image
Image
Image

This part of the body was worrying me a little. The panel didnt line up very well at all. A belt sander and some bondo fixed it though
Image
Image

More later. Hopefully going to start rolling some CPES next weekend if the weather holds for me...

Jess
User avatar
stomperxj
The 300 Club
 
Posts: 395
Images: 1
Joined: Tue Jul 29, 2008 12:25 am
Location: Kuna ID
Top

Postby bgordon » Tue May 11, 2010 1:13 am

Jess,

It's looking good! :thumbsup: :thumbsup:

Seeing that you are not using a hurricane hinge, how are you planning to seal the top of the hatch to prevent water and dust from coming in?
Barrie

Keep moving forward.
Psalm 1:1-3.

Build Journal: bgordon's 5 week cardboard & fiberglass build
http://www.tnttt.com/viewtopic.php?f=50&t=38781
User avatar
bgordon
Teardrop Master
 
Posts: 299
Images: 122
Joined: Tue Apr 24, 2007 6:45 am
Location: Johannesburg, South-Africa
Top

Postby stomperxj » Sat May 22, 2010 5:41 pm

bgordon wrote:Jess,

It's looking good! :thumbsup: :thumbsup:

Seeing that you are not using a hurricane hinge, how are you planning to seal the top of the hatch to prevent water and dust from coming in?


Double row of weatherstrip at the top and sides. I hope it keeps the water out or im in trouble :)

Did some CPES'ing last weekend and this weekend had big plans to do a second coat and some other stuff and mother nature decided to pour rain all weekend.... bummer. I did get a few things done though. Started mounting the fenders and got the tail light boxes cut out for the lights. I got a package from superbrightleds.com the other day too...

Image
Image
Image
Image
Image

Thats it for this round... Hopefully more progress this week after work. We'll see how the weather holds out.

Jess
User avatar
stomperxj
The 300 Club
 
Posts: 395
Images: 1
Joined: Tue Jul 29, 2008 12:25 am
Location: Kuna ID
Top

Postby aggie79 » Sat May 22, 2010 7:36 pm

Very nice Jess.

Sorry to hear about the rain. Your design looks better with every detail that is added.
Tom (& Linda)
For build info on our former Silver Beatle teardrop:
Build Thread

93503
User avatar
aggie79
Super Duper Lifetime Member
 
Posts: 5405
Images: 686
Joined: Tue Aug 07, 2007 5:42 pm
Location: Watauga, Texas
Top

PreviousNext

Return to Member Designs

Who is online

Users browsing this forum: No registered users and 7 guests