B@tt's 6X14 CTC Toy Hualer

Converting Cargo Trailers into TTTs

B@tt's 6X14 CTC Toy Hualer

Postby B@tt » Sun Apr 24, 2011 6:36 pm

Figure I would start a thread to document my progress. Plan is to have this at least useable by Memorial Day. (Not complete, but useable)

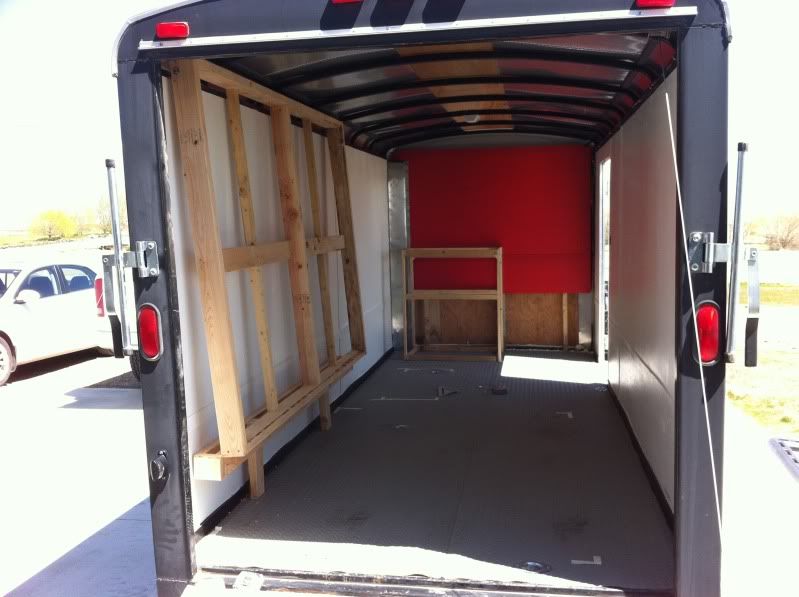
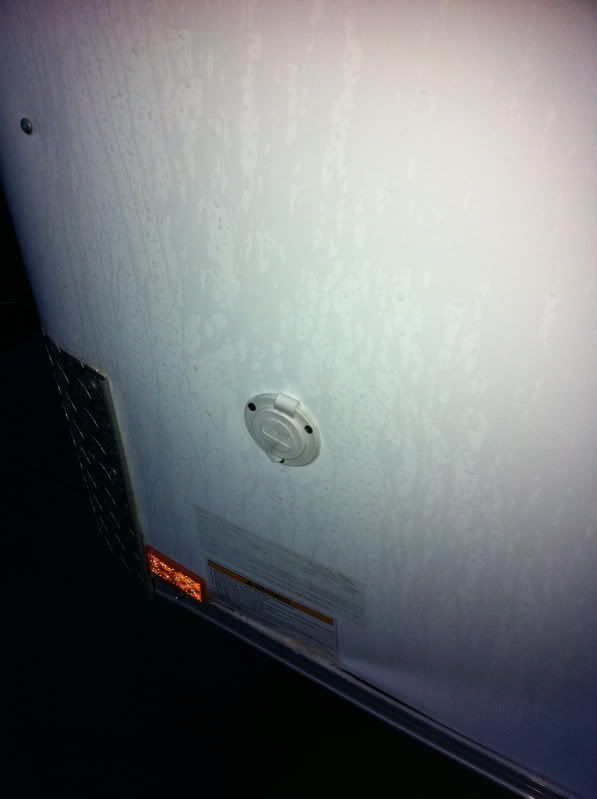
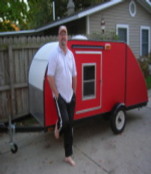
First step accomplished today; Installed an RV style side door latch. Thanks to Kickintail for the idea and the support through IM.
$30 for a latch on Flea-Bay was a way better option than $300 for a new door. :thumbsup:

[img]<a href="http://s122.photobucket.com/albums/o275/battman_b/?action=view&amp;current=IMG_0666.jpg" target="_blank"><img src="http://i122.photobucket.com/albums/o275/battman_b/IMG_0666.jpg" border="0" alt="Photobucket"></a>
[/img]

[img]<a href="http://s122.photobucket.com/albums/o275/battman_b/?action=view&amp;current=IMG_0668.jpg" target="_blank"><img src="http://i122.photobucket.com/albums/o275/battman_b/IMG_0668.jpg" border="0" alt="Photobucket"></a>
[/img]

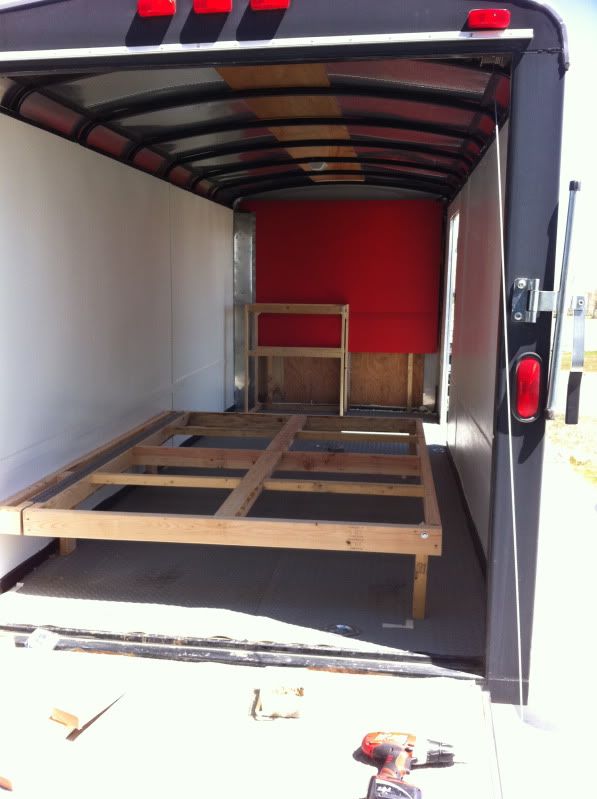
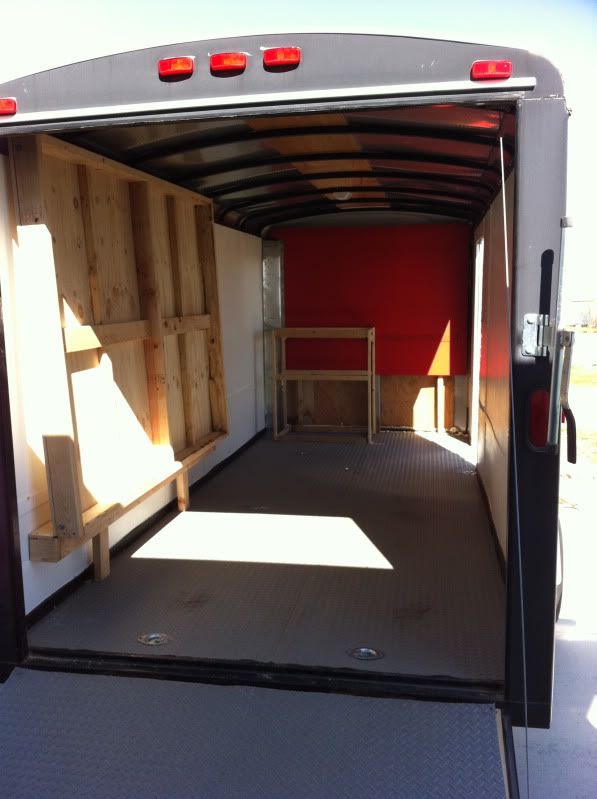
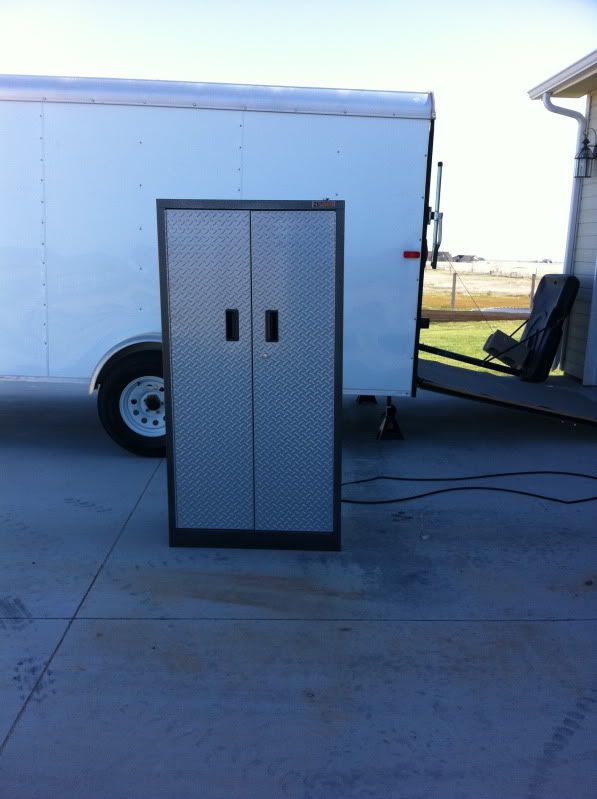
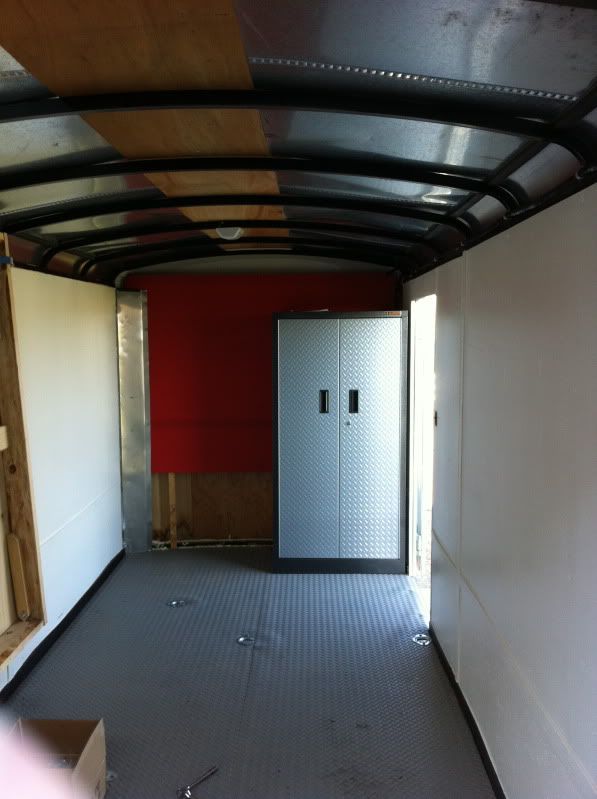
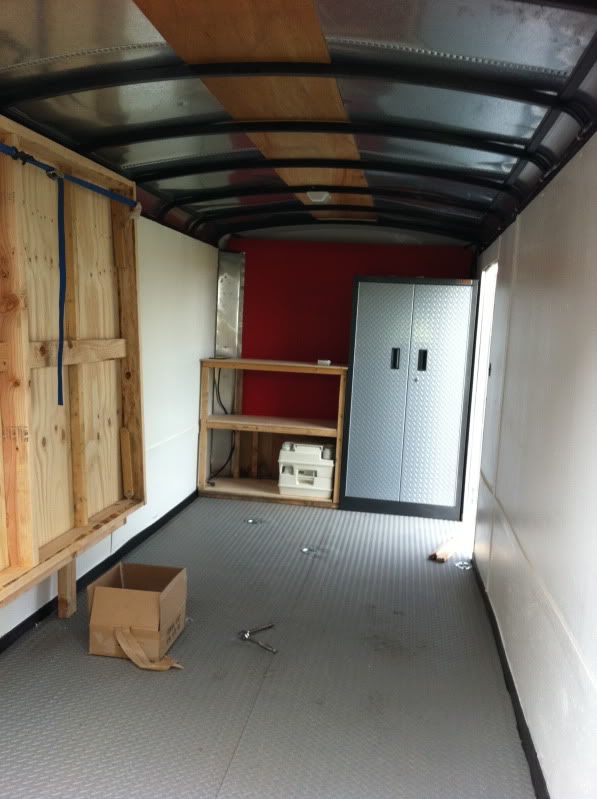
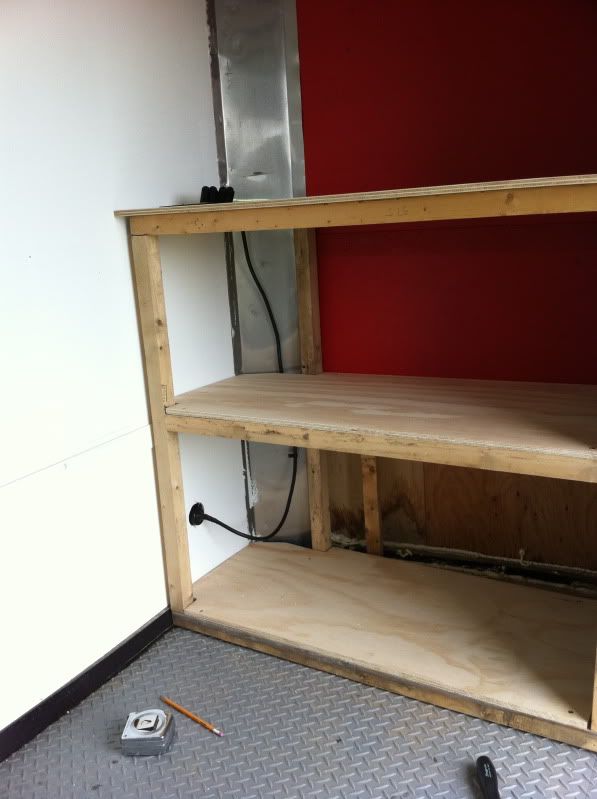
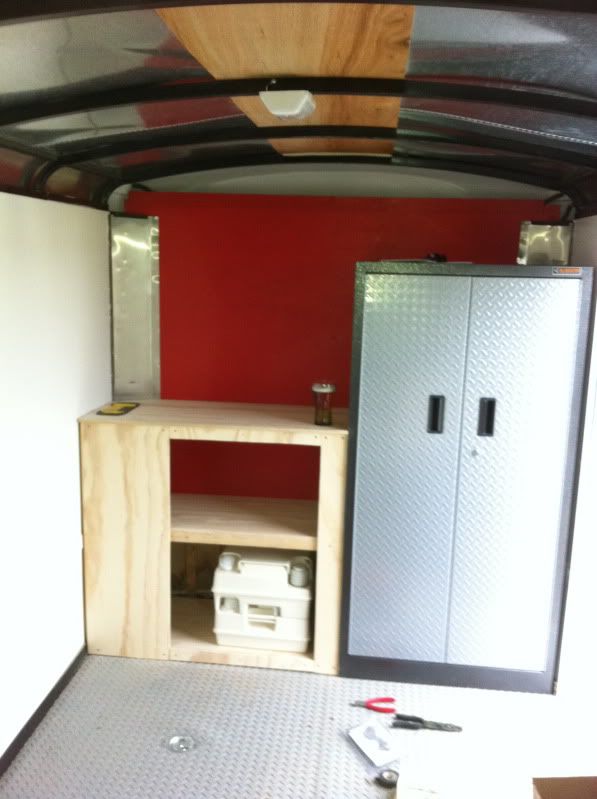
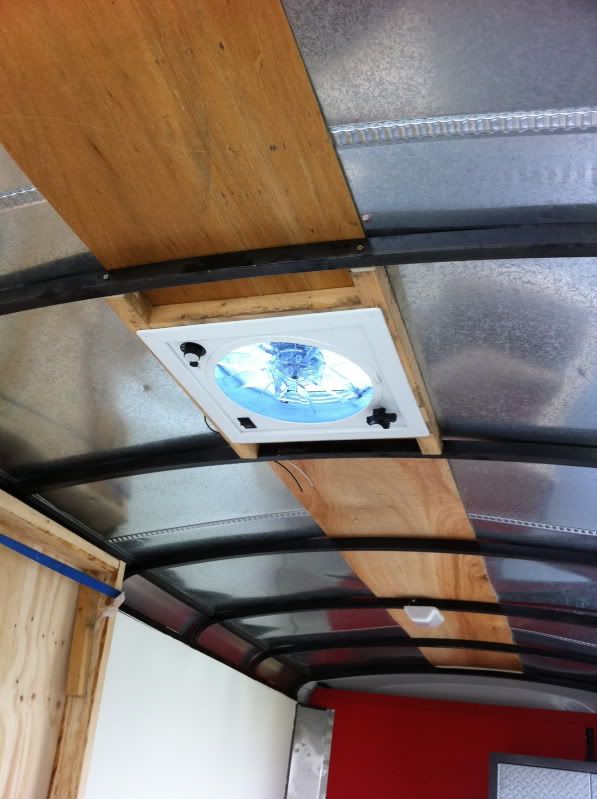
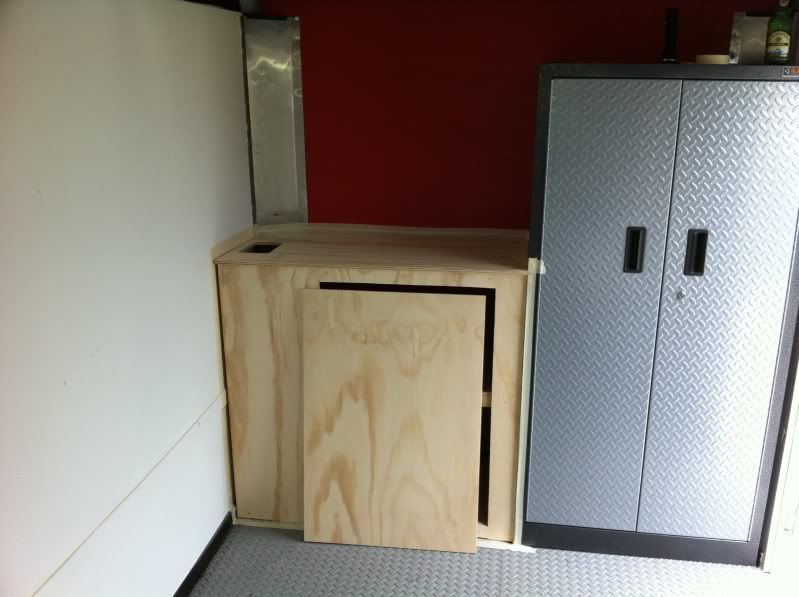
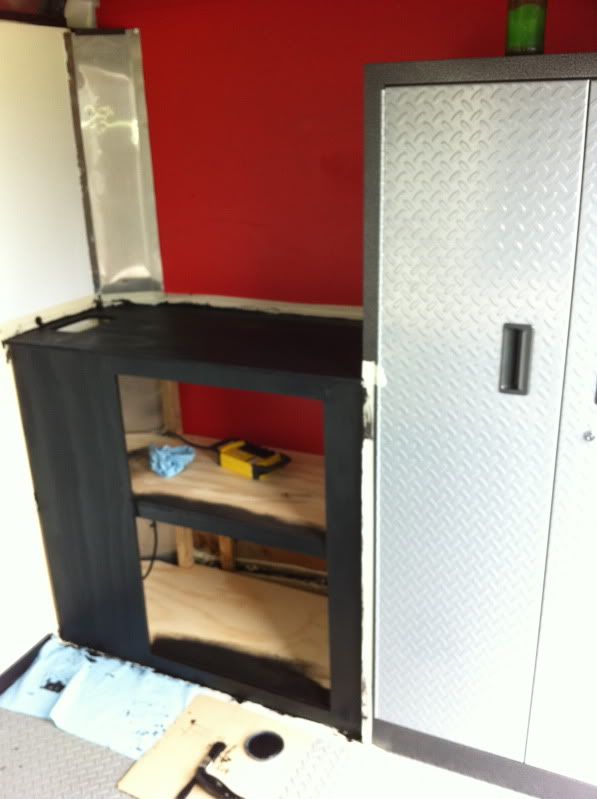
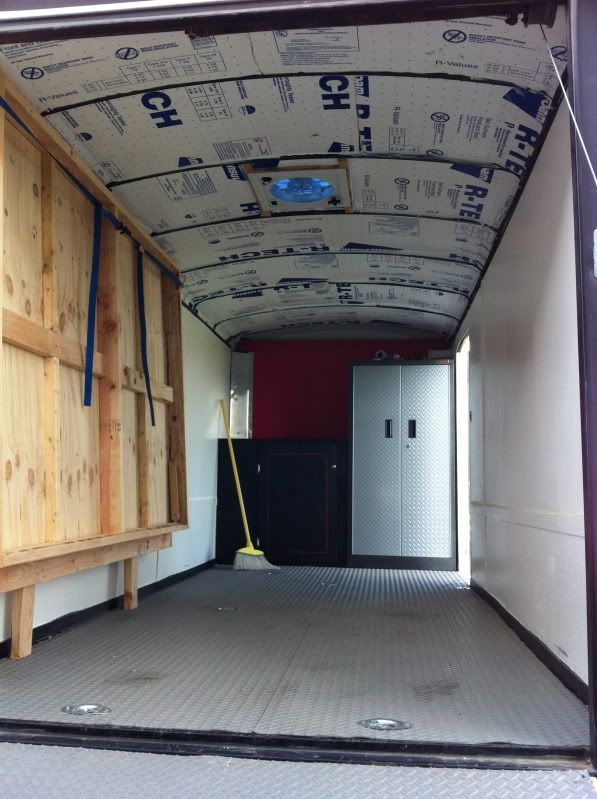
And here is the interior as it sits now. Just finished insulating and painting the walls.

[img]<a href="http://s122.photobucket.com/albums/o275/battman_b/?action=view&amp;current=IMG_0669.jpg" target="_blank"><img src="http://i122.photobucket.com/albums/o275/battman_b/IMG_0669.jpg" border="0" alt="Photobucket"></a>
[/img]
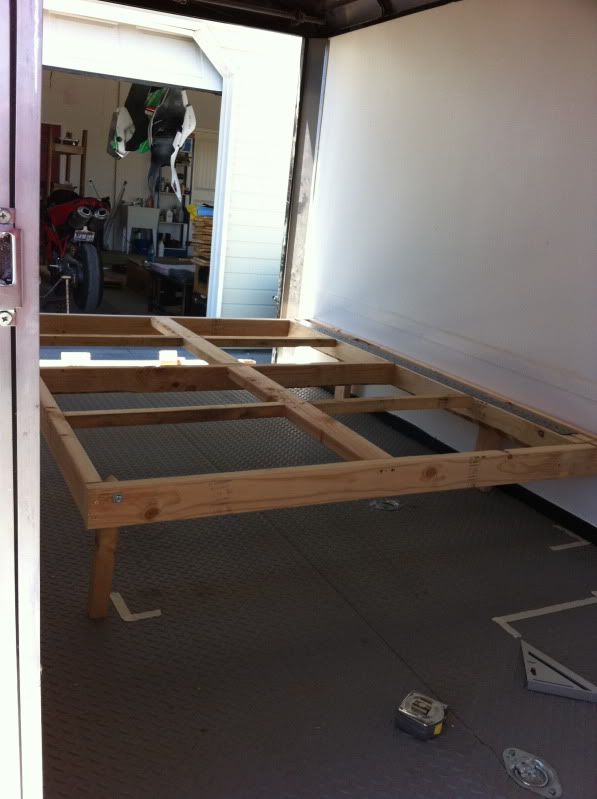
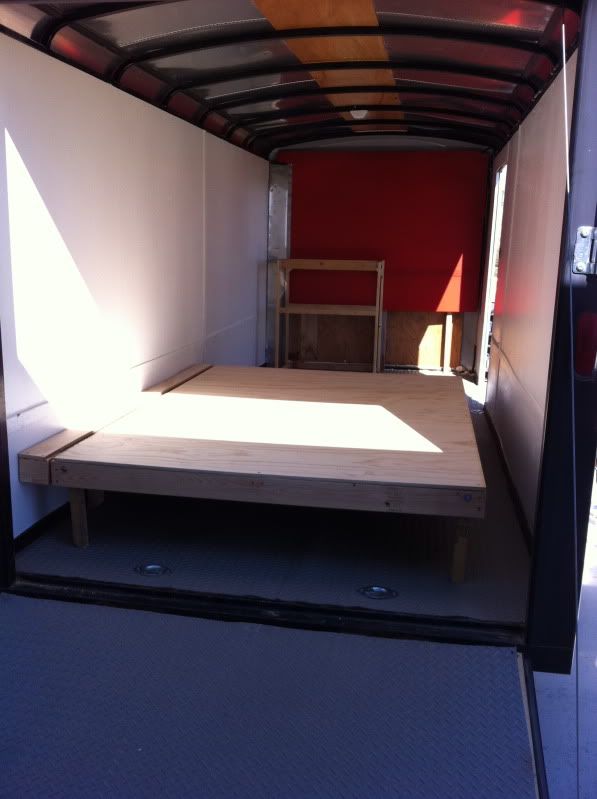
Next weekends project, the wall mounted/fold up queen size bed and simple electrical system to keep me powered at the race track. Stay tuned for more updates and pics. This is gona be FUN!!!
Last edited by B@tt on Sat May 07, 2011 9:38 am, edited 1 time in total.
B@tt
Teardrop Advisor
 
Posts: 67
Joined: Mon Apr 11, 2011 9:30 pm
Location: Mountain Home, Id

Postby kickintail » Sun Apr 24, 2011 8:31 pm

nice job
good luck with the build.
Image
It makes sense if you don't think about it
kickintail
Donating Member
 
Posts: 50
Joined: Sun Mar 20, 2011 6:11 pm
Location: cape may court house N.J

Weekend Two

Postby B@tt » Sun May 01, 2011 6:34 pm

So I spent some time working on CTC this week. First order of business was to straighten out the front wall. I know I've seen a few of you cut your counter tops to fit the arched front, but with the cabinets I am mounting it just made more sense to me to frame it with 2x2 studs and 1x2 horizontal runners to keep everything flush when its all mounted.

Next up I attempted to frame up a small cabinet frame. Im not really happy with it's rigidity at the moment, but we will see how it plays out once I get the large Gladiator storage cabinet mounted next to it.

Final step for the weekend was building the frame of the wall mount/fold away bed. Went with a standard Queen size bed frame and will be adding 4 inch memory foam mattress very soon.

I should be getting some of my electrical system and my fantastic fan in the mail this week, so next week should prove to be equally as productive.

Here are some pics just to document my progress. Constructive Critiques are welcome.

--B@tt

Image

Image

Image

Image

Image

Image

Image
B@tt
Teardrop Advisor
 
Posts: 67
Joined: Mon Apr 11, 2011 9:30 pm
Location: Mountain Home, Id
Top

Postby pete42 » Sun May 01, 2011 6:41 pm

Wow a bed strong enought to hold my fat............body.

looking good thanks for posting.

pete
User avatar
pete42
Super Lifetime Member
 
Posts: 2203
Images: 13
Joined: Sat Nov 07, 2009 11:52 am
Location: SouthWest Ohio
Top

Postby B@tt » Thu May 05, 2011 10:16 pm

Did a little bit more work today. Not alot, but its coming along.

This weekend is going to be spent; a) finding a 1 7/8 hole saw, b) installing my very simple electrical system to get me through Memorial Day at the track, c) installing the roof vent, and d) finishing the cabinet doors then painting, painting, and painting.

Here is a couple pics from todays work.

Image

Image

Image

Image
B@tt
Teardrop Advisor
 
Posts: 67
Joined: Mon Apr 11, 2011 9:30 pm
Location: Mountain Home, Id
Top

Postby BC Dave » Thu May 05, 2011 11:30 pm

I noticed the pipes in the background; is that a 1098? ;)

soooo; Im assuming your building a MotoC hauler and track shack.

Nice job on the door handle; I'v been meaning to install one just like that; was it difficult? Did you drill or jigsaw the hole???

If I can offer some unsolicited advice; for hot / cold; I have a 6X10 that I didn't have insulated for a season; I found the heat radiates off the roof in the sun; its sweats on the inside in the cold; so stop go backwards and insulate the walls and roof; you will be forever grateful. I used with 1 " ridgid foam in the ceiling and either batten Fiber Gl or ridgid in the walls; I even installed 1.5" ridgid on the bottom outside of the floor and noticed a large differenc with that. I've hauled several s2r's for non track use; but have corner marsheled. Check my pics in the CT area. I get much more use out of my CT than I ever imagined I would ... it now server as a sleeping and work head quaters in northern BC; good for one; a little tight for 2 but if you cooperating no problems; good for 90 to - 20 ... Best of luck, Cheers BC Dave
User avatar
BC Dave
Teardrop Master
 
Posts: 247
Images: 13
Joined: Sat Oct 31, 2009 12:32 am
Location: BC, Canada
Top

Re: Weekend Two

Postby CT Eddie » Fri May 06, 2011 12:55 am

[quote="B@tt"]Final step for the weekend was building the frame of the wall mount/fold away bed. Went with a standard Queen size bed frame and will be adding 4 inch memory foam mattress very soon.

Constructive Critiques are welcome.

--B@tt

Nice build pix's, looking good. I think I saw the flat 2x4 running down the center of the bed "butted" into the center side to side frame member. Generally butted joints don't carry weight well. IMHO, you might want to consider a 5th leg near the center of the bed and possibly some gussets at the ends of those flat boards. Just thinking of you or your partner hitting the deck in the middle of something very important.... :D
User avatar
CT Eddie
Donating Member
 
Posts: 15
Joined: Mon Mar 28, 2011 3:45 am
Location: Spokane, WA
Top

Postby B@tt » Fri May 06, 2011 6:23 am

BC Dave wrote:I noticed the pipes in the background; is that a 1098? ;)

soooo; Im assuming your building a MotoC hauler and track shack.

Nice job on the door handle; I'v been meaning to install one just like that; was it difficult? Did you drill or jigsaw the hole???

If I can offer some unsolicited advice; for hot / cold; I have a 6X10 that I didn't have insulated for a season; I found the heat radiates off the roof in the sun; its sweats on the inside in the cold; so stop go backwards and insulate the walls and roof; you will be forever grateful. I used with 1 " ridgid foam in the ceiling and either batten Fiber Gl or ridgid in the walls; I even installed 1.5" ridgid on the bottom outside of the floor and noticed a large differenc with that. I've hauled several s2r's for non track use; but have corner marsheled. Check my pics in the CT area. I get much more use out of my CT than I ever imagined I would ... it now server as a sleeping and work head quaters in northern BC; good for one; a little tight for 2 but if you cooperating no problems; good for 90 to - 20 ... Best of luck, Cheers BC Dave


The bike is an 848, and next to it (maybe not visible in these pics) in a few pieces is a ZX6R.

The door handle was surprisingly easy. I was very nervous cutting into the door but figured I was needing a latch like this and if it didnt work out I would only be out the $30 I paid for the latch, as I was already prepared to by a custom made door for $300. I used a drill to start the hole then cut it out with a Jig Saw and used a drill for the latch hole.

The ceiling will be insulated with rigid foam, thank you for the advice.

I hear you on the space issues, two people in there gets tight. Luckily we dont plan on being inside for too long. And, the 10x15 walled EZ-Up that sits next to the trailer adds a bit more living space.
B@tt
Teardrop Advisor
 
Posts: 67
Joined: Mon Apr 11, 2011 9:30 pm
Location: Mountain Home, Id
Top

Re: Weekend Two

Postby B@tt » Fri May 06, 2011 6:25 am

CT Eddie wrote:
B@tt wrote:Final step for the weekend was building the frame of the wall mount/fold away bed. Went with a standard Queen size bed frame and will be adding 4 inch memory foam mattress very soon.

Constructive Critiques are welcome.

--B@tt

Nice build pix's, looking good. I think I saw the flat 2x4 running down the center of the bed "butted" into the center side to side frame member. Generally butted joints don't carry weight well. IMHO, you might want to consider a 5th leg near the center of the bed and possibly some gussets at the ends of those flat boards. Just thinking of you or your partner hitting the deck in the middle of something very important.... :D


Gussets might be a good idea. Its pretty strong right now, but why not add some strength in the name of safety. Thanks for the advice.
:thumbsup:
B@tt
Teardrop Advisor
 
Posts: 67
Joined: Mon Apr 11, 2011 9:30 pm
Location: Mountain Home, Id
Top

Postby B@tt » Fri May 06, 2011 10:30 pm

little more work today. Let me know if I am just posting too much. My build and the pics documenting it are pretty basic, so you all might be bored with me by now.

Anyway, Installed my first bit of electrical today; Marinco wired to to a Stanley GFCI power block flush mounted in my counter top.

after that I finished off the cabinet face, just need to build the door now then putty all the screws and joints in prep for paint. --note the large section on the left of the cabinet, that is where my power panel will eventually be placed, but for now I will stick with this simplistic design to get us out and about.

Image

Image

Image

Image
B@tt
Teardrop Advisor
 
Posts: 67
Joined: Mon Apr 11, 2011 9:30 pm
Location: Mountain Home, Id
Top

Postby B@tt » Sat May 07, 2011 10:59 pm

Pressed on today. It was a pretty productive Saturday I think.

Started out sanding and filling the cabinet. Then installed a Fan-Tasic Fan (well, I framed it yesterday and cut the hole today then installed it, not wired yet, Im waiting on my battery and fuse block.)

Image

Next up I finished up sanding the cabinet after the wood putty dried.

Image

and once it was sanded it was time to paint.

Image

Image

Eventually I will add a sink to this counter and a formica counter top but for now, here is the finished product. (cabinet at least)

Image

Tomorrows project = running the 12v wires across the roof, along the frame to the future fuse block location, cutting foam insulation panels for the celling and painting the bed frame.

[i]Thanks again for the inspirational pics on this forum and all the advice and support I have received.
[/i]
B@tt
Teardrop Advisor
 
Posts: 67
Joined: Mon Apr 11, 2011 9:30 pm
Location: Mountain Home, Id
Top

Postby pete42 » Sat May 07, 2011 11:26 pm

Never get tired of seeing others projects and you can not show too many pictures.
thanks
Pete
User avatar
pete42
Super Lifetime Member
 
Posts: 2203
Images: 13
Joined: Sat Nov 07, 2009 11:52 am
Location: SouthWest Ohio
Top

Postby B@tt » Sun May 08, 2011 8:35 pm

well in that case, here is todays progress: ran the 12v wire from the fan and the small factory installed light down to the front left corner under the cabinet where the fuse/switch panel will be located, and then insulated the roof.

Now I just have to figure out what to cover it with. Any suggestions?


Image
B@tt
Teardrop Advisor
 
Posts: 67
Joined: Mon Apr 11, 2011 9:30 pm
Location: Mountain Home, Id
Top

Postby Boodro » Mon May 09, 2011 10:22 pm

I think you need some wood in there. Maybe 1/8 inch luan or Birch plywood coated with several coats of varnish would really make it pop with those white walls.
We are all travelers in this world , from the sweet grass to the packin house , birth till death , we travel between the eternities . ( Robert Duvall as Prentiss Ritter)
User avatar
Boodro
1000 Club
1000 Club
 
Posts: 1052
Images: 101
Joined: Sun Oct 10, 2004 9:35 pm
Location: Sylvania, Ohio
Top

Postby B@tt » Tue May 10, 2011 5:53 am

I was thinking white on the ceiling, but now that you mention it, a clear coated birch would look really awesome in there. Thank You! Great Idea.
B@tt
Teardrop Advisor
 
Posts: 67
Joined: Mon Apr 11, 2011 9:30 pm
Location: Mountain Home, Id
Top

Next

Return to Cargo Trailer Conversions

Who is online

Users browsing this forum: No registered users and 20 guests

cron