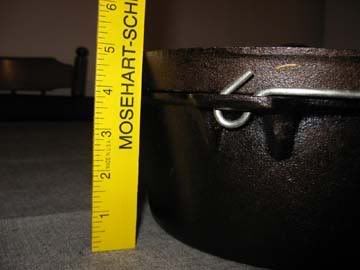
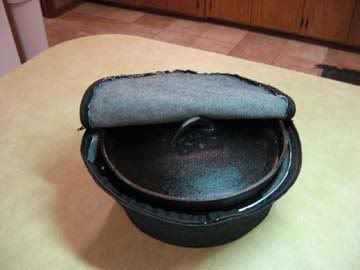
1. Measure the entire height of the Dutch oven (including the lid. Add ½ to ¾ inch for stitch seam.
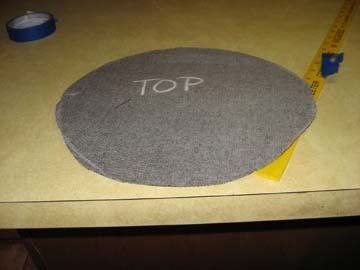
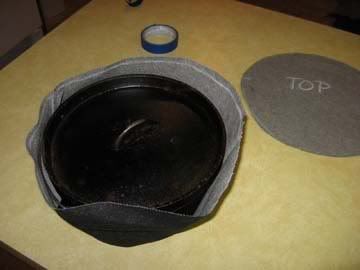
2. Trace around both bottom and top allowing ½ for seam. Use chalk – it erases easily. Remember to allow for side ears and spouts
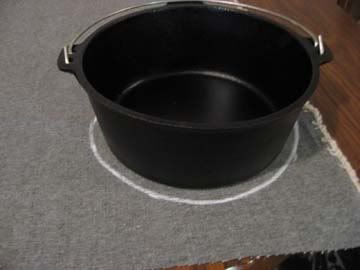
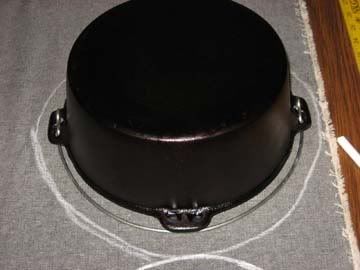
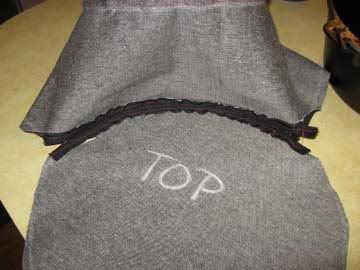
3. Cut out top and bottom and mark each. Sometimes it is pretty obvious which one is which, but I mark them anyway
4. Now for the some fun at making a pattern for the side. Since the top and bottom are both different sizes, your side panel will need to be cut on a curve. You will need some large sections of paper joined to make ONE pieces to accomplish the task. This is how it is done.
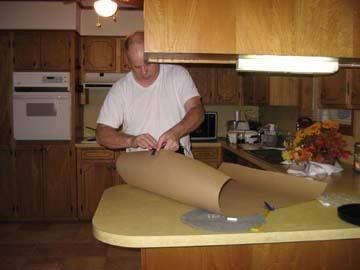
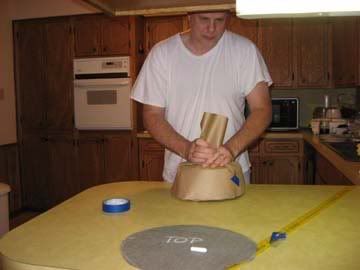
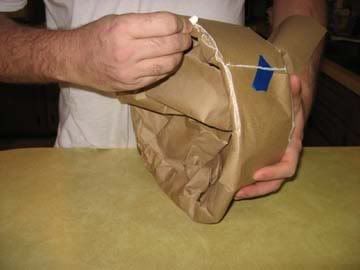
5. Wrap the paper tightly around the Dutch oven
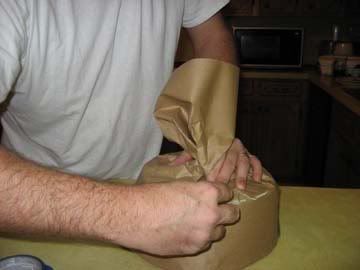
6. Fold paper around the edges tightly and mark with chalk. Trace a single line down the side where the seam will come together

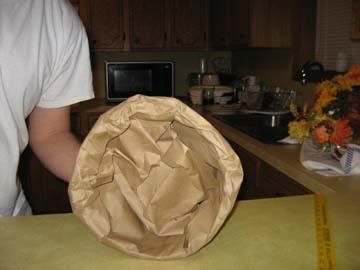
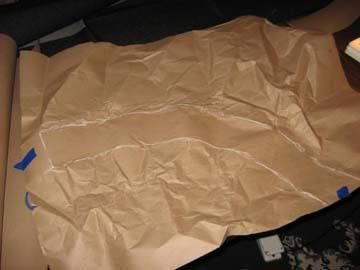
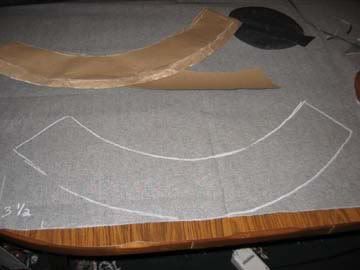
7. You should get something like this.
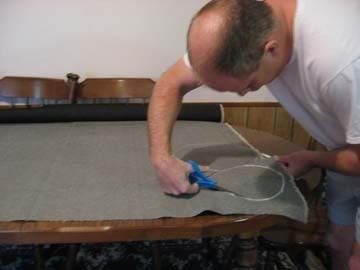
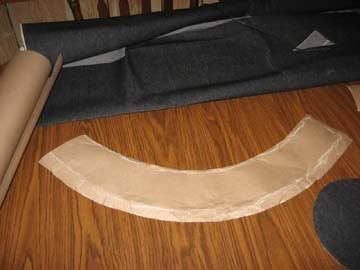
8. Cut out pattern. Remember to allow½ to ¾ inch for stitch seam. Check paper pattern to Dutch oven for correct size. Did you remember the lid? That is why we check with paper. Much easier to waster paper than fabric.
9. Transfer to material
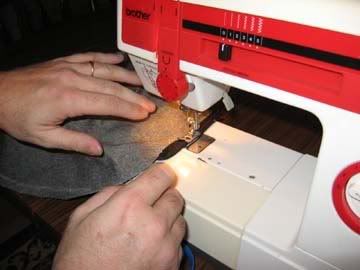
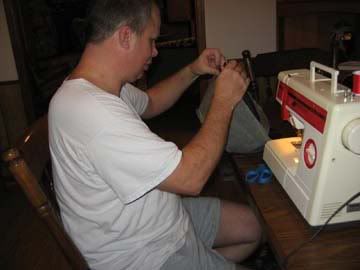
10. Sew bottom and side panel first
11. Turn inside out and check for fit (a little too tall, need to trim it down)
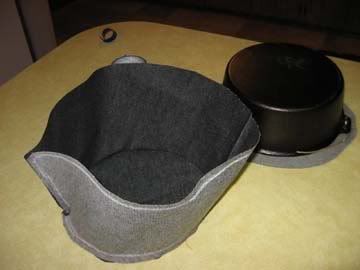
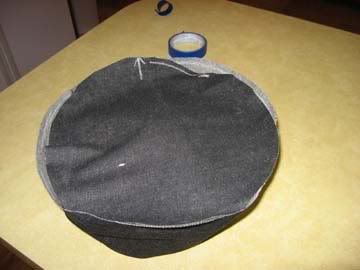
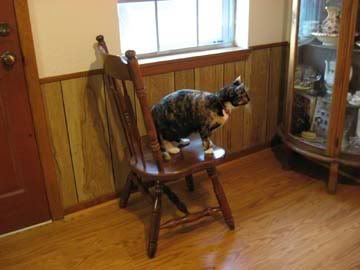
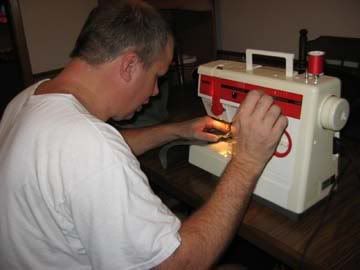
12. Cat watching (not a necessary step)
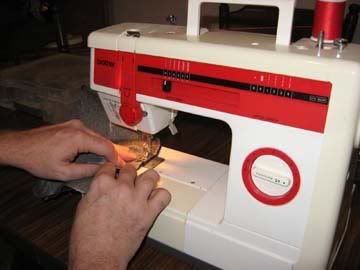
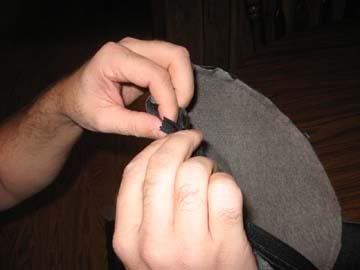
13. Now for the tricky part – sewing in the zippers (two are used)
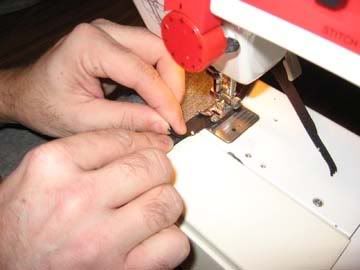
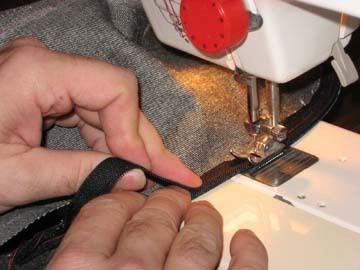
14. Almost there
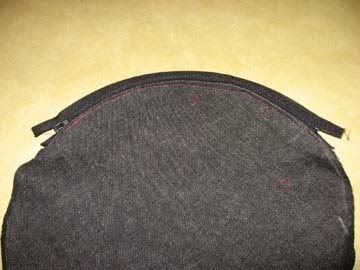
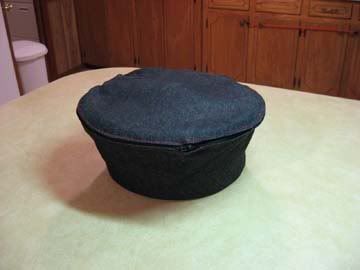
15. Finished!
A special thanks to Cindy for taking all those pictures along the way!