Page 1 of 2

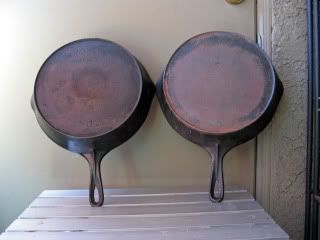
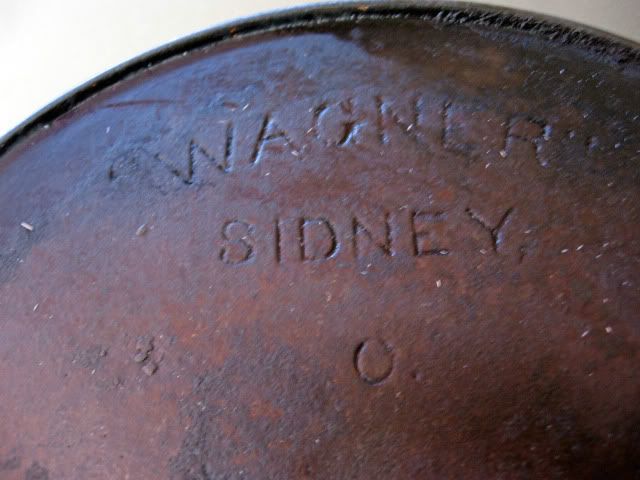
Cleaning cast iron with Electrolysis

PostPosted: Sun Oct 31, 2010 4:18 pm
by Woodbutcher
I have done this several times with good luck so I thought I would share it.

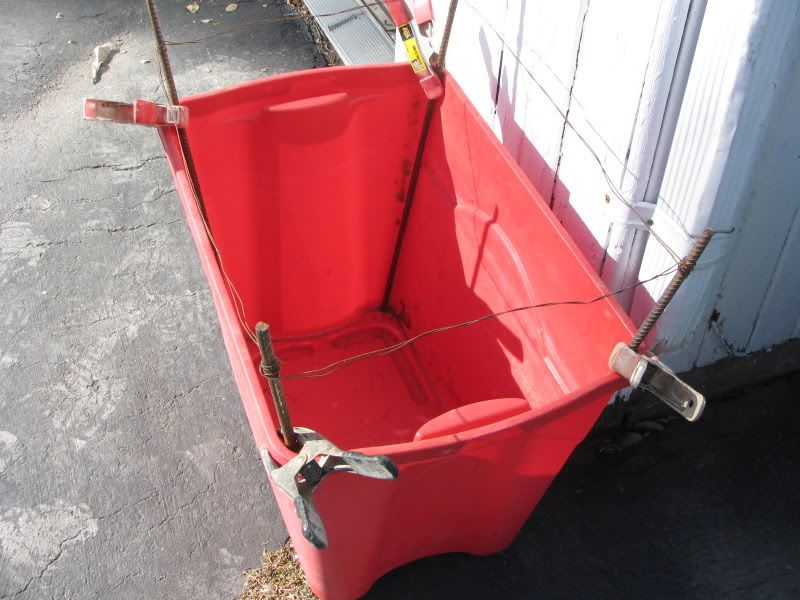
Start with a large plastic tub. Put a piece of steel rebar in each corner. Wrap the rebar with steel wire connecting all 4 pieces together.

Image

Use Arm and Hammer WASHING SODA . I use 1/2 cup per 5 gallons of water. Fill it up enough to cover all of your pieces when they are hanging in the water. Stir the water well to dissolve the washing soda.

Image

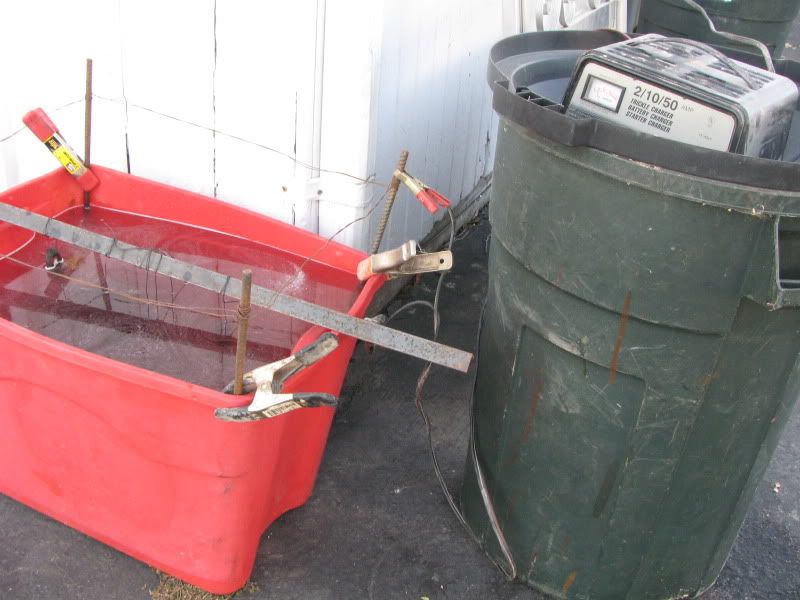
Place another piece of steel across the plastic tub. Do not let it touch the rebar. Using the same steel wire suspend your pans from the cross piece.
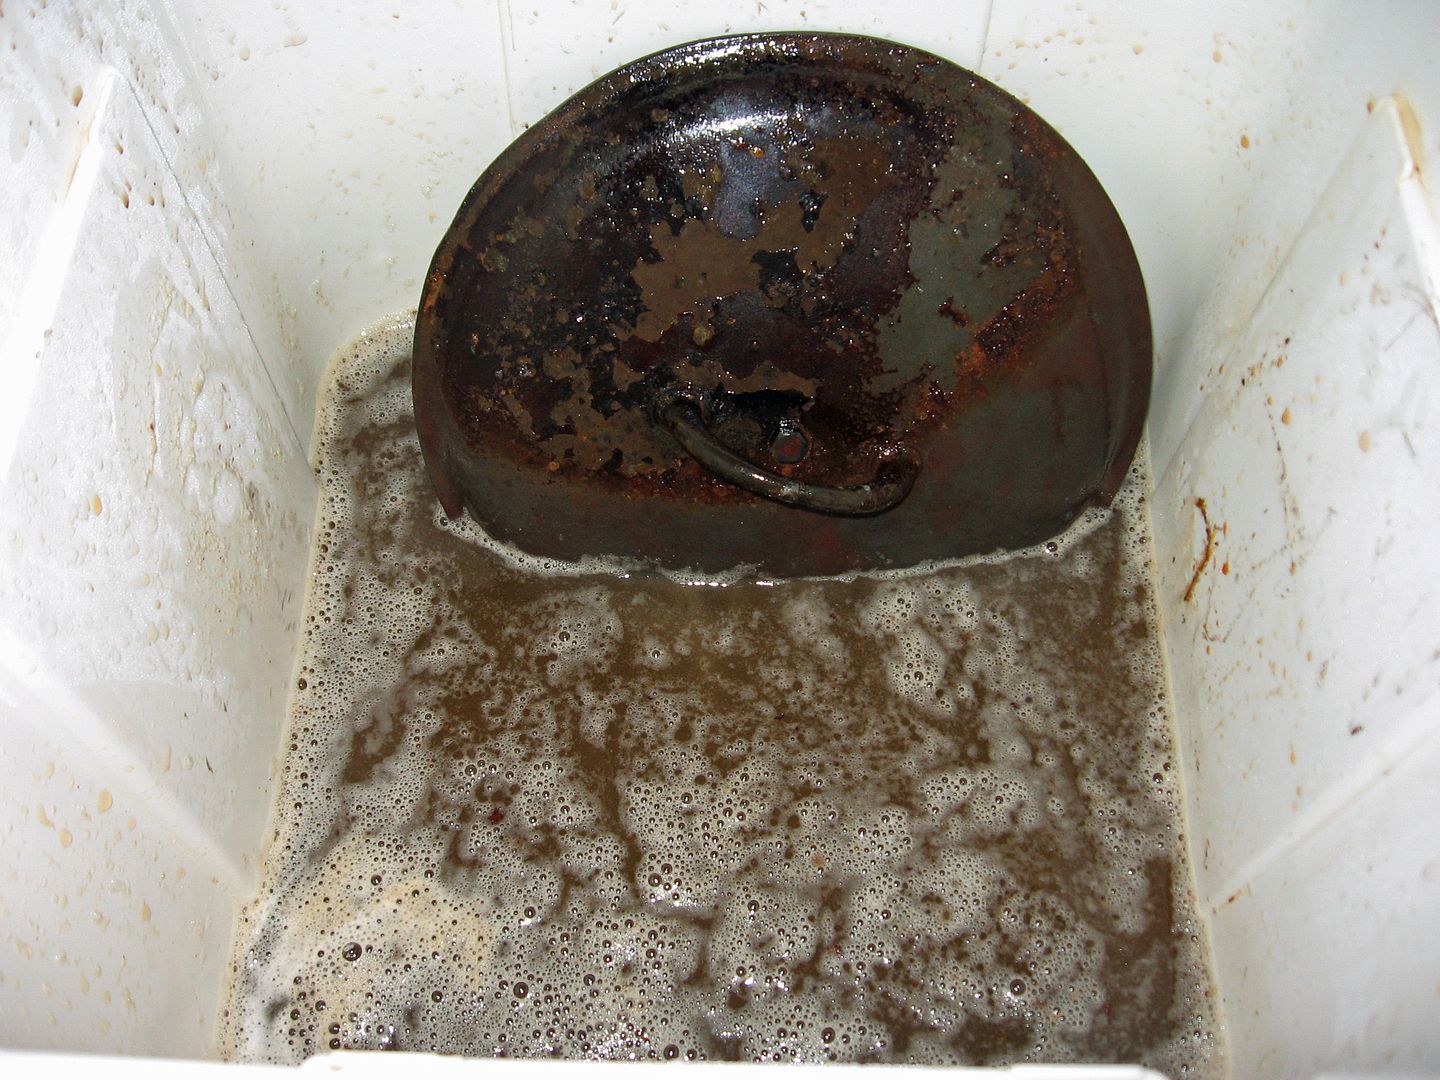
Now take your battery charger and place the positive lead to the rebar and the negative lead to the parts being cleaned. If you reverse the leads you will add the rust from the rebar to your parts. Not what you want. Now let it work. YOU MUST DO THIS IN A WELL VENTILATED AREA .

Image

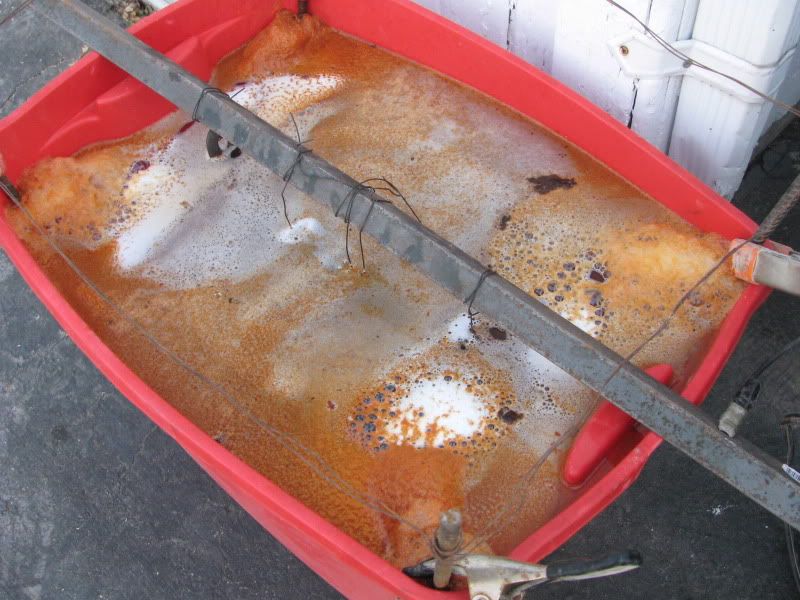
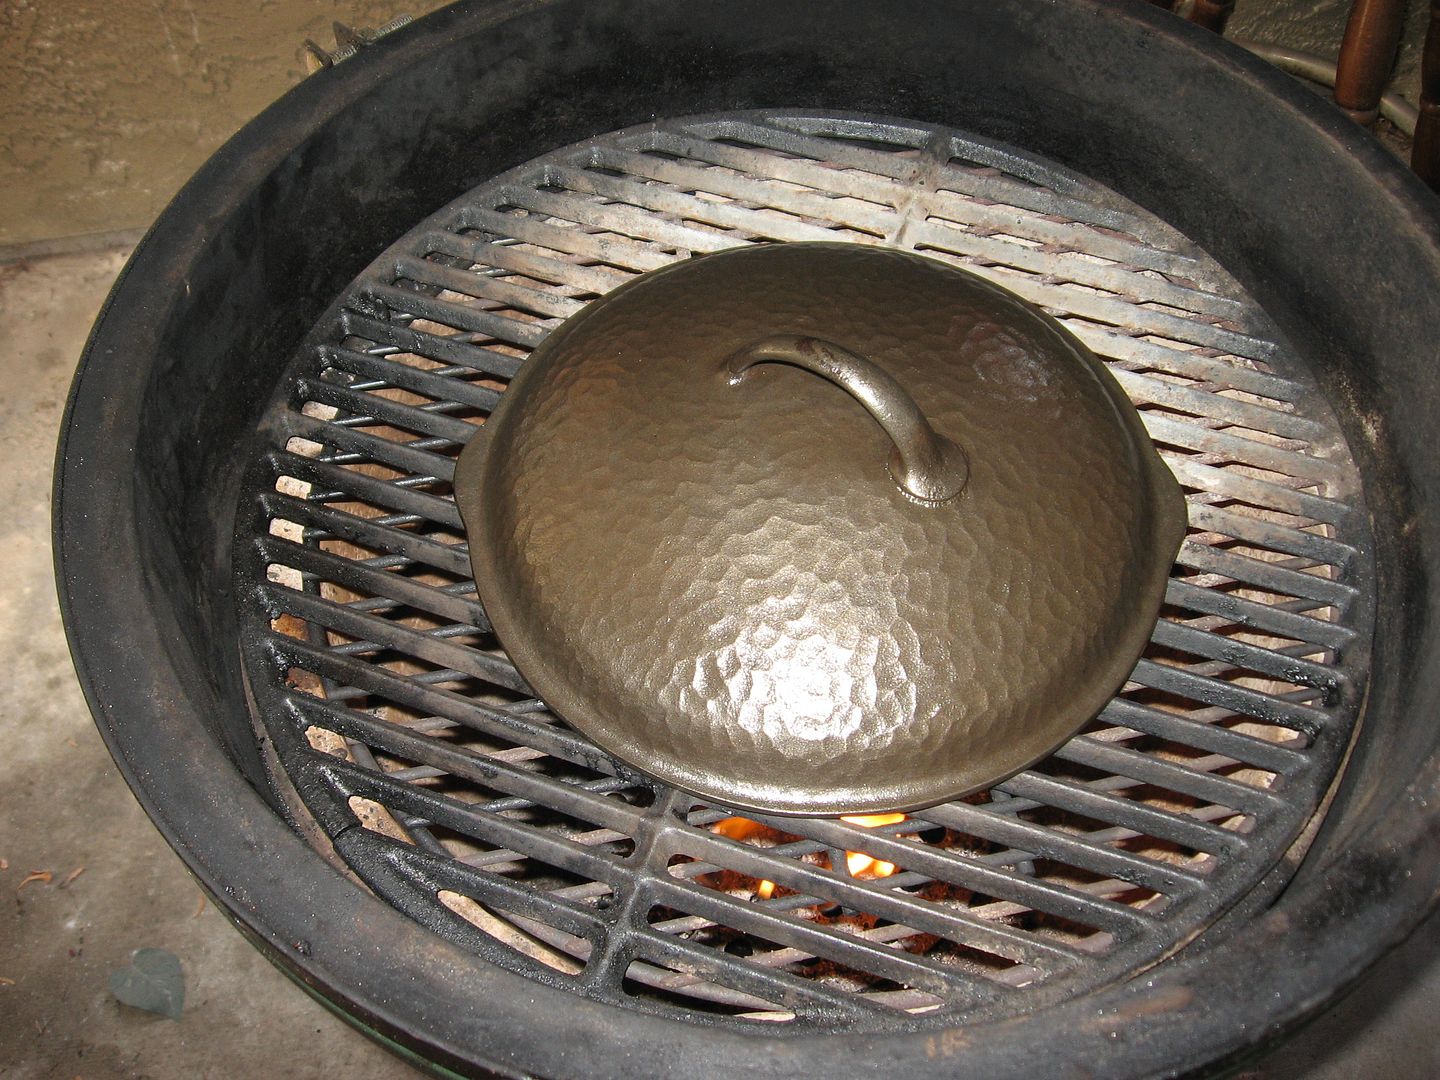
This is what it looks like while working. You will see bubbling in the water as the gas escapes.

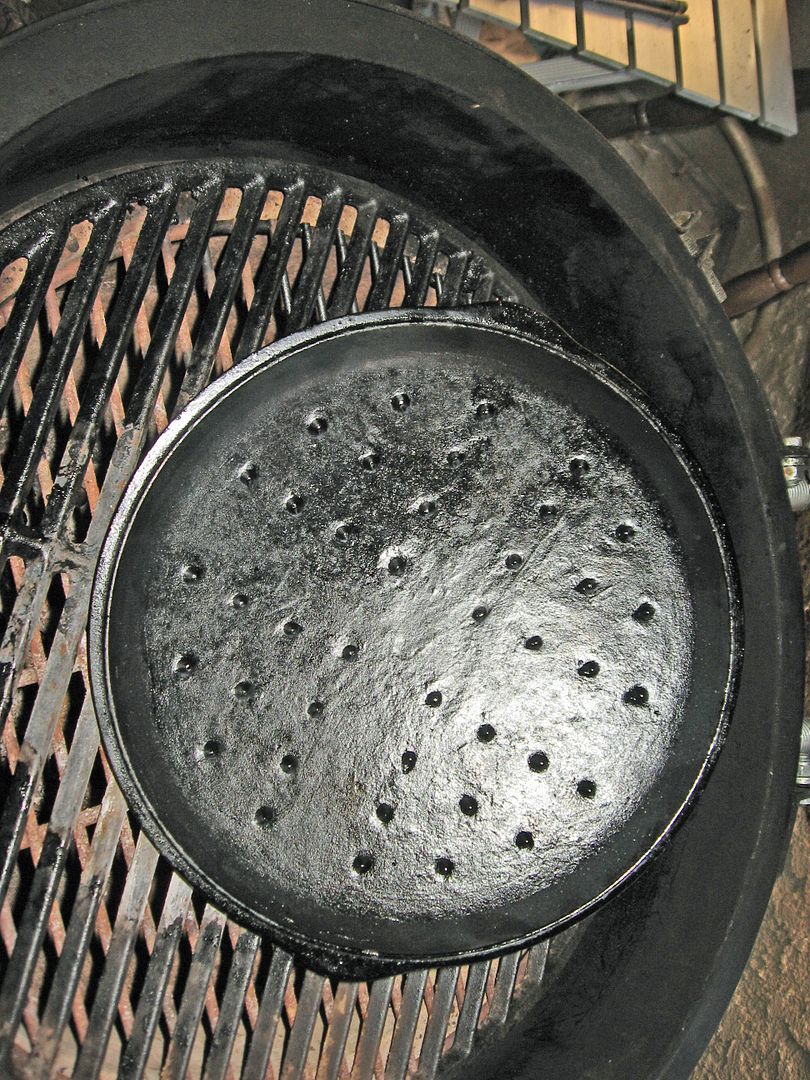
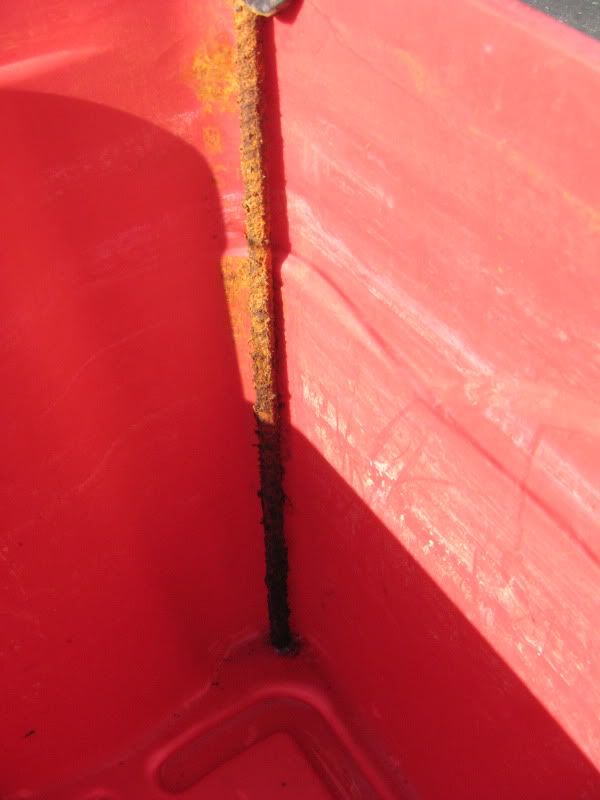
Here is the rebar after the process is done. See all the rust collected on the rebar.

Image

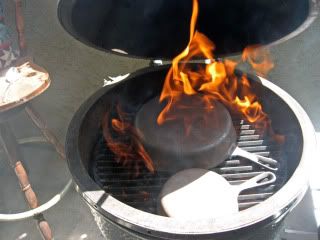
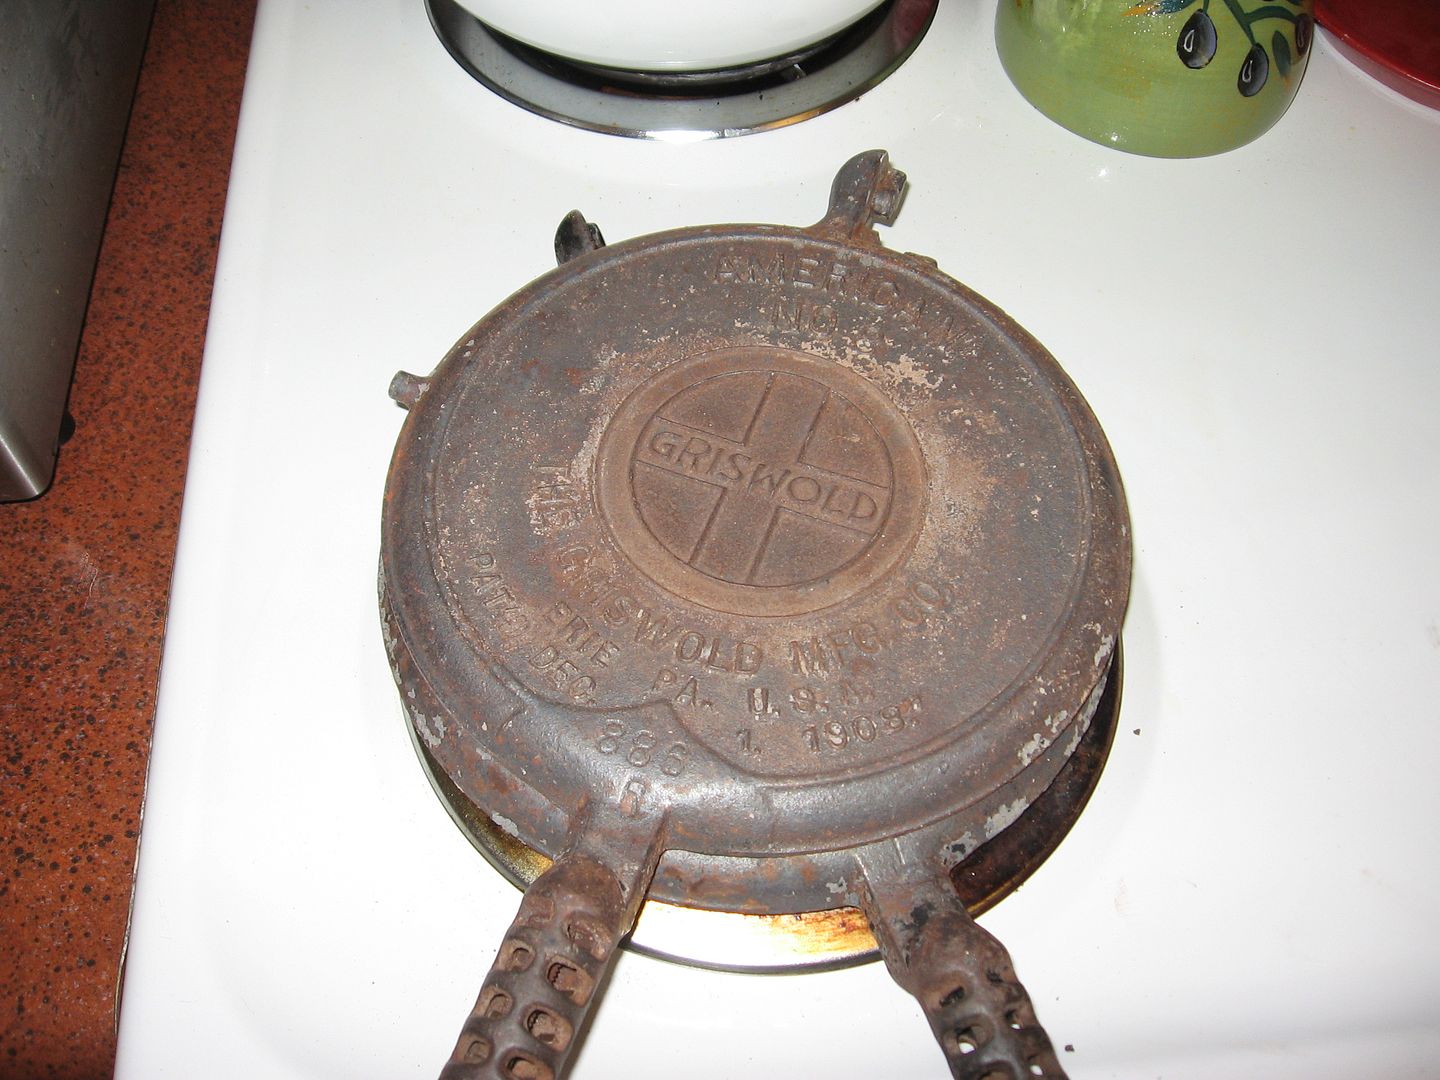
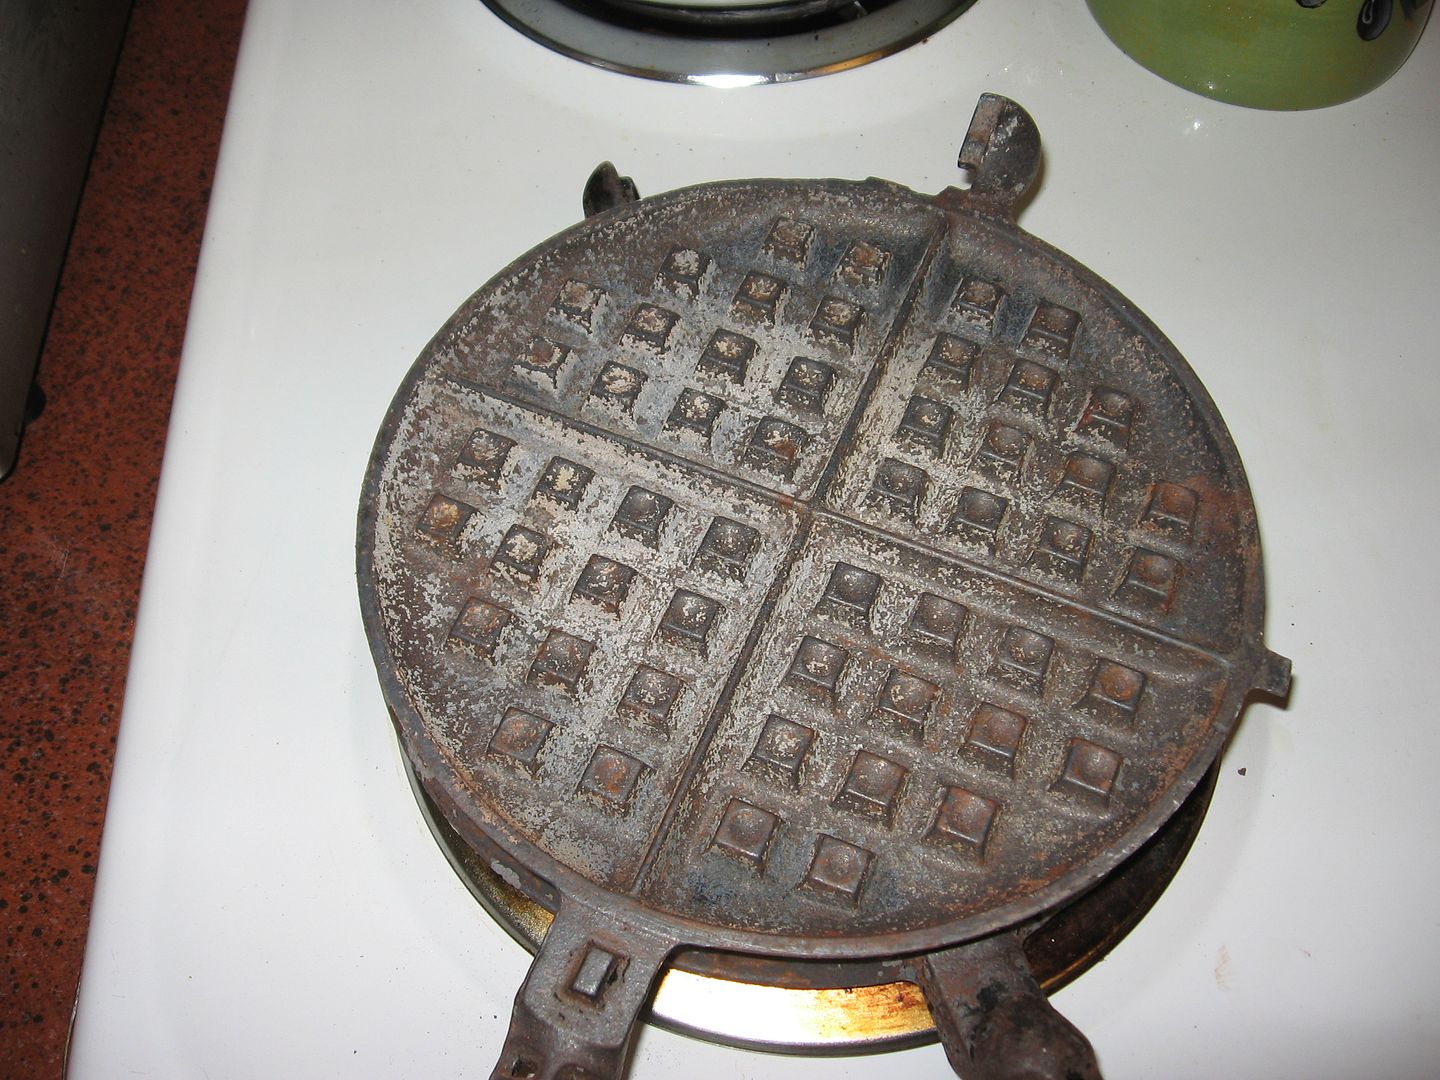
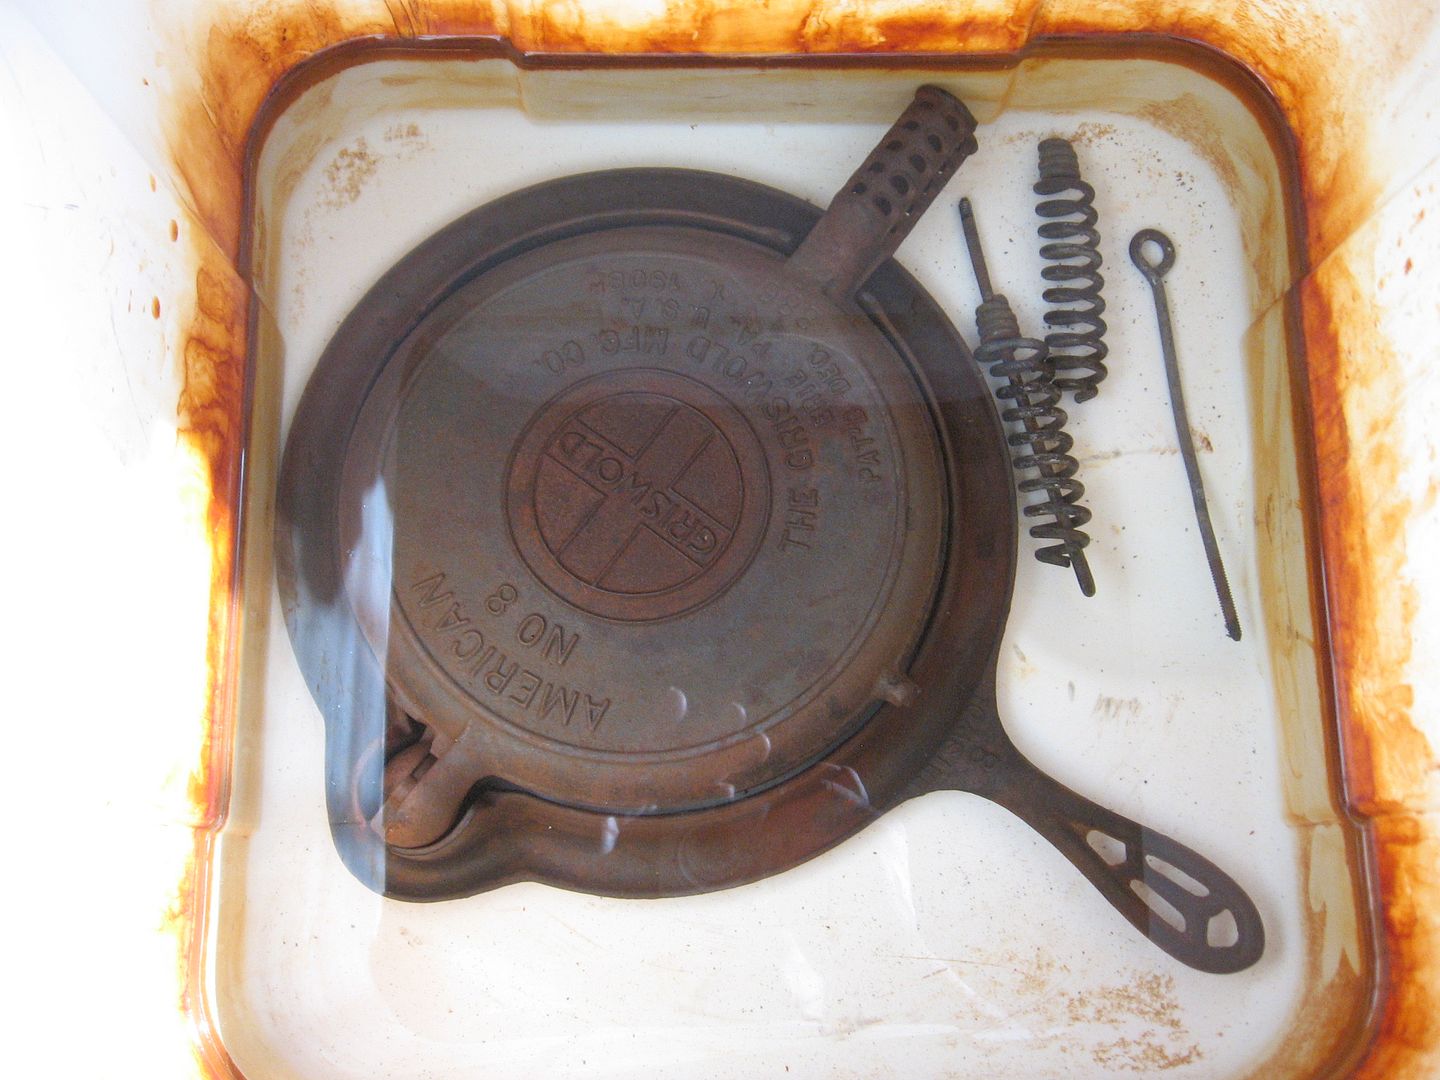
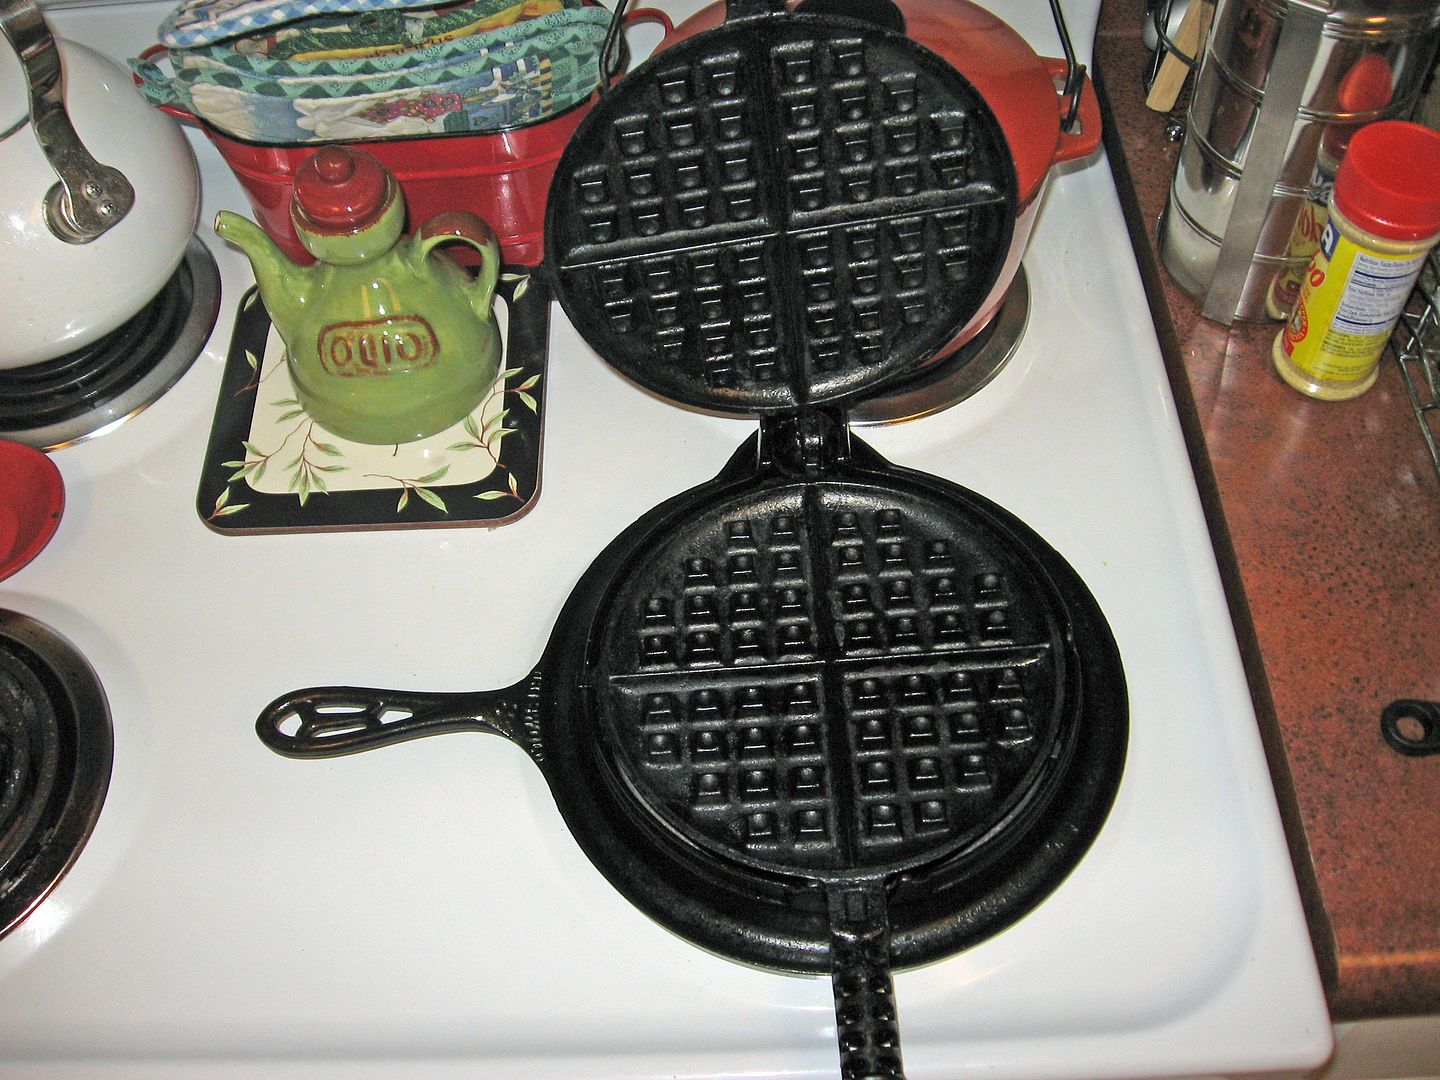
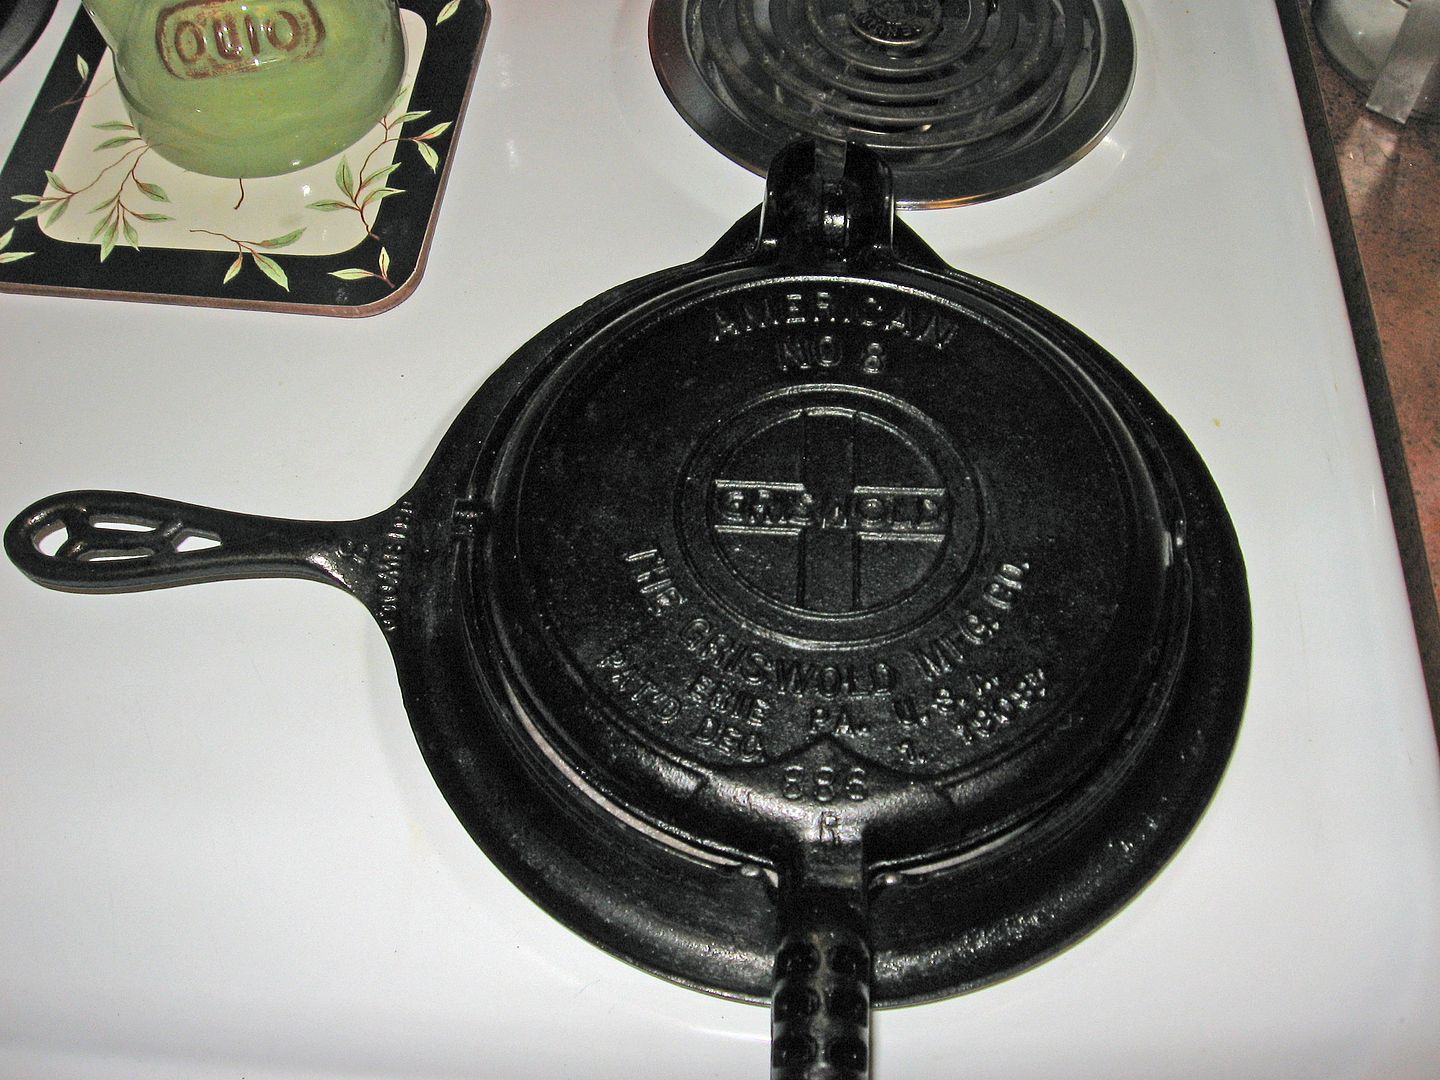
Here is the finished load. All this was done at the same time. After it was done I just wiped them dry and I use 80Grit sandpaper on an air orbital sander to finish the job. Then I wash them well and put them in the oven to dry. Then start the seasoning process.

Image

Image

PostPosted: Sun Oct 31, 2010 4:48 pm
by Redgloves
Decided to use a electrolysis system this summer. Ended up borrowing the neighbors charger for a few months, till he asked for it back. Yeah, I had that one coming. Means spending the money....

Used electrolysis on a few pieces, amazing the power of electricity and water. Have used baking soda instead of Washing Soda because I was to impatient to order washing soda.

Takes a few days from my perspective. Since I don't have a sander (Ddin't borrow from neighbor either, might try brother though), just wash well with a scrubber, then oven dry, and begin seasoning process.

While at the local Home Depot looking for a dual charger, talked a salesman who has cleaned CI with rock salt, baking soda, and very little water to "melt" the two products together.

Any one tried this process?

Jean

PostPosted: Sun Oct 31, 2010 5:29 pm
by Woodbutcher
Some one told me to use the old style battery charger not the new digital kind. All mine have come from garage sales/flea markets. You don't have to buy a new one.

I found washing soda at my local hardware store. As for the other methods, I have not tried them but would be interested in seeing how they work.

PostPosted: Sun Oct 31, 2010 7:42 pm
by starleen2
Image

OOooooo - that dull grey that makes it all worth it - nice job on the construction - nuttin' fancy - but gets the job DONE :thumbsup:

PostPosted: Sun Oct 31, 2010 9:04 pm
by Sparksalot
How long did you let them "cook"?

nice set up

PostPosted: Mon Nov 01, 2010 11:22 am
by TerryLawson
I like your set up! I have mine just about the same but I have added a Milk crate to put the cast iron in so I don't have to worrk of any contact

I have the after photo's of a few I have sone but never seem to get the Before shots. I am to impatient to get them done.

Image
As for how long ot takes. It really depens on how bad they are to start, and how good your electrical curent is flowing.
This one was done for about 24 to 28 hours. It had a 1/4 in caked on black all over the side and bottom.
Terry

PostPosted: Mon Nov 01, 2010 12:43 pm
by Woodbutcher
Yea, I usually leave mine about 24 hours. If the crud is really bad. I scrape them and refill and hit them again for 24 hours longer. Seems that the solution looses it's strength as it goes. But it's so cheap to do, it's worth doing it twice. Most pans can be done in one round. I have 2 rounds of seasoning on so far with another coming soon. Then I can start using my new pans!

PostPosted: Mon Nov 01, 2010 1:09 pm
by TerryLawson
There is nothing better than a one hundred year old "New" thing!

Terry

PostPosted: Mon Nov 01, 2010 2:49 pm
by ironhead
Very good example of what electrolysis can do without ruining a piece of CI with other questionable methods :thumbsup: I've been using electrolysis for about two years now and have cleaned 100's of pieces so far. I use a 25 gallon barrel lined with stainless steel here is my set up

Image

PostPosted: Mon Nov 01, 2010 3:02 pm
by ironhead
After rereading your post I wondered why the iron looked dull and then seen where you used 80 grit sandpaper to finish the job?:shock: Electrolysis should have taken everything off. If It didn't whatever was left could have been scoured with some bar keepers friend and a stainless steel scrubby to remove the rest of the stubborn carbon instead of sandpaper. Or used a soft fine wire wheel brush... JMO

PostPosted: Mon Nov 01, 2010 7:28 pm
by doris s.
my hubby said that is way cool...geeky....we love it. i can't wait to clean our cast iron this way.

doris

PostPosted: Wed Nov 03, 2010 5:13 pm
by Cliffmeister2000
I love electrolysis, but I avoid the sandpaper. It will devalue an old piece, and doesn't do any good to a new piece. Just use a scrubber like this to get the stragglers off.

Image

Vinegar / Water Solution

PostPosted: Wed Nov 17, 2010 1:40 pm
by ELCHILEON
[quote]I found washing soda at my local hardware store. As for the other methods, I have not tried them but would be interested in seeing how they work.[/quote]

Hey Woodbutcher,

I'm a novice ( approx 2 year) & picked up most of my " Cast Iron " to use with my " Raindrop " for camping. I've learned alot from the " Camp-cook.com website ", along with some hands on , trial by Fire (burnt my hands alot).

This is how most of my " Flea Market Finds " look!
I.E:
Image
They are usually " Rusted " with lots of old burnt on " Cooking Grease & Soot "
Image

I scrub them up a bit (scotch brite pads) to get some of the loose " Rust & Residue " off, & then place them inside my " BBQ " to burn off all of the old grease @ " Very High Heat " (500++)
Image

Let cool & then placed inside of an old plastic ice chest, submerged with" 50 % Vinegar / 50 % Water " solution for a few days ( 1-2 ).
Image

Removed and scrub again (Scotch Brite Pad & Wire Brush) to remove any " Rust " or unwanted scale, etc.
Image
I then dry them over the stove & spray on a light coat of " PAM " , & rubbed in with a cloth, while its warm to the touch.
Image

It's back on to the " BBQ " to cook for approx one hour @ 450- 475 degrees (under 500,on my BBQ Thermometer Reading), remove & spray on another coat of " Pam "..., to cook for approx 2 hrs..

Image
I just did this lid last weekend, with two coats of " Pam ".
Image
My " Five dollar lid " , looks almost like new !!

A more recent project.
Image
Just needed a little clean-Up..
Image
On the " BBQ " to Burn off most of the " Old Grease & Soot ".
Image
Scrubbed off a bit before heading into the " Ice Chest ".
Image

Image
Soaking in a plastic Ice Chest: " 50 % Vinegar / 50% Water " solution(2 days) & then few more scrubbed downs(4). My " Final " scrubbing is done with " Dawn " dish soap, to remove all of the " Oil / Greasy Film ". And finally..., a " Hot Water Rinse ", which is done inside of my kitchen sink, before heading back to the " BBQ " for a reseasoning.

Image
A finished project , after Cooking on the " BBQ " for a few hours
Image

I'm only doing a few pieces, approx 1 -2 every few months.. Unfortunately , not much to pick-thru, or great deals in my area.. !

L.M.

PostPosted: Wed Nov 17, 2010 2:27 pm
by doris s.
L.M.

Your technique is less set-up with similar results... I'm going to try it.

I love the CI waffle iron. Where did you get it? Flea market?
Over the winter my next project is to make a cast iron cooking table.

Great ideas here....love it.

Doris

PostPosted: Wed Nov 17, 2010 2:27 pm
by Cliffmeister2000
Very nice, L. M.! :thumbsup: