Groot 2.0 Build Log

...ask your questions in the appropriate forums BUT document your build here...preferably in a single thread...dates for updates, are appreciated....

Re: Groot 2.0 Build Log

Postby tony.latham » Thu Apr 11, 2024 12:02 pm

reaver wrote:
tony.latham wrote:
Now, the question is, do I want to switch to XPS for the roof? R 7.5 vs R5.6...


You'll sleep with the windows and vent fan cracked. You'll never notice the difference in R value.

Tony


I understand what you're saying there. But, I have a diesel heater that will be used, as well as the fact that my wife and I both use CPAPs, which really cuts down on the condensation. Now, my kiddo, well that's a whole different thing. But, I want a uniform foam on those panels, so it's either going to be R5.6 (which is what I have for the 1.5 inch already, and is what's in the floor), or it's going to be r7.5 XPS foam. Would the XPS foam give me more rigidty in the roof? Are there other reasons to go with one type over the other, when making sandwhich panels?
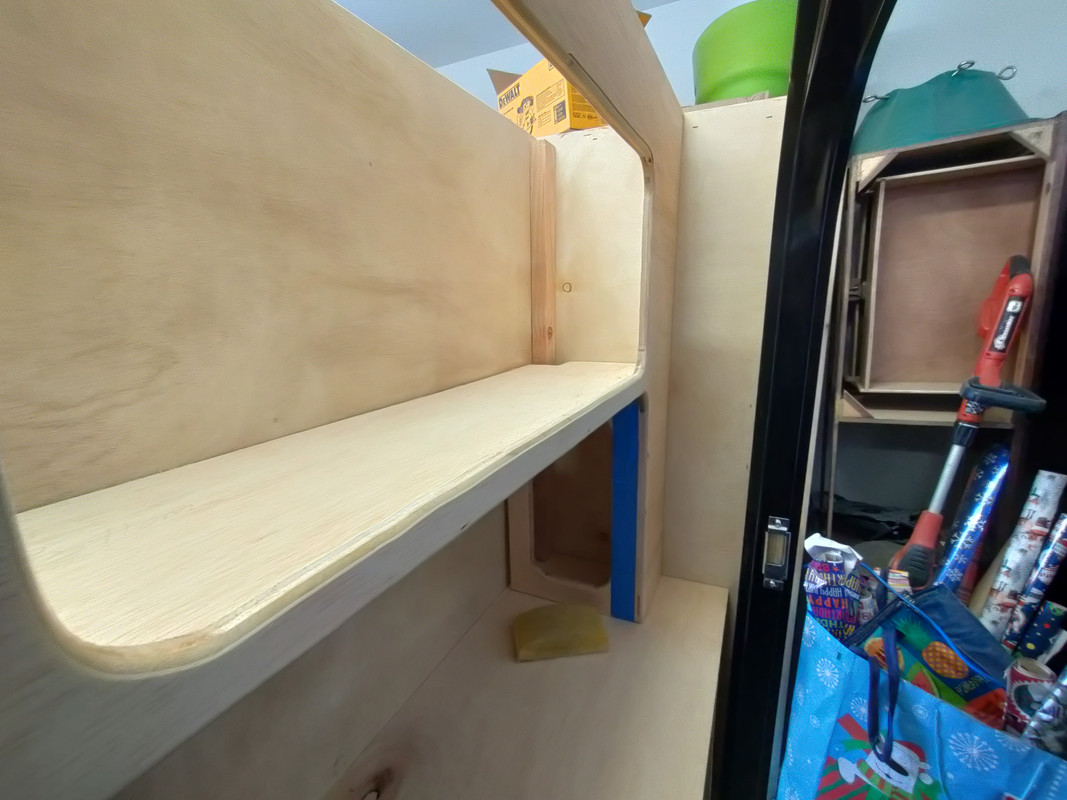
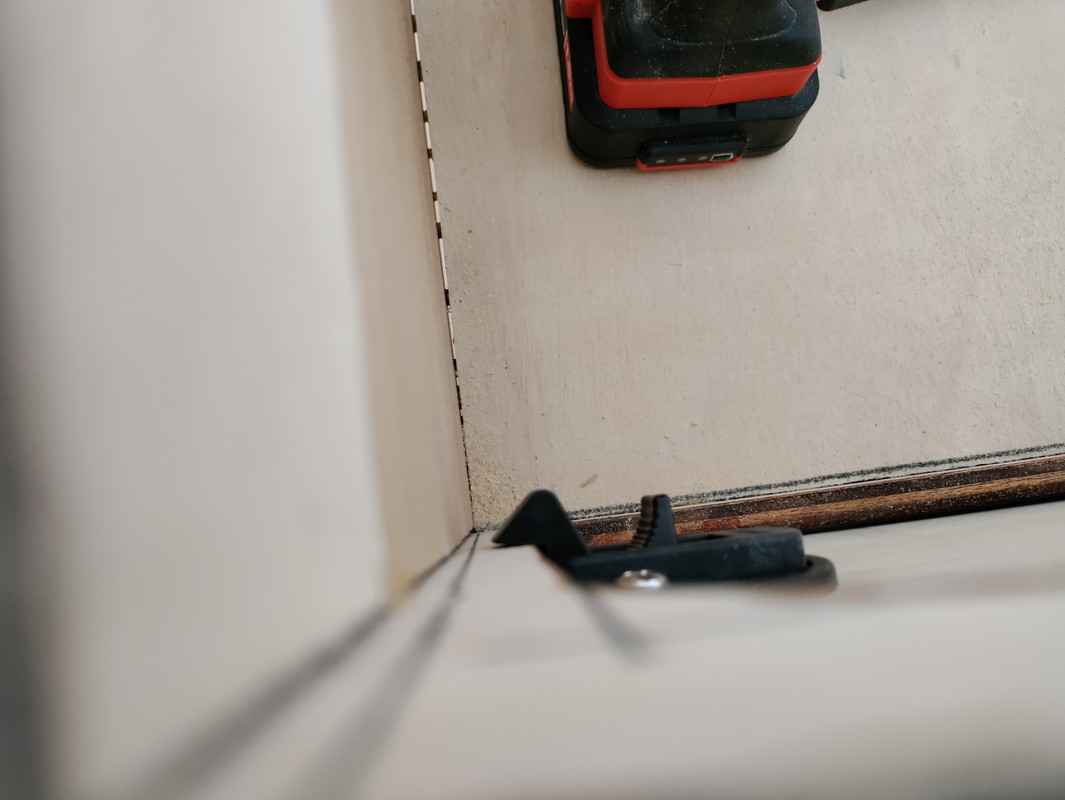
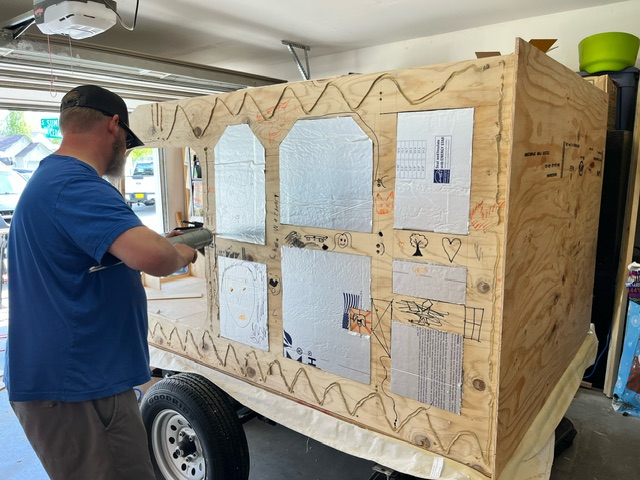
Either foam type will support 1/8” Baltic for the headliner and roof.
User avatar
tony.latham
Gold Donating Member
 
Posts: 6900
Images: 17
Joined: Mon Jul 08, 2013 4:03 pm
Location: Middle of Idaho on the edge of nowhere

Re: Groot 2.0 Build Log

Postby working on it » Thu Apr 11, 2024 12:11 pm

tony.latham wrote:
Now, the question is, do I want to switch to XPS for the roof? R 7.5 vs R5.6...


You'll sleep with the windows and vent fan cracked. You'll never notice the difference in R value.

Tony


Of course, that depends on where you camp, and the weather conditions.

I didn't insulate my roof, of 3/4" plywood (thoroughly waterproofed), because I would never need insulation up there in colder weather (I've only camped in 36F minimum temps) and the small inner space of my 4'x8' gets enough heat from the one or two Lasko "My Heat" (200W each) ceramic heaters I'll use, my body heat, and I'll use a winter sleeping bag. Stays OK for me, as I solo camp.


In moderate weather, for N.Texas-S.Okla., in March-early April, I'll use opened awning windows, side vents (with computer case fans sucking outside air in/blowing cabin air out), and/or the 11" fan (Honeywell Turboforce Fan, mounted hanging from the overhead shelf at the front of the trailer. That works ok, unless the pollen and allergens get real bad, then I'll shut the windows, direct the vent fans outward, and use the A/C unit (with filter) to help with cabin cooling, sans the pollen (the A/C recirculates the cabin air, so no extra allergens get introduced). Actually works well.


But, the warmer months require a different approach, as some days I've camped got up to over 100F. With direct sun heating up the trailer all day, I'd depend on my LG 5000 btu window A/C (mounted in the rear wall, between the cabin & galley, behind my head) to cool it down. The A/C unit is placed up high, where the output is first directed along the underside of the hot ceiling, then redirected back towards me by the 11 inch overhead fan. That works OK at night when the sun goes down, but it takes awhile.


The delayed cooling during 100+ days and hot nights was defeated by using a pop-up canopy placed over the whole 4'x8' camper, shielding at least the roof from the direct sun (I lower it as close to the roof as possible). That reduced the heat by a bunch! I use the canopy as a rain shield also (it always rains, at least one T-storm per trip, ever since I camped with the BSA in the '60's), and it overhangs my "front porch" (the door I use to get in & out, my sitting & cooking area, and the entrance to my pop-up potty tent), giving me a 4'x8" area out of the sun or rain. I'll stay cooler and drier outside under the canopy, and the cabin will stay cooler, with the roof shielded from the sun, as well (I have reflective aluminum "silo" paint on all upward facing surfaces...roof, front sloped roof, and raised rear hatch), but the canopy helps more. You might consider using one for warmer weather months, too.

trailer set-up with canopy.jpg
not the neatest arrangement, but it suits my purpose, arrived at after a decade of different arrangements
trailer set-up with canopy.jpg (957.27 KiB) Viewed 228 times
2013 HHRv "squareback/squaredrop", rugged, 4x8 TTT, 2225 lbs
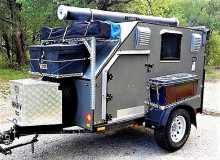
  • *3500 lb Dexter EZ-Lube braked axle, 3000 lb.springs, active-progressive bumpstop suspension
  • *27 x 8.5-14LT AT tires (x 3) *Weight Distribution system for single-beam tongue
  • *100% LED's & GFCI outlets, 3x fans, AM/FM/CD/Aux. *A/C & heat, Optima AGM, inverter & charger(s)
  • *extended-run, on-board, 2500w generator *Coleman dual-fuel stove & lantern, Ikea grill, vintage skillet
  • *zinc/stainless front & side racks *98"L x 6" diameter rod & reel carrier tube on roof
173193172890148599
User avatar
working on it
2000 Club
2000 Club
 
Posts: 2177
Images: 457
Joined: Tue Oct 04, 2011 9:05 pm
Location: DFW Texas

Re: Groot 2.0 Build Log

Postby reaver » Sat Apr 13, 2024 8:17 am

working on it wrote:
tony.latham wrote:
Now, the question is, do I want to switch to XPS for the roof? R 7.5 vs R5.6...


You'll sleep with the windows and vent fan cracked. You'll never notice the difference in R value.

Tony


Of course, that depends on where you camp, and the weather conditions.

I didn't insulate my roof, of 3/4" plywood (thoroughly waterproofed), because I would never need insulation up there in colder weather (I've only camped in 36F minimum temps) and the small inner space of my 4'x8' gets enough heat from the one or two Lasko "My Heat" (200W each) ceramic heaters I'll use, my body heat, and I'll use a winter sleeping bag. Stays OK for me, as I solo camp.


In moderate weather, for N.Texas-S.Okla., in March-early April, I'll use opened awning windows, side vents (with computer case fans sucking outside air in/blowing cabin air out), and/or the 11" fan (Honeywell Turboforce Fan, mounted hanging from the overhead shelf at the front of the trailer. That works ok, unless the pollen and allergens get real bad, then I'll shut the windows, direct the vent fans outward, and use the A/C unit (with filter) to help with cabin cooling, sans the pollen (the A/C recirculates the cabin air, so no extra allergens get introduced). Actually works well.


But, the warmer months require a different approach, as some days I've camped got up to over 100F. With direct sun heating up the trailer all day, I'd depend on my LG 5000 btu window A/C (mounted in the rear wall, between the cabin & galley, behind my head) to cool it down. The A/C unit is placed up high, where the output is first directed along the underside of the hot ceiling, then redirected back towards me by the 11 inch overhead fan. That works OK at night when the sun goes down, but it takes awhile.


The delayed cooling during 100+ days and hot nights was defeated by using a pop-up canopy placed over the whole 4'x8' camper, shielding at least the roof from the direct sun (I lower it as close to the roof as possible). That reduced the heat by a bunch! I use the canopy as a rain shield also (it always rains, at least one T-storm per trip, ever since I camped with the BSA in the '60's), and it overhangs my "front porch" (the door I use to get in & out, my sitting & cooking area, and the entrance to my pop-up potty tent), giving me a 4'x8" area out of the sun or rain. I'll stay cooler and drier outside under the canopy, and the cabin will stay cooler, with the roof shielded from the sun, as well (I have reflective aluminum "silo" paint on all upward facing surfaces...roof, front sloped roof, and raised rear hatch), but the canopy helps more. You might consider using one for warmer weather months, too.

trailer set-up with canopy.jpg


Insulating is pretty important to my build. I live in Idaho (as does Tony), and it gets very cold in the winter, and very hot in the summer. We tend to go to higher elevations when it gets hot, but having a well insulated trailer with heat, might actually convince the wife to come out when it's colder...

Now, as far as build progress goes, I took yesterday off, and spent the day coating the interior walls with poly. While that dried, I worked on assembling the main storage for the cabin.

Image

I still need to stain the front, and cut out the holes, but it turned out pretty much how I planned.
reaver
Teardrop Builder
 
Posts: 41
Images: 6
Joined: Thu Jan 04, 2024 6:03 pm
Top

Re: Groot 2.0 Build Log

Postby reaver » Sun Apr 14, 2024 10:46 pm

The aftermath of this weekend is as follows...

Got the front of the main interior storage stained:

Image

After putting on a second coat of stain, we then glued and pin nailed it to the front of the main storage. After it dried, we managed to slide it onto the supports:

Image

We the focused on building the rear galley cabinets.

I forgot to take pictures of the counter supports, but cutting voids out, allowing for me to get my arm in there to run wires and water lines, leaves them weighing only a couple of lbs, at most.

We put those in, making sure we had room to clear the door frame, and glued and screwed them to the floor.

We the put the counter top on, and started working on the upper cabinets.

Got them cut, routed, glued and stapled, and set in place, prior to staining.

Very happy with them!

Image

Image

That's it for now. The goal next weekend is to get the spars and sidewall skins on, and start running wires!
reaver
Teardrop Builder
 
Posts: 41
Images: 6
Joined: Thu Jan 04, 2024 6:03 pm
Top

Re: Groot 2.0 Build Log

Postby reaver » Sun Apr 21, 2024 7:34 am

Got a whole bunch of small stuff knocked out that needed to be done before we put the outer side skins on today, as well as the headliner skins.

Galley is stained, and temporary switch plate is in.

These four switches control the water pump, tank anti freeze mat, overhead lights, and part lights.

Image

Dave got all the insulation cut for the sidewalls while I was working on the galley.

We also let the girls draw all over the side of the skeletons. Nobody will ever see it, but they loved it, and we all know it's there.

Image

I then proceeded to start working on figuring out how the latches were going to work on the cabinet doors.

Image
The latches have just enough room to catch, and keep the doors from opening.

I guess I can order the other 4 now.

Image

I still need to pull the door off, and decide if I want to stain it, or keep it naturally colored. And round the corners, but I now have a template for the other 3 doors.

Image

The last thing we did was worked on the front overhead storage.

Got the face stained earlier in the day, and got it all assembled.

Image

You can see a void in the skeleton on the left side... This is mirrored on the right side. These will get aluminum panels that house a 12v socket on each side. This will allow us to plug in the cpaps, and leave them up there. That way we don't have to pack theme up everytime we move.

The holes on the front are for switches and usb charger outlets.

Today, we start putting the final skins on the outer wall, and putting in the head liner.
reaver
Teardrop Builder
 
Posts: 41
Images: 6
Joined: Thu Jan 04, 2024 6:03 pm
Top

Re: Groot 2.0 Build Log

Postby reaver » Mon Apr 22, 2024 1:33 pm

So, update from sunday. Throughout this whole process, we've been dealing with warped 3/4 ply for the skeletons. Spent much of sunday morning building a frame for the front spars that would be used to basically pull the whole front to be more straight.

Image

We went through a whole 28oz tube of PL Premium adhesive gluing on the side walls, front interior wall, and framework

Image

We also slid the front interior skin in, and got the front storage glued and clamped into place.

Image

We should be able to permanently attach the rear cabin storage, and galley cabinets next weekend, as well as finish up the interior roof panels and spars. Then we start running all the wires...
reaver
Teardrop Builder
 
Posts: 41
Images: 6
Joined: Thu Jan 04, 2024 6:03 pm
Top

Previous

Return to Build Journals

Who is online

Users browsing this forum: No registered users and 34 guests