Terry's TTT Garageable Standy Build modifications

...ask your questions in the appropriate forums BUT document your build here...preferably in a single thread...dates for updates, are appreciated....

Postby bdosborn » Tue Sep 27, 2011 7:33 pm

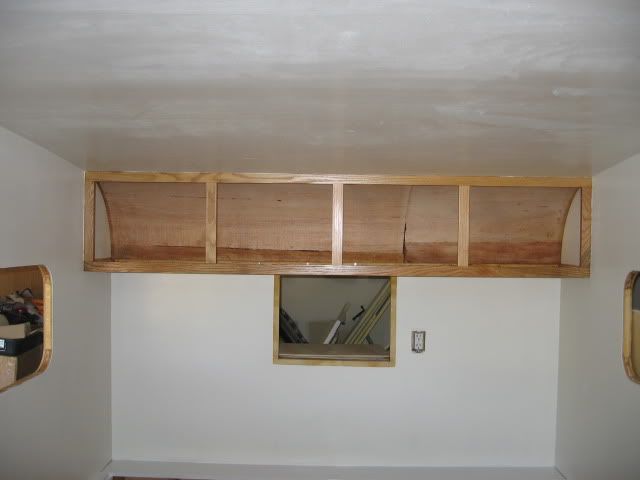
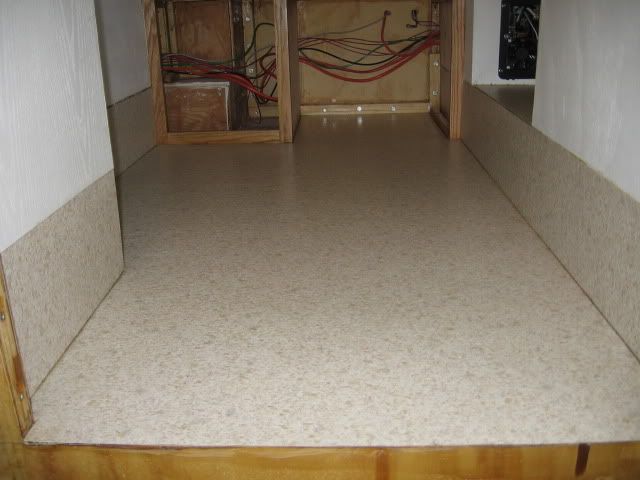
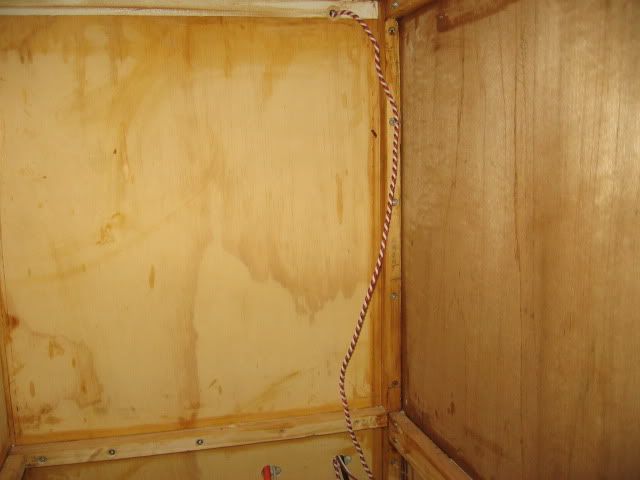
terryjones1 wrote:The photo shown below shows the twisted pair of red and whit wire that will be used for connecting the Norcold DC0051 12 DCV refridgerator.

Image
Last edited by bdosborn on Tue Aug 06, 2013 1:50 pm, edited 1 time in total.
2009 6.5'X11' TTT - Boxcar
All it takes is a speck of faith and a few kilowatts of sweat and grace.
Image
Boxcar Build
aVANger Build
User avatar
bdosborn
Donating Member
 
Posts: 5506
Images: 777
Joined: Wed May 05, 2004 11:10 pm
Location: CO, Littleton

Postby terryjones1 » Wed Sep 28, 2011 8:59 am

bdosborn wrote:
Terry,

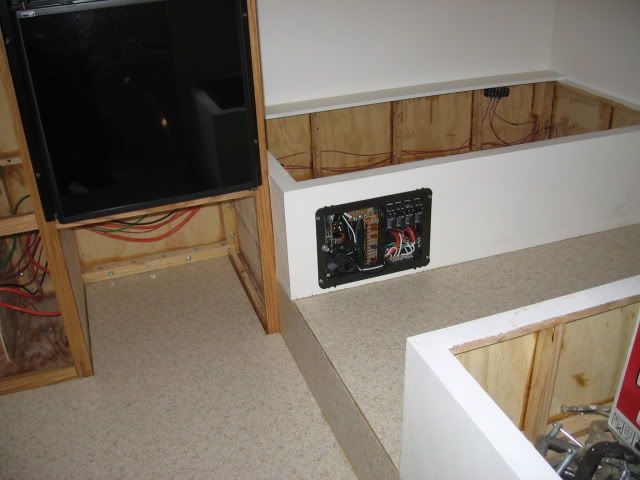
I replaced my propane fridge with a 12V fridge about a month ago. I would make sure you have good ventilation behind your fridge, maybe add a muffin fan to route hot air out. It will lower your amp-hr usage. I added a relay to mine so the fan assist comes on with the compressor.

The wiring looks good, did you throw a couple of spare wires in there? You might want to add a 12V outlet somewhere in the future.

You're going to love that Trimetric.

Bruce


I read about your refrigerator change to a 12 DCV compressor type.

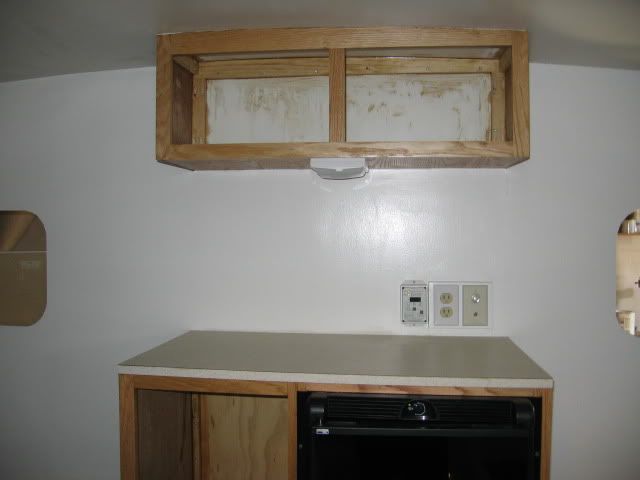
This will be the fourth Norcold DC0051 refrigerator that I have used in RV builds. [previous three were van RV conversions]
So far, I have not needed a fan.
I, obviously, like the performance from the Norcold DC0051's.

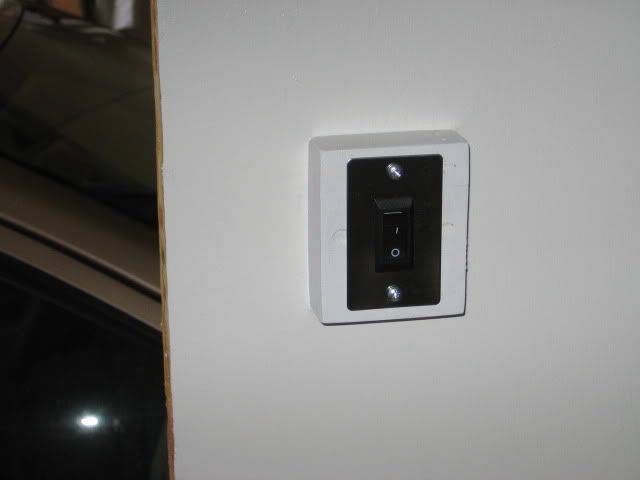
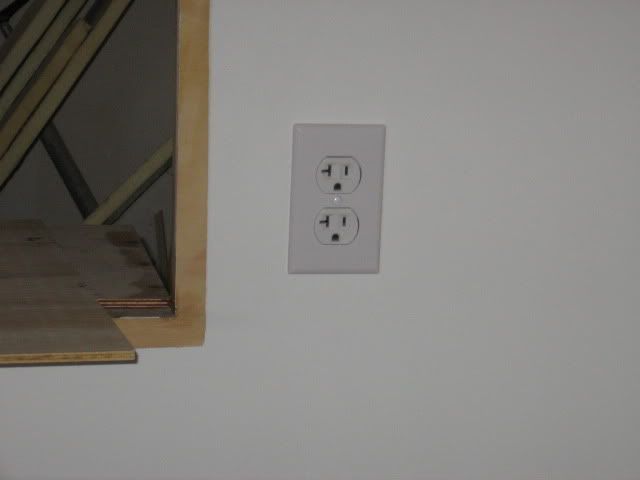
I seldom use 12 DCV recepticles.
It will be easy to add wiring later, if I need to.

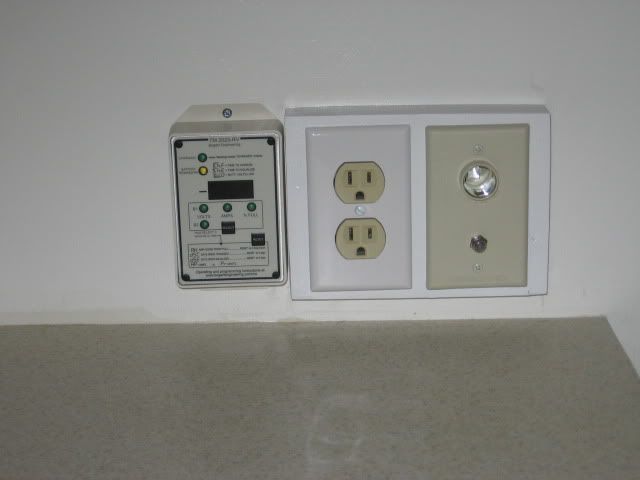
This, also, will be my fourth Trimetric meter.
I, obviously, like their features.
My TTT Garageable Standy Build Journal: viewtopic.php?f=50&t=40591
User avatar
terryjones1
Gold Donating Member
 
Posts: 266
Images: 1
Joined: Wed Aug 25, 2010 2:09 pm
Location: Lincoln, Ca

Postby bdosborn » Wed Sep 28, 2011 10:28 pm

terryjones1 wrote:This will be the fourth Norcold DC0051 refrigerator that I have used in RV builds.
Last edited by bdosborn on Tue Aug 06, 2013 1:50 pm, edited 1 time in total.
2009 6.5'X11' TTT - Boxcar
All it takes is a speck of faith and a few kilowatts of sweat and grace.
Image
Boxcar Build
aVANger Build
User avatar
bdosborn
Donating Member
 
Posts: 5506
Images: 777
Joined: Wed May 05, 2004 11:10 pm
Location: CO, Littleton
Top

Postby terryjones1 » Thu Sep 29, 2011 8:59 am

bdosborn wrote:
terryjones1 wrote:This will be the fourth Norcold DC0051 refrigerator that I have used in RV builds.


I just took a look at the Norcold and its a rebadged Engel with an integral fan and ventilation on the front. So no auxiliary fan required.
The fridge could be a great first use of the Trimetric; you can meter it for amp-hr usage and we'll compare it it to the Tundra.
I'm in a (friendly) argument over at rv.net over 12v refrigerator electrical usage and I would love to have some data on the Engel. Do you add extra insulation for the fridge?

Bruce


I did not add extra insulation in the previous installations.


.
My TTT Garageable Standy Build Journal: viewtopic.php?f=50&t=40591
User avatar
terryjones1
Gold Donating Member
 
Posts: 266
Images: 1
Joined: Wed Aug 25, 2010 2:09 pm
Location: Lincoln, Ca
Top

Postby terryjones1 » Fri Sep 30, 2011 6:54 pm

I am off on another vacation!
Flying to NY tonight to see one of our daughters and her family. :)

I will start back to work on trailer when we return in a week or so.
My TTT Garageable Standy Build Journal: viewtopic.php?f=50&t=40591
User avatar
terryjones1
Gold Donating Member
 
Posts: 266
Images: 1
Joined: Wed Aug 25, 2010 2:09 pm
Location: Lincoln, Ca
Top

Postby S. Heisley » Fri Sep 30, 2011 8:09 pm

Another vacation? You live right! Have fun. :D
User avatar
S. Heisley
Super Lifetime Member
 
Posts: 8774
Images: 495
Joined: Mon Sep 17, 2007 10:02 am
Location: No. California
Top

Postby Cliffmeister2000 » Fri Sep 30, 2011 8:29 pm

How does a retired person know when they are on vacation?

When does a retired person get a day off? :thinking:
God Bless

Cliff

♥God. ♥People.
1 John 4:9-11

My Teardrop build pictures
User avatar
Cliffmeister2000
Titanium Donating Member
 
Posts: 3622
Images: 157
Joined: Thu Jul 26, 2007 10:18 pm
Location: Phoenix, AZ
Top

Postby terryjones1 » Sun Oct 02, 2011 5:23 pm

I count as a vacation, whenever I travel somewhere for more than a few days.

I tend to take a lot of them.
My TTT Garageable Standy Build Journal: viewtopic.php?f=50&t=40591
User avatar
terryjones1
Gold Donating Member
 
Posts: 266
Images: 1
Joined: Wed Aug 25, 2010 2:09 pm
Location: Lincoln, Ca
Top

Postby terryjones1 » Sat Oct 22, 2011 11:55 am

I am back fron NY.

I have repainted the inside of the trailer.
I have also coated the Oak face frames with Minwax Clear Satin Polyurethane.
Shown below is a photo of the front overhead cabinet.

Image

Shown below is a photo of the rear overhead cabinet.

Image

Shown below is a photo of the middle overhead cabinet.

Image

.
My TTT Garageable Standy Build Journal: viewtopic.php?f=50&t=40591
User avatar
terryjones1
Gold Donating Member
 
Posts: 266
Images: 1
Joined: Wed Aug 25, 2010 2:09 pm
Location: Lincoln, Ca
Top

Postby terryjones1 » Sat Oct 22, 2011 11:59 am

Shown below is a photo of the large cabinet.

Image

Shown below is a photo of the small cabinet.

Image


.
My TTT Garageable Standy Build Journal: viewtopic.php?f=50&t=40591
User avatar
terryjones1
Gold Donating Member
 
Posts: 266
Images: 1
Joined: Wed Aug 25, 2010 2:09 pm
Location: Lincoln, Ca
Top

Postby terryjones1 » Sat Oct 22, 2011 12:10 pm

Shown below is a photo of the bed platform front.

Image

Shown below is a photo of the bench seats.

Image

Next, I will install the flooring.

.
My TTT Garageable Standy Build Journal: viewtopic.php?f=50&t=40591
User avatar
terryjones1
Gold Donating Member
 
Posts: 266
Images: 1
Joined: Wed Aug 25, 2010 2:09 pm
Location: Lincoln, Ca
Top

Postby terryjones1 » Tue Oct 25, 2011 5:32 pm

I had decided to install some of the interior electrical items.

Shown below is a photo of the electrical above the large cabinet.
On the left is the Trimetric meter.
In the middle is a 110 ACV duplex recepticle.
On the right is a 12 DCV recepticle and cable TV outlet.

Image

Shown below is a photo of the light switch, next, to the door, that will control the outside light.

Image

Shown below is a photo of the front overhead light.
It is above what will be the dinette table.
It is an LED light.

Image

Shown below is a photo of the rear 110 ACV 20 amp recepticle.
It will be used for the air conditioneer.

Image


.
My TTT Garageable Standy Build Journal: viewtopic.php?f=50&t=40591
User avatar
terryjones1
Gold Donating Member
 
Posts: 266
Images: 1
Joined: Wed Aug 25, 2010 2:09 pm
Location: Lincoln, Ca
Top

Postby aggie79 » Wed Oct 26, 2011 10:45 am

Terry,

Your interior looks fantastic! Looks like you have finished a lot of the electrical system too. How long before your TTT is campable?

Take care,
Tom
Tom (& Linda)
For build info on our former Silver Beatle teardrop:
Build Thread

93503
User avatar
aggie79
Super Duper Lifetime Member
 
Posts: 5405
Images: 686
Joined: Tue Aug 07, 2007 5:42 pm
Location: Watauga, Texas
Top

Postby terryjones1 » Wed Oct 26, 2011 5:57 pm

aggie79 wrote:Terry,

Your interior looks fantastic! Looks like you have finished a lot of the electrical system too. How long before your TTT is campable?

Take care,
Tom


I still have quite a bit to do.

I hope to be finished in February.
I am planning a few airplane trips early next year (Hawaii + a cruise).
That might slow me down.
Last edited by terryjones1 on Sun Mar 18, 2012 10:19 am, edited 2 times in total.
My TTT Garageable Standy Build Journal: viewtopic.php?f=50&t=40591
User avatar
terryjones1
Gold Donating Member
 
Posts: 266
Images: 1
Joined: Wed Aug 25, 2010 2:09 pm
Location: Lincoln, Ca
Top

Postby terryjones1 » Mon Oct 31, 2011 5:13 pm

Shown below is a photo of the installation of the Sheet vinyl flooring at drop floor.
The edges still have to be caulked and aluminum trim needs to be installed.

Image

Shown below is a photo of the Sheet vinyl flooring at dinette floor.
Notice, I have covered the wiring that crosses in the front.

Image

Shown below is a photo of the Progressive Dynamics PD4045 Converter.
Most electrical connections have been made.
The cover, of course, has not been installed.
I have working front, middle, and rear LED lights.
The refrigerator is working.
The 12 DCV recepticle is working.
Four 110 ACV recepticles are installed and working.
I will connect the Fantastic Vent, the outside light, and the water pump later.

Image

Shown below is a photo of the installed Norcold DC0051 Refrigerator

Image

Shown below is a photo of the overhead cabinet light.

Image
My TTT Garageable Standy Build Journal: viewtopic.php?f=50&t=40591
User avatar
terryjones1
Gold Donating Member
 
Posts: 266
Images: 1
Joined: Wed Aug 25, 2010 2:09 pm
Location: Lincoln, Ca
Top

PreviousNext

Return to Build Journals

Who is online

Users browsing this forum: No registered users and 11 guests