Terry's TTT Garageable Standy Build modifications

...ask your questions in the appropriate forums BUT document your build here...preferably in a single thread...dates for updates, are appreciated....

Postby terryjones1 » Mon Nov 07, 2011 2:23 pm

Just got back from Portland, Oregon. We attended a Celebration of Life for a very good friend that passed.

I decided to order the cabinet doors instead of making them.
I ordered from "Cabinets Now".
They really look good.
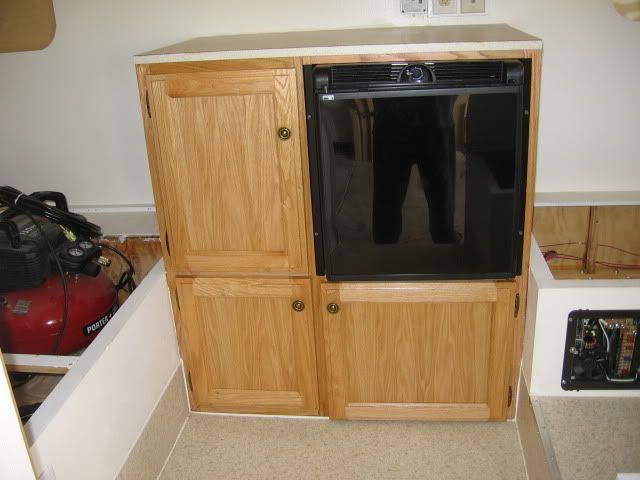
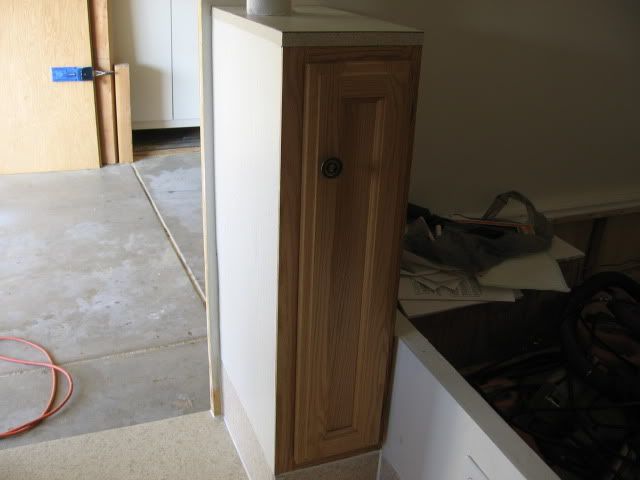
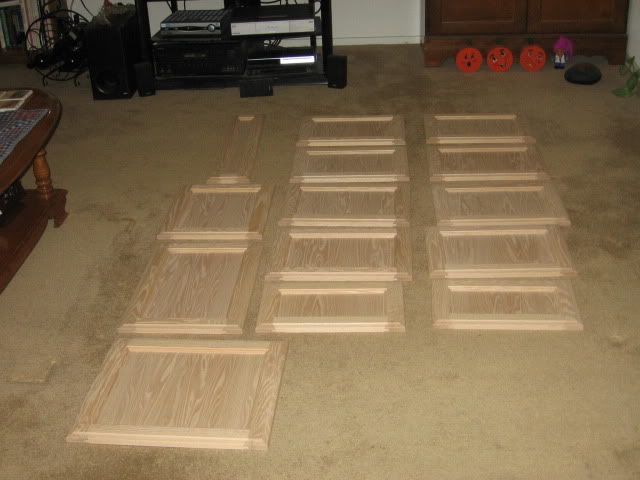
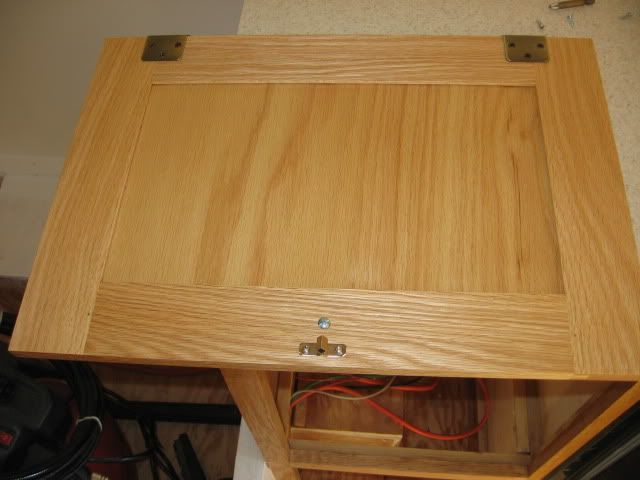
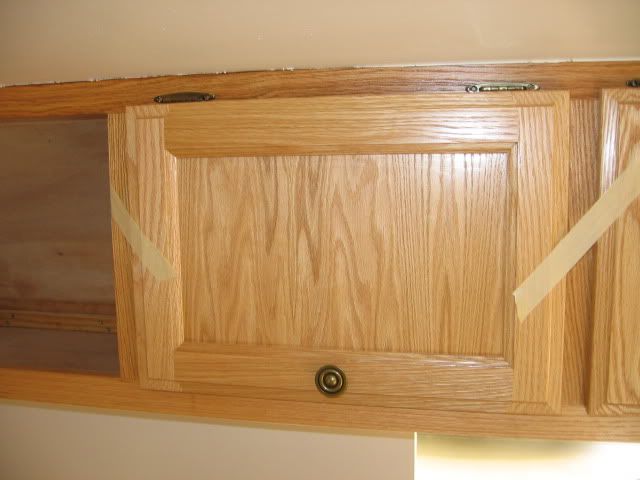
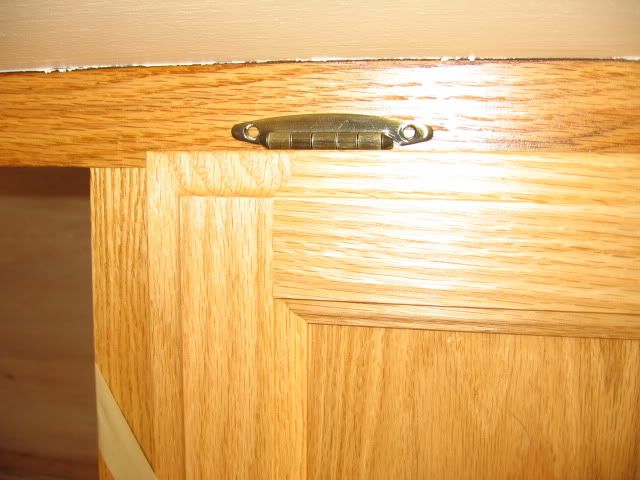
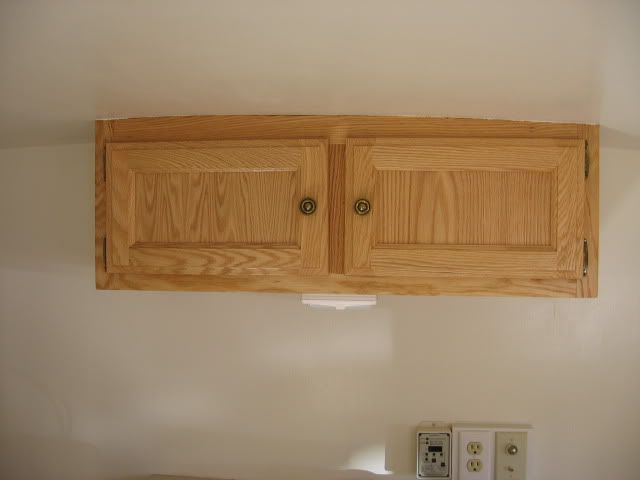
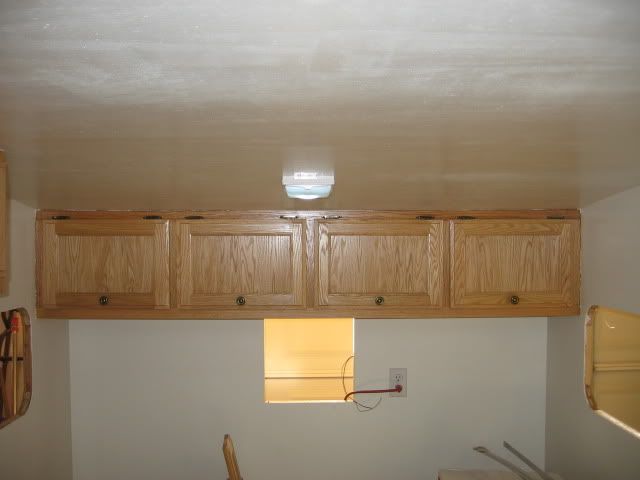
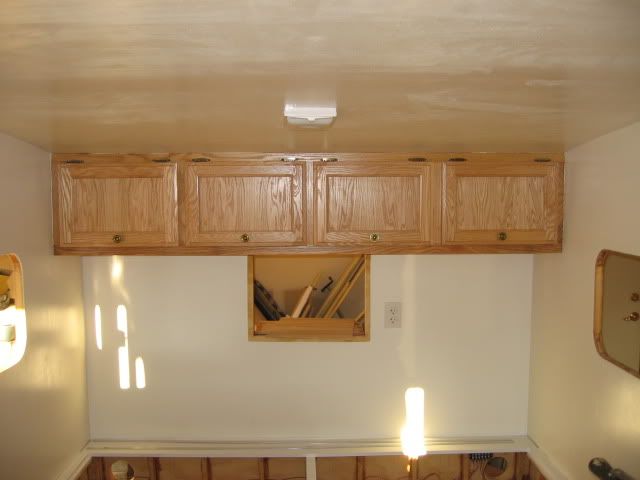
Shown below is a photo of the cabinet doors.
The middle and right columns, top to bottom, shows the 8 front and back overhead cabinets and the middle 2 overhead cabinets.
The left column shows the small cabinet door, the bottom left large cabinet door, and the bottom right large cabinet door.
The doors have not yet been covered with Minwax Clear Satin Polyurethane.

Image
My TTT Garageable Standy Build Journal: viewtopic.php?f=50&t=40591
User avatar
terryjones1
Gold Donating Member
 
Posts: 266
Images: 1
Joined: Wed Aug 25, 2010 2:09 pm
Location: Lincoln, Ca

Postby terryjones1 » Sat Nov 12, 2011 7:35 pm

Shown below is a photo of the the double roller cabinet catch that has been installed in one of the front cabinets.
I have install the roller catch before installation of the cabinet door.

Image

Shown below is a photo of the double roller cabinet catch (larger view).

Image

Shown below is a photo of the back side of one of the cabinet doors showing the catch.

Image

Shown below is a photo of one of the front overhead cabinets that is ready for final installation.
The catch has been engaged to the double roller.
I have insured that the bottom of the cabinet door is parallel to the bottom of the cabinet.
I can now install the hinge screws, knowing the catch will align with the rollers

Image

Shown below is a photo of one of the front overhead cabinet doors ready for installation (detail view).

Image


.
My TTT Garageable Standy Build Journal: viewtopic.php?f=50&t=40591
User avatar
terryjones1
Gold Donating Member
 
Posts: 266
Images: 1
Joined: Wed Aug 25, 2010 2:09 pm
Location: Lincoln, Ca

Postby terryjones1 » Sat Nov 12, 2011 7:41 pm

Shown below is a photo of the middle overhead cabinets with the doors installed.

Image

Show below is a photo of the front overhead cabinets with doors installed.

Image

Shown below is a photo of the rear overhead cabinets with doors installed.

Image

Tomorrow, I should be finiished installing the other four cabinet doors.


.
My TTT Garageable Standy Build Journal: viewtopic.php?f=50&t=40591
User avatar
terryjones1
Gold Donating Member
 
Posts: 266
Images: 1
Joined: Wed Aug 25, 2010 2:09 pm
Location: Lincoln, Ca
Top

Postby crumbruiser » Sat Nov 12, 2011 8:31 pm

It looks very nice. :thumbsup: You do good work! 8)
Frank
I am not weird, I am a Limited Edition.
Facebook http://www.facebook.com/profile.php?id=100000303236631
User avatar
crumbruiser
Teardrop Master
 
Posts: 266
Images: 255
Joined: Sun Jul 10, 2011 6:11 pm
Location: Central Ohio
Top

Postby Wolffarmer » Sat Nov 12, 2011 11:00 pm

You are going to have a real nice little camper there. Nice work

Randy
"these guys must be afraid of the dark"
User avatar
Wolffarmer
Donating Member
 
Posts: 4612
Images: 309
Joined: Wed May 02, 2007 1:32 pm
Location: Idaho Rupert
Top

Postby terryjones1 » Mon Nov 14, 2011 2:25 pm

Shown below is a photo of the large cabinet with doors installed.
The bottom right cabinet has no bottom face frame; and the door is lower to floor.
The "no bottom face frame" allows for the Porta Potti to slide in and out easily.

Image

Shown below is a photo of the small cabinet with door installed.

Image

Next, I will install the bench seat tops.


.
My TTT Garageable Standy Build Journal: viewtopic.php?f=50&t=40591
User avatar
terryjones1
Gold Donating Member
 
Posts: 266
Images: 1
Joined: Wed Aug 25, 2010 2:09 pm
Location: Lincoln, Ca
Top

Postby kinto » Mon Nov 14, 2011 3:02 pm

looking great! :applause:


kent
:)
Is a hippopotamus just a really cool opotamus?

imay ildbay urnaljay

Image
User avatar
kinto
Gold Donating Member
 
Posts: 228
Images: 465
Joined: Tue Jul 19, 2011 10:20 am
Location: STL
Top

Postby terryjones1 » Mon Nov 14, 2011 7:10 pm

Shown below is a photo of the bench seats with the tops installed.
I, of course, used piano hinges to make it easier to lift the tops.
It is hard to see; but, I, also, sanded down a relief area 12" from the ends to allow me to get my fingers under the front of the tops for easy lifting.
If you look closely, you can see the relief area just above the right top corner of the converter.

Image

Next, I will install the two bed tops.


.
My TTT Garageable Standy Build Journal: viewtopic.php?f=50&t=40591
User avatar
terryjones1
Gold Donating Member
 
Posts: 266
Images: 1
Joined: Wed Aug 25, 2010 2:09 pm
Location: Lincoln, Ca
Top

Postby S. Heisley » Mon Nov 14, 2011 11:26 pm

It's looking great! :thumbsup: :applause:
User avatar
S. Heisley
Super Lifetime Member
 
Posts: 8774
Images: 495
Joined: Mon Sep 17, 2007 10:02 am
Location: No. California
Top

Postby terryjones1 » Tue Nov 22, 2011 4:41 pm

I have decided to go to the outside of the trailer for the next phase of work.

Shown below is a photo of the finished installation of the exterior front curve at the front of the roof.
This panel is 3/16" bendy plywood.
The curve is about a 15" radius.
I used 1-1/4" #18 brads to hold down the plywood while the thickened epoxy drys.
I nailed the brads with my new air compressor and nailer.
The air nailer is so much better than an electric nailer.
This roof panel, of course, needs to be trimmed, sanded, & epoxyed.

The hole is for the installation of the Fantastic Vent.

Image

Shown below is a photo of the finished installation of the exterior rear curve at the rear of the roof.

The hole & the shelf are for installation of the air conditioneer.

Image

Next I will be working on the middle three 1/4" panels for the rest of the roof.


.
My TTT Garageable Standy Build Journal: viewtopic.php?f=50&t=40591
User avatar
terryjones1
Gold Donating Member
 
Posts: 266
Images: 1
Joined: Wed Aug 25, 2010 2:09 pm
Location: Lincoln, Ca
Top

Postby terryjones1 » Tue Nov 29, 2011 12:39 pm

Shown below is a photo of the trailer being taken out of the garage for the purpose of installing the three roof panels.
The roof clearance between the top of trailer and garage is a little over 1".
I still have to adjust the axel spindle to raise the roof 1" to meet my requirement to have 8" clearance to ground at the drop floor.
The roof clearance will be tight.

Image

Shown below is a photo of the trailer hitched to the Toyota Sienna.
The trailer, nor the van hitch do not bottom out when driving down and out of the slopped driveway of the house.


Image


.
My TTT Garageable Standy Build Journal: viewtopic.php?f=50&t=40591
User avatar
terryjones1
Gold Donating Member
 
Posts: 266
Images: 1
Joined: Wed Aug 25, 2010 2:09 pm
Location: Lincoln, Ca
Top

Postby aggie79 » Tue Nov 29, 2011 2:08 pm

Terry,

Your design is really impressive! to be able to get that much room and height in a package that fits into a garage is no easy feat.

It looks like you're nearing the final stage of your TTT. I know it will be great camping in it!

Take care,
Tom
Tom (& Linda)
For build info on our former Silver Beatle teardrop:
Build Thread

93503
User avatar
aggie79
Super Duper Lifetime Member
 
Posts: 5405
Images: 686
Joined: Tue Aug 07, 2007 5:42 pm
Location: Watauga, Texas
Top

Postby terryjones1 » Tue Nov 29, 2011 2:52 pm

It looks like it will take 30+ working days to complete (not 8 hour days).

I probably will not go camping until March.


.
Last edited by terryjones1 on Sun Mar 18, 2012 10:23 am, edited 1 time in total.
My TTT Garageable Standy Build Journal: viewtopic.php?f=50&t=40591
User avatar
terryjones1
Gold Donating Member
 
Posts: 266
Images: 1
Joined: Wed Aug 25, 2010 2:09 pm
Location: Lincoln, Ca
Top

Postby Wolffarmer » Tue Nov 29, 2011 6:29 pm

I got winded reading your list.

:oops:

Randy
"these guys must be afraid of the dark"
User avatar
Wolffarmer
Donating Member
 
Posts: 4612
Images: 309
Joined: Wed May 02, 2007 1:32 pm
Location: Idaho Rupert
Top

Postby terryjones1 » Tue Nov 29, 2011 6:49 pm

Wolffarmer wrote:I got winded reading your list.
Randy


I have completed 496 of 539 total items on my list (That averages 41 items per month).
Looks about right for completion time.
My TTT Garageable Standy Build Journal: viewtopic.php?f=50&t=40591
User avatar
terryjones1
Gold Donating Member
 
Posts: 266
Images: 1
Joined: Wed Aug 25, 2010 2:09 pm
Location: Lincoln, Ca
Top

PreviousNext

Return to Build Journals

Who is online

Users browsing this forum: No registered users and 20 guests