TwilightLane Cubbie Build

...ask your questions in the appropriate forums BUT document your build here...preferably in a single thread...dates for updates, are appreciated....

Postby LDK » Mon Dec 06, 2010 11:26 pm

Your gettin there. Looks great.
LDK
Gold Donating Member
 
Posts: 1419
Images: 1
Joined: Fri Jan 22, 2010 8:29 pm

Postby TwilightLane » Tue Dec 21, 2010 11:41 pm

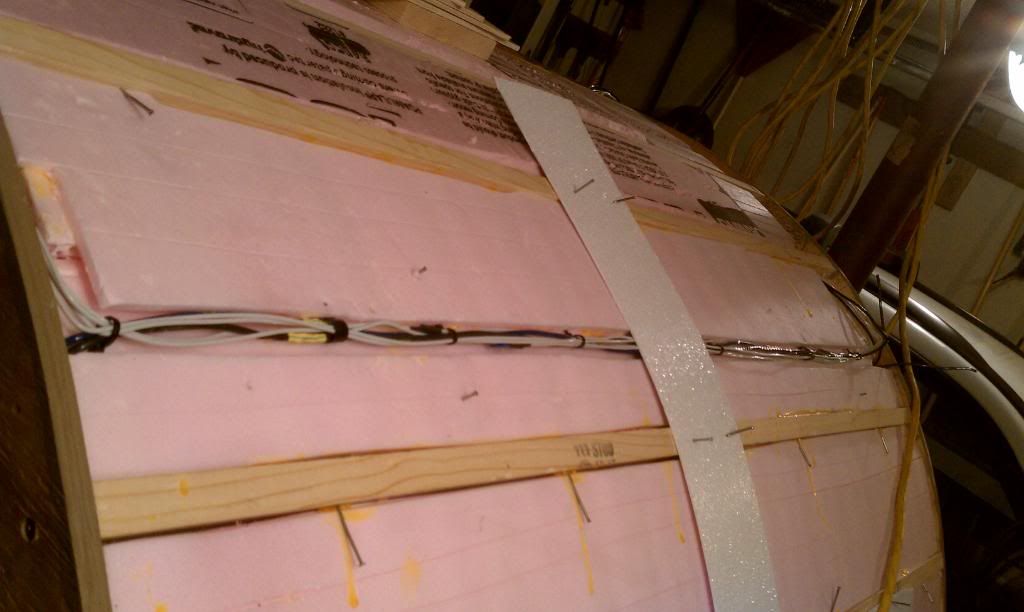
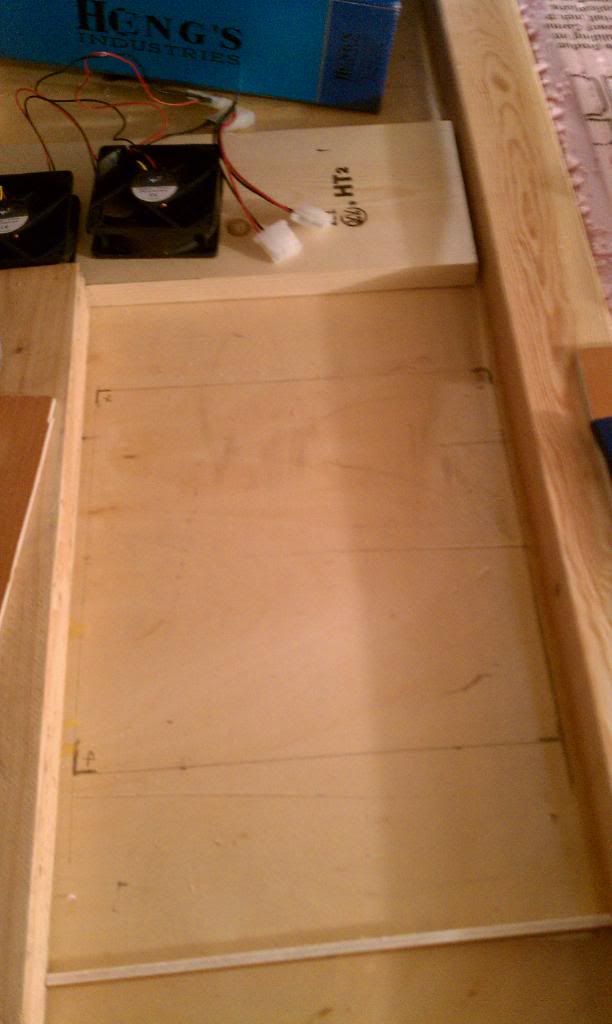
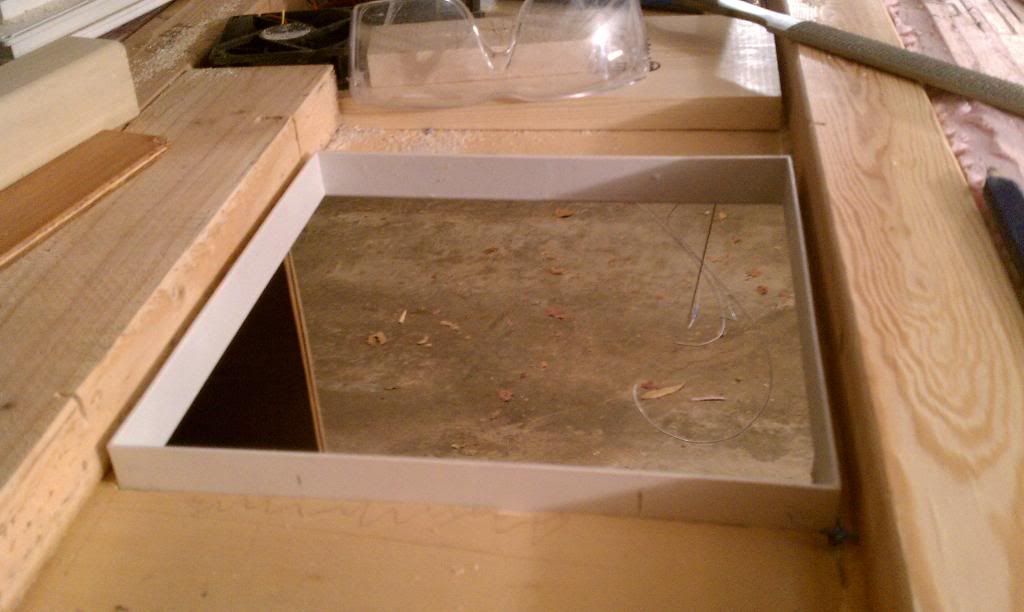
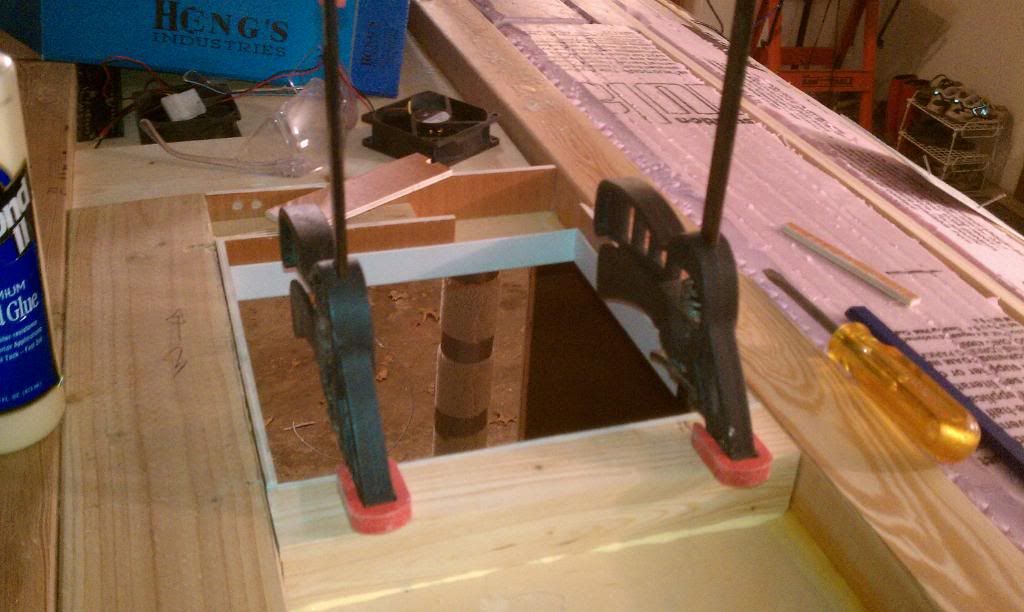
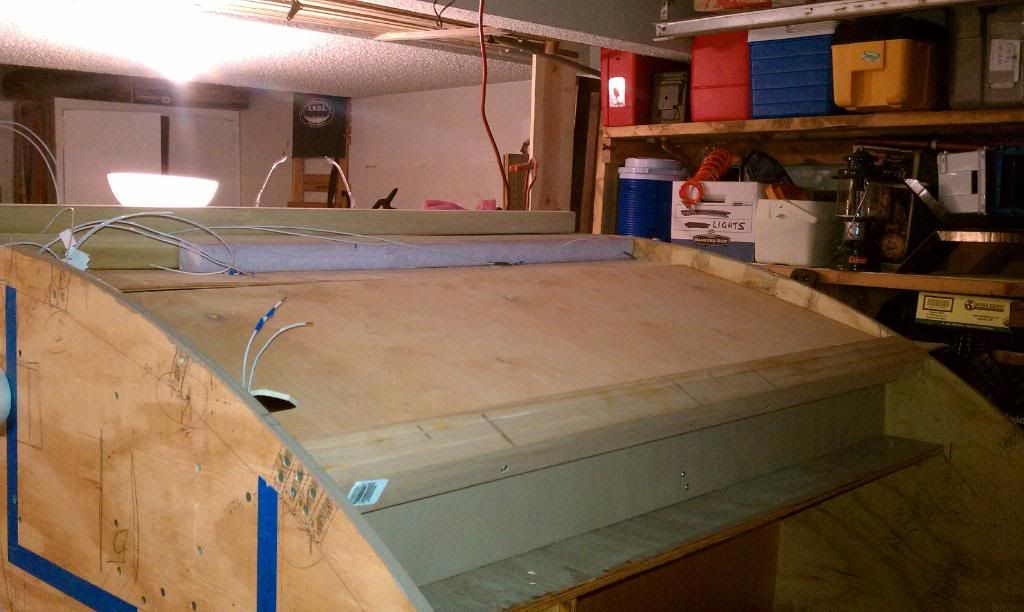
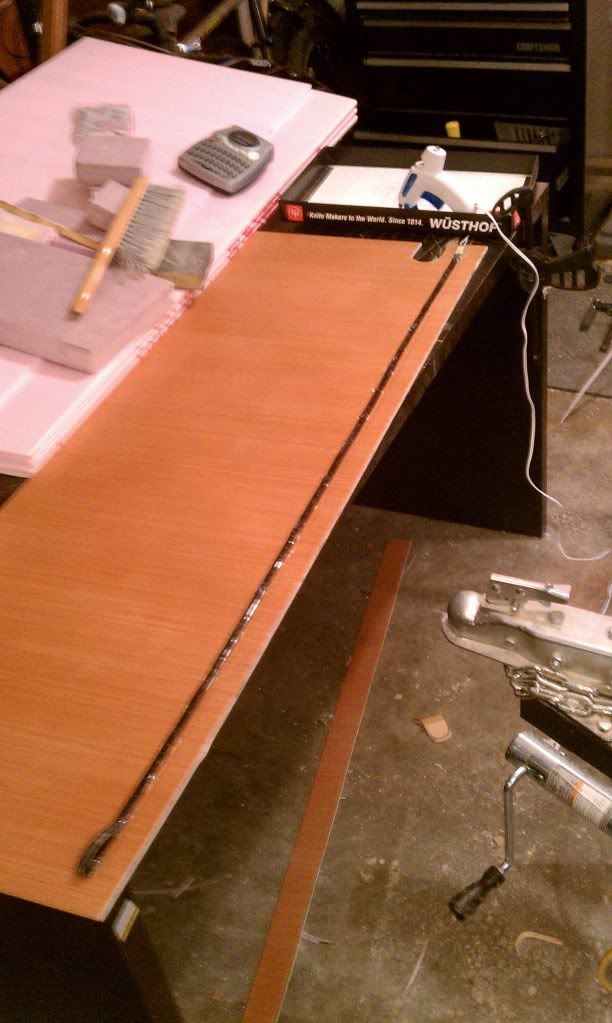
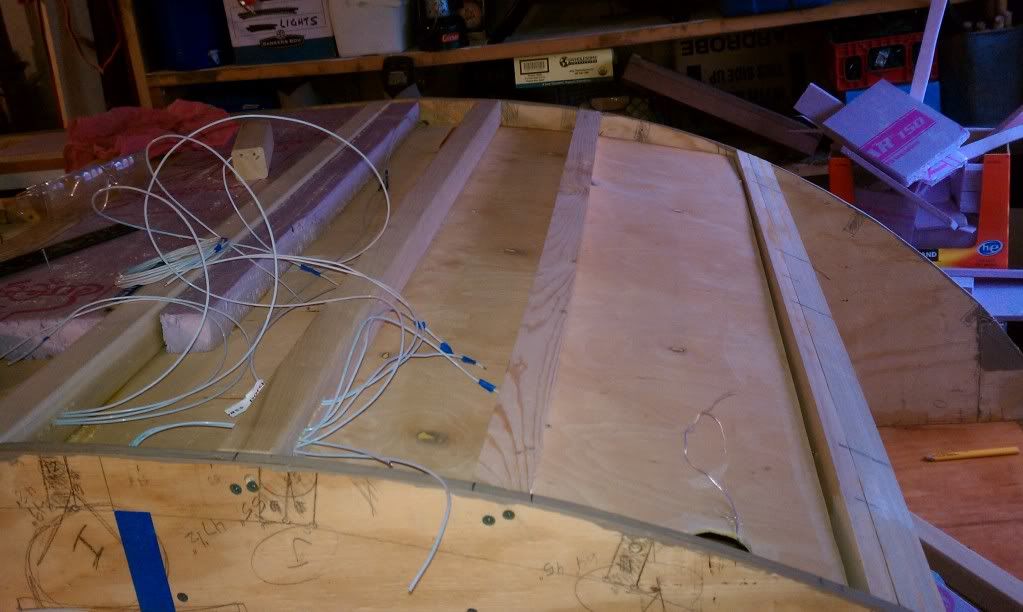
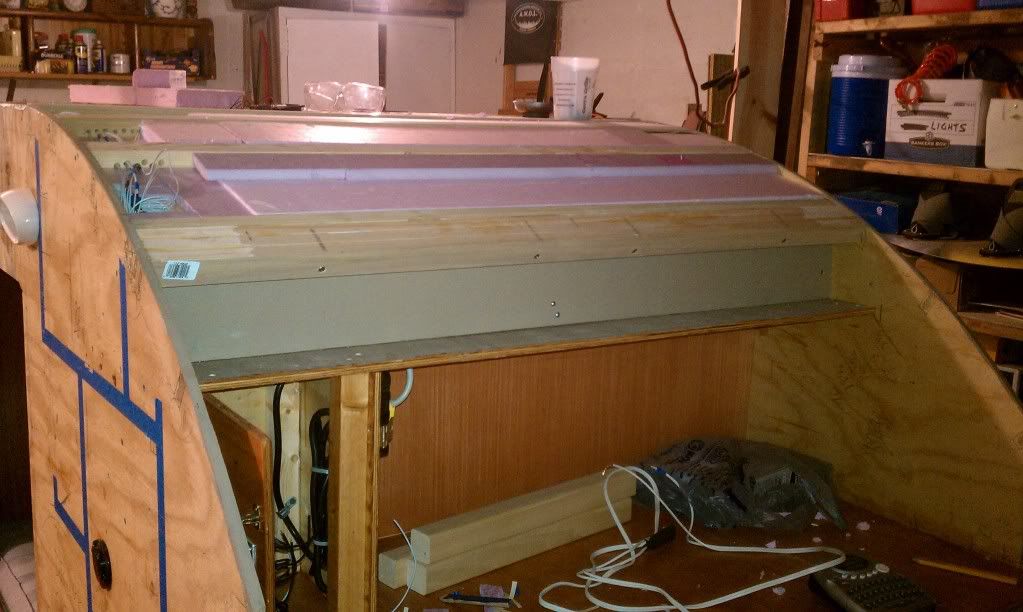
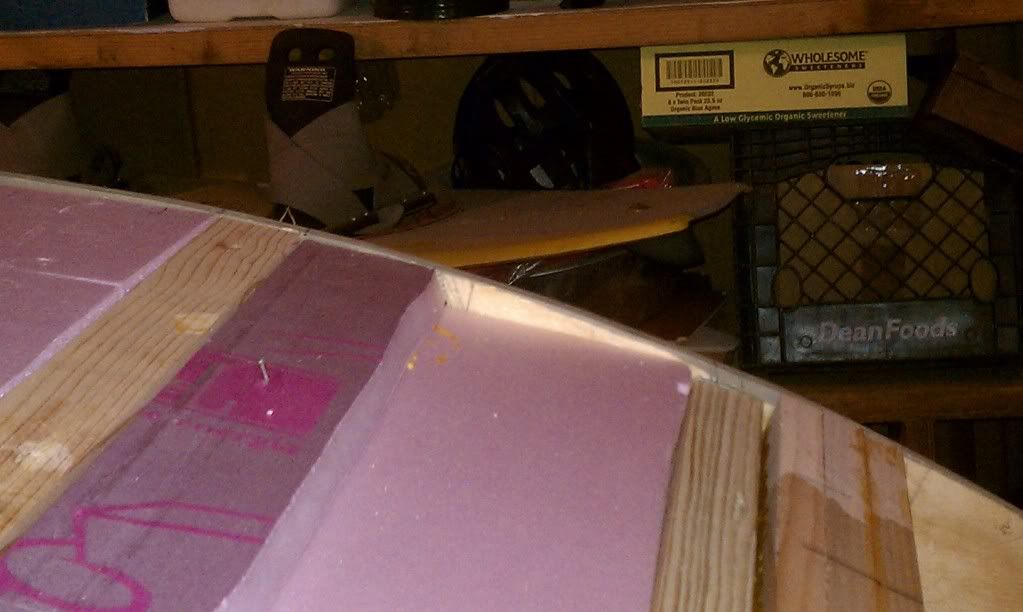
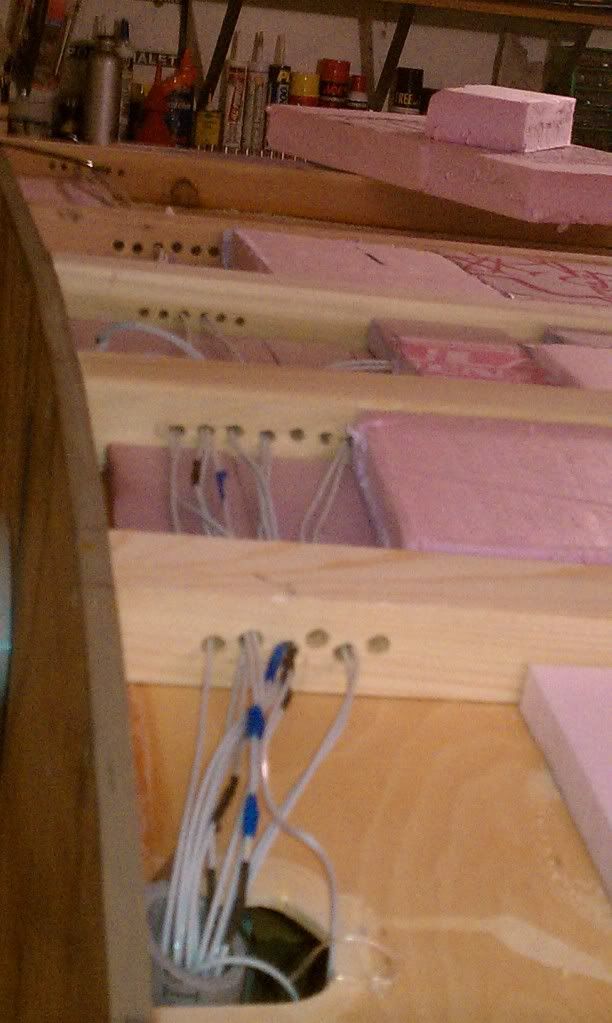
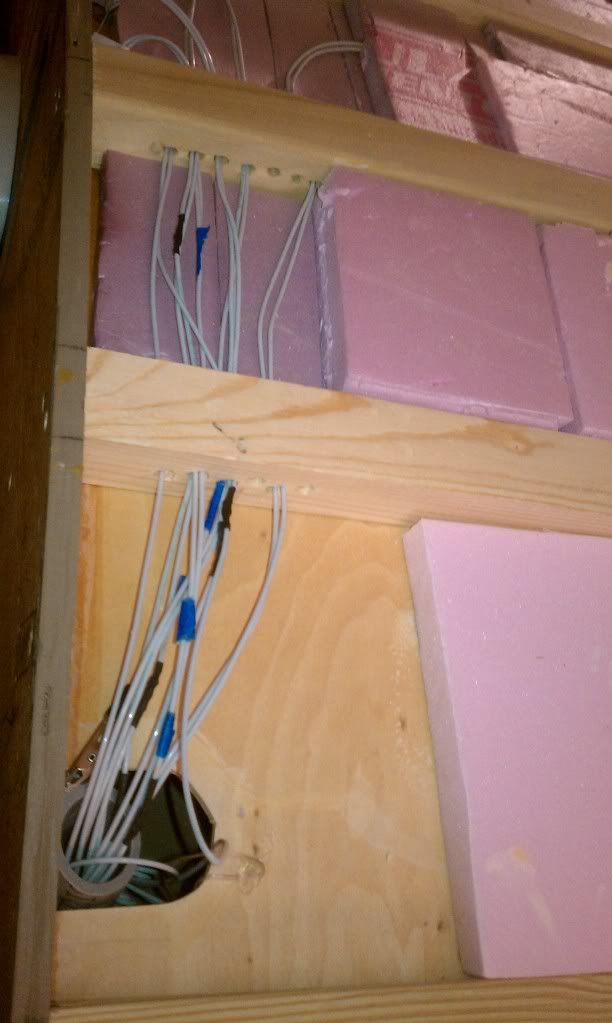
Well I've got some more updates to post. I've spent some time insulating the cubbie. I started with some half-inch rigid insulation. I sliced kerfs into them with a utility knife.

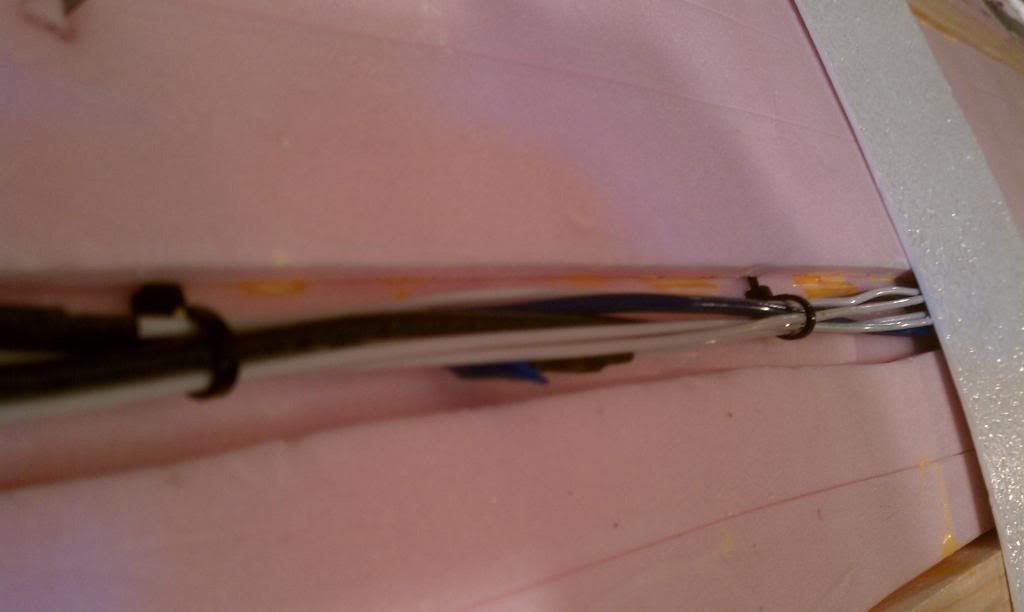
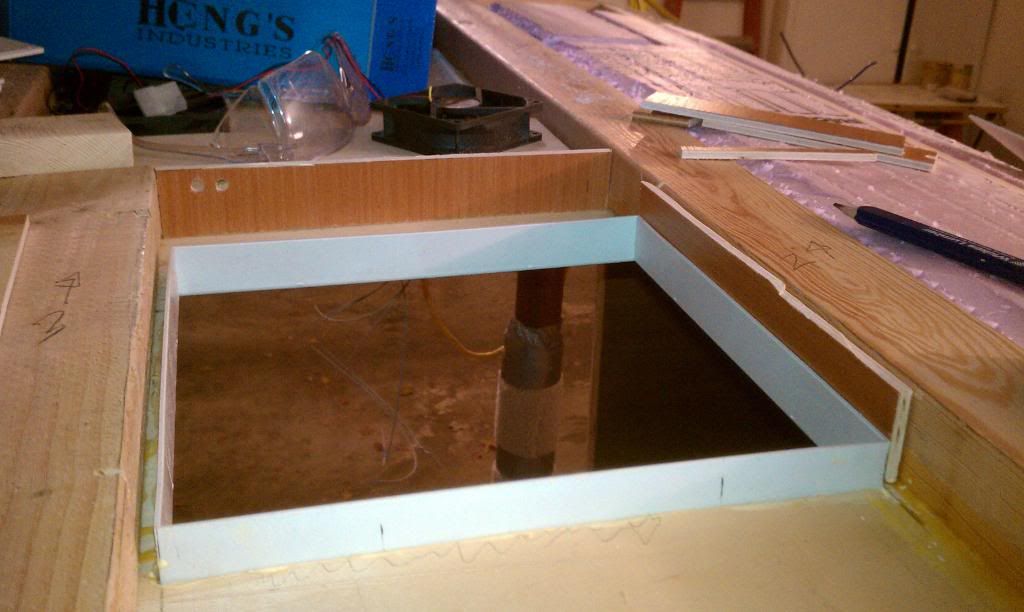
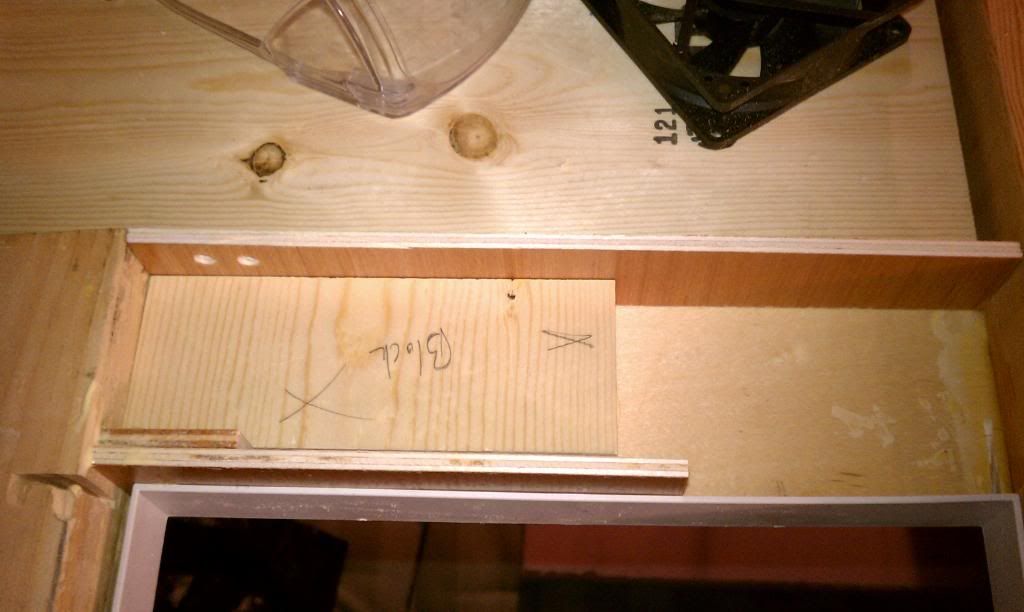
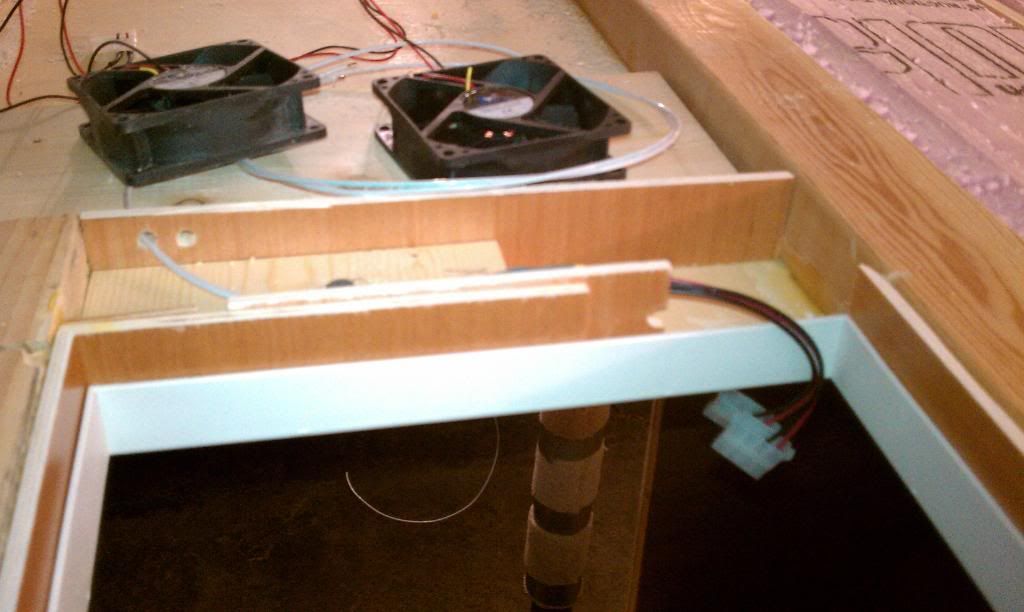
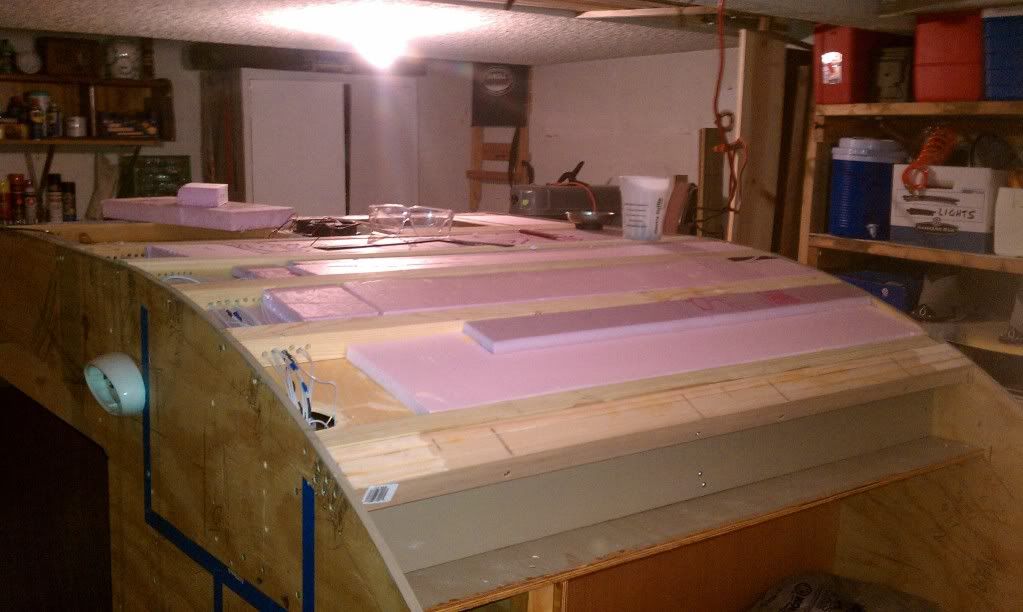
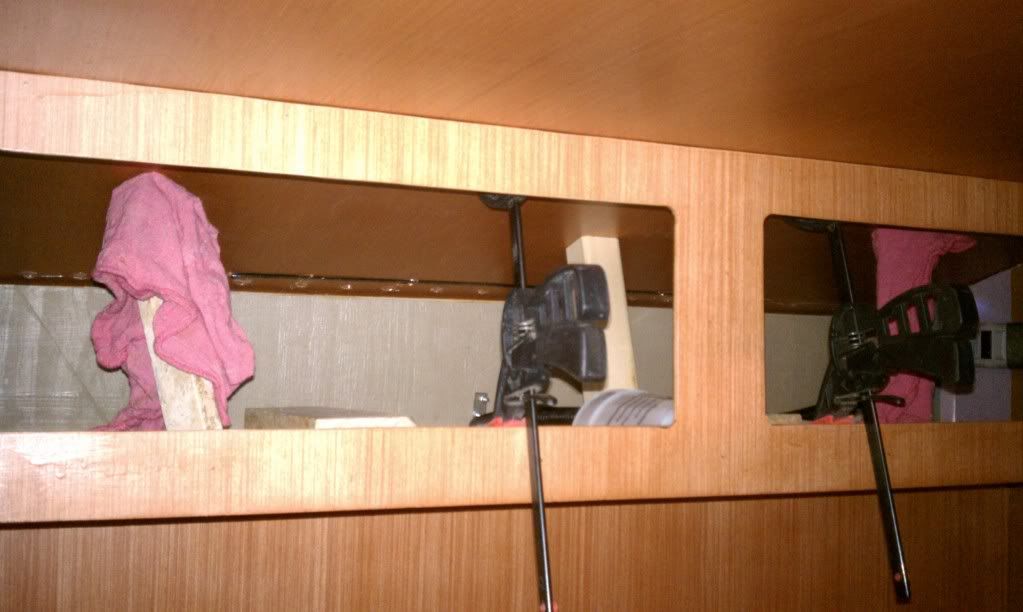
I then had some 1/4 inch foam. I think it's the kind that goes under siding. I then filled in about 3 layers of that. Everything glued up with TBII. Then I used nails and some strips of material to hold it all in place while it dried.

Image

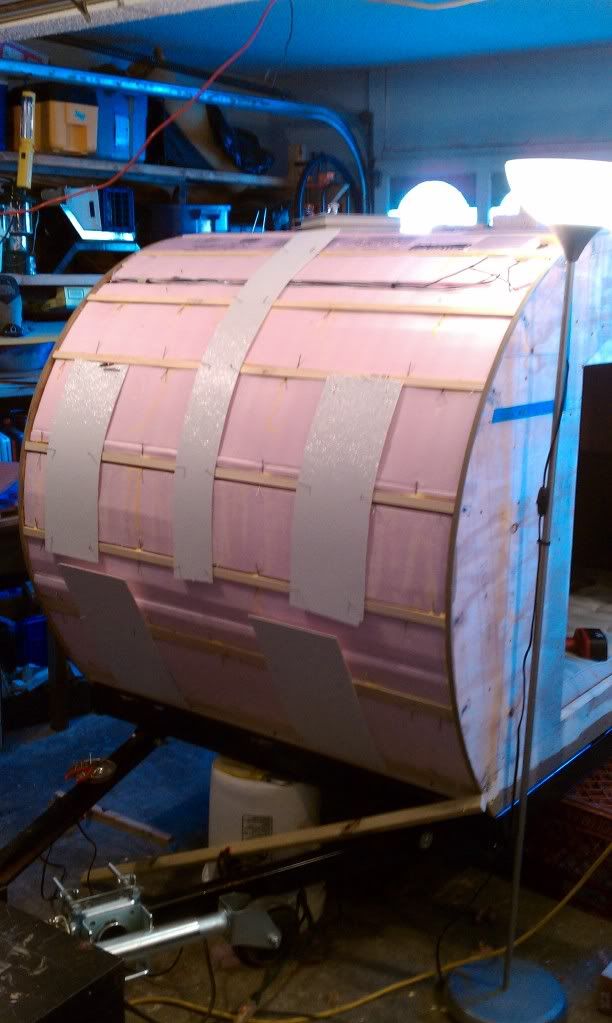
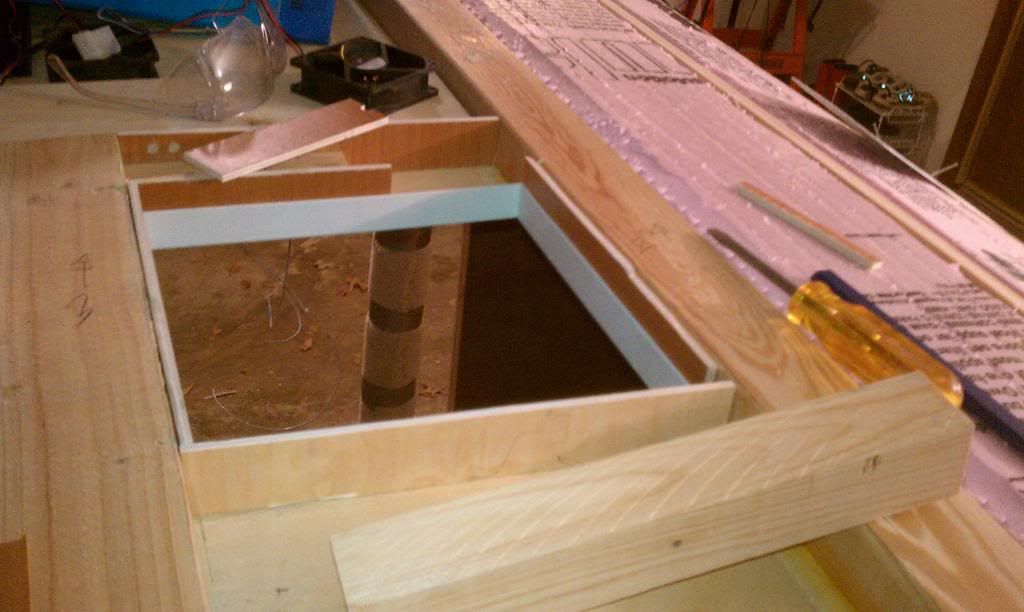
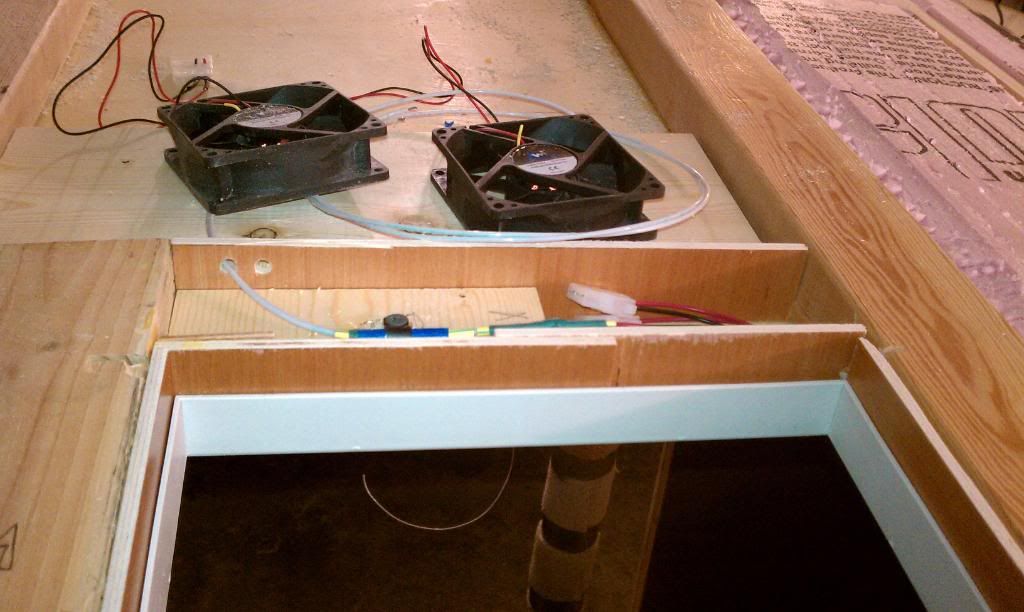
So that worked out to be 4 layers. One of 1/2 inch, then 3 of 1/4 inch. I could probably squeeze a 4th layer of 1/4 inch but I don't think I will.
Rob & Lori
Aspen & Tundra
My Instructable: http://www.instructables.com/id/Teardro ... l-Trailer/
User avatar
TwilightLane
The 300 Club
 
Posts: 484
Joined: Thu May 14, 2009 4:59 pm

Postby TwilightLane » Tue Dec 21, 2010 11:44 pm

I ran the wires for the 12 volt outlets and lighting through the outside layer of insulation. I used zip ties to line it up, then tucked them under the outer layer of insulation.

Image

Image
Rob & Lori
Aspen & Tundra
My Instructable: http://www.instructables.com/id/Teardro ... l-Trailer/
User avatar
TwilightLane
The 300 Club
 
Posts: 484
Joined: Thu May 14, 2009 4:59 pm
Top

Postby TwilightLane » Tue Dec 21, 2010 11:46 pm

To run the wires up along the drivers side wall, I used a long bit I had picked up randomly at an airplane parts store. That came in handy as I had already glued down the spars.

Image

Looking down from over the top.

Image
Rob & Lori
Aspen & Tundra
My Instructable: http://www.instructables.com/id/Teardro ... l-Trailer/
User avatar
TwilightLane
The 300 Club
 
Posts: 484
Joined: Thu May 14, 2009 4:59 pm
Top

Postby TwilightLane » Tue Dec 21, 2010 11:50 pm

Next to block in the vent. I traced the hole I'll need:

Image

I already knew the thickness of the roof was more than the vent and flange would reach. So I planned to use so 2 inch wide pieces to span that gap. You'll see in a bit.

I drilled a small hole in each corner of the square. Then used those marks to tape over where I'd have to cut.

Image

Image
Rob & Lori
Aspen & Tundra
My Instructable: http://www.instructables.com/id/Teardro ... l-Trailer/
User avatar
TwilightLane
The 300 Club
 
Posts: 484
Joined: Thu May 14, 2009 4:59 pm
Top

Postby TwilightLane » Tue Dec 21, 2010 11:50 pm

Cut the hole.

Image
Rob & Lori
Aspen & Tundra
My Instructable: http://www.instructables.com/id/Teardro ... l-Trailer/
User avatar
TwilightLane
The 300 Club
 
Posts: 484
Joined: Thu May 14, 2009 4:59 pm
Top

Postby TwilightLane » Tue Dec 21, 2010 11:53 pm

Now to build it up.

Here is the flange by itself:

Image

Filling in the pieces:

Image

The blocking for the switch, from above:

Image
Rob & Lori
Aspen & Tundra
My Instructable: http://www.instructables.com/id/Teardro ... l-Trailer/
User avatar
TwilightLane
The 300 Club
 
Posts: 484
Joined: Thu May 14, 2009 4:59 pm
Top

Postby TwilightLane » Tue Dec 21, 2010 11:54 pm

The last of the blocking:

Image

And glued up:

Image
Rob & Lori
Aspen & Tundra
My Instructable: http://www.instructables.com/id/Teardro ... l-Trailer/
User avatar
TwilightLane
The 300 Club
 
Posts: 484
Joined: Thu May 14, 2009 4:59 pm
Top

Postby TwilightLane » Wed Dec 22, 2010 12:01 am

Now for the vent fans. I planned to use a couple of 80MM computer fans. They came w a third wire (yellow) that is goes to a controller. I clipped that off and set them up so they run off a pair of simple MOLEX plugs.

Image

I'm not sure of their durability, especially if they get wet. So I wanted to make it easy to swap them out. I struck upon the idea of having a little compartment that will hold/hide the plugs.

Image

Image

Image
Rob & Lori
Aspen & Tundra
My Instructable: http://www.instructables.com/id/Teardro ... l-Trailer/
User avatar
TwilightLane
The 300 Club
 
Posts: 484
Joined: Thu May 14, 2009 4:59 pm
Top

Postby TwilightLane » Wed Dec 22, 2010 12:02 am

View from the side, all is flush with the top of the spars. Including the insulation surrounding the opening.

Image
Rob & Lori
Aspen & Tundra
My Instructable: http://www.instructables.com/id/Teardro ... l-Trailer/
User avatar
TwilightLane
The 300 Club
 
Posts: 484
Joined: Thu May 14, 2009 4:59 pm
Top

Postby TwilightLane » Wed Dec 22, 2010 12:08 am

Next to finish off the rest of the headliner. I didnt get good pics, but I had about an 18" gap to finish off. This was the top of the 'closet' and reached to the tripled spars that will support the hinge.

Here is the piece I was working on to fabricate it. The notch is to accommodate the tube that will run wires into the electric box.

Here it is in place:

Image

Image

In that pic I am hot gluing a LED strip that will be in the back of the closet.

In place, the tube peaking out. Those wires are from the LED strip.

Image
Last edited by TwilightLane on Wed Dec 22, 2010 12:18 am, edited 1 time in total.
Rob & Lori
Aspen & Tundra
My Instructable: http://www.instructables.com/id/Teardro ... l-Trailer/
User avatar
TwilightLane
The 300 Club
 
Posts: 484
Joined: Thu May 14, 2009 4:59 pm
Top

Postby TwilightLane » Wed Dec 22, 2010 12:10 am

The piece in place, adding spars to hold it in place.

Image

Image
Rob & Lori
Aspen & Tundra
My Instructable: http://www.instructables.com/id/Teardro ... l-Trailer/
User avatar
TwilightLane
The 300 Club
 
Posts: 484
Joined: Thu May 14, 2009 4:59 pm
Top

Postby TwilightLane » Wed Dec 22, 2010 12:11 am

Adding insulation:

Image

Image

The thickness of the roof narrowed a bit. Accommodating that here:

Image
Rob & Lori
Aspen & Tundra
My Instructable: http://www.instructables.com/id/Teardro ... l-Trailer/
User avatar
TwilightLane
The 300 Club
 
Posts: 484
Joined: Thu May 14, 2009 4:59 pm
Top

Postby TwilightLane » Wed Dec 22, 2010 12:14 am

Some more pics, slightly out of order:

Image

Image

I realized here that the peice was sagging. So i propped it up from the inside until the glue dried:

Image
Rob & Lori
Aspen & Tundra
My Instructable: http://www.instructables.com/id/Teardro ... l-Trailer/
User avatar
TwilightLane
The 300 Club
 
Posts: 484
Joined: Thu May 14, 2009 4:59 pm
Top

Postby TwilightLane » Wed Dec 22, 2010 12:15 am

Now to clean up some of that wiring:

Image

Image
Rob & Lori
Aspen & Tundra
My Instructable: http://www.instructables.com/id/Teardro ... l-Trailer/
User avatar
TwilightLane
The 300 Club
 
Posts: 484
Joined: Thu May 14, 2009 4:59 pm
Top

PreviousNext

Return to Build Journals

Who is online

Users browsing this forum: No registered users and 7 guests