Here's my Saturday update: I worked all day but somehow it doesn't seem like I got much done. I think tomorrow will be a different story. Today I rough cut all of the exterior aluminum skins for the hatch. I also made two 8ft long pieces of trim and annealed them both. Annealing always seems to take forever.
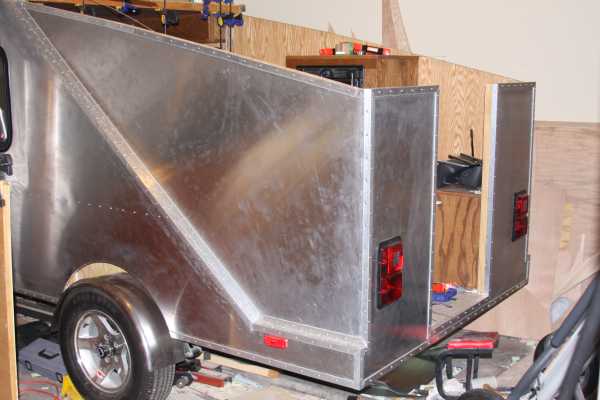
First off, here's the completed rear of the trailer. I put a few extra finger prints on there for this shot.
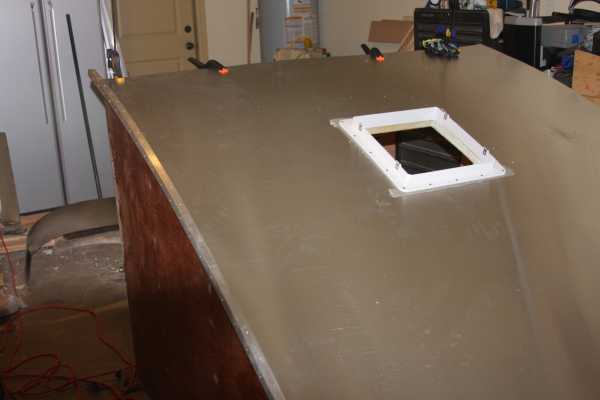
Here's the hatch with the top skin and the base of the roof vent installed. You can also see one of the trim peices just sitting there for the photo.
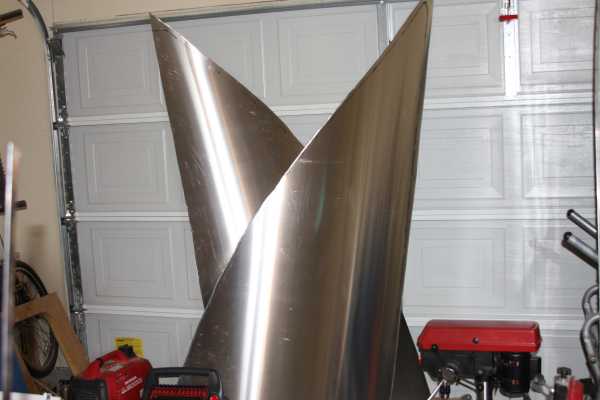
Here are the rough cut sides of the hatch skin.
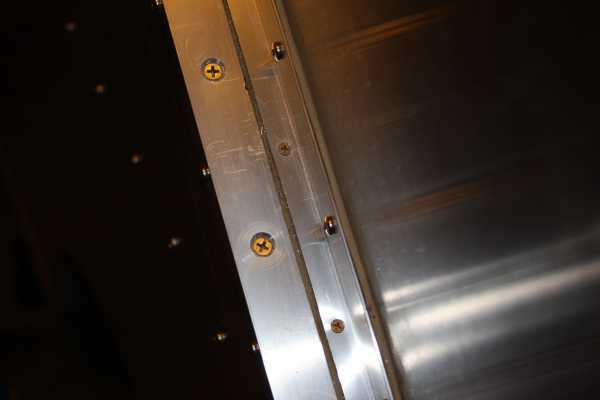
And last but not least, here is a close up shot of how I finished out the shelf area on which the hatch rests. I'm not thrilled with this, but it should work fine. You can see there are lots of screws holding the trim down firmly. Ideally, I would have welded the two peices of trim together to make a custom z-trim. This would have made the countersunk screws unnecessary. I'm not too worried about the appearance since it will be covered with weather stripping anyway. Maybe I'll weld the trim pieces together next year. Notice the inside trim, I had to run one leg of the 1in angle through my band saw to narrow it down. There is, of course, flashing and lots of butyl tape under the trim.
Tomorrow I hope to get started installing the skins.


 look forward to seeing your progress Bill


 doing a little teardrop construction.
