The Wedge ... UPDATE 07/07/2012
36 posts
• Page 3 of 3 • 1, 2, 3
Re: The Wedge update 04/01/2012
![]() by KCStudly » Sun Apr 01, 2012 10:48 pm
by KCStudly » Sun Apr 01, 2012 10:48 pm
Instead of a full panel gusset on the outside, just use a single strut, say 1x2. That will catch less air and still leave the bed clear for cargo.
KC
My Build: The Poet Creek Express Hybrid Foamie
Poet Creek Or Bust
Engineering the TLAR way - "That Looks About Right"
TnTTT ORIGINAL 200A LANTERN CLUB = "The 200A Gang"
Green Lantern Corpsmen
My Build: The Poet Creek Express Hybrid Foamie
Poet Creek Or Bust
Engineering the TLAR way - "That Looks About Right"
TnTTT ORIGINAL 200A LANTERN CLUB = "The 200A Gang"
Green Lantern Corpsmen
-

KCStudly - Donating Member
- Posts: 9616
- Images: 8169
- Joined: Mon Feb 06, 2012 10:18 pm
- Location: Southeastern CT, USA
Re: The Wedge ... UPDATE 04/16/2012
![]() by mckenney56 » Mon Apr 16, 2012 3:09 pm
by mckenney56 » Mon Apr 16, 2012 3:09 pm
It's been a while since I posted progress. Yard work kept getting the way.
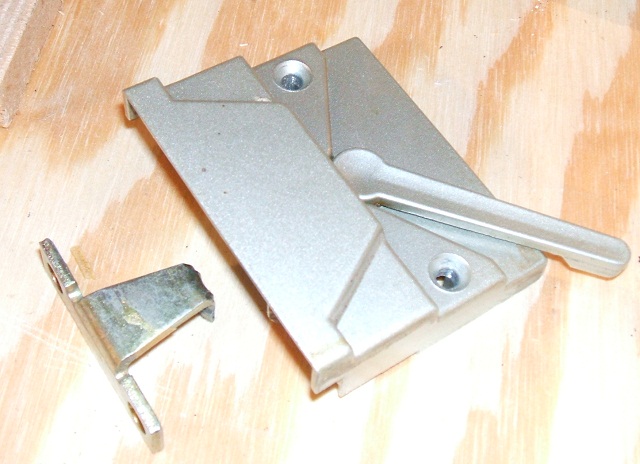
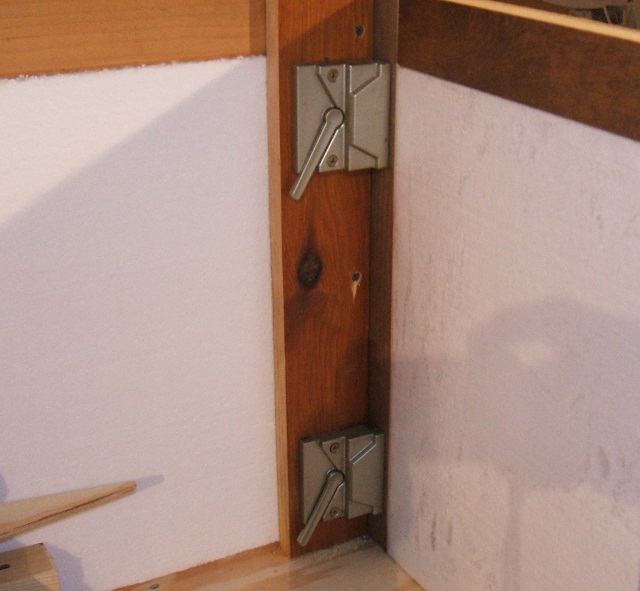
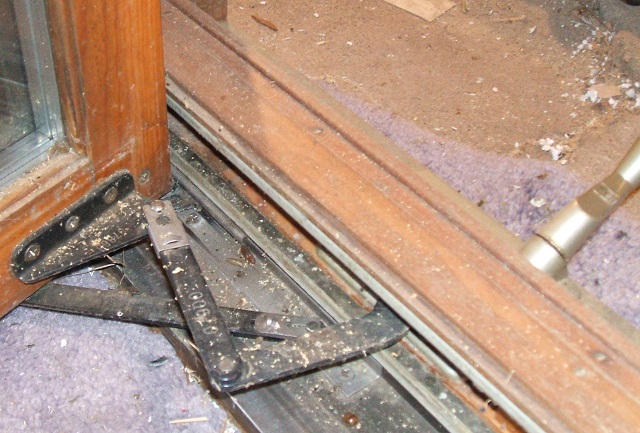
I came up with a solution for latching the tail gate to the trailer. Around a year ago a friend was having his windows replaced and I aquired the old ones. They have two sash locks and a crank out mechanism on them. Decided to use the sash locks for the tail gate. There are two on each side. I may add two more on the floor about 4 inchs out from the wall. Anyone got any ideas on what I might use the crank thingy for?
Then I started on the roof. I cut out all the frame pieces by ripping 2X4s.
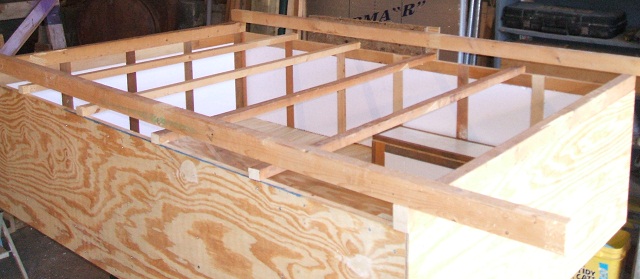
This shows the overhang the roof will have at the back.
Then I mocked up what the roof might look like open. Raised up 3 feet it gives 4.5 feet inside height.
This shows how much eve overhang the roof will have at that height. I could go higher but I sort of like having the eve sticking out there. I might cut it off after hitting my head on it a few times.
Laid a untouched sheet of ply down on the frame members doing a dry fit.
Discovered the box is out of square by about a quarter inch. Not sure you can see it in this picture. I don't know what I was thinking, I always check drawers for square before I glue them up. I might trim that off with a flush cut router bit later, or leave for discussion.
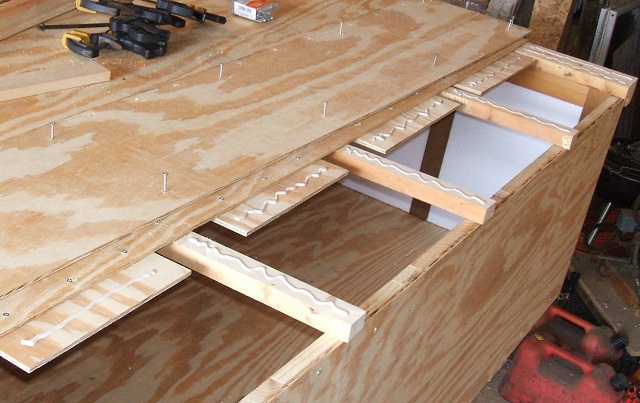
One full 4X8 installed on the frame members.
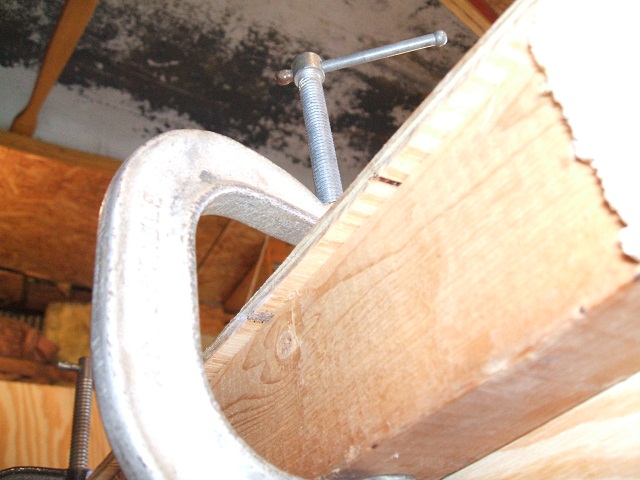
This shows the seam reinforcement I used. Better than nothing. Should help hold that seam straight and tight. I thought this approach would be fairly light.
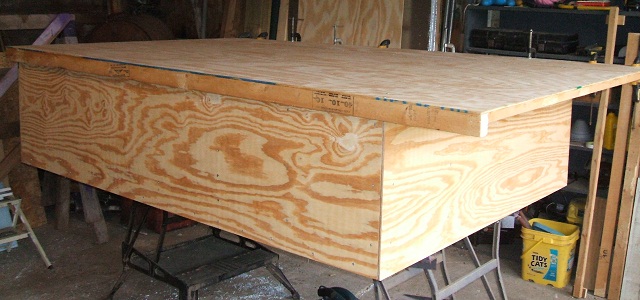
And now I have a finished roof.
Next will be back wall and door with the roof in the up position.
I came up with a solution for latching the tail gate to the trailer. Around a year ago a friend was having his windows replaced and I aquired the old ones. They have two sash locks and a crank out mechanism on them. Decided to use the sash locks for the tail gate. There are two on each side. I may add two more on the floor about 4 inchs out from the wall. Anyone got any ideas on what I might use the crank thingy for?
Then I started on the roof. I cut out all the frame pieces by ripping 2X4s.
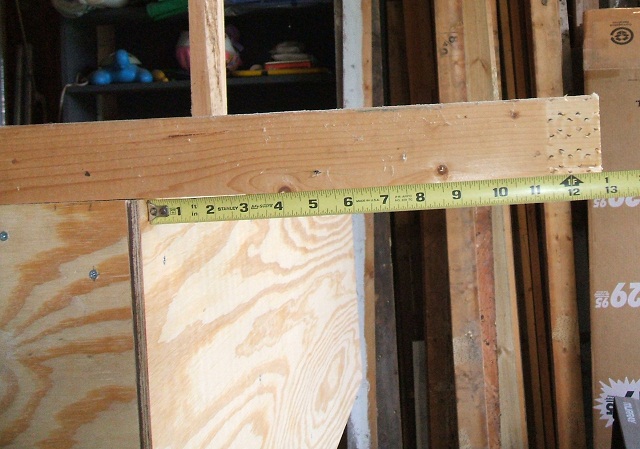
This shows the overhang the roof will have at the back.
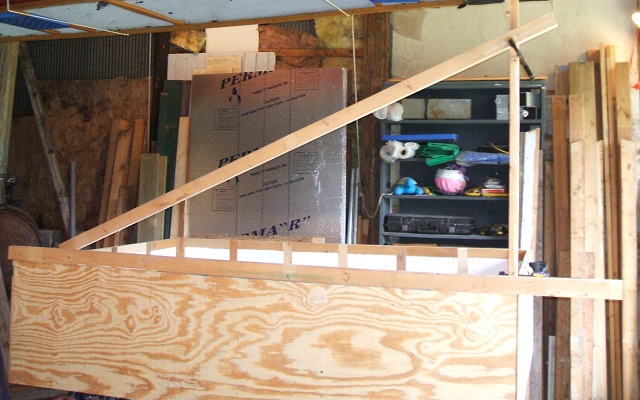
Then I mocked up what the roof might look like open. Raised up 3 feet it gives 4.5 feet inside height.
This shows how much eve overhang the roof will have at that height. I could go higher but I sort of like having the eve sticking out there. I might cut it off after hitting my head on it a few times.
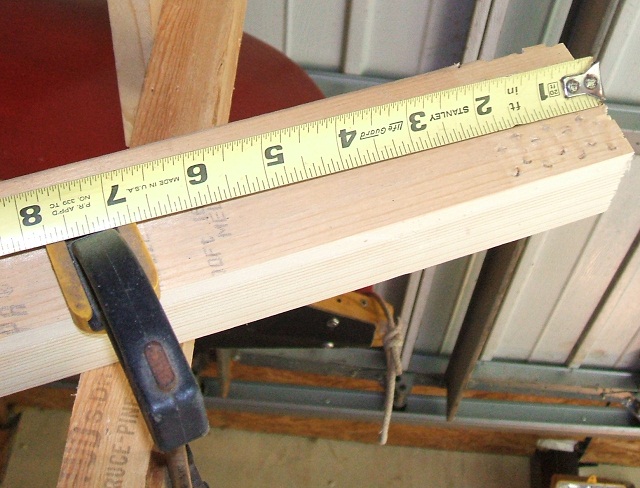
Laid a untouched sheet of ply down on the frame members doing a dry fit.
Discovered the box is out of square by about a quarter inch. Not sure you can see it in this picture. I don't know what I was thinking, I always check drawers for square before I glue them up. I might trim that off with a flush cut router bit later, or leave for discussion.
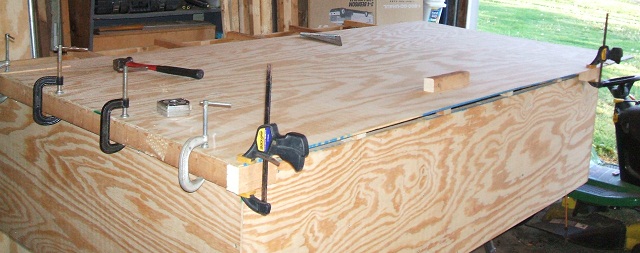
One full 4X8 installed on the frame members.
This shows the seam reinforcement I used. Better than nothing. Should help hold that seam straight and tight. I thought this approach would be fairly light.
And now I have a finished roof.
Next will be back wall and door with the roof in the up position.
Go paddle a canoe.
Greg
Build Journal http://www.tnttt.com/viewtopic.php?f=50&t=48792&p=911497#p911497
Gallery http://www.tnttt.com/gallery/album.php?album_id=14
Greg
Build Journal http://www.tnttt.com/viewtopic.php?f=50&t=48792&p=911497#p911497
Gallery http://www.tnttt.com/gallery/album.php?album_id=14
-

mckenney56 - Teardrop Advisor
- Posts: 88
- Images: 129
- Joined: Thu Feb 09, 2012 8:36 pm
- Location: Central Illinois


