Summertime Benroy Build- Finally named: The "Towster"!

Re: Summertime Benroy!
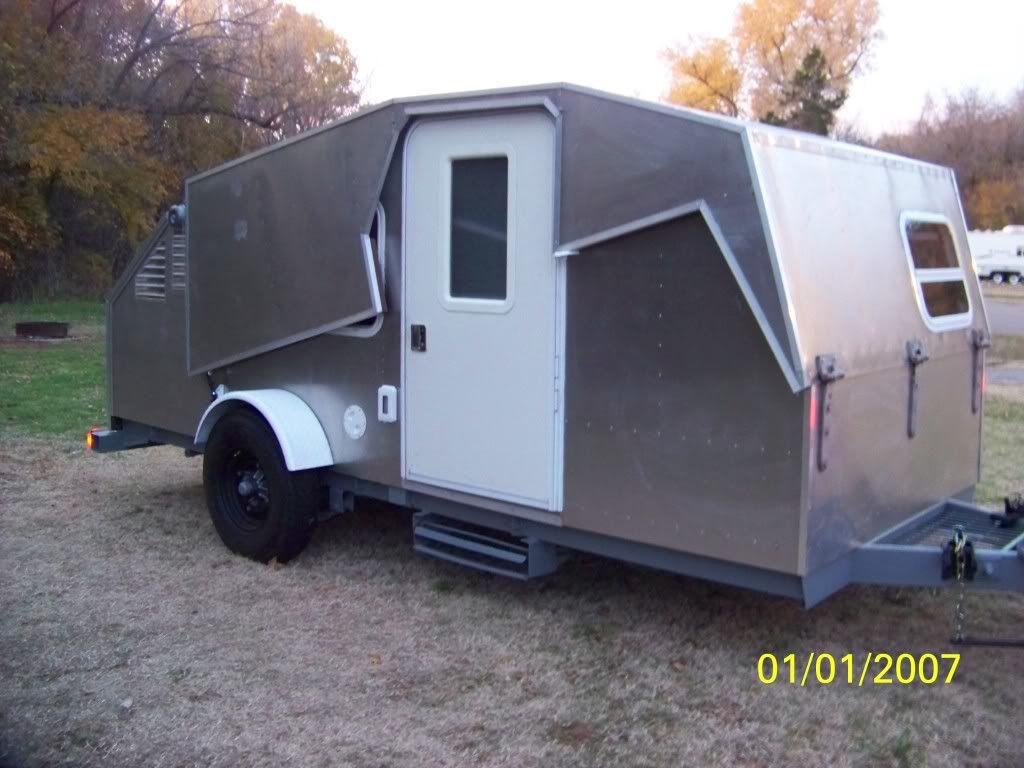
![]() by gilligan5000 » Mon Sep 22, 2014 11:52 am
by gilligan5000 » Mon Sep 22, 2014 11:52 am
You have given me some great ideas that are worth copying!
List of things I can't wait to see:
1. I still don't understand how your sleeping surface is going to be level, but I'm sure you'll get us there
2. how well the "slide-in" ceiling panel is going to look (i think its an awesome idea)
3. how crazy, I mean overboard, I mean...how well you're going to waterproof this thing, and how (aluminum, resin, fiberglass cloth and resin, frp panels)
4. roof rack setup
5. ease of use of table(s) (I've always liked this idea, and want to do it, but keep telling myself to KISS)
Best of luck, and keep the updates coming!
- gilligan5000
- Teardrop Inspector
- Posts: 1
- Joined: Tue Sep 16, 2014 3:38 pm


 Frank
Frank


