TwilightLane Cubbie Build

...ask your questions in the appropriate forums BUT document your build here...preferably in a single thread...dates for updates, are appreciated....

TwilightLane Cubbie Build

Postby TwilightLane » Sun Feb 28, 2010 6:52 pm

Well we got started this weekend!!

Wife and I went to Harbor Freight on thursday night and picked up the 1800lb trailer. It was on sale and we had a 20% coupon. We were worried if they would accept the coupon on top of the sale price. But when the sales guy wheeled the boxes up front he pointed out that the box was damaged and volunteered to take 20% off. Sweet! Picked up the trailed for $302.

More details and pics to follow.
Rob & Lori
Aspen & Tundra
My Instructable: http://www.instructables.com/id/Teardro ... l-Trailer/
User avatar
TwilightLane
The 300 Club
 
Posts: 484
Joined: Thu May 14, 2009 4:59 pm

Postby TwilightLane » Sun Feb 28, 2010 7:16 pm

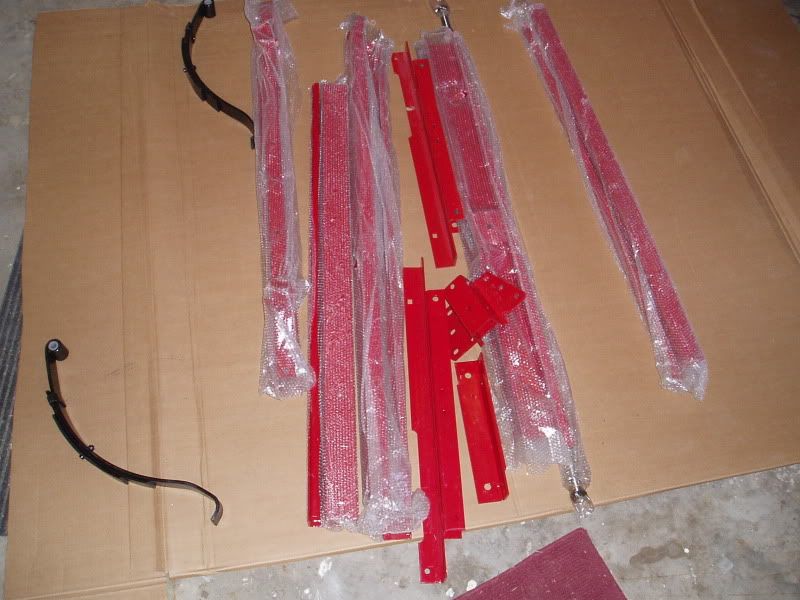
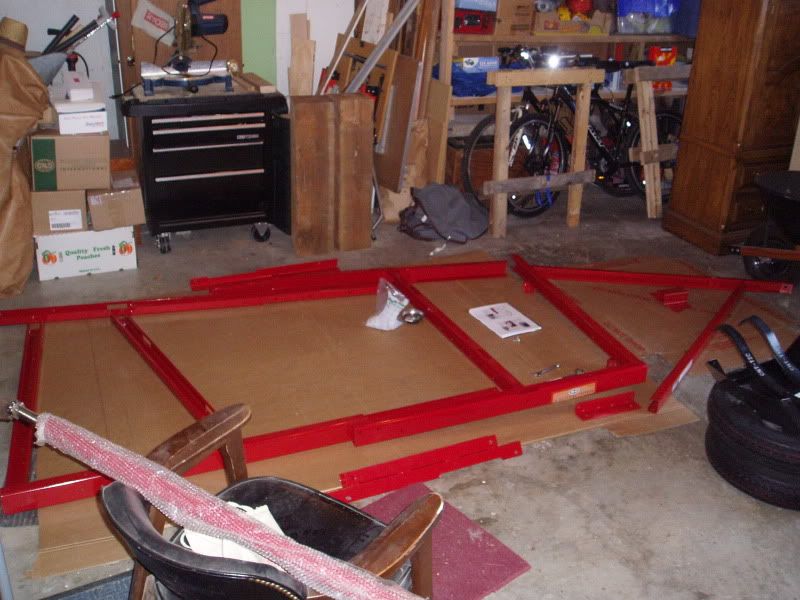
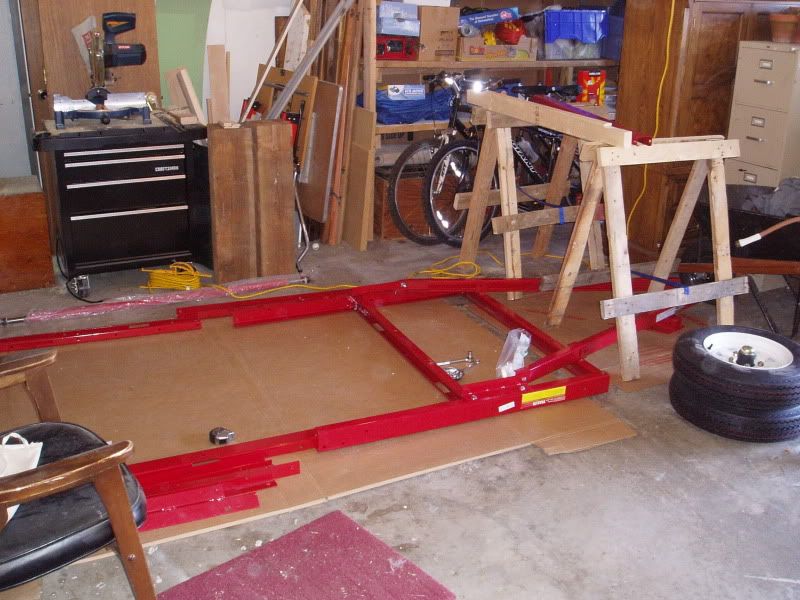
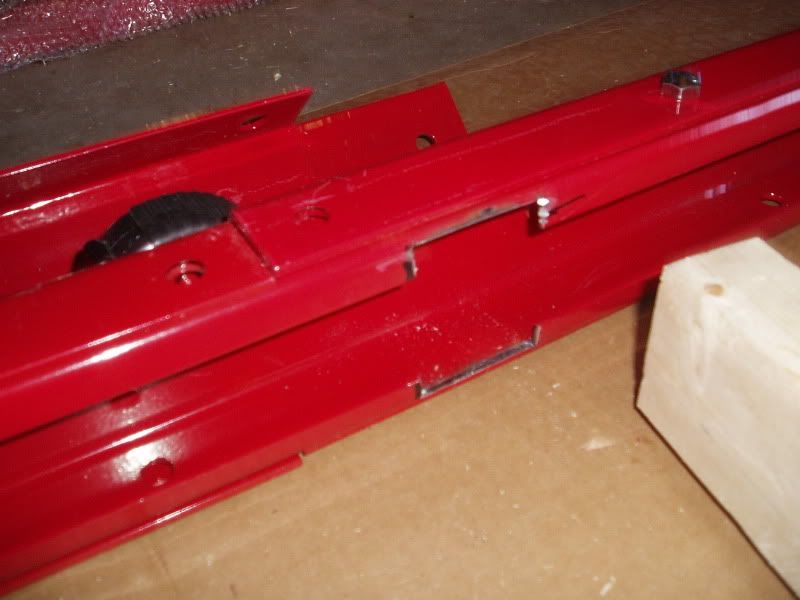
Here it is, everything unpacked Thursday night...

<img src="http://i14.photobucket.com/albums/a347/roblennis/Cubbie%20Build/P1010001-1.jpg" border="0" alt="Photobucket">
*
Image
Rob & Lori
Aspen & Tundra
My Instructable: http://www.instructables.com/id/Teardro ... l-Trailer/
User avatar
TwilightLane
The 300 Club
 
Posts: 484
Joined: Thu May 14, 2009 4:59 pm

Postby TwilightLane » Sun Feb 28, 2010 7:22 pm

So I came home early from work on Friday. I wanted to figure out all these red pieces. So I laid them out approximately where they would fit together in the trailer. I think this helped enormously in understanding how the trailer fit together.

Image
*
Image

I also picked some hardware and titebond and J&B Weld. And I had to go back to get a different piece. Went to HD to pick up the cross piece. So the trip tally is:

HF: 1, ACE: 2, HD: 1.
Rob & Lori
Aspen & Tundra
My Instructable: http://www.instructables.com/id/Teardro ... l-Trailer/
User avatar
TwilightLane
The 300 Club
 
Posts: 484
Joined: Thu May 14, 2009 4:59 pm
Top

Postby TwilightLane » Sun Feb 28, 2010 7:31 pm

Saturday!
Went to work in the am but had all afternoon set aside to piece the trailer together. Ran over to my friend Sean's to borrow his angle grinder.

It took me a while to figure out how to attach the axle bracket. Mainly because I wasnt sure where to locate the axle. I read some threads and I've also talked to another cubbie builder about where he located his axle.

Finally I just punted and used the existing holes on the frame. The plans call for the axle to be 36 inch from the back. Mine will be about 42 inches from end. But I'm not building out the galley as elaborately as the standard plans call for. Fingers crossed.

Image

You can also see the wooden cross piece I prepared. I painted it black because I wanted to seal it where I doubted I'd get the asphalt emulsion. I happened to have some black.
Rob & Lori
Aspen & Tundra
My Instructable: http://www.instructables.com/id/Teardro ... l-Trailer/
User avatar
TwilightLane
The 300 Club
 
Posts: 484
Joined: Thu May 14, 2009 4:59 pm
Top

Postby TwilightLane » Sun Feb 28, 2010 7:37 pm

The assembly required a number of holes to be drilled. Frankly I can't count how many overall. Plus a couple of notches to accept that wooden cross piece. Some pics along the way.

Image
*
Image

Those black circles drawn on the pieces are the drill marks. I assembled the pieces and drew the marks. I was exceedingly careful and I think it paid off. As I drilled I assembled, took apart and reassembled multiple times, placing bolts each time to make sure everything registered together.

The notches were a breeze with the angle grinder. I dressed them ( and the drilled holes) with files. Then painted w red to coat the metal.
Rob & Lori
Aspen & Tundra
My Instructable: http://www.instructables.com/id/Teardro ... l-Trailer/
User avatar
TwilightLane
The 300 Club
 
Posts: 484
Joined: Thu May 14, 2009 4:59 pm
Top

Postby TwilightLane » Sun Feb 28, 2010 7:41 pm

More on those notches to accept the cross piece. I left a slight lip on top and bottom so as to grab the wood. It was kind of PITA to assemble that way but was solid once it came together.

I cut my notch about a half inch wider than the piece of wood. This will give me a little float when it comes time to build that floor hatch. That's the plan anyway.
Rob & Lori
Aspen & Tundra
My Instructable: http://www.instructables.com/id/Teardro ... l-Trailer/
User avatar
TwilightLane
The 300 Club
 
Posts: 484
Joined: Thu May 14, 2009 4:59 pm
Top

Postby TwilightLane » Sun Feb 28, 2010 7:45 pm

Here is one thing I had to do that I hadn't read about. I cut off about three inches off the middle cross member that joined the two halves of the trailer. It was obstructing the holes I needed to attach the next cross member.

Image

Is that a goof? I don't know. If it is don't tell me! The trailer is already together!! :oops:
Rob & Lori
Aspen & Tundra
My Instructable: http://www.instructables.com/id/Teardro ... l-Trailer/
User avatar
TwilightLane
The 300 Club
 
Posts: 484
Joined: Thu May 14, 2009 4:59 pm
Top

Postby TwilightLane » Sun Feb 28, 2010 7:50 pm

Okay it's now Sunday. Last piece to fabricate was the bracket that holds the axles. Again, I was sweating the location ofthe axle. Since I didnt want to drill a bunch of new holes I just punted and decided to use the existing holes.

Image
*
Image

I couldn't quite picture how the axle might travel up and down, so I flared the notch. Again dressing the rough edges with a file.
Rob & Lori
Aspen & Tundra
My Instructable: http://www.instructables.com/id/Teardro ... l-Trailer/
User avatar
TwilightLane
The 300 Club
 
Posts: 484
Joined: Thu May 14, 2009 4:59 pm
Top

Postby TwilightLane » Sun Feb 28, 2010 8:40 pm

So by the end of the afternoon on Sunday, I had the bulk of the frame assembled and squared. Axle brackets on.

Image

That's cardboard on the floor. I didn't want to scratch up the frame sliding it around on the concrete. Plus it's cold in the garage and that helps a lot.

Made THREE trips to Ace hardware today. Nothing yesterday. So the trip tally stands at:

HF: 1, ACE: 5, HD: 1
Rob & Lori
Aspen & Tundra
My Instructable: http://www.instructables.com/id/Teardro ... l-Trailer/
User avatar
TwilightLane
The 300 Club
 
Posts: 484
Joined: Thu May 14, 2009 4:59 pm
Top

Postby aggie79 » Mon Mar 01, 2010 9:42 am

Nice start Rob! Teardrop construction will create many new relationships - the Ace hardware guy, the UPS and FedEx folks, etc.

I have a HF trailer that I use for a parts-getter and it took awhile to figure out how to assemble the thing. You've done a great job there.

Tom
Tom (& Linda)
For build info on our former Silver Beatle teardrop:
Build Thread

93503
User avatar
aggie79
Super Duper Lifetime Member
 
Posts: 5405
Images: 686
Joined: Tue Aug 07, 2007 5:42 pm
Location: Watauga, Texas
Top

Postby Juneaudave » Mon Mar 01, 2010 10:00 am

I rooting for HD as we move to sawdust.... :applause:
User avatar
Juneaudave
Super Duper Lifetime Member
 
Posts: 3237
Images: 380
Joined: Sun Jul 03, 2005 12:11 pm
Location: Juneau, Alaska
Top

Postby Newman39Fan » Mon Mar 08, 2010 7:07 pm

Since you are about a week ahead of me on my build, I will be learning from your mistakes. :D 
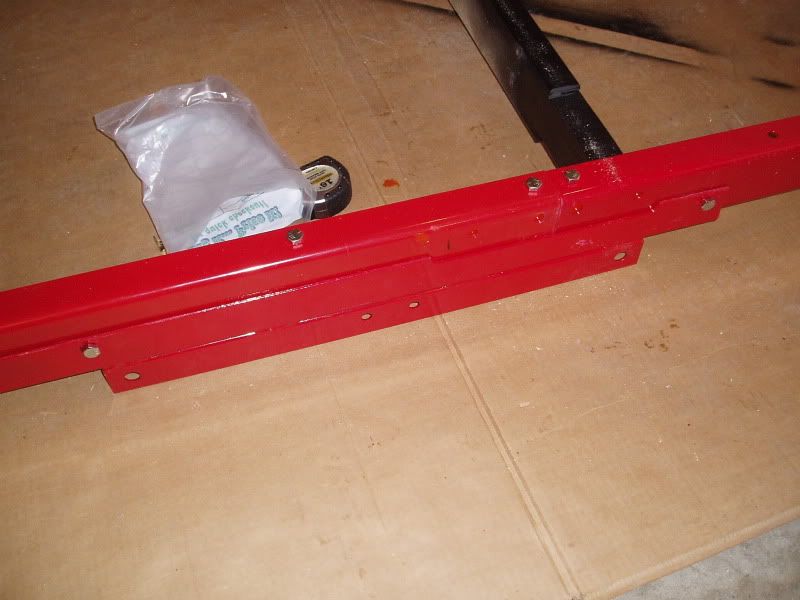
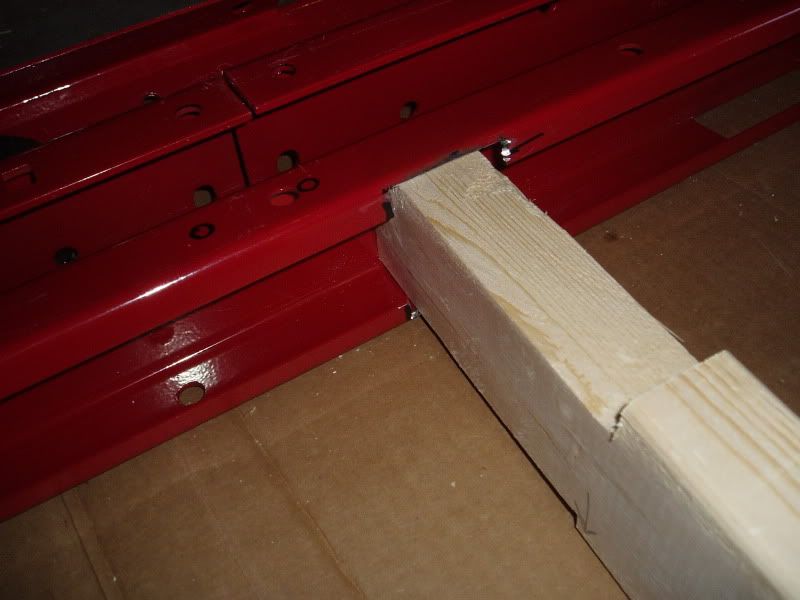
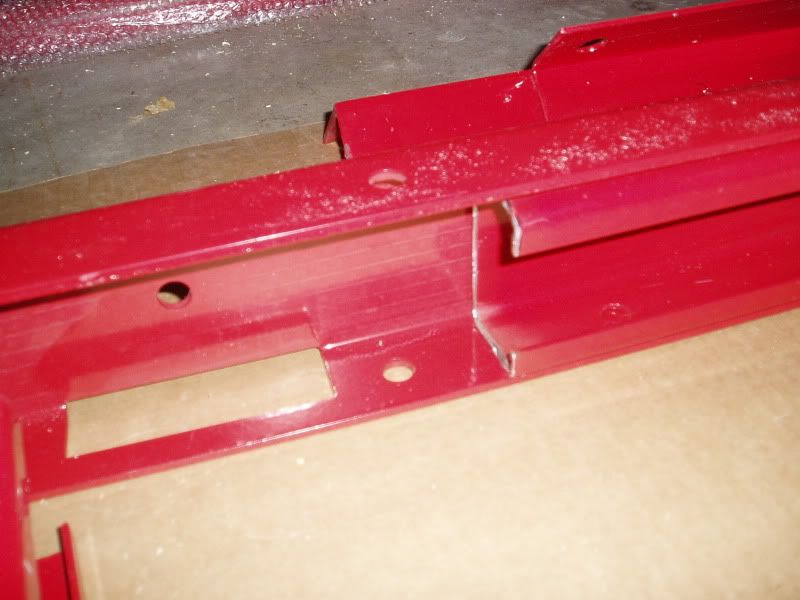
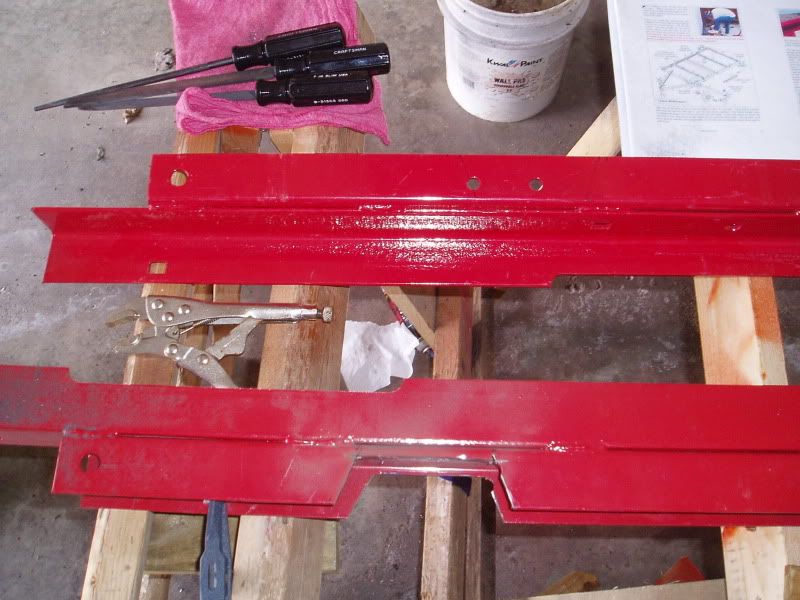
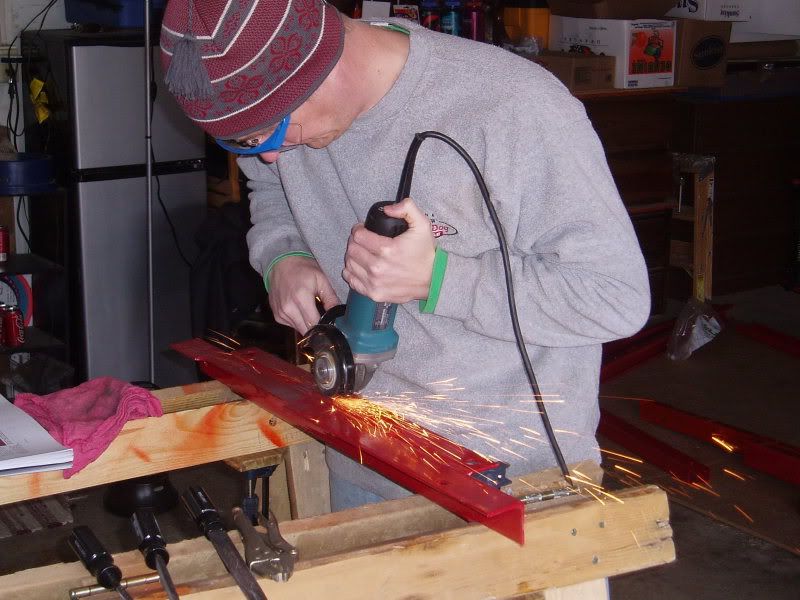
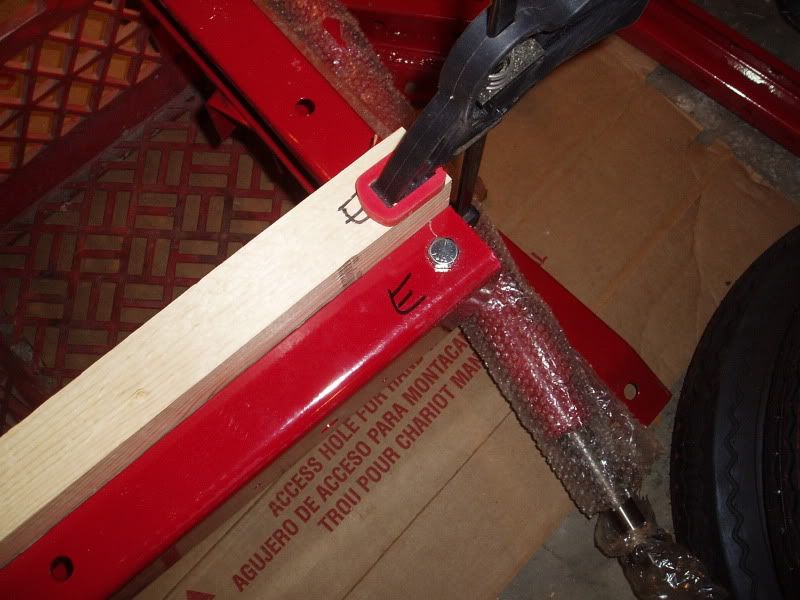
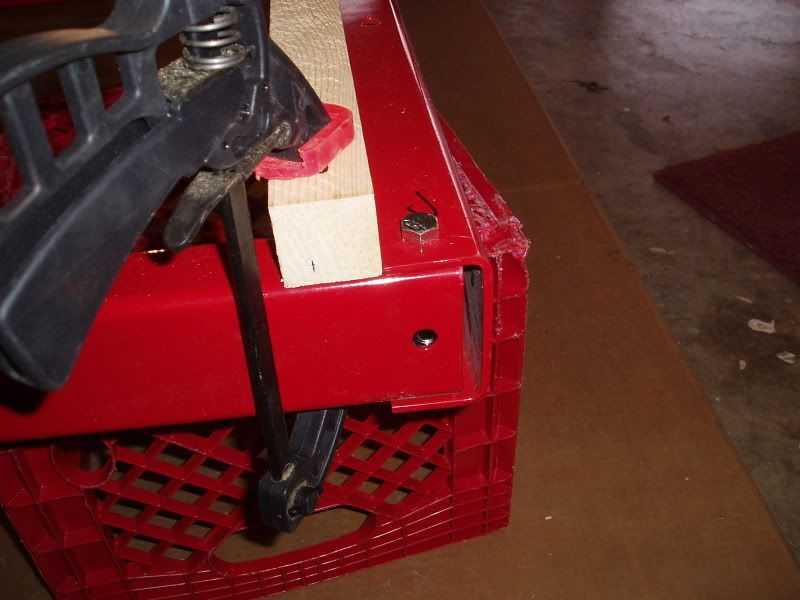
Thanks for the help on the hole drilling. Don't sweat the cutting off of 3 inches from the cross beams. I see no way around this either. Mine are marked to be cut this weekend by a friend who is also going to weld on the tongue extension.
Newman39Fan
Teardrop Advisor
 
Posts: 92
Joined: Tue Jan 26, 2010 7:31 pm
Location: Indianapolis
Top

Postby Miriam C. » Mon Mar 08, 2010 9:39 pm

Good work. You are on your way to a finished Td and it is all up from here! :thumbsup:
“Forgiveness means giving up all hope for a better past.â€
User avatar
Miriam C.
our Aunti M
 
Posts: 19675
Images: 148
Joined: Wed Feb 15, 2006 3:14 pm
Location: Southwest MO
Top

Postby TwilightLane » Tue Mar 09, 2010 10:59 pm

Time for some wood. I made a trip to HD to pick up some 2x2s. I don't have a table saw, so I just ponied up to buy some sticks of 2x2. I was kind of concerned of lining everything up, so I labled the 4 corners and the cross pieces w letters.

Image
Rob & Lori
Aspen & Tundra
My Instructable: http://www.instructables.com/id/Teardro ... l-Trailer/
User avatar
TwilightLane
The 300 Club
 
Posts: 484
Joined: Thu May 14, 2009 4:59 pm
Top

Postby TwilightLane » Tue Mar 09, 2010 11:01 pm

I laid out the long 8 foot piece along the side rail of the trailer and clamped it down. Then I lined up the cross pieces above each metal cross piece. (This isn't the final location, I'm essentially using the frame itself as the template.) Clamped and screwed them up w 3" deck screws.

Image
.
Image
Last edited by TwilightLane on Fri Mar 12, 2010 3:25 pm, edited 1 time in total.
Rob & Lori
Aspen & Tundra
My Instructable: http://www.instructables.com/id/Teardro ... l-Trailer/
User avatar
TwilightLane
The 300 Club
 
Posts: 484
Joined: Thu May 14, 2009 4:59 pm
Top

Next

Return to Build Journals

Who is online

Users browsing this forum: No registered users and 8 guests