TwilightLane Cubbie Build

...ask your questions in the appropriate forums BUT document your build here...preferably in a single thread...dates for updates, are appreciated....

Postby TwilightLane » Tue Jun 28, 2011 11:27 pm

How to keep this thing in place? Straps.

Image

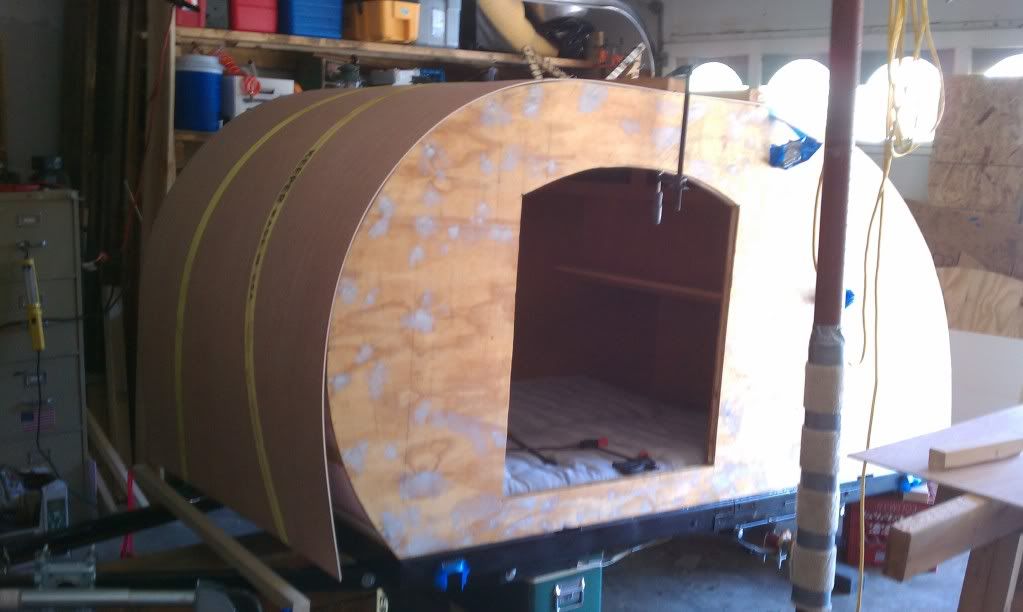
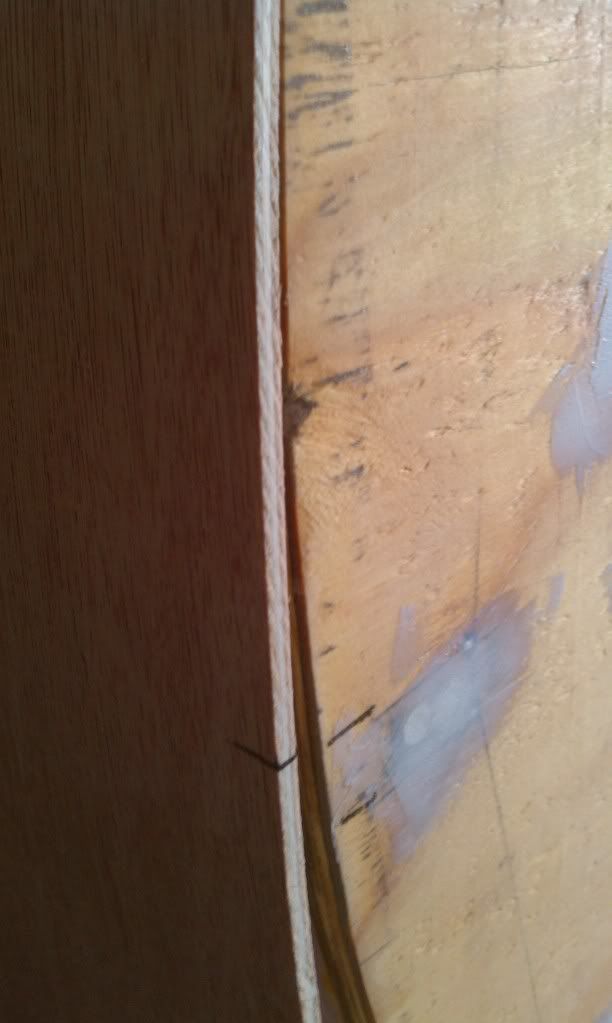
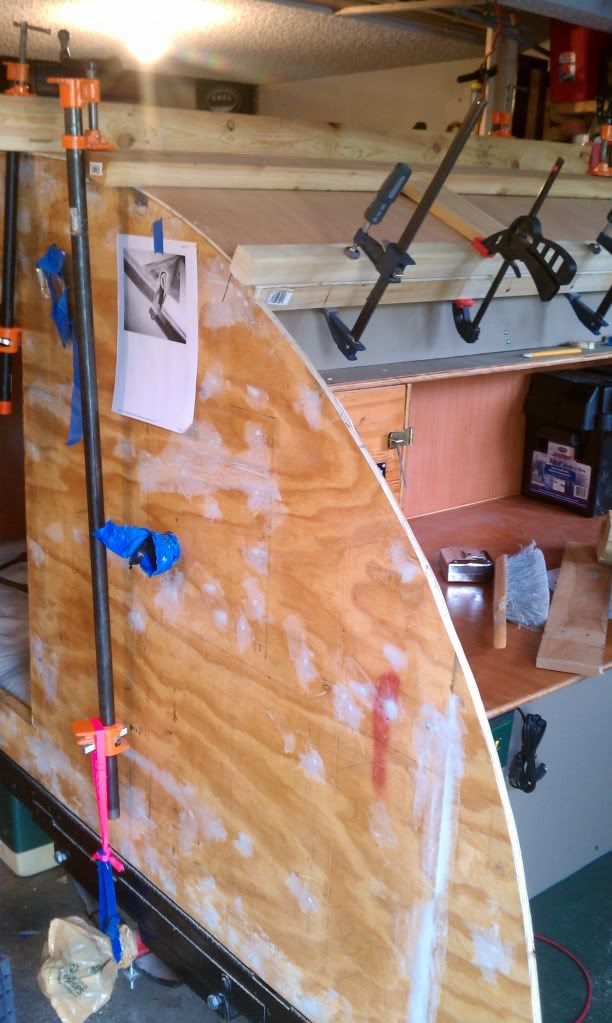
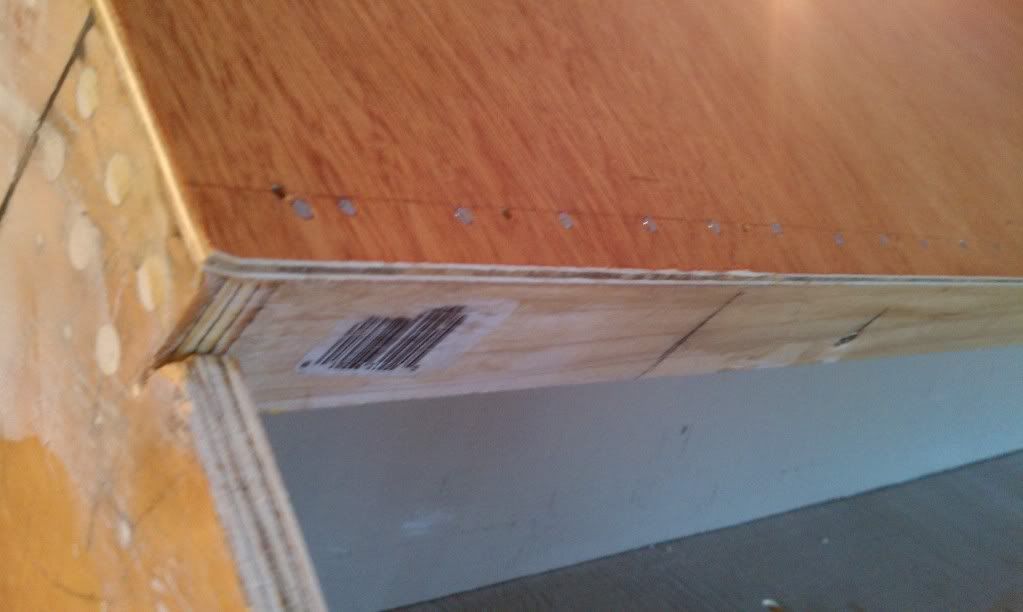
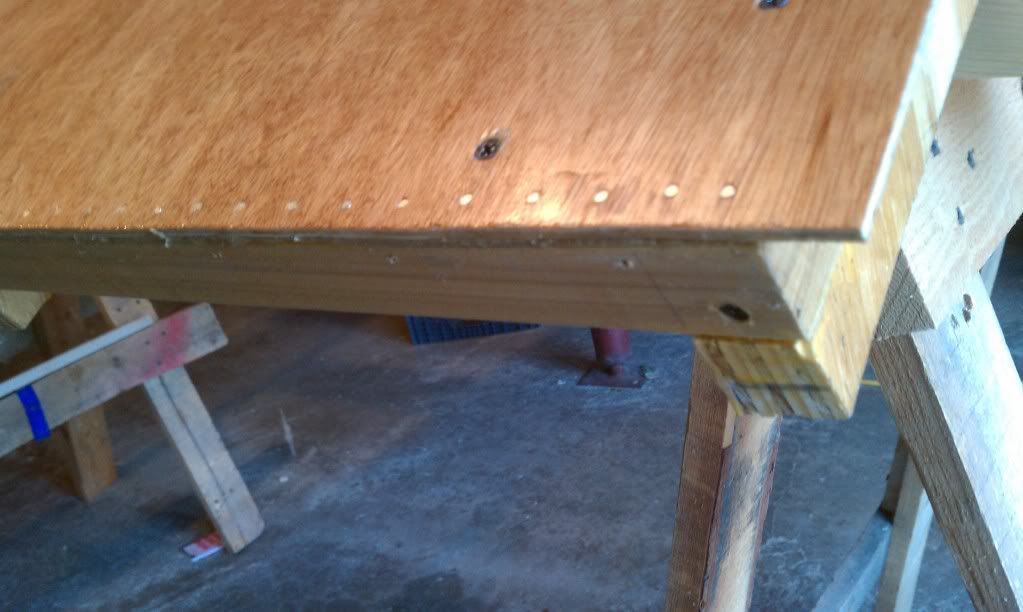
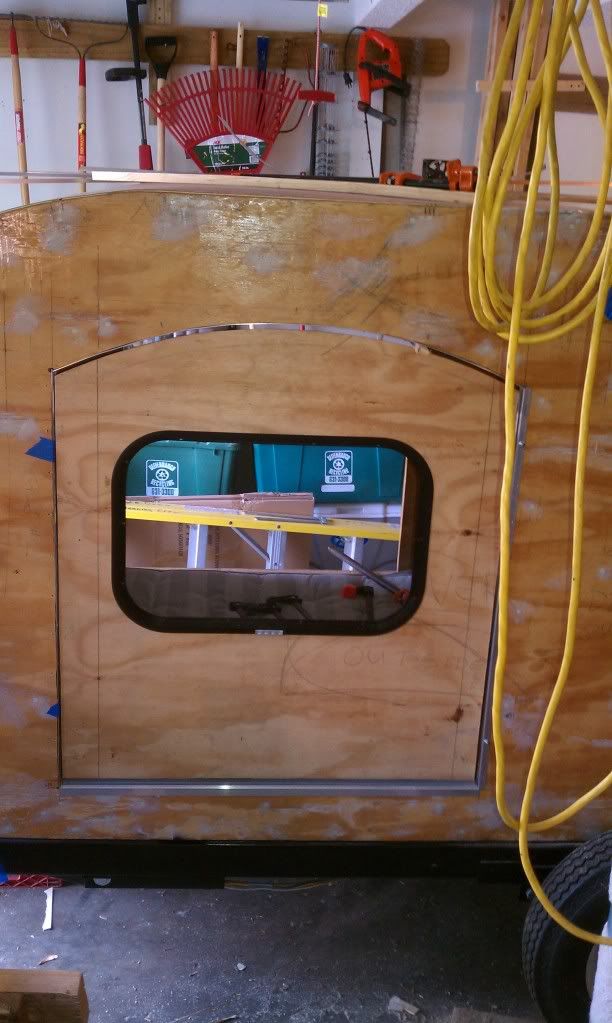
I used mainly construction adhesive to spread on the spars. But first I carefully dry-fit the sheet so I had it exactly in place. I used some pencil registration marks to help me make sure I kept it lined up.
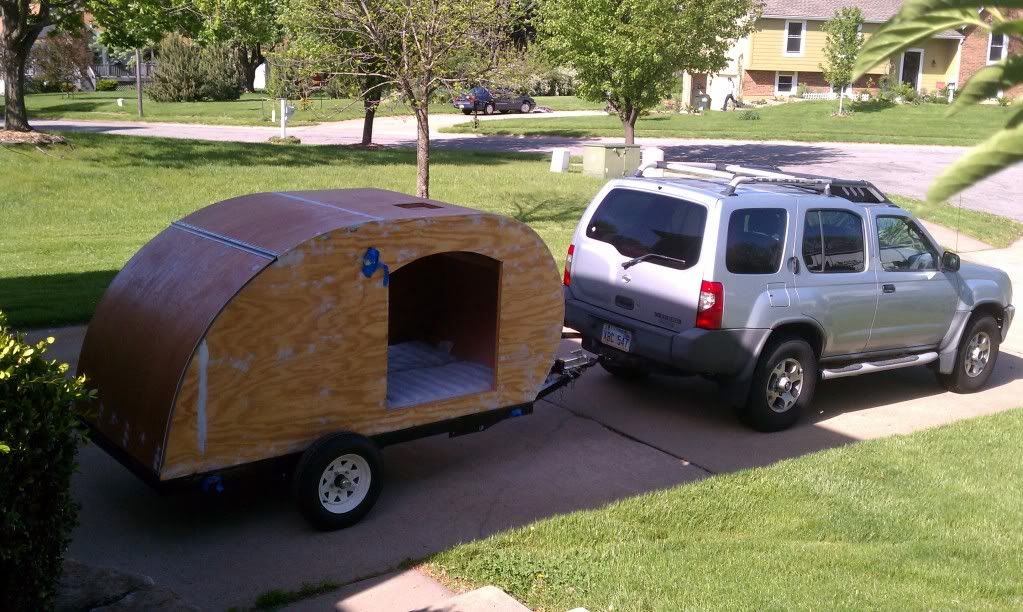
Image
Rob & Lori
Aspen & Tundra
My Instructable: http://www.instructables.com/id/Teardro ... l-Trailer/
User avatar
TwilightLane
The 300 Club
 
Posts: 484
Joined: Thu May 14, 2009 4:59 pm

Postby TwilightLane » Tue Jun 28, 2011 11:29 pm

Here is how I cinched down the strap.

Image
Rob & Lori
Aspen & Tundra
My Instructable: http://www.instructables.com/id/Teardro ... l-Trailer/
User avatar
TwilightLane
The 300 Club
 
Posts: 484
Joined: Thu May 14, 2009 4:59 pm

Postby TwilightLane » Tue Jun 28, 2011 11:33 pm

I don't have good pics of this, but I only glued the first half of the ply initially. I used the yellow strap and some blocking to hold the ply in place as the glue cured.

THEN I carefully lifted the ply away from the roof and added glue under the remaining half of the play. I used the same strap and additional blocking to hold the ply in place as glue cured.

Image

Image

Image
Rob & Lori
Aspen & Tundra
My Instructable: http://www.instructables.com/id/Teardro ... l-Trailer/
User avatar
TwilightLane
The 300 Club
 
Posts: 484
Joined: Thu May 14, 2009 4:59 pm
Top

Postby TwilightLane » Tue Jun 28, 2011 11:37 pm

I trimmed the first piece of ply so it ended in the middle of a spar. I cut a second piece to run to the end of the tripled up spar where the hurricane hinge will go.

Image

Image

Image
Rob & Lori
Aspen & Tundra
My Instructable: http://www.instructables.com/id/Teardro ... l-Trailer/
User avatar
TwilightLane
The 300 Club
 
Posts: 484
Joined: Thu May 14, 2009 4:59 pm
Top

Postby TwilightLane » Tue Jun 28, 2011 11:40 pm

I also skinned the hatch:

Image

Image

Image
Rob & Lori
Aspen & Tundra
My Instructable: http://www.instructables.com/id/Teardro ... l-Trailer/
User avatar
TwilightLane
The 300 Club
 
Posts: 484
Joined: Thu May 14, 2009 4:59 pm
Top

Postby TwilightLane » Tue Jun 28, 2011 11:43 pm

Now we can start fitting the hinge to the hatch:

Image

Image

Image

I used the Harbor Frieght hinge drill tool to center pilot holes. It was incredibly helpful. I strongly recommend it.
http://www.harborfreight.com/3-piece-hi ... 41907.html
Rob & Lori
Aspen & Tundra
My Instructable: http://www.instructables.com/id/Teardro ... l-Trailer/
User avatar
TwilightLane
The 300 Club
 
Posts: 484
Joined: Thu May 14, 2009 4:59 pm
Top

Postby TwilightLane » Tue Jun 28, 2011 11:48 pm

It's overkill, but I couldn't get the end of the plywood to stay how I wanted. So I put a crapload of tiny nails to hold it in place. Plus drilled pilot holes for the hinge.

Image

Same deal on the hatch side:

Image
Rob & Lori
Aspen & Tundra
My Instructable: http://www.instructables.com/id/Teardro ... l-Trailer/
User avatar
TwilightLane
The 300 Club
 
Posts: 484
Joined: Thu May 14, 2009 4:59 pm
Top

Postby TwilightLane » Tue Jun 28, 2011 11:50 pm

Next is the CPES. Notes a few pages back.

Image

And on the hatch:

Image
Rob & Lori
Aspen & Tundra
My Instructable: http://www.instructables.com/id/Teardro ... l-Trailer/
User avatar
TwilightLane
The 300 Club
 
Posts: 484
Joined: Thu May 14, 2009 4:59 pm
Top

Postby TwilightLane » Tue Jun 28, 2011 11:52 pm

I sprayed primer on the inside of the hatch.

Image

It really brightened up the area under the hatch:
Image
Rob & Lori
Aspen & Tundra
My Instructable: http://www.instructables.com/id/Teardro ... l-Trailer/
User avatar
TwilightLane
The 300 Club
 
Posts: 484
Joined: Thu May 14, 2009 4:59 pm
Top

Postby TwilightLane » Tue Jun 28, 2011 11:59 pm

First time hooked up to the truck...

Image

Image

Image
Rob & Lori
Aspen & Tundra
My Instructable: http://www.instructables.com/id/Teardro ... l-Trailer/
User avatar
TwilightLane
The 300 Club
 
Posts: 484
Joined: Thu May 14, 2009 4:59 pm
Top

Postby LDK » Wed Jun 29, 2011 6:04 am

Welcome back. You're almost done by the looks of it. :thumbsup:


That periscope deal, I remember that thread you started awhile back on it. I actually bought some pvc and was gonna try to make one but I never got around to it. :lol:
LDK
Gold Donating Member
 
Posts: 1419
Images: 1
Joined: Fri Jan 22, 2010 8:29 pm
Top

Postby Darren » Wed Jun 29, 2011 9:09 am

Looking good Rob. :thumbsup: Any idea when she'll be ready to go camping?
Image
User avatar
Darren
the camper formerly known as Victor Star
 
Posts: 1356
Images: 161
Joined: Sat Dec 03, 2005 12:09 am
Location: Shawnee, Kansas (KC)
Top

Postby TwilightLane » Wed Jun 29, 2011 10:43 am

Hey Darren, stay tuned I still have about 2 months of pics to post this morning! I think it's ready now, but still a lot of finish work to have fun with. In fact if the weather isnt too hot we may go out with another teardropper this weekend. We'll see!!
Rob & Lori
Aspen & Tundra
My Instructable: http://www.instructables.com/id/Teardro ... l-Trailer/
User avatar
TwilightLane
The 300 Club
 
Posts: 484
Joined: Thu May 14, 2009 4:59 pm
Top

Postby TwilightLane » Wed Jun 29, 2011 10:53 am

Ok next I turned my attention to the doors. I had saved my door 'blanks' from when I cut the openings in the side walls. I built them up just like the side walls with spars and rigid foam insulation. I guess I was in a hurry because I don't have any pics!!

I did get some pics of cutting out the opening for the windows. I simply traced the trim ring where I wanted to place the cuts. Placement was more complicated that I expected because I also needed to account for the hinge and latch hardware. That is why the opening is NOT centered in the door.

Image


Image
Rob & Lori
Aspen & Tundra
My Instructable: http://www.instructables.com/id/Teardro ... l-Trailer/
User avatar
TwilightLane
The 300 Club
 
Posts: 484
Joined: Thu May 14, 2009 4:59 pm
Top

Postby TwilightLane » Wed Jun 29, 2011 10:56 am

Now that I have the blanks, I wanted to see how they fit in the door openings, especially once I added the trim. I guess I did my trim a little non-traditional. I just used 1/2 inch angle aluminum.

Image

Image

Notice the black trim ring in place...
Last edited by TwilightLane on Wed Jun 29, 2011 10:58 am, edited 1 time in total.
Rob & Lori
Aspen & Tundra
My Instructable: http://www.instructables.com/id/Teardro ... l-Trailer/
User avatar
TwilightLane
The 300 Club
 
Posts: 484
Joined: Thu May 14, 2009 4:59 pm
Top

PreviousNext

Return to Build Journals

Who is online

Users browsing this forum: smeerkees and 39 guests