Terry's TTT Garageable Standy Build modifications

...ask your questions in the appropriate forums BUT document your build here...preferably in a single thread...dates for updates, are appreciated....

Postby terryjones1 » Sun May 08, 2011 8:10 am

Shown below is a photo of the inside of the back wall. The bottom is on the left. The wall has been epoxyed on the outside & painted on the inside. The unpainted area, at the left, is where bed will be. The hole is for the Air Conditioneer.

Image

Shown below is a photo of the inside of the front wall. The bottom is on the right. The wall has been epoxyed on the outside & painted on the inside. The unpainted area, at the right, is where dinette benches will be. Again, the hole is for the Fantastic Vent.

Image

Next is the roof.
My TTT Garageable Standy Build Journal: viewtopic.php?f=50&t=40591
User avatar
terryjones1
Gold Donating Member
 
Posts: 266
Images: 1
Joined: Wed Aug 25, 2010 2:09 pm
Location: Lincoln, Ca

Postby Cliffmeister2000 » Sun May 08, 2011 9:35 am

It looks like you are making serious progress now! :thumbsup:
God Bless

Cliff

♥God. ♥People.
1 John 4:9-11

My Teardrop build pictures
User avatar
Cliffmeister2000
Titanium Donating Member
 
Posts: 3622
Images: 157
Joined: Thu Jul 26, 2007 10:18 pm
Location: Phoenix, AZ

Postby terryjones1 » Thu May 12, 2011 6:22 am

Shown below is a photo of the roof before epoxying the spars. The spars are 1" x 1" at seams & 3/4" x 1" for others. The front and rear curve will be done later.

Image

I need to drill some holes for three overhead lights. Then, I will epoxy the spars.
My TTT Garageable Standy Build Journal: viewtopic.php?f=50&t=40591
User avatar
terryjones1
Gold Donating Member
 
Posts: 266
Images: 1
Joined: Wed Aug 25, 2010 2:09 pm
Location: Lincoln, Ca
Top

Postby terryjones1 » Sat May 14, 2011 8:55 am

Shown below is roof with spars epoxyed to plywood interior roof. Notice the short 7" 1"x3/4", which will be used for mounting the overhead lights.

Image

Next, I will turn over roof, and epoxy & fiberglass tape the interior roof plywood seams. Then, I will prime & paint the interior roof. Installation will come later.
My TTT Garageable Standy Build Journal: viewtopic.php?f=50&t=40591
User avatar
terryjones1
Gold Donating Member
 
Posts: 266
Images: 1
Joined: Wed Aug 25, 2010 2:09 pm
Location: Lincoln, Ca
Top

Postby Woodstramp » Sat May 14, 2011 11:25 am

Man, your fit and finish is amazing on what you've done so far. More forethought and patience than I have. BTW, I love that radius rig you have on the router....nice.
User avatar
Woodstramp
The 300 Club
 
Posts: 438
Joined: Fri Nov 20, 2009 9:28 pm
Location: Aladambama
Top

Postby terryjones1 » Mon May 16, 2011 5:30 pm

Shown below is a photo of the inside of roof. I have epoxyed fiberglass tape at the seams. Tomorrow I sand & prime the inside of roof.

Image
My TTT Garageable Standy Build Journal: viewtopic.php?f=50&t=40591
User avatar
terryjones1
Gold Donating Member
 
Posts: 266
Images: 1
Joined: Wed Aug 25, 2010 2:09 pm
Location: Lincoln, Ca
Top

Postby terryjones1 » Fri May 20, 2011 9:38 am

Shown below is a photo of the ceiling. It has been painted (needs some touchup).

Image

I have now completed the left and right side, the front and back, the roof, and the fender wells.
Now, I have to install every thing.
First, I will install the fender wells.
Then, I will install the left and right walls.
Then, the front and back.
Then, of course, the roof.
My TTT Garageable Standy Build Journal: viewtopic.php?f=50&t=40591
User avatar
terryjones1
Gold Donating Member
 
Posts: 266
Images: 1
Joined: Wed Aug 25, 2010 2:09 pm
Location: Lincoln, Ca
Top

Postby aggie79 » Fri May 20, 2011 5:38 pm

Terry,

The moment we've all been waiting for seems to be just around the corner - assembly.

Thank you for the updates.

Take care,
Tom
Tom (& Linda)
For build info on our former Silver Beatle teardrop:
Build Thread

93503
User avatar
aggie79
Super Duper Lifetime Member
 
Posts: 5405
Images: 686
Joined: Tue Aug 07, 2007 5:42 pm
Location: Watauga, Texas
Top

Postby terryjones1 » Thu May 26, 2011 2:49 pm

Today, I took the trailer to the California DMV to get a license for the trailer. Shown below is photo of the trailer with the fenders permanetly installed. In the dropped floor is the tempory trailer lights that fell off returning from the DMV. In the garage, is the left & right walls, the front & rear walls, & the roof'

Image

Shown below is photo of California license plate. It only cost $38.

Image

Now I am on to installig stuff.
My TTT Garageable Standy Build Journal: viewtopic.php?f=50&t=40591
User avatar
terryjones1
Gold Donating Member
 
Posts: 266
Images: 1
Joined: Wed Aug 25, 2010 2:09 pm
Location: Lincoln, Ca
Top

Postby terryjones1 » Thu Jun 02, 2011 1:44 pm

I have installed the wall cleats on the trailer floor. They are made from 1-1/2 " x 1-1/2" wood bolted 1" away from the edge of the floor. The walls will be bolted to these cleats. No pictures of cleats yet!

I am going on a week and a half vacation to Beaverton, Oregon to visit one of our daughters & our grandson.

I will continue with wall installation when I return.
My TTT Garageable Standy Build Journal: viewtopic.php?f=50&t=40591
User avatar
terryjones1
Gold Donating Member
 
Posts: 266
Images: 1
Joined: Wed Aug 25, 2010 2:09 pm
Location: Lincoln, Ca
Top

Postby StandUpGuy » Thu Jun 02, 2011 3:28 pm

Looking real good. Your next steps will be the fun ones.

Slow and steady wins the race.
User avatar
StandUpGuy
1000 Club
1000 Club
 
Posts: 1090
Images: 52
Joined: Sun Mar 27, 2011 6:15 pm
Top

Postby terryjones1 » Tue Jun 14, 2011 12:46 pm

Shown below is a photo of a trial fitting of the trailer left side wall. It will require a little trimming.

Image

Shown below is a photo of the left side wheelwell. It looks OK to me.

Image
Last edited by terryjones1 on Sun Jun 19, 2011 5:59 pm, edited 1 time in total.
My TTT Garageable Standy Build Journal: viewtopic.php?f=50&t=40591
User avatar
terryjones1
Gold Donating Member
 
Posts: 266
Images: 1
Joined: Wed Aug 25, 2010 2:09 pm
Location: Lincoln, Ca
Top

Postby Woodstramp » Tue Jun 14, 2011 1:01 pm

Terry,

Just getting a look at the pieces and parts I can tell this thing will be spectacular. You are a craftsman.
User avatar
Woodstramp
The 300 Club
 
Posts: 438
Joined: Fri Nov 20, 2009 9:28 pm
Location: Aladambama
Top

Postby terryjones1 » Tue Jun 14, 2011 4:13 pm

I measured the hieght from ground to high point on side wall.
It is 83-1/2".
I still have 1/4" outside roof skin to add to roof when roof is installed.


My garage door opening is 84".
My calculations are working out OK.
When everything is installed, I will have even more clearance.
My TTT Garageable Standy Build Journal: viewtopic.php?f=50&t=40591
User avatar
terryjones1
Gold Donating Member
 
Posts: 266
Images: 1
Joined: Wed Aug 25, 2010 2:09 pm
Location: Lincoln, Ca
Top

Postby terryjones1 » Sun Jun 19, 2011 2:10 pm

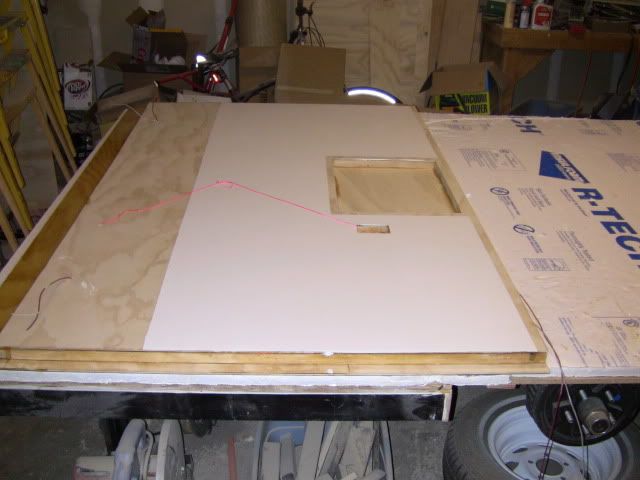
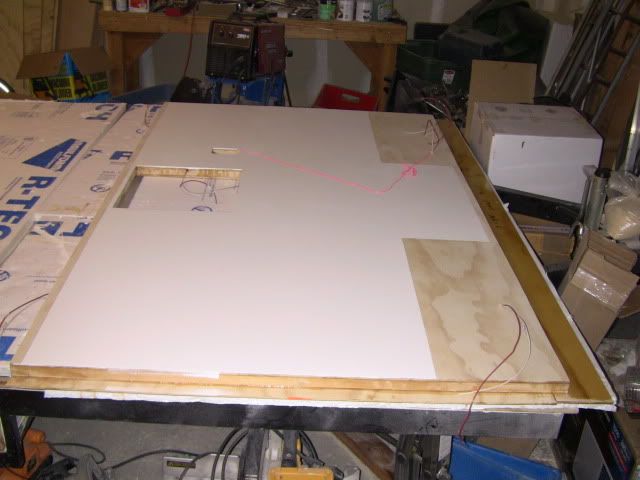
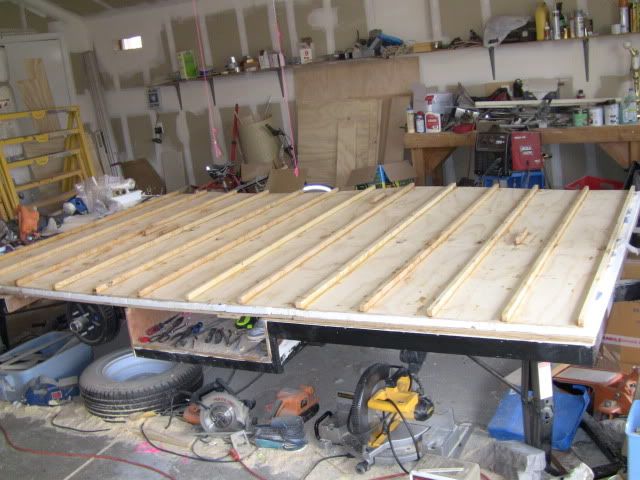
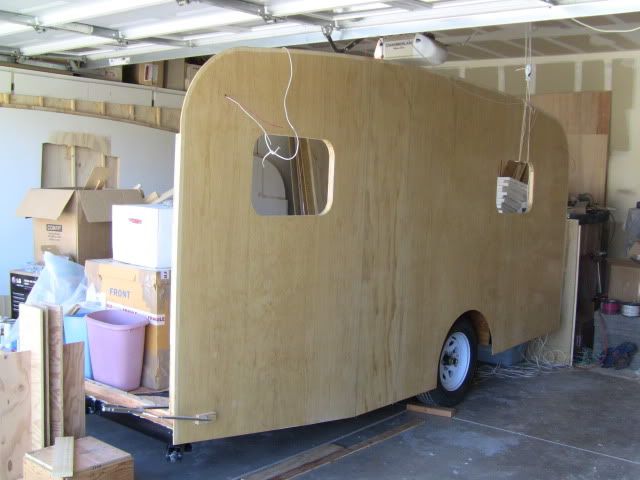
Shown below is a photo of the left side wall.
It has been installed on the floor.
The front and back walls are not yet installed.
I have just used them to provide support for left side wall.

Image

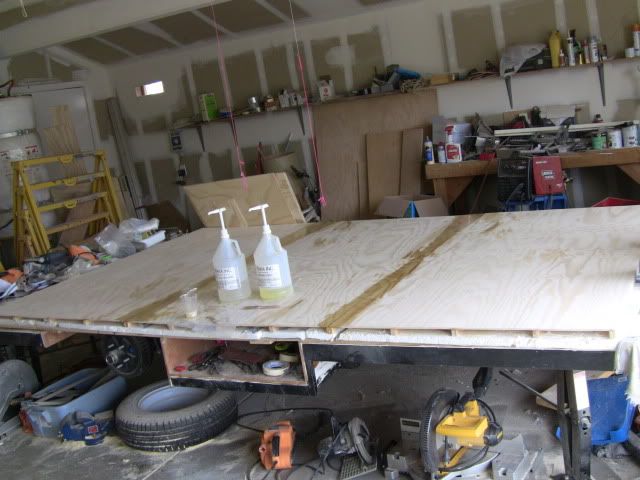
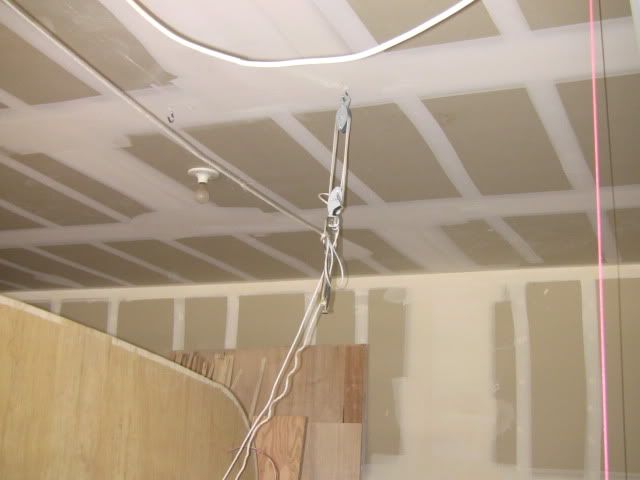
Shown below is a photo of the front most hoist/pulley that I use for lifting the heavy walls.
I have moved it over 24" so that I can easily install the right side wall.

Image

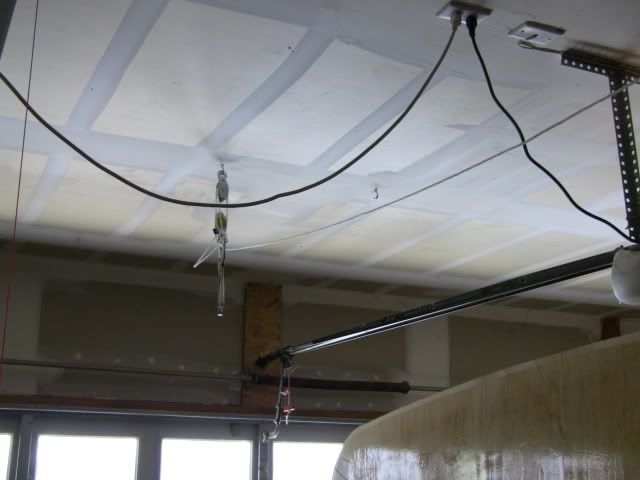
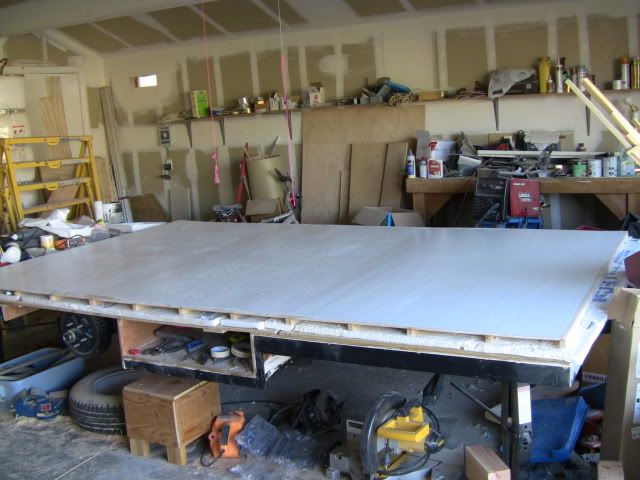
Shown below is a photo of the rear most hoist/pulley that I use for lifting the walls.
I have also moved it over 24" so that I can easily install the right side wall.
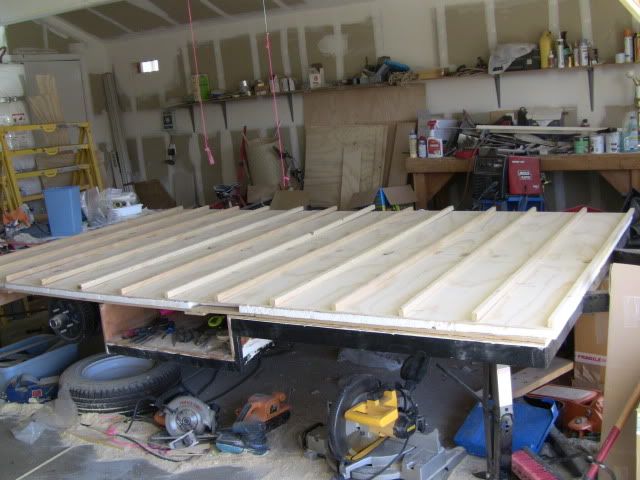
Using the hoist/pulley allows me to move the walls easily.

Image

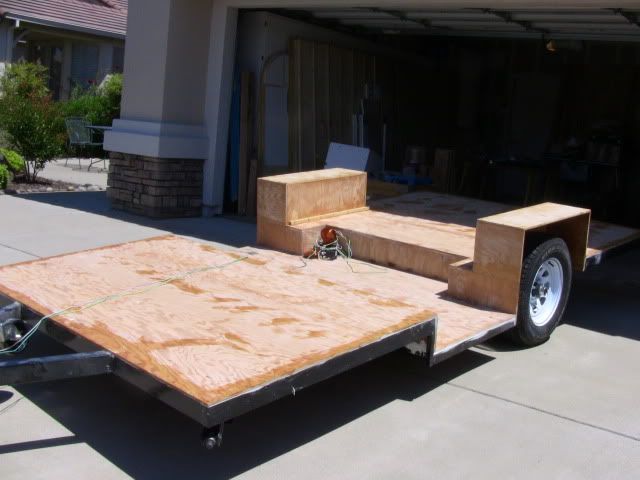
Tomorrow I will move the trailer over 24" so that I can easily have room to work on right side wall instalation.
My TTT Garageable Standy Build Journal: viewtopic.php?f=50&t=40591
User avatar
terryjones1
Gold Donating Member
 
Posts: 266
Images: 1
Joined: Wed Aug 25, 2010 2:09 pm
Location: Lincoln, Ca
Top

PreviousNext

Return to Build Journals

Who is online

Users browsing this forum: No registered users and 6 guests