The only person that gets up in the middle of the night is I.
I, of course, will be sleeping on the side of the bed near the drop floor.
In addition, I use a Bi-PAP machine at night for my sleep apnea. The machine will need to be on the side of the bed.
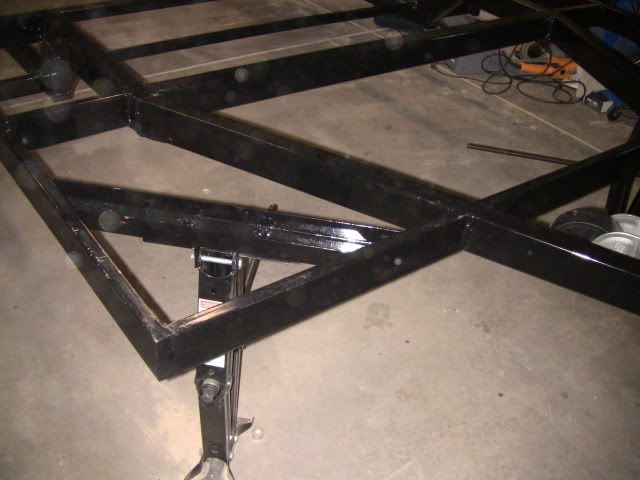
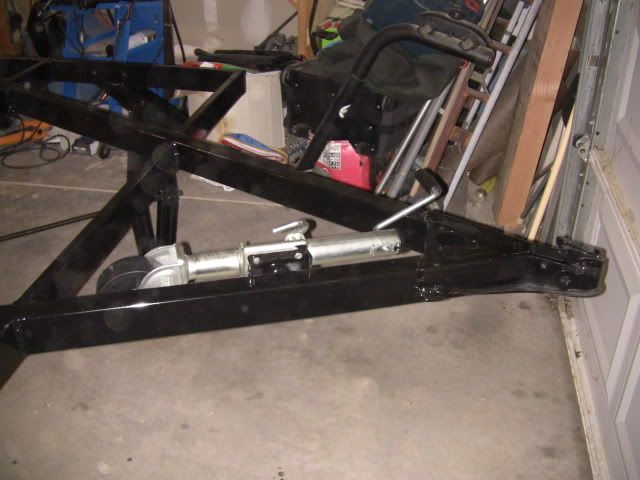
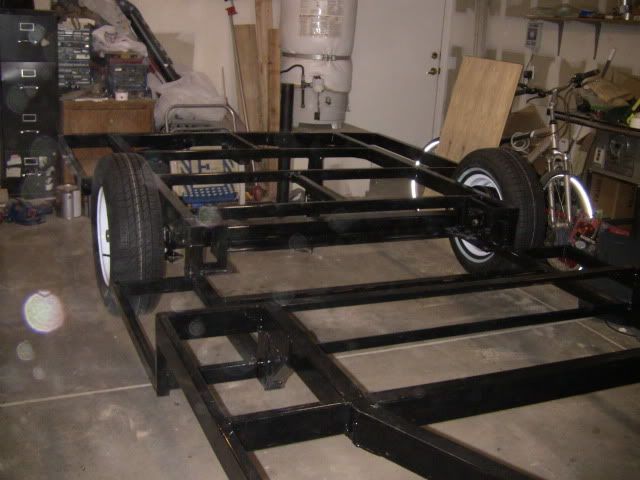
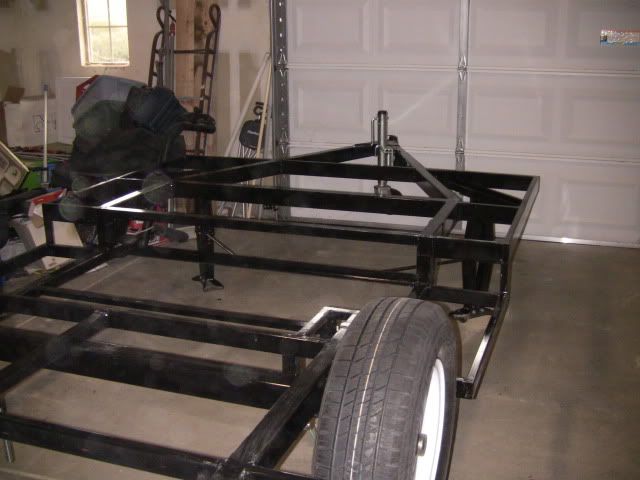
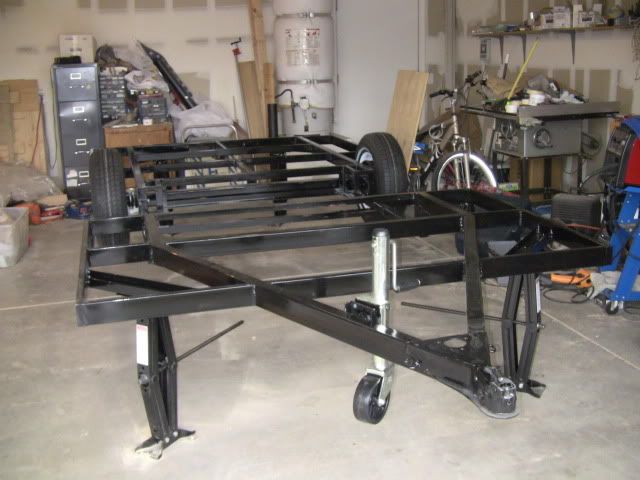
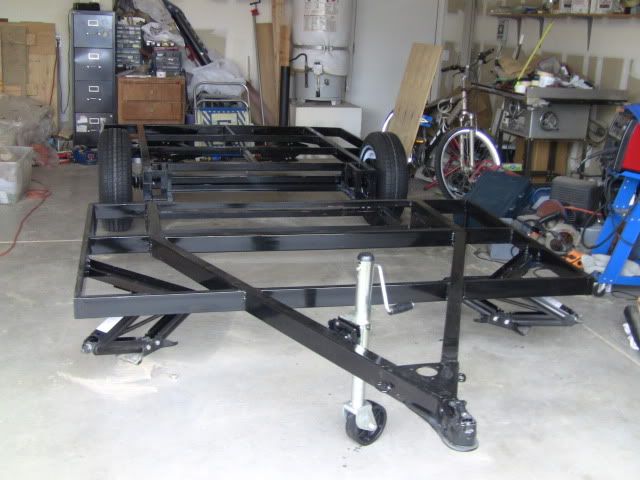
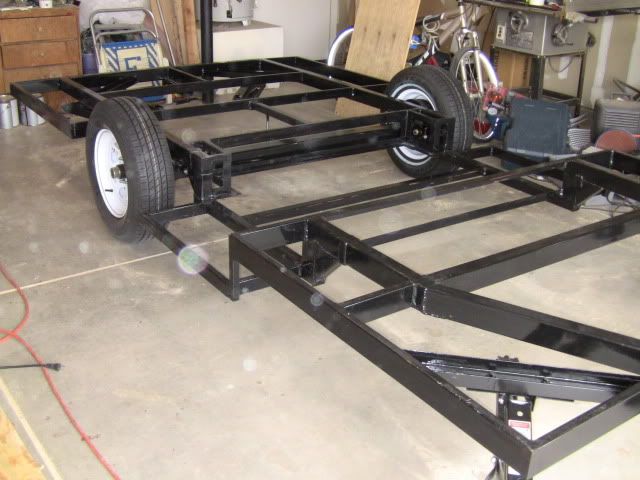
Terry's TTT Garageable Standy Build modifications
![]() by terryjones1 » Fri Dec 10, 2010 2:59 pm
by terryjones1 » Fri Dec 10, 2010 2:59 pm
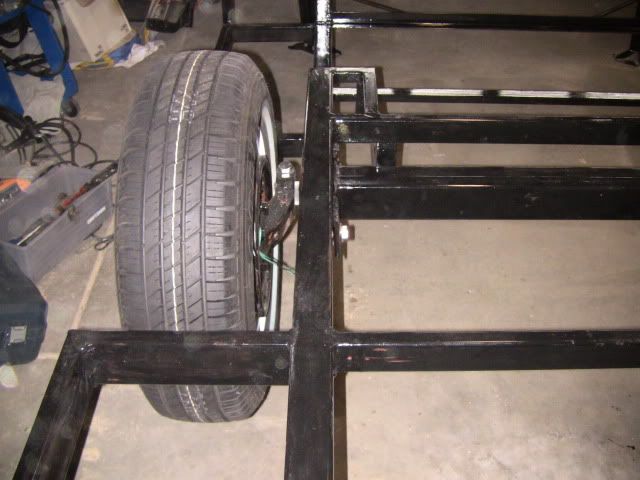
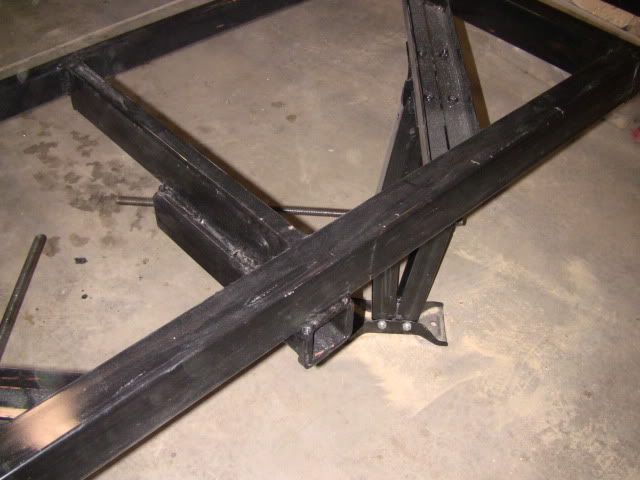
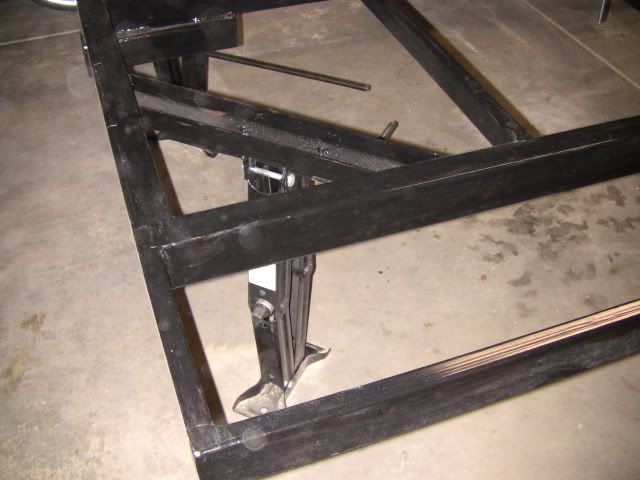
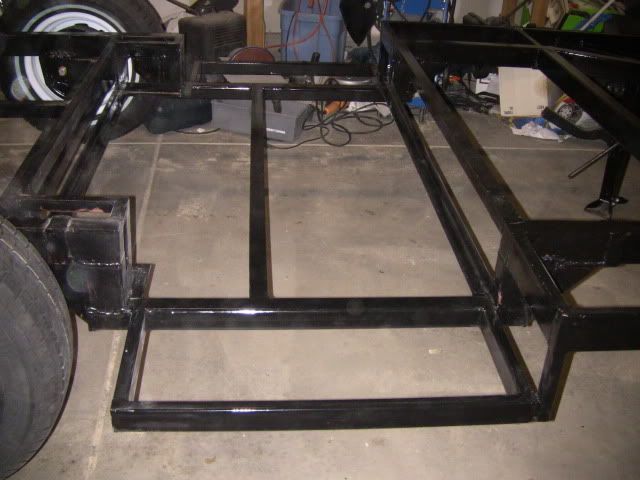
My TTT Garageable Standy Build Journal: viewtopic.php?f=50&t=40591
-
terryjones1 - Gold Donating Member
- Posts: 266
- Images: 1
- Joined: Wed Aug 25, 2010 2:09 pm
- Location: Lincoln, Ca
![]() by terryjones1 » Sat Dec 11, 2010 8:01 pm
by terryjones1 » Sat Dec 11, 2010 8:01 pm
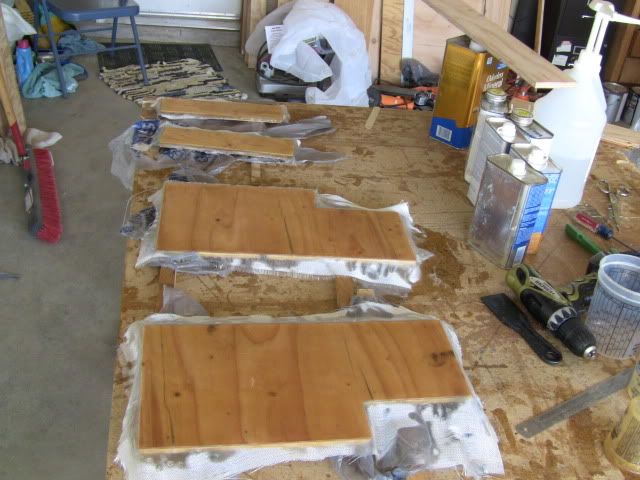
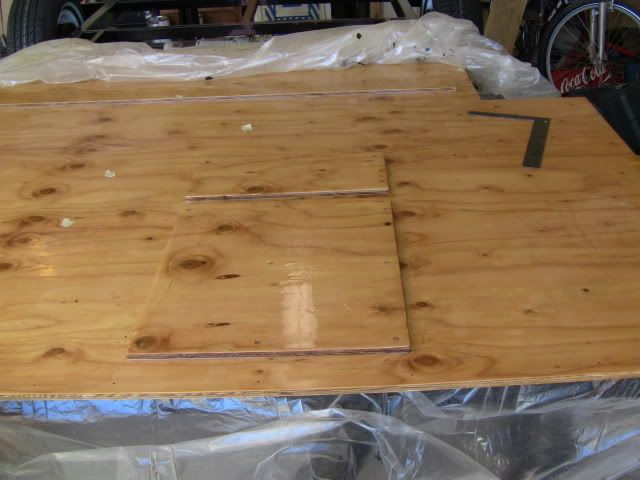
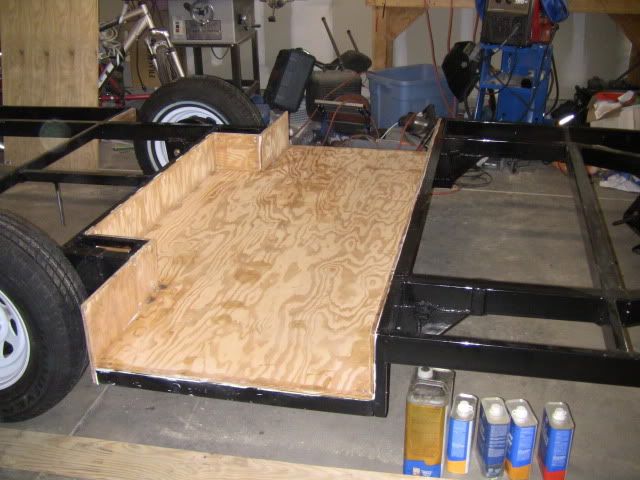
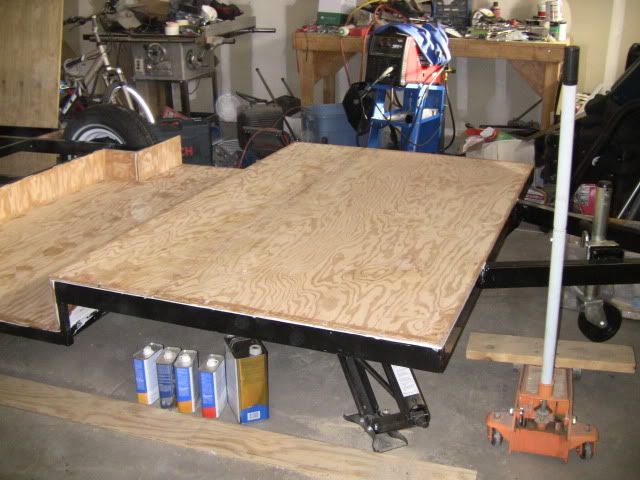
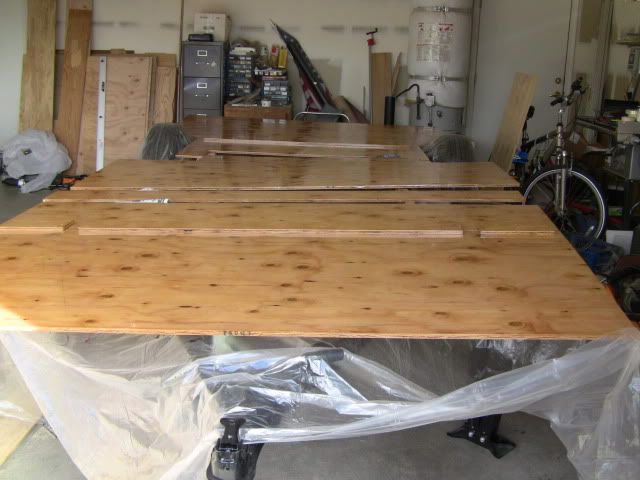
I have completed splicing the front and back plywood floor panels. I used 1" #6 flathead screws to hold the splice together. I used RAKA 127/608 Epoxy as a glue. I will not be removing the screws.
In addition, I have coated the bottom of the plywood floor with RAKA 127/608 Epoxy. A picture of the bottom of the plywood showing the splices & the Epoxy coating is shown below.
Next, I will paint the bottom of the plywood floor. I have not yet decided on the paint as yet.
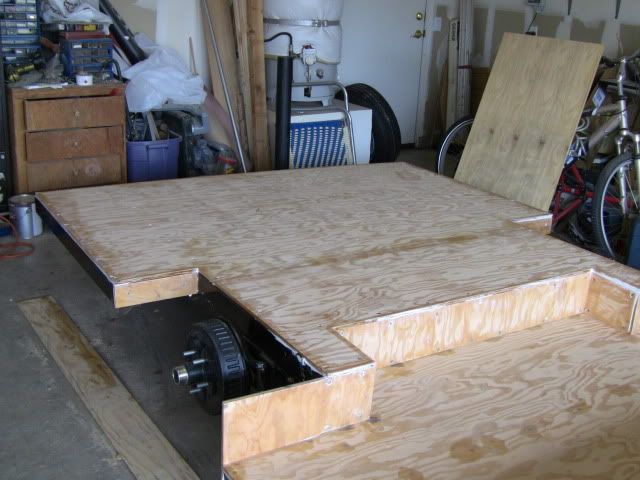
In addition, I have coated the bottom of the plywood floor with RAKA 127/608 Epoxy. A picture of the bottom of the plywood showing the splices & the Epoxy coating is shown below.
Next, I will paint the bottom of the plywood floor. I have not yet decided on the paint as yet.
My TTT Garageable Standy Build Journal: viewtopic.php?f=50&t=40591
-
terryjones1 - Gold Donating Member
- Posts: 266
- Images: 1
- Joined: Wed Aug 25, 2010 2:09 pm
- Location: Lincoln, Ca