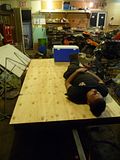
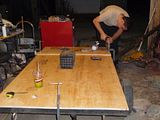
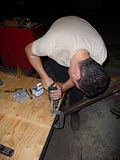
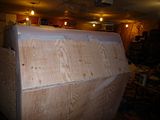
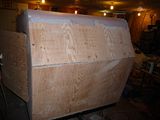
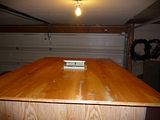
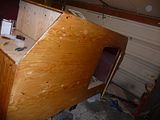
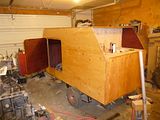
Chumptastic Budget Build 10 days $500 -7 year update!

...ask your questions in the appropriate forums BUT document your build here...preferably in a single thread...dates for updates, are appreciated....

Chumptastic Budget Build 10 days $500 -7 year update!

Postby Vanq » Tue Aug 23, 2011 10:09 am

As laid our in my introduction HERE I'm building a quick build to take on a 2000 mile journey to the Chump Car National Chumpionchip.

To Recap 10 days to build a teardrop for me and my wife, $500 budget. Anything I can steal from the house and put back in the same condition is fair game (thinking mattress and window air conditioner). Anything I can find in the garage is also fair game.

Looks like there's a lot of work to be done so on to Day 1 (all thumbnails are clickable for full size images):

Knowing a guy could easily spend the entire budget on a trailer frame I chose instead to spend ZERO- that's right FREE trailer.

How does one go about getting a free trailer? Easy, let friends & family know about your crazy ideas to build a teardrop and wait for someone to pump you full of misinformation so you will haul away their steaming pile. Oh and bring some spare wire...
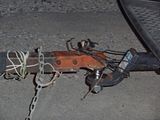
Image

Turns out the coupler on this bad boy is 1 7/8 and all my stuff is 2" so there's a little work to do there. On the plus side it tows great at 40kph as long as you have a friend to keep their foot on the coupling.

And I'm now the second owner of a 1965 Eaton True Line Campmaster!
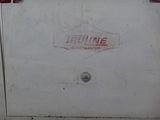
Image

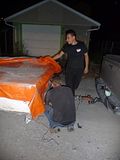
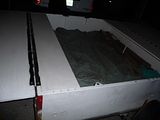
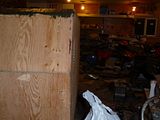
After that it was time to peel back the decaying tarps and see what was hiding inside...
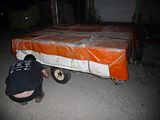
Image

Image

Image

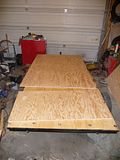
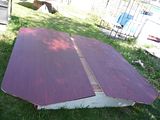
Turns out there was a bunch of household vapor barrier under the decayed tarp and it kept everything in pretty good shape- folded out the wings and look at that there is a VERY smelly canvas top in there. At this point I was almost thinking just set up the top and go camping, but as it turns out there are some holes and it seems to have shrunk several sizes as it's no where near a fit. Still pretty cool so thats in a corner airing out.

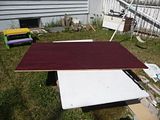
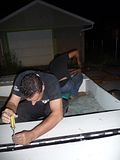
Back to those wings... I'm looking at them and seeing a pair of 5 foot long piano hinges and a couple chunks of really solid 3x6 plywood hidden under a couple layers of bad paint... off they come and into the 'keep' pile
Image

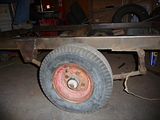
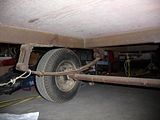
Allright, that was cool but now lets look under it an see the business end of this thing: 1000lb axel 8 inch tires OH YEAH thats the good stuff...
Image

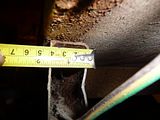
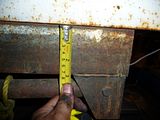
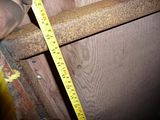
Lets bust out the tape measure:

Image

Image

Image

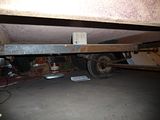
inch and a half by 3 inch box steel frame fore and aft rails 46 1/2 inches apart... 46.5 + 2 sheets of 3/4 ply= 48 inches... mighty convenient. Down side is its only 6 feet long with kinda a stumpy tongue. Of course we could just unbolt the tongue ( 2 inch C-channel).
Image

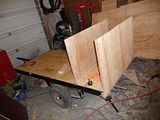
Another interesting tidbit- I've read several teardrop builds where a sub frame was built under the floor to attach to the frame. The folks at T. Eaton Co. Limited seemed to think 24 rivets were adequate to secure the 3/4 plywood floor to the frame of this trailer, and it turns out the trailer is still around a decade after one of our national treasures closed its doors for good. (For the americans wiki EATONS ) It seems to me this is alot easier method of construction, and if I get 45 years out of the trailer I think I could be satisfied with that. A few minutes with a drill and off comes her skirt.

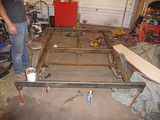
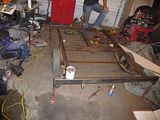
Unfortunately at this point in time my wife went to bed so the quantity of pictures dropped off significantly. So no pics of carrying out the 6x6 box or the initial frame cleanup. After sitting back and squinting for a while I decided the trailer was too high so a quick axle flip was in order... by midnight I was pretty happy with the first days progress and this is what we are left with:
Image

Image

Image

On deck for day 2- During the day: Decide on body style & dimensions
In the evening: Stretch frame to 8 feet, swap to 2" coupler, inspect and maintain axles & hubs, and sleep more than I did on day 1.
Last edited by Vanq on Fri Aug 24, 2018 11:51 am, edited 1 time in total.
-Vanq-

My Build
User avatar
Vanq
Teardrop Builder
 
Posts: 36
Joined: Thu Aug 18, 2011 11:59 am
Location: Regina, Sk

Day 2

Postby Vanq » Tue Aug 23, 2011 10:11 am

So I think I'm doing a miniaturized version of the Mega Mini profile as seen here:

http://eye4designconversions.webs.com/a ... id=4849873

I like the modern look and the simplicity of the rear galley/hatch construction. I think I'll soften top front curve to make it easier to bend ply around it. Scaling it to a 8 foot length puts it at a little under 4 feet, so if I body drop mine to cover the frame completely the proportions should be about the same.

Using 1 sheet for the sides with about a 4 inch bulge on the back and an 6 inch bulge on the front gives me 86 inches of floor... thinking 74 inches of bed and 12 inches of storage less one ply thickness.

I still have to work this afternoon so there's about 5 hours for input before the metal starts melting... after that floor length will pretty much be fixed.

More after work...

So about that getting more sleep thing... didn't work out that way. Turning some attention to the frame turned into realizing I didn't have anything long enough to make the tongue I wanted in my scrap pile, and I really don't trust the 15+ year old 8" tires to get me down the highway. This lead to an hour or so wasted on shopping. Day 2 and I started damaging the budget- I bought 8 feet of 2x2 .120 wall box steel for the tongue, and a sheet of 5x8 4x8 ply for the floor. Total cost ~$45.

I looked at tire options-
13" wheels (have tires in my spares collection) $45
12" wheel & tire combo $115
8" tire $25

I like the idea of going to bigger tires, but it would mean fabbing some lowering blocks, or messing with spring shackles, or something to keep the chassis low... I wonder how bad 8" tires would really be?

The other thing I did was swing by an RV dealer and asked about roof vents- cheapest thing they sell is a simple crank open roof vent $189. Thats a budget buster for me so I'll have to ponder what else could be done... suggestions would be helpful.

After that it was back to the garage for the good part...

Image

Image

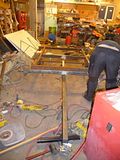
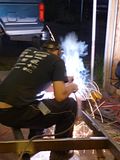
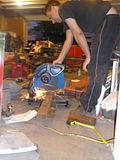
A quick measurement showed the existing frame was square (or at least within 1/16th) so I used the front of the existing frame as a template to lay and clamp the extension section to then it was time to melt metal...

Image

Image

Just like magic we now have a 7 1/2 foot by 4 foot frame ready to toss some plywood on and take for a test drive...

Image

Image

Image

Day 3 plan- add some detail to the interior plan, secure the floor to the frame, weatherproof the chassis, start on interior bulkheads/cabinets
Last edited by Vanq on Wed Aug 24, 2011 9:52 am, edited 2 times in total.
-Vanq-

My Build
User avatar
Vanq
Teardrop Builder
 
Posts: 36
Joined: Thu Aug 18, 2011 11:59 am
Location: Regina, Sk

DAY 3

Postby Vanq » Tue Aug 23, 2011 10:12 am

Lunch break update-
This work thing is really cutting into my trailer build time... on the plus side there is lunch! Off to a HUGE RV dealership- found a clearance bin mini roof vent... 9x9 and a pretty thin mounting flange might just be the ticket if I a better venting option doesn't pop up. They also had some used 22x30 emergency egress windows. I had kinda ruled out opening windows out of respect for the budget, but I'm now reconsidering. Kicker is having to figure out how to use a window designed for a 2 inch wall in a wall only 3/4 inch thick. Still I'm sure opening a window after I made some campfire chili would win points with the wife... and it could simplify my life by allowing me to get away with only 1 door if there was an escape hatch.

More after work...

Pop quiz- What do Ice race tires and my trailer have in common? They are both built using the same box of screws and fender washers!

I first tried using some self tapping screws which simply sheared themselves right at the cutting tip once they started to break through the frame, then some other self tappers with Similar results. Finally I gave up piloted all the holes and grabbed the ice racing specials. After that it was a whole bunch of this:

Image

Image

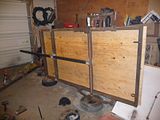
Finally with the flooring secure I tipped it up and went in search of sealant for the floor and chassis...

Image

Image

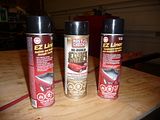
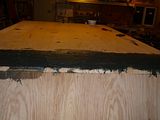
Turns out bed liner and rocker guard share a lot in common, both spray out a a pile of black goo, both harden to a paint-able surface, and both are found in various partially filled cans in my garage.

The camera went back in the house before the spraying started, so unfortunately there are no pictures of the finished product yet... judging by the look of my hands this morning it was the right call. Other than having to share 'the good nozzle' between cans there were no huge surprises.

Plans for day 4- plan door, get wood, and maybe make some more saw dust.
Last edited by Vanq on Thu Aug 25, 2011 9:47 am, edited 2 times in total.
-Vanq-

My Build
User avatar
Vanq
Teardrop Builder
 
Posts: 36
Joined: Thu Aug 18, 2011 11:59 am
Location: Regina, Sk
Top

Day 4

Postby Vanq » Tue Aug 23, 2011 10:12 am

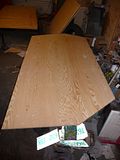
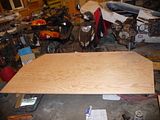
Finally some fresh lumber to destroy... Day 4 was a budget buster with ~$210 spent on plywood stain and some other odds and ends. I decided to go with 5/8 for the whole trailer- mostly so I don't accidentally grab the wrong sheet. It was quite late when I finally got home due to a little overtime at work, but I still managed to make a little saw dust...

Image

Image

Image

I'm envious of the folks on here who have time and skill to design in CAD, its a much better way to visualize the finished product. Unfortunately I went with what I know- a chunk of graph paper. To give you all a better image I broke out MS paint and enhanced my original pencil drawing- Blue is walls, Green is floor, red are interior cabinetry, yellow is door. Drawing is roughly to scale, 6inches per square.

Image

As always comments and feedback appreciated!
Last edited by Vanq on Fri Aug 26, 2011 9:42 am, edited 1 time in total.
-Vanq-

My Build
User avatar
Vanq
Teardrop Builder
 
Posts: 36
Joined: Thu Aug 18, 2011 11:59 am
Location: Regina, Sk
Top

Day 5

Postby Vanq » Tue Aug 23, 2011 10:12 am

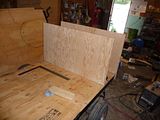
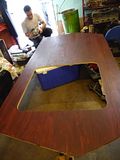
Day 5 sucked- thought I was all smart having my wife stain the pannels in the morning, but they wern't dry enough to work with. They will be left overnight. Gave me plenty of time to plan, and practice on some scrap to make sure I still remember which is the spinny end of a router.

Image

Image
Last edited by Vanq on Sat Aug 27, 2011 12:58 pm, edited 1 time in total.
-Vanq-

My Build
User avatar
Vanq
Teardrop Builder
 
Posts: 36
Joined: Thu Aug 18, 2011 11:59 am
Location: Regina, Sk
Top

Day 6

Postby Vanq » Tue Aug 23, 2011 10:13 am

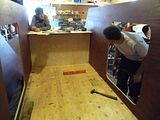
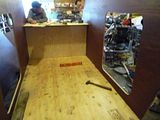
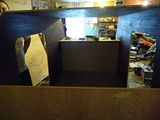
Day 6- the day things started to come together- literally! I decided to start with the rear lower cabinets so I had something structural to secure the sides to and hopefully help keep things square
Image

Image

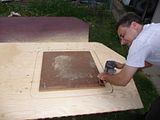
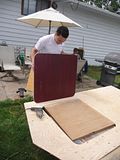
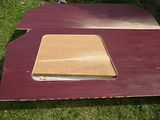
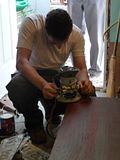
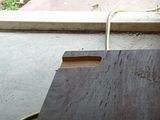
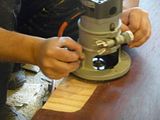
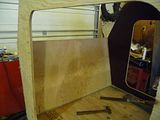
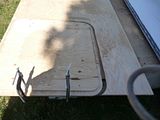
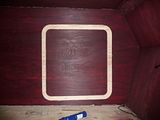
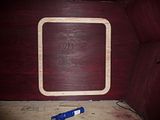
After that out comes the router and the 'template' for the door (actually the top off an old dishwasher)

Image

Image

Image

Image

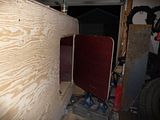
Then a little clearencing for the spring mounts and otther small portrusions from the frame

Image

Image

Image

Ther repeat for the other side and stand them up together to see if they are a matched set...

Image

Sweetness... next is standing the walls as my grandpa heckles...

Image

Image

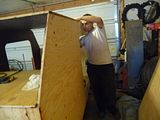
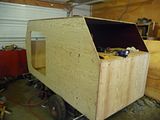
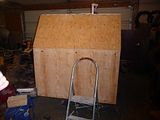
And finally cap it off with a roof flexing the sidewalls so they run true as I nail it down.
Image

Image

Image

Image

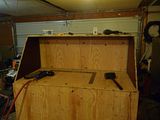
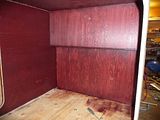
Talk about flow through ventilation... but probably not so good in the rain so it all gets boxed in.

Image

Image

Image

Image

Image

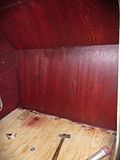
Finally a little bit of stain before we call it a night.

Image

Image
Last edited by Vanq on Mon Aug 29, 2011 11:48 am, edited 5 times in total.
-Vanq-

My Build
User avatar
Vanq
Teardrop Builder
 
Posts: 36
Joined: Thu Aug 18, 2011 11:59 am
Location: Regina, Sk
Top

Day 7

Postby Vanq » Tue Aug 23, 2011 10:13 am

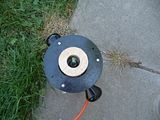
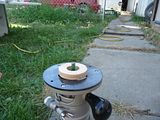
Day 7- It appears I have somehow angered the construction gods... It seemed simple enough in my head- I want a 2 or 3 inch trim for the doors my router guide plate is 6 inches so build a quickie adapter.

Step 1- find scrap piece of wood at least as thick as what I'm trimming.
Step 2- run a 3 inch hole saw through the wood.
Step 3- run a 1 1/4 hole saw through the middle of that so the bit has somewhere to poke through
Step 4- screw this to the router guide plate and cut trim.

Image

Image

Unfortunately this series of steps took me over 4 hours... first my cheapie hole saw kit doesen't go that big, so I waited in the parking lot to be a door crasher at the hardware store on a Sunday. Second the hole saw I bought doesen't use the same size mandrel as mine- back to the store. Next I went to use my hole saw kit to make the inner hole only to mind the set screw is stripped so the mandrel spins but not the blade- back to the store. What a monumental waste of time for what should have been a 5 minute job!

After all this finally on to getting some work done...

Image

Image

Image

Trims cut- not quite square since I was so angry at my wasted morning I didn't spend a lot of time getting things set up... maybe I'll re-do them after this trip.

Break for B-day supper with the family then on to Screws, glue and door hinges!

Image

Image

Image

End of the day its good enough for now... not perfect but probably not all that noticible once everythign is finished.


Image

Image

On to the other side...

Image

Image

And somewhere along the way I managed to throw some short strand over the front edge so that should be dry and ready for shaping tomorrow...

Image
Last edited by Vanq on Mon Aug 29, 2011 12:09 pm, edited 2 times in total.
-Vanq-

My Build
User avatar
Vanq
Teardrop Builder
 
Posts: 36
Joined: Thu Aug 18, 2011 11:59 am
Location: Regina, Sk
Top

Day 8

Postby Vanq » Tue Aug 23, 2011 10:13 am

:x

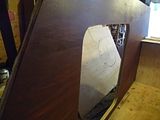
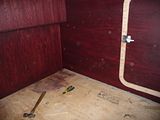
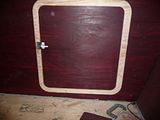
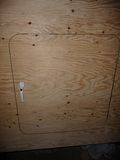
Note the nicely splintered wood right next to my strike plates:

Image

Image

So close but not quite centered...

Image

And the hatch thats just enough off square to really tick me off...

Image
Last edited by Vanq on Wed Aug 31, 2011 10:51 am, edited 2 times in total.
-Vanq-

My Build
User avatar
Vanq
Teardrop Builder
 
Posts: 36
Joined: Thu Aug 18, 2011 11:59 am
Location: Regina, Sk
Top

Day 9

Postby Vanq » Tue Aug 23, 2011 10:14 am

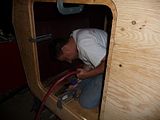
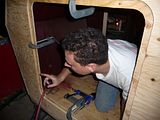
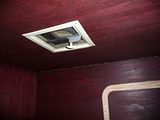
Roof Vent

Image

Image

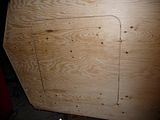
Working on front radius

Image

Image

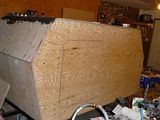
Then off with the hardware and resin coat everything to waterproof this crate...

Image

Image

Image
Last edited by Vanq on Wed Aug 31, 2011 10:55 am, edited 1 time in total.
-Vanq-

My Build
User avatar
Vanq
Teardrop Builder
 
Posts: 36
Joined: Thu Aug 18, 2011 11:59 am
Location: Regina, Sk
Top

Day 10

Postby Vanq » Tue Aug 23, 2011 10:14 am

Gone Camping!

See page 4 for the re-build!
Last edited by Vanq on Fri Aug 24, 2018 11:43 am, edited 1 time in total.
-Vanq-

My Build
User avatar
Vanq
Teardrop Builder
 
Posts: 36
Joined: Thu Aug 18, 2011 11:59 am
Location: Regina, Sk
Top

Postby GeenGrey » Tue Aug 23, 2011 11:19 am

Looks like a lot of fun. I can't wait to see what you come up with. I love the "recycling/repurposing" aspect of your project.
GeenGrey
Teardrop Inspector
 
Posts: 12
Joined: Fri Aug 05, 2011 10:02 pm
Location: So Cal
Top

Postby campmaster-k » Tue Aug 23, 2011 12:13 pm

Great idea. Post lots of pics.
-Kirk

>TnTTT ORIGINAL 200A LANTERN CLUB

>CEO Coleman Recovery Inc.

>Nor Cal Camping Pinewood Racing Team


Build thread -

viewtopic.php?t=45307&postdays=0&postorder=asc&start=180

Check out my Pictures -

http://s1199.photobucket.com/albums/aa4 ... 0QQtppZZ24
User avatar
campmaster-k
Lifetime member
 
Posts: 3030
Images: 17
Joined: Fri Jun 17, 2011 5:02 pm
Location: Colusa, California
Top

Postby Woodbutcher » Tue Aug 23, 2011 7:41 pm

This should be fun for all of us! :applause:
User avatar
Woodbutcher
Platinum Donating Member
 
Posts: 4187
Images: 45
Joined: Fri Mar 10, 2006 10:01 pm
Location: Chicago Suburbs
Top

Postby Vanq » Wed Aug 24, 2011 9:54 am

Updated with day 2- feedback on tires/wheels & vents greatly appreciated.
-Vanq-

My Build
User avatar
Vanq
Teardrop Builder
 
Posts: 36
Joined: Thu Aug 18, 2011 11:59 am
Location: Regina, Sk
Top

Postby Vanq » Thu Aug 25, 2011 9:52 am

Updated with day 3- input on door hardware thats commonly available greatly appreciated.
-Vanq-

My Build
User avatar
Vanq
Teardrop Builder
 
Posts: 36
Joined: Thu Aug 18, 2011 11:59 am
Location: Regina, Sk
Top

Next

Return to Build Journals

Who is online

Users browsing this forum: No registered users and 54 guests