CrowsWing , So long and thanks for all the fish.

...ask your questions in the appropriate forums BUT document your build here...preferably in a single thread...dates for updates, are appreciated....

Postby Elizabeth C. » Mon Dec 19, 2011 9:53 pm

Dear Gus,

After all the years I have spent with my husband I am no longer surprised by anything he can or can not do. Sometimes he's pure genius, other times not so much, but always entertaining. It helps that like my new camera I am also shock-proof ( unless I'm dropped from over a five foot height).


In reply to Kharn,

Here is my new idea to hold the drawer open while cooking:

ImageLatch down

ImageLatch up

Here's the link:
gate latch

I didn't quite understand your dovetail idea. You'll need to expound upon it more, maybe it's better .

Later Taters,
Dr. C-Dawg
Last edited by Elizabeth C. on Sun Jul 22, 2012 7:41 pm, edited 1 time in total.
Our build in e-book form "The Teardrop Year" available at e-book, book or pdf at book or pdf

Read my Hubbys version here: CrowsWing Teardrop
User avatar
Elizabeth C.
Donating Member
 
Posts: 70
Images: 356
Joined: Mon Feb 07, 2011 6:38 pm
Location: King George, Virginia

Postby rand_98201 » Mon Dec 19, 2011 11:45 pm

Im new to the forumn and im very interested in how this build progresses as I too would like to build something similar.
rand_98201
Teardrop Advisor
 
Posts: 88
Joined: Sun Dec 18, 2011 3:04 am
Location: Western Washington

Postby Kharn » Wed Dec 21, 2011 7:57 am

The dovetail would go on the back of the panel you've drawn the latch on, just a block of wood that would be mounted in place only when the drawer is open and preventing it from closing by interfering with the cabinet face or wall edge
User avatar
Kharn
500 Club
 
Posts: 655
Images: 1
Joined: Sun Jul 17, 2011 1:54 pm
Top

Postby Heifer Boy » Sat Dec 24, 2011 6:51 am

You have some nice ideas there. I'm settling in for the long haul :thumbsup:
Heifer Boy
Teardrop Builder
 
Posts: 38
Joined: Mon Feb 28, 2011 1:51 am
Location: Woolamia, NSW
Top

Postby iSpy » Sun Dec 25, 2011 5:35 am

Nice build :D

you could make it a 'dual' crowswing ????

Image

I have two wings on my unit. they both keep the sun (and sometimes the rain) away. These wings are sloped towards the unit to allow 'pooling' of water nearer the van, where you are less likely to walk. The wings are adjustable in height.

Looking forward to seeing your build progress :)
iSpy
Teardrop Advisor
 
Posts: 51
Images: 1
Joined: Tue May 17, 2011 3:10 am
Location: UK
Top

Re: CrowsWing offroad benroy build

Postby NonProfit » Mon Dec 26, 2011 1:00 am

Elizabeth C. wrote:This build will be a little more expensive and complex then some. I make no apologies.


Looks like a wonderful project! Please feel free to not answer, but I was wondering if you've estimated how much you'll spend on the build. This is much more upscale than most that I've seen; it looks beautiful!
NonProfit
Teardrop Builder
 
Posts: 27
Joined: Wed Dec 07, 2011 10:35 pm
Location: Illinois
Top

Postby jdarkoregon » Mon Dec 26, 2011 12:38 pm

I'm liking the access to the underfloor storage. You are presenting an amazing set of images to show your progress. '

I hope to someday see this trailer

John
Innovation is essential
The world can be better
ImageImage
User avatar
jdarkoregon
Donating Member
 
Posts: 1236
Images: 47
Joined: Mon Aug 22, 2005 7:07 pm
Location: Oregon, Sublimity
Top

Postby Elizabeth C. » Mon Dec 26, 2011 7:50 pm

:D Thanks everyone, I hope this build lives up to your expectations. :D

iSpy: Awesome trailer! I love the shiny trim. It looks like it is ready to take flight. 8)


Nonprofit: We are budgeting for the build to be $14,000 to $16,000. The same trailer would probably be able to be built for much less with a homebuilt steel chassis , less expensive finishes and run of the mill hardware. We are very fortunate, we have stable jobs and normally live well within our means. My husband sold a car he owned since he was 15 years old (a 65 nova wagon) and we made the decision to cash in a whole lilfe insurance policy I've had since graduating college, thus providing the cash. When we priced offroad trailers, we found they were almost as much, but without the storage areas and galley we wanted,

....therefore we build. :)


We spent the last few days working on the trailer, I will post more as I get organized. It's been a long day and I have sawdust in every pore and crevice (you know what I mean).

After awhile crocodiles,
Dr. C-Dawg (dog tired!)
Our build in e-book form "The Teardrop Year" available at e-book, book or pdf at book or pdf

Read my Hubbys version here: CrowsWing Teardrop
User avatar
Elizabeth C.
Donating Member
 
Posts: 70
Images: 356
Joined: Mon Feb 07, 2011 6:38 pm
Location: King George, Virginia
Top

Postby mikeschn » Mon Dec 26, 2011 8:02 pm

Interesting build. Keep the pictures coming! Lots of good ideas in that design!

Thanks,

Mike...
The quality is remembered long after the price is forgotten, so build your teardrop with the best materials...
User avatar
mikeschn
Site Admin
 
Posts: 19202
Images: 479
Joined: Tue Apr 13, 2004 11:01 am
Location: MI
Top

Postby Elizabeth C. » Mon Dec 26, 2011 9:28 pm

So here's the write-up I promised.

I had a three day week-end to work on the trailer, unfortunately, my hubby only had Sunday off. He helped as much as possible, but I ended up enlisting help from my teenage children quite often. I don't know how any of you out there are able to build by yourselves, its exhausting ! You solo builders have my admiration.

My 14 year old daughter turned out to be an excellent glue spreader, as well as being able to handle her end of the 5x10 sheets of plywood. My 16 year old son cheerfully lent a hand as well when I could pry him away from his new video game. (as if battling dinosaurs is as fun as this.)

We finished gluing the 5x5 plywood to the inside of the first wall.

Image

After sitting overnight I used the flush trimmer to finish the edges.

Image
Sorry for the lack of focus. It looks ephemeral doesn't it?

Then I used a sanding block (old school) to tidy everything up.

Image
I'm trailer building so fast- I'm just a blur!

Then I routed the dados for the bulkhead and bedroom floor.

Image
(This router makes my butt look big.)

Close-up of router jig.

Image

All done . Side one.

Image
Then more gluing, clamping, trimming, dadoing (not a real word?), and tah-duh side two:

Image
Second verse, same as the first!

Then the layout for the bulkhead. Captain Morgan helped with this. (I definitely need to double check my work in the morning.)

Image
Next day: fenestration.

Image
Cutting out the access panel for the spray-away and fill.

Bulkhead in situ.

Image
So far so good!

Next : cutting out bedroom floor with access for water tank.

Image
Holy hole! That's a whole lot of hole!

Now with the hatch cover:

Image
Is it still a hole when it's filled??

Last chore for the evening. Gluing baltic to the bedroom side of the bulkhead.


Image
That's my husband crawling around on the floor wiping up drips. What a trooper!


That's all folks!!!!
Dr. C-Dawg
Last edited by Elizabeth C. on Sun Jul 22, 2012 7:44 pm, edited 1 time in total.
Our build in e-book form "The Teardrop Year" available at e-book, book or pdf at book or pdf

Read my Hubbys version here: CrowsWing Teardrop
User avatar
Elizabeth C.
Donating Member
 
Posts: 70
Images: 356
Joined: Mon Feb 07, 2011 6:38 pm
Location: King George, Virginia
Top

Postby NonProfit » Tue Dec 27, 2011 12:11 am

Thanks for the info, this will be a fun build to watch!
NonProfit
Teardrop Builder
 
Posts: 27
Joined: Wed Dec 07, 2011 10:35 pm
Location: Illinois
Top

Postby WhitneyK » Tue Dec 27, 2011 8:55 am

Elizabeth,

How come you're the only one we see working on this project? :lol:

(looks like you keep you're husband handy for clean up jobs though)

Enjoying the build, press on!
Whitney & Tracie
Crothersville, IN

We never really grow up, we only learn how to act in public.

Do not confuse what you hear with what I mean.

My build: http://www.tnttt.com/viewtopic.php?t=41955

160061-------------------------------101114
States we've drug our
li'l camper through. (44 States + Vancouver Island and over 45,000 miles so far)
User avatar
WhitneyK
Gold Donating Member
 
Posts: 559
Images: 412
Joined: Sun Dec 12, 2010 10:28 pm
Location: IN, Crothersville (36mi N or Louisville)
Top

Postby aggie79 » Tue Dec 27, 2011 9:26 am

:thumbsup: :applause: :thumbsup: Fantastic progress Elizabeth! You've done more in a short time than I accomplished in 6 months.

Like everyone else, I love the design. Can't wait to see this one come together.

Take care,
Tom
Tom (& Linda)
For build info on our former Silver Beatle teardrop:
Build Thread

93503
User avatar
aggie79
Super Duper Lifetime Member
 
Posts: 5405
Images: 686
Joined: Tue Aug 07, 2007 5:42 pm
Location: Watauga, Texas
Top

Postby Elizabeth C. » Wed Jan 11, 2012 10:30 pm

Hey I'm back!

Thanks for the encouragement Tom, If any of this build looks eerily familiar to you, it's because we are borrowing heavily from your Silver Beetle build. It may seem that the build is going fast but there is actually many hours of planning and dreaming behind every step. We also have Mondays off work and an absolute lack of social life.

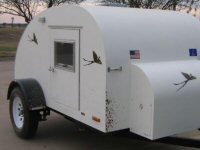
I notice nobody has mentioned anything about the lack of chassis under this trailer. We are still waiting on our custom aluminum trailer. There have been various delays. The same company is making the tongue box and hatch doors. For now we plan on fitting everything together temporarily so at least we are making headway, but it will all need to be dissembled and reassembled later. You may also notice that the openings for the hatches haven't been cut. I want to have them on hand so I don't screw it up.

Even though I haven't posted anything for a couple of weeks, we have made some progress. New years weekend brought with it some very mild weather. Even my flowering quince thinks its spring.
Image
Christmas Quince?

My folks were in town visiting ( from northwestern Pennsylvania) so we were busy eating and drinking and card playing. James had a couple extra days off work so he was able to get everything sanded and prepped and then applied 3 coats of polyurethane ( the fast dry variety by Minwax).
Image
It was fortunate that it was warm outside so the garage didn't get too fumed. However gnats seemed to find it irresistible. We didn't figure that bugs would be a problem this time of the year. Luckily they weren't too deeply stuck so we could just sand them off.

Image
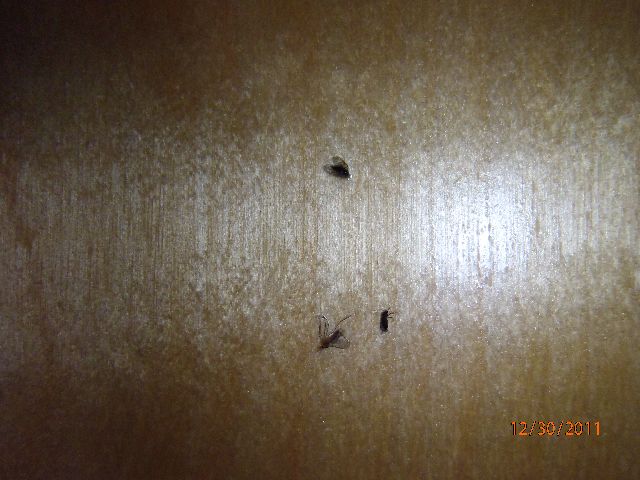
This is really expensive fly paper.

Then it was back to work for the rest of the week.

Last weekend we made a trip to lowes to buy some 2x10x10s and some luan. They were out of cabinet grade plywood so that will have to wait for another week. When we got home we ripped the 2x10s into 1 ½ inch spars and 3 inch studs. I then traced and cut out of ¾ inch plywood the supports for the curved sections.

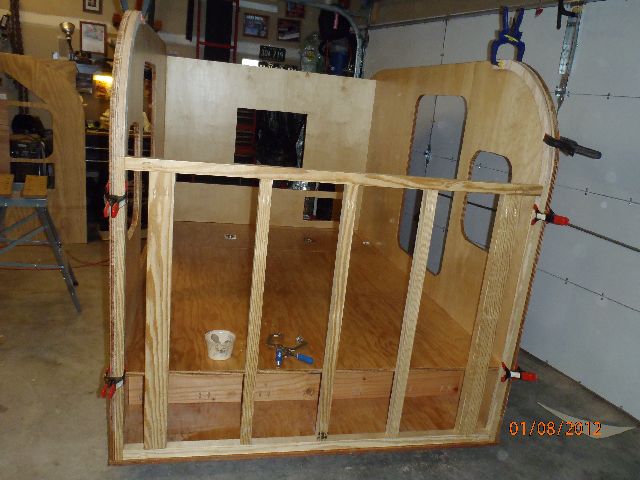
Then we temporarily assembled the beast. The basement supports/ storage area walls were joined with kreg pocket holes and screws. Then this assembly was attached to the floor (trailer not garage floor).
Image
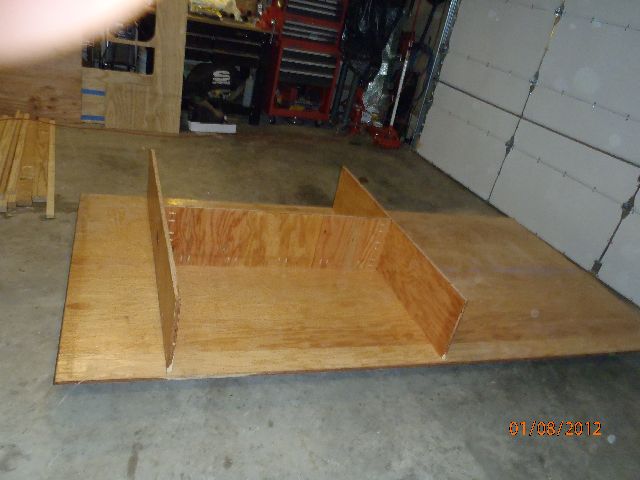
One wall went up next ( aided by the kids). This was attached to the floor with pocket screws. Then the bulkhead went into its dado. Then the bedroom floor was slid into the dados on the wall and bulkhead. Then the second wall went up. The whole thing was squared up and tacked into place with screws. That was enough work for one day.
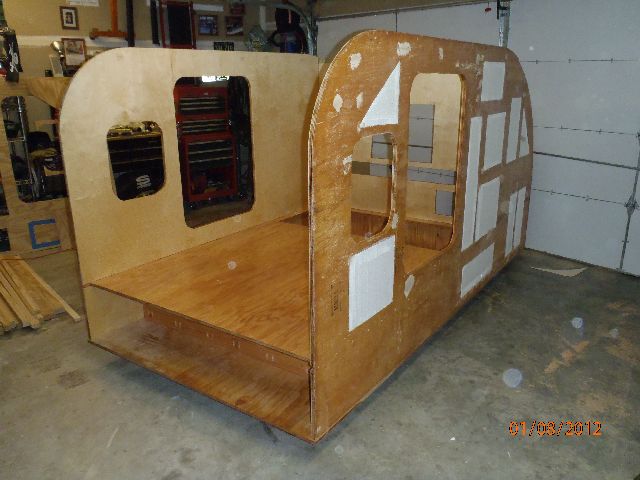
Image
Tah-Dah!!

Image
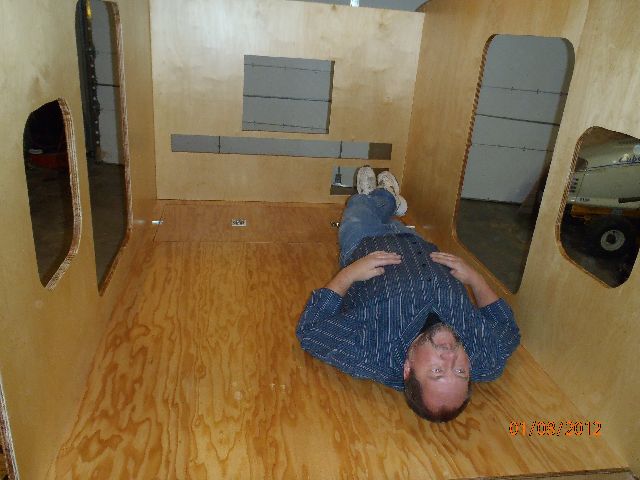
Hubby laying down on the job.

Image
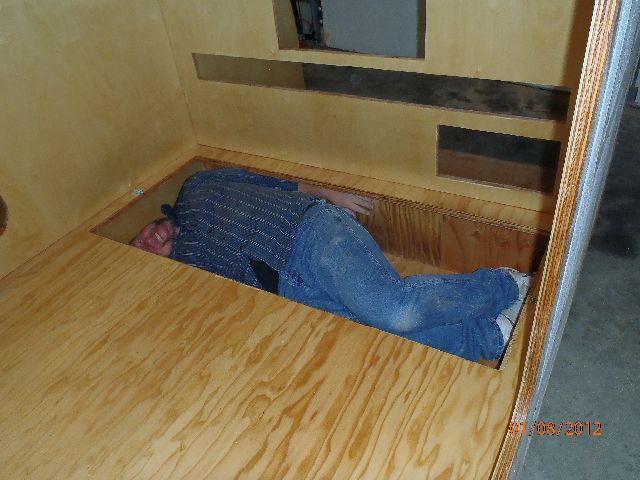
This is where we can hide the body or water tank.

The next day we started on the roof. We decided to build it like Aggie79 did the Silver Beetle, with the frame being removable at this stage so the ceiling could be easier skinned and finished. I had planned out the spar placement on the computer.

Image
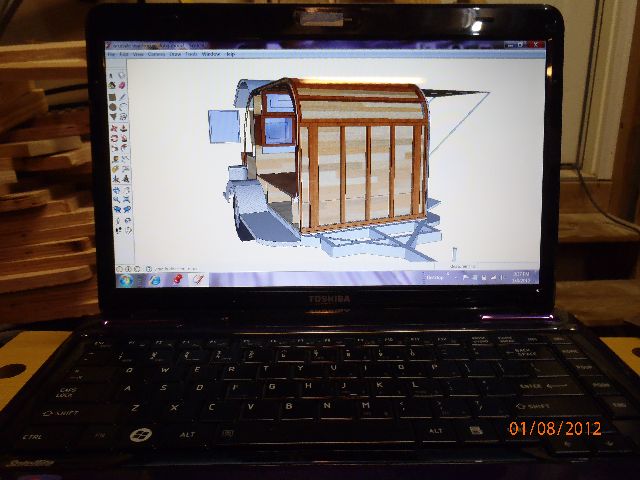
Front wall in virtual reality.

The front section was done first. The thicker studs are where the tongue box will be attached.
Image
Front wall in real reality .


Then the curved front and top were completed.
Image
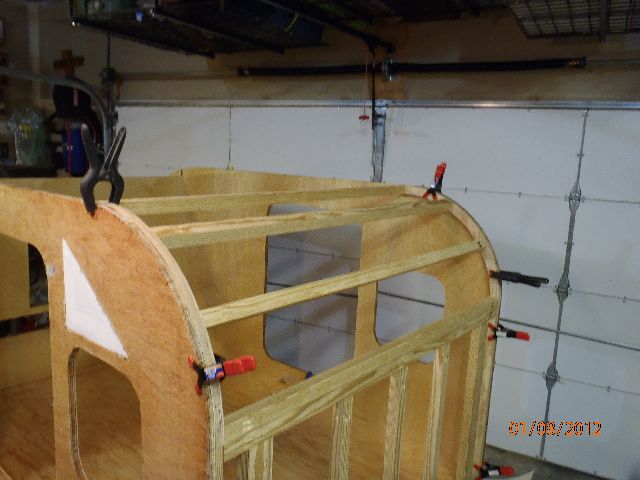
A rough opening of 14 ¼ x14¼ was made for the fan to mount ( we will be using a maxxair fan). The final spar is a doubled up piece of oak to provide a solid area for the hinge screws to bite. It was obvious that while, strong there was too much flex for our liking so we decided to put in more bracing. That had to be left until the next day.

On Monday we tackled the last section. We installed corner bracing then curved braces to stiffen the spar.
It should be able to handle a lot of strain now.

Image
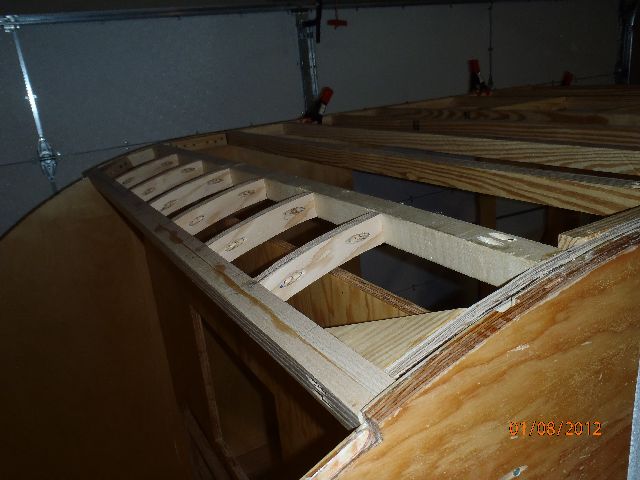
This spar is super strong!

Then we faced the inner side of the front wall. We used ¼ inch luan since it won't be seen behind the headboard.

Image
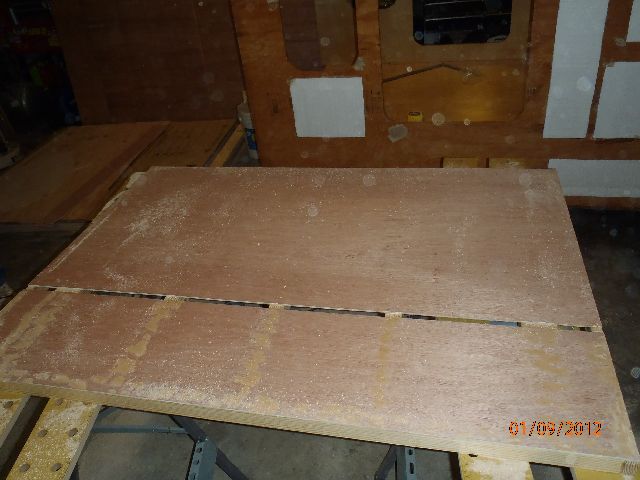
Then we faced the main part of the roof.
Image
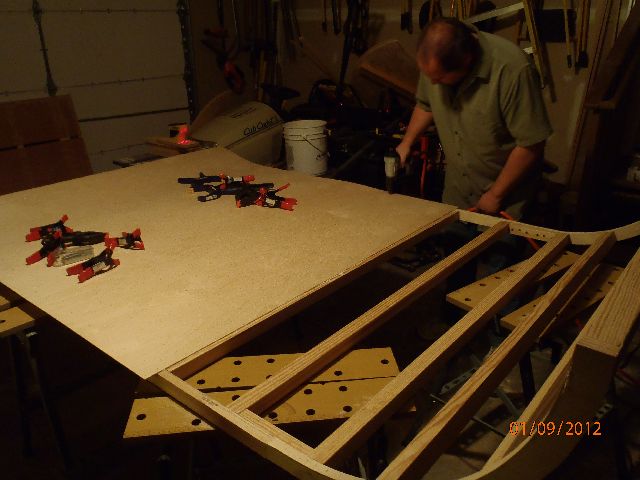
We used liquid nails ( should be called pasty nails) , and crown staples to attach the first skin (1/8 inch Baltic birch) and then trimmed the edges with the flush router. My hubby James was feeling where the edge of the panel was, and managed to staple through his thumb. Ouch!! Better the stapler then the router.

Image
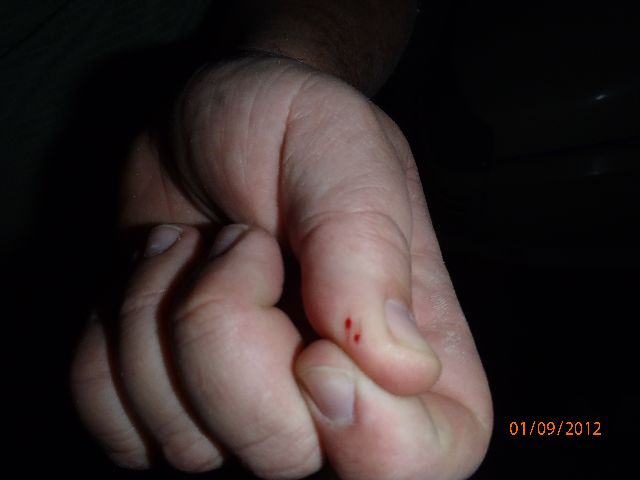
Sticks out lick a sore…

We applied a second layer of the same plywood this time spreading Titebond III to adhere them and staples to secure them.
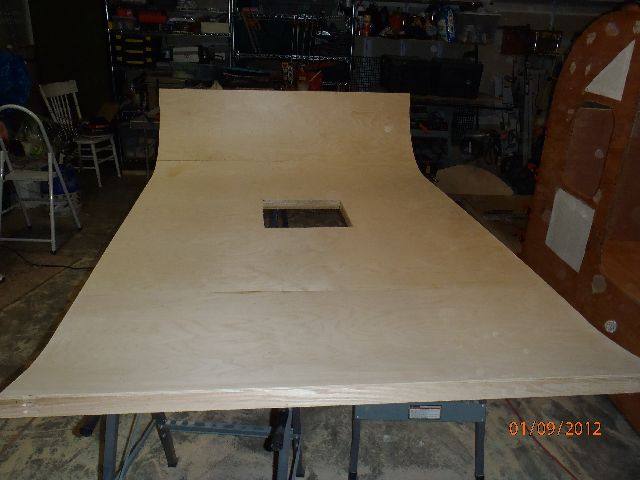

ImageDone.

Then we put the roof back on. The kids helped with this also. Two extra set of hands can make a big difference. We attached it with screws through the outside. We wanted to let the glue dry with the roof in place so the curves would be right.
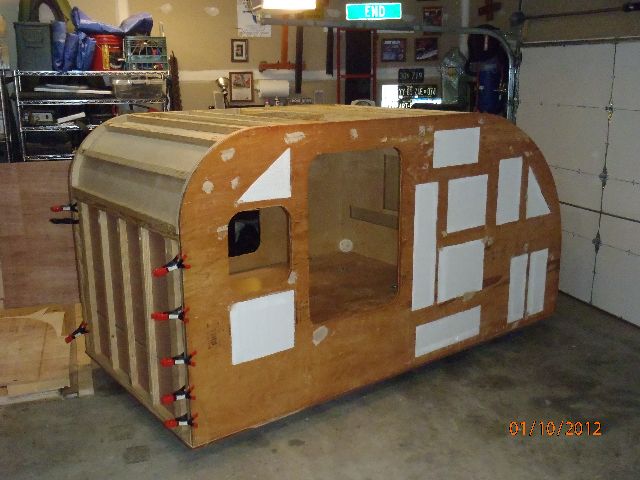
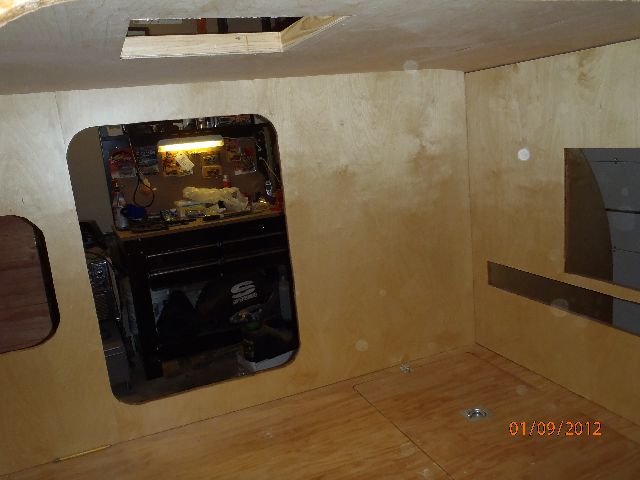
Image
ImageInterior view

So that's all for now. Next step: cabinets. Eww scarrrrry. Thats next weekend's project.

Until next time, keep on keeping on! ;)
Dr. C-Dawg
Last edited by Elizabeth C. on Sun Jul 22, 2012 7:49 pm, edited 2 times in total.
Our build in e-book form "The Teardrop Year" available at e-book, book or pdf at book or pdf

Read my Hubbys version here: CrowsWing Teardrop
User avatar
Elizabeth C.
Donating Member
 
Posts: 70
Images: 356
Joined: Mon Feb 07, 2011 6:38 pm
Location: King George, Virginia
Top

Postby StPatron » Wed Jan 11, 2012 11:36 pm

I'm really enjoying this build! :applause:

I like your build approach and especially your solution to hatch spar reinforcement, great idea.

Thanks for all the pics. Looking fantastic! :thumbsup:
User avatar
StPatron
Donating Member
 
Posts: 748
Images: 297
Joined: Tue Dec 15, 2009 8:38 pm
Location: OK
Top

PreviousNext

Return to Build Journals

Who is online

Users browsing this forum: No registered users and 20 guests