Starleen2 build- Texas camper Mod /New windows

...ask your questions in the appropriate forums BUT document your build here...preferably in a single thread...dates for updates, are appreciated....

Re: Bumble Bee build- update 8-24

Postby starleen2 » Sat Sep 01, 2012 9:03 pm

Ceiling panels are now installed – awaiting rope trim and gloss finish.
Image
Image

Time to move on to insulating the roof. The roof spars are 1 ½ thick so that doubles the insulation for the roof – but it’s Texas – too much roof insulation isn’t a bad thing against the heat!
Image
Image

First roof panel installed and trim routing the edges. Only two more to go !
Image

The Texas heat sure is taking it's toll :? - thank goodness it is the end of August :thumbsup:
User avatar
starleen2
5th Teardrop Club
 
Posts: 16272
Images: 224
Joined: Sat May 12, 2007 8:26 pm
Location: Pea Ridge ,AR

Re: Bumble Bee build- update 9-01

Postby starleen2 » Tue Sep 04, 2012 9:08 pm

....One other thing about 100+ Texas heat - it sure makes glue and wood filler set REAL quick! :?
User avatar
starleen2
5th Teardrop Club
 
Posts: 16272
Images: 224
Joined: Sat May 12, 2007 8:26 pm
Location: Pea Ridge ,AR

Re: Bumble Bee build- update 9-01

Postby starleen2 » Fri Sep 14, 2012 8:29 pm

Just a quick update = a cool front has moved in and dropped the temps a wee bit to make it almost bearable to work out in the garage. I have managed to get the all of the interior done, flooring put down, and started trim work. Major construction is done except for framing the door. After I finish the interior, its time for the exterior finishes. This time I'm going with a seamless RV rubber roof. Some how it just seems to give an added protection against leakage and easy to work with
User avatar
starleen2
5th Teardrop Club
 
Posts: 16272
Images: 224
Joined: Sat May 12, 2007 8:26 pm
Location: Pea Ridge ,AR
Top

Re: Bumble Bee build- update 9-14

Postby starleen2 » Fri Sep 21, 2012 7:46 pm

Time for another update. The interior is 80% done. Foam mattress = ordered. Curtains= being made. Electrical =still needs to be installed. However, it is time again for another roll out and dust off
Image
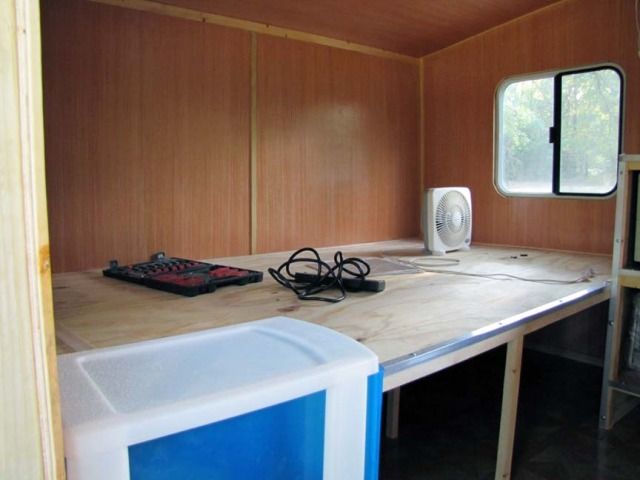
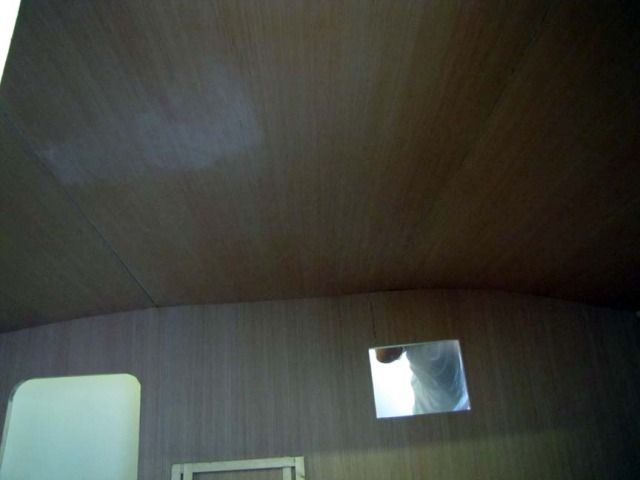
Here is the front bed area. The square cut out is for the air conditioner. Plenty of storage underneath Image
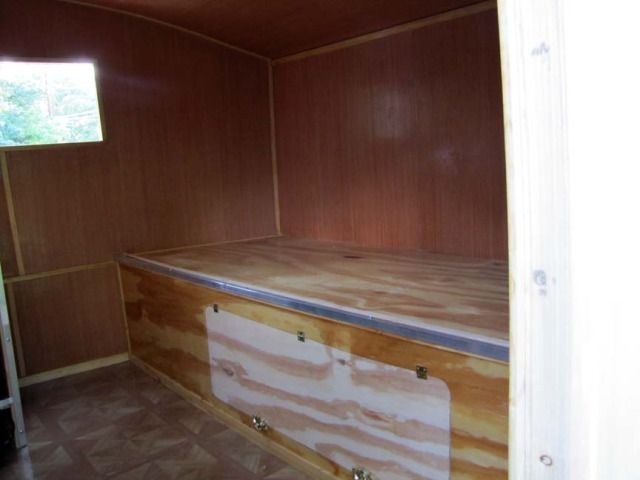
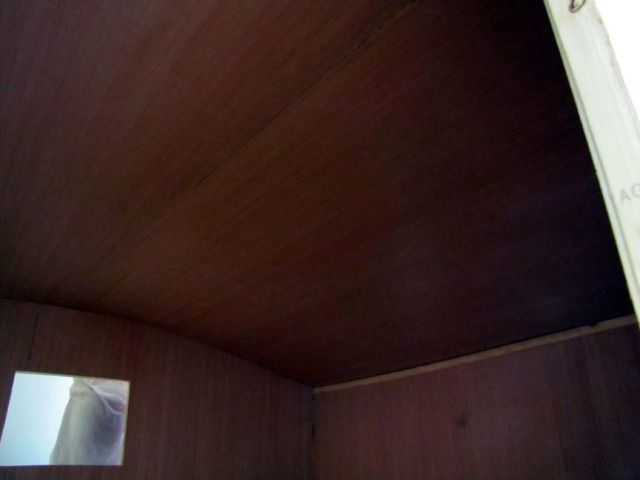
Rear sleeping quarters – again plenty of storage underneath
Image
Image
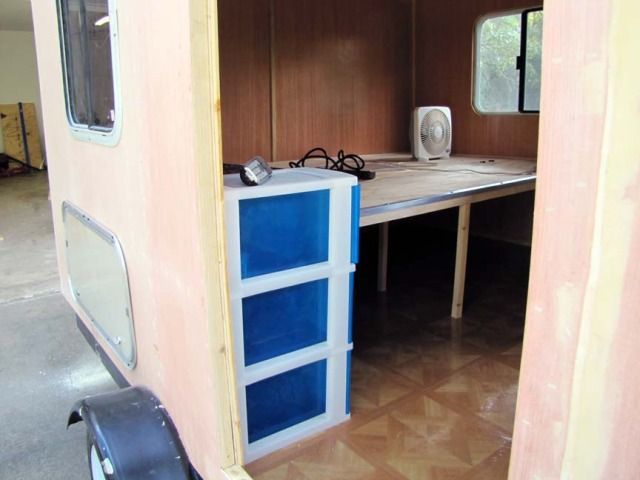
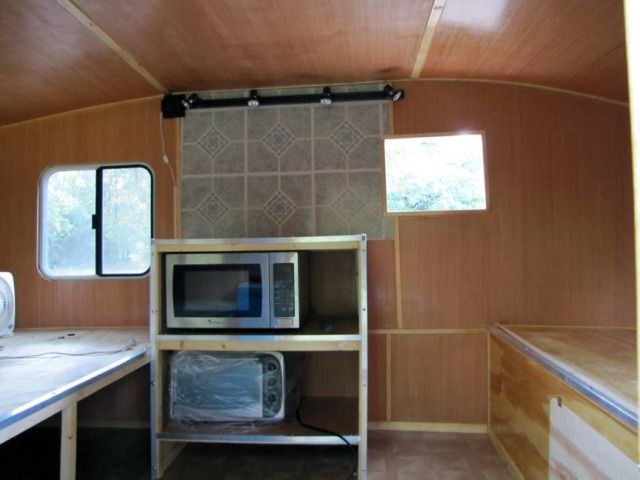
Next is the cooking area complete with Microwave and toaster oven. Refrigerator /freezer will be parked in the open space. This time we went with a track light bar with four spot light so we could adjust where the light is needed most
Image
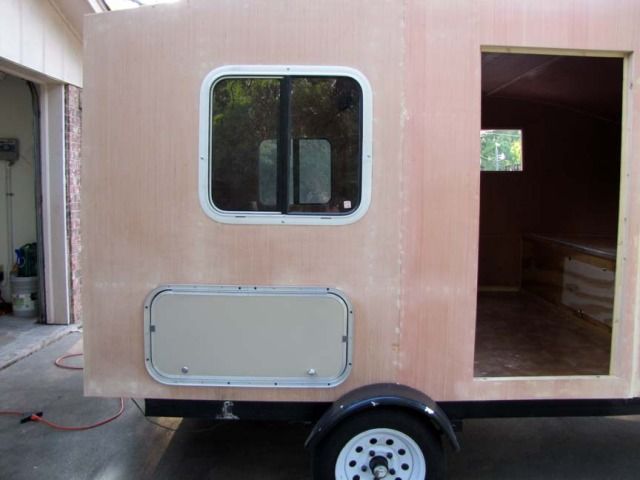
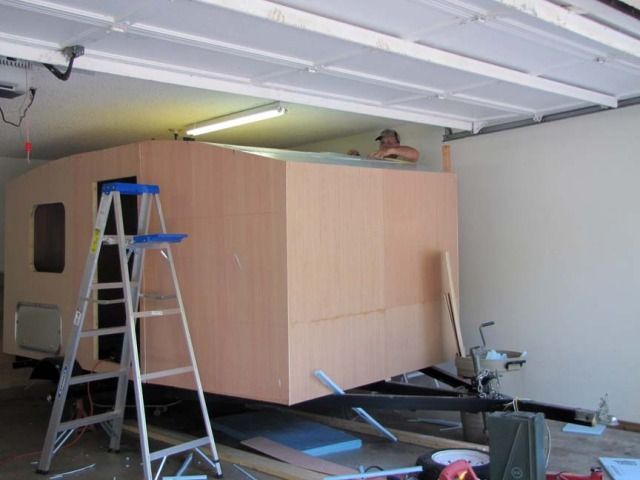
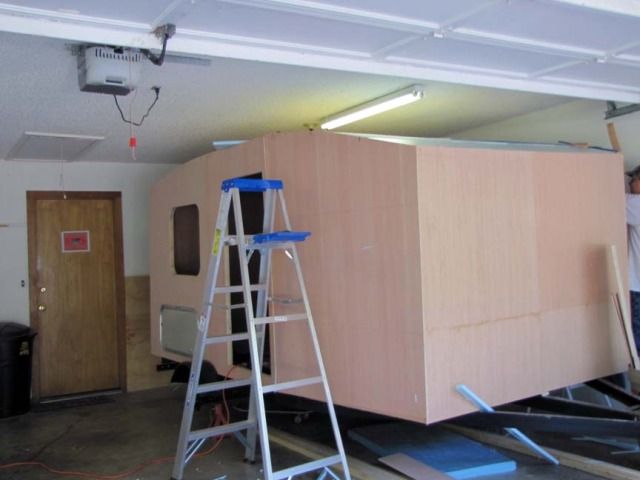
The windows are Windows temporally fitted. These are the same windows I got last year at the Cross roads of America gathering in Indiana. I managed to store them without breaking
Image
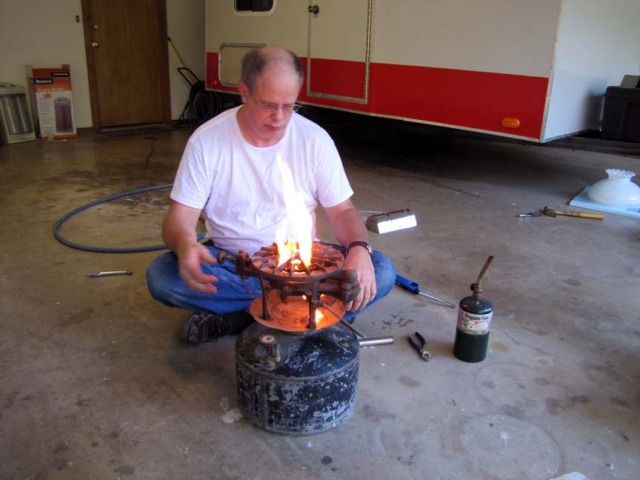
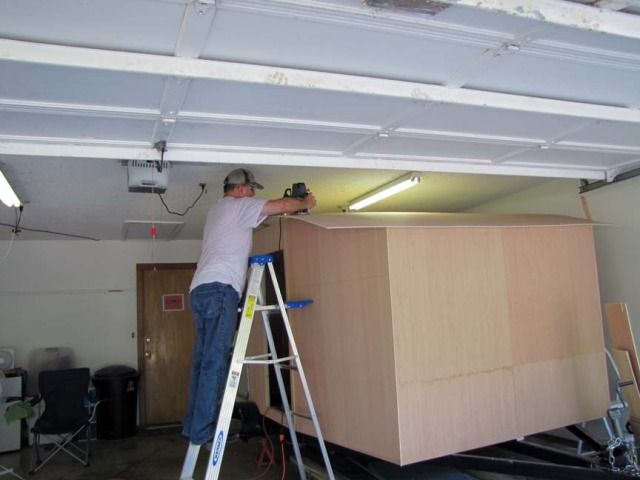
Spent most of the day outside sanding. It was a gorgeous day and I really didn’t feel like dusting out the garage.
Image
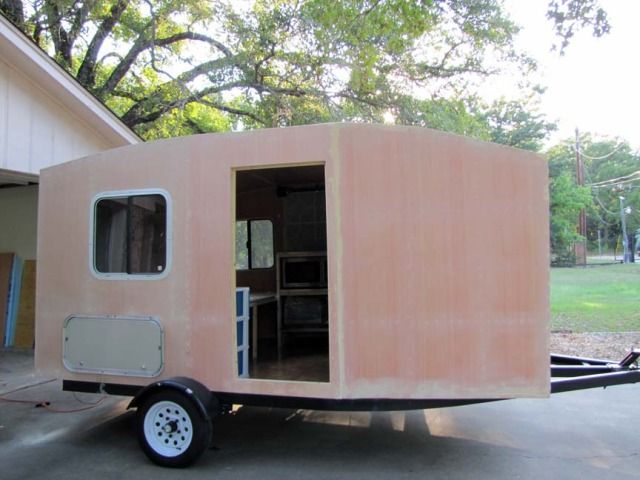
It’s almost time to start the exterior treatment = stay tuned.
User avatar
starleen2
5th Teardrop Club
 
Posts: 16272
Images: 224
Joined: Sat May 12, 2007 8:26 pm
Location: Pea Ridge ,AR
Top

Re: Bumble Bee build- update resin coated

Postby starleen2 » Wed Sep 26, 2012 7:05 am

time now for the exterior - All the windows and hatches are pulled off and openings sanded. yesterday was spent with the first coating of resin and fiberglassing of the seams. Today will be marked by sanding out any runs and getting ready for the second coat. Everything gets sanded - even the frame to get ready for the paint coats.
User avatar
starleen2
5th Teardrop Club
 
Posts: 16272
Images: 224
Joined: Sat May 12, 2007 8:26 pm
Location: Pea Ridge ,AR
Top

Re: Bumble Bee build- update windows installed

Postby planovet » Wed Sep 26, 2012 11:23 am

Looking good Preacher Man :thumbsup:
ImageMark (& Cindi)
Visit our website: Little Swiss Teardrop

I was wondering why the water balloon was getting bigger... and then it hit me.

ImageImageImageImage
User avatar
planovet
The Cat Man
 
Posts: 5583
Images: 3
Joined: Tue Nov 27, 2007 4:48 pm
Location: Plano, Texas
Top

theme change

Postby starleen2 » Sat Oct 06, 2012 11:22 pm

WHOA - hold on a folks, Mrs. Starleen decided on a theme change :shock: 
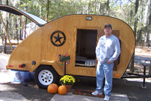
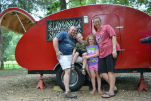
The camper is almost finished, still adding a few touches of color here and there, but it 98% done - sorry no pictures until the reveal at LCG ! :twisted: 8) We're gonna make a trial run next weekend for the annual Lone Star Coleman gathering - just to see what's missing. :NC
User avatar
starleen2
5th Teardrop Club
 
Posts: 16272
Images: 224
Joined: Sat May 12, 2007 8:26 pm
Location: Pea Ridge ,AR
Top

Re: Starleen build- update almost finished!

Postby Fishingtomatoseed » Sun Oct 07, 2012 8:59 am

Looking good I like the shape and the inside design. How are you liking the cooler temps this weekend!!!!! This is nice. :snowstorm:
User avatar
Fishingtomatoseed
Donating Member
 
Posts: 261
Images: 9
Joined: Sun Aug 21, 2011 4:47 pm
Location: North Texas
Top

Re: Starleen build- update almost finished!

Postby S. Heisley » Sun Oct 07, 2012 11:31 am

I look forward to seeing more! :thumbsup:
User avatar
S. Heisley
Super Lifetime Member
 
Posts: 8767
Images: 495
Joined: Mon Sep 17, 2007 10:02 am
Location: No. California
Top

Re: Starleen build- update almost finished!

Postby tonyj » Sun Oct 07, 2012 1:17 pm

You are such a tease!

I guess that lots of us will just have to cool our heals and wait until November. Looks good. Can't wait to see it in person.
Still graced with two eyes and ten fingers (due in no small part to luck!).

Just when you think a problem is solved, an uglier result replaces it.

tony
User avatar
tonyj
Super Lifetime Member
 
Posts: 2468
Images: 160
Joined: Mon Sep 26, 2005 10:18 pm
Location: Texas, Corpus Christi
Top

Re: Starleen build- update almost finished!

Postby doug hodder » Sun Oct 07, 2012 8:28 pm

Hey Scott!....nothing wrong in putting off the big "taa daa" till it's completely finished and has it's debut at a gathering. You spent all the time/money and effort in putting it all together....have it's unveiling how you choose! Looking forward to seeing it in pics from the LCG. I'll have to give you all the pats on the back via the internet however. Good job on it, something to really be proud of! Doug

PS...give Ms. Starleen the bill on change orders....might get something you really want. :D
doug hodder
*Snoop Dougie Doug
 
Posts: 12625
Images: 562
Joined: Tue Dec 14, 2004 11:20 pm
Top

Re: Starleen build- update almost finished!

Postby james worley » Wed Oct 10, 2012 5:54 am

Hey Scott!!! looks good cant wait to see it at LCG. :thumbsup: Have you got plans for the next one yet? I know theres going to be one :lol: James
User avatar
james worley
Teardrop Master
 
Posts: 191
Images: 51
Joined: Wed Oct 24, 2007 8:10 pm
Location: east texas
Top

Re: Starleen build- update almost finished!

Postby 2bits » Thu Oct 11, 2012 1:32 pm

Wow, you are really delivering! I won't share my lack of progress!!! Good job and it looks great!
Thomas

Image
User avatar
2bits
2bit Member
 
Posts: 5130
Images: 8
Joined: Thu Dec 27, 2007 6:04 pm
Location: Lake Tawakoni, TX
Top

Re: Starleen build- update almost finished!

Postby starleen2 » Thu Oct 18, 2012 10:41 am

Took the new camper out for a test tow and found some severely worn suspension spring parts that allowed the wheels to bounce against the fenders - after a few hours with a cutting torch, grinder and welder - all is fixed and ready to go. got the safety chains welded on. I'm making a quick trip to Dallas to get some new tires and use the old ones as spares

Just for teasers - here is a candid shot
Image
User avatar
starleen2
5th Teardrop Club
 
Posts: 16272
Images: 224
Joined: Sat May 12, 2007 8:26 pm
Location: Pea Ridge ,AR
Top

Re: Starleen build- update almost finished!

Postby S. Heisley » Thu Oct 18, 2012 1:57 pm

...A sneak peak of the painted Starleen build in the background! :D :applause:
User avatar
S. Heisley
Super Lifetime Member
 
Posts: 8767
Images: 495
Joined: Mon Sep 17, 2007 10:02 am
Location: No. California
Top

PreviousNext

Return to Build Journals

Who is online

Users browsing this forum: No registered users and 4 guests