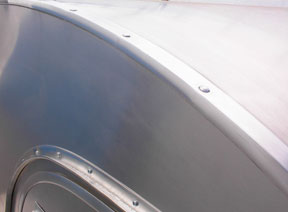
This is my plan for sealing doors against weather (Scottish weather)
Comments are welcome!
Teardrops n Tiny Travel Trailersor t n ttt for short (tnttt.com) |
Muircockhall Build Log
Re: Muircockhall Build Log
![]() by grantstew8 » Tue Dec 03, 2013 9:30 am
by grantstew8 » Tue Dec 03, 2013 9:30 am
"To begin, begin" William Wordsworth
http://pinterest.com/muircockhall/teardrop-trailer/
Build Log http://www.tnttt.com/viewtopic.php?f=50&t=56093&start=15
Blog http://honeymoonteardrop.tumblr.com/
Youtube videos of the build http://www.youtube.com/playlist?list=PLm2lVBlIv2fzASj6PbdVsFWScO0lqp0dX
http://pinterest.com/muircockhall/teardrop-trailer/
Build Log http://www.tnttt.com/viewtopic.php?f=50&t=56093&start=15
Blog http://honeymoonteardrop.tumblr.com/
Youtube videos of the build http://www.youtube.com/playlist?list=PLm2lVBlIv2fzASj6PbdVsFWScO0lqp0dX
-

grantstew8 - The 300 Club
- Posts: 448
- Images: 77
- Joined: Tue May 28, 2013 5:26 pm
- Location: Dunfermline, Scotland
Re: Muircockhall Build Log
![]() by grantstew8 » Mon Dec 30, 2013 11:42 am
by grantstew8 » Mon Dec 30, 2013 11:42 am
Merry Christmas to one and all, and may 2014 exceed your expectations!
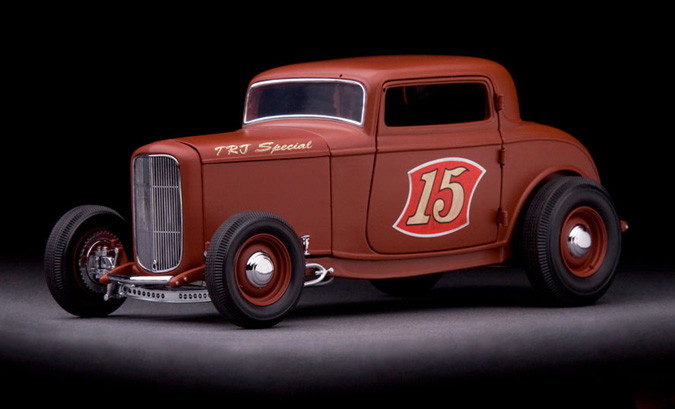
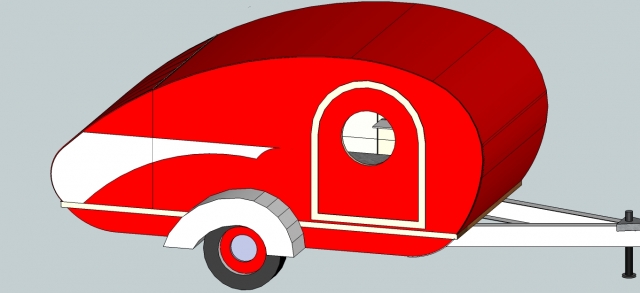
The colour selection process was to go from an original sage green and white design (sage green was the stumbling block) decided on a red and white, much like a Chevy Bel-air flash down the side.
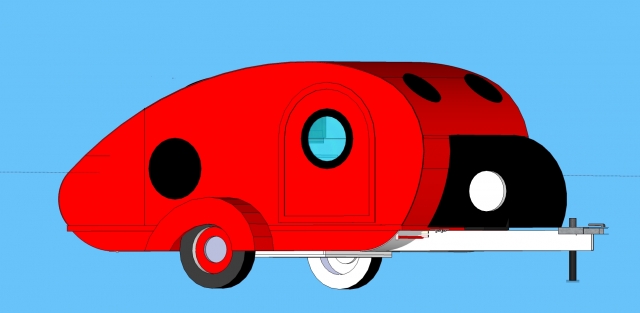
This changed as apparently red and white represent blood and bandages (Barber pole) so with this information from Sara (ex nurse) the colour needed to change. I really liked the red. Well a ladybird was the obvious choice. I've added on a tongue box as the "head" of the ladybird. I thought plastic antenne would be finishing touches. I've now bought polyester resin and "pirate red" pigment....When it warms up enough, I'll get it painted and glassed.
The Rav4 now has a towbar, fairly fundamental and I'll wire that up in the next week too. In the fitting process I managed to separate the exhaust box from a pipe.....oh joy.
Santa gave me a lovely deWalt drill and a buzz box welder! yeeehhaaaa
The colour selection process was to go from an original sage green and white design (sage green was the stumbling block) decided on a red and white, much like a Chevy Bel-air flash down the side.
This changed as apparently red and white represent blood and bandages (Barber pole) so with this information from Sara (ex nurse) the colour needed to change. I really liked the red. Well a ladybird was the obvious choice. I've added on a tongue box as the "head" of the ladybird. I thought plastic antenne would be finishing touches. I've now bought polyester resin and "pirate red" pigment....When it warms up enough, I'll get it painted and glassed.
The Rav4 now has a towbar, fairly fundamental and I'll wire that up in the next week too. In the fitting process I managed to separate the exhaust box from a pipe.....oh joy.
Santa gave me a lovely deWalt drill and a buzz box welder! yeeehhaaaa
"To begin, begin" William Wordsworth
http://pinterest.com/muircockhall/teardrop-trailer/
Build Log http://www.tnttt.com/viewtopic.php?f=50&t=56093&start=15
Blog http://honeymoonteardrop.tumblr.com/
Youtube videos of the build http://www.youtube.com/playlist?list=PLm2lVBlIv2fzASj6PbdVsFWScO0lqp0dX
http://pinterest.com/muircockhall/teardrop-trailer/
Build Log http://www.tnttt.com/viewtopic.php?f=50&t=56093&start=15
Blog http://honeymoonteardrop.tumblr.com/
Youtube videos of the build http://www.youtube.com/playlist?list=PLm2lVBlIv2fzASj6PbdVsFWScO0lqp0dX
-
grantstew8 - The 300 Club
- Posts: 448
- Images: 77
- Joined: Tue May 28, 2013 5:26 pm
- Location: Dunfermline, Scotland