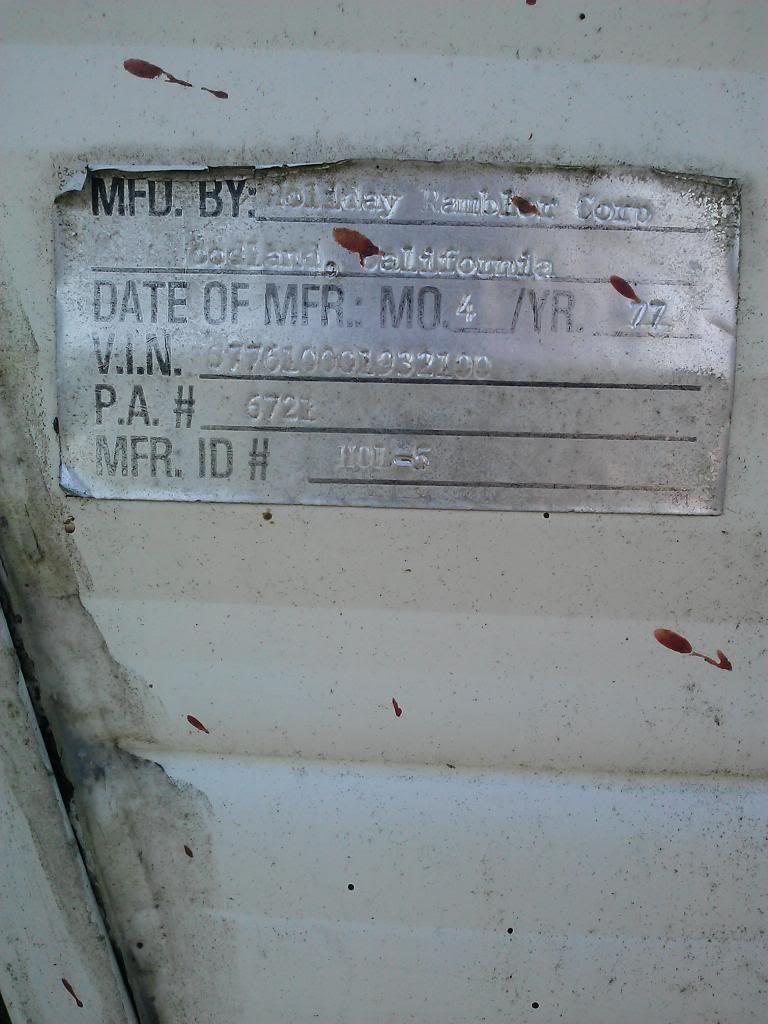
'77 Holiday Rambler Wide World - here we go!

...ask your questions in the appropriate forums BUT document your build here...preferably in a single thread...dates for updates, are appreciated....

'77 Holiday Rambler Wide World - here we go!

Postby djdawg » Thu Jun 20, 2013 1:29 am

After receiving a lot of encouragement from folks here I've decided to go ahead and start a build journal. I wasn't sure if this site would be appropriate to do this on because it's a 17' travel trailer but several wanted to see it, follow along, laugh? Ha ha (I added that) so I thought, what the heck!

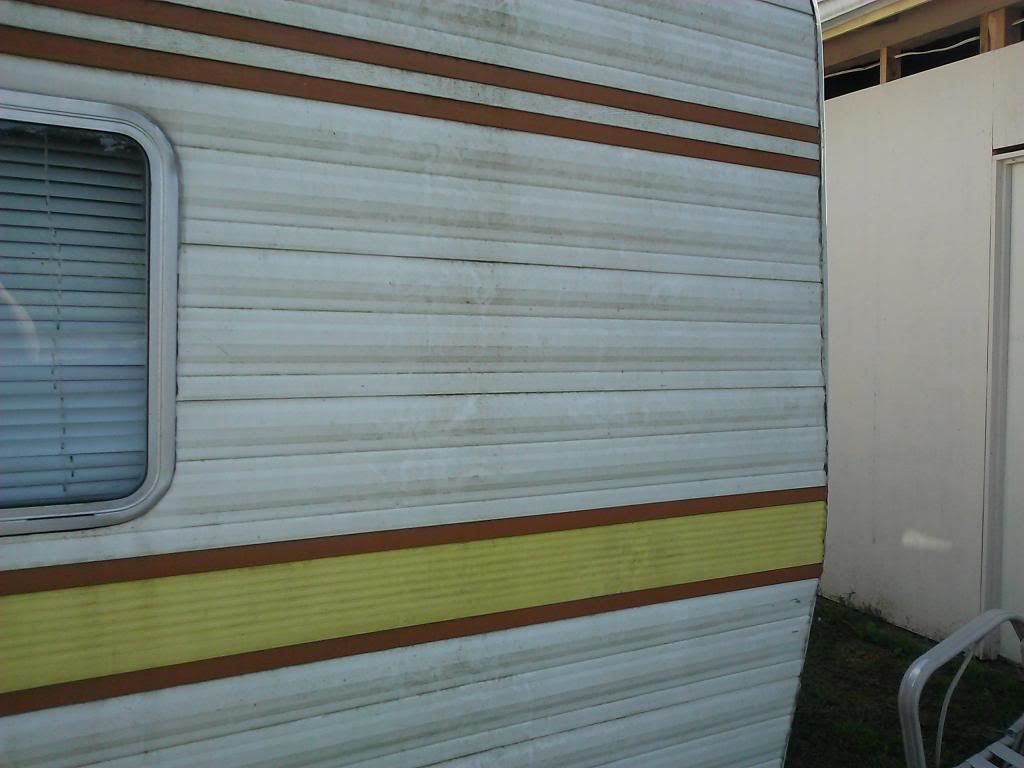
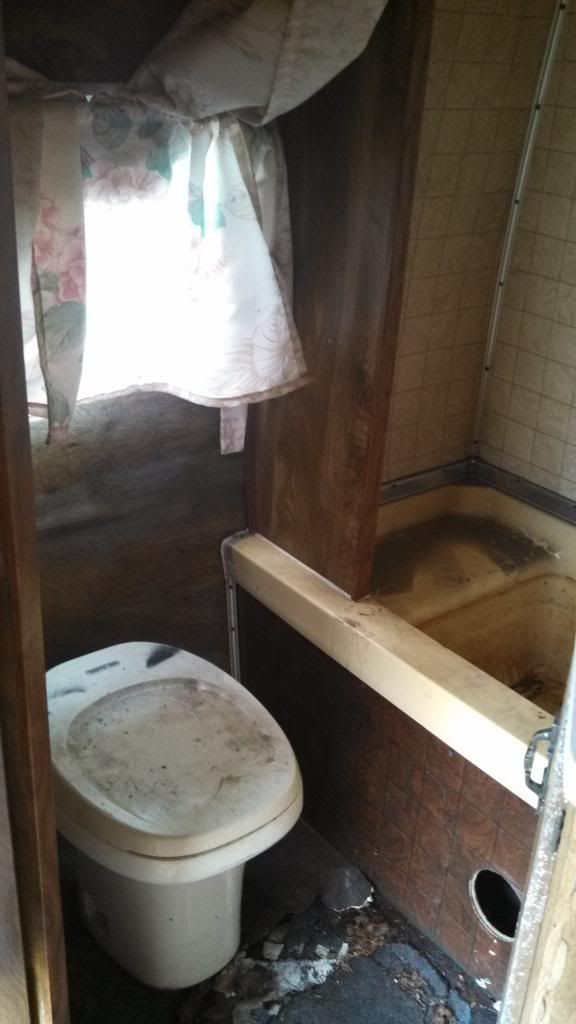
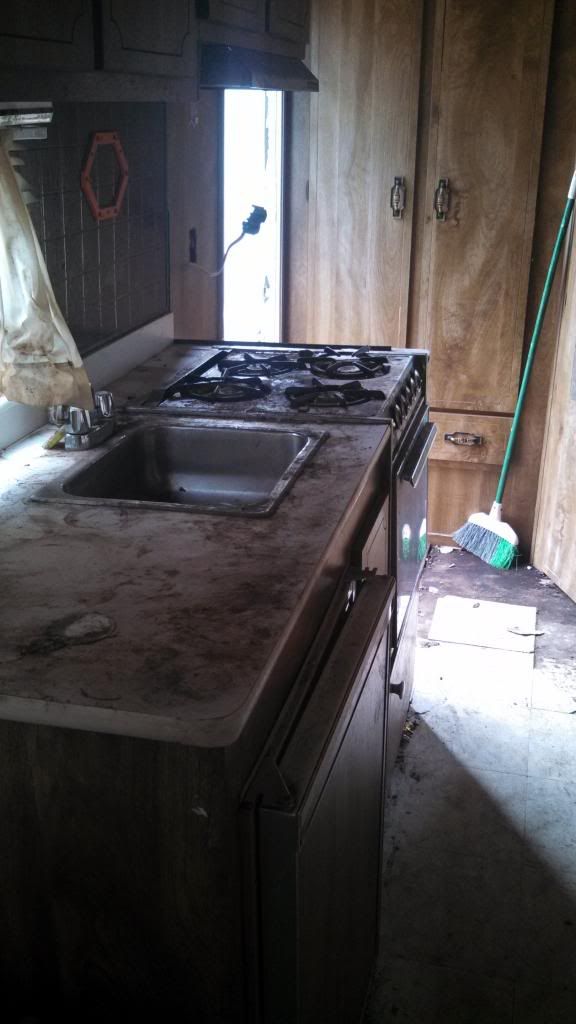
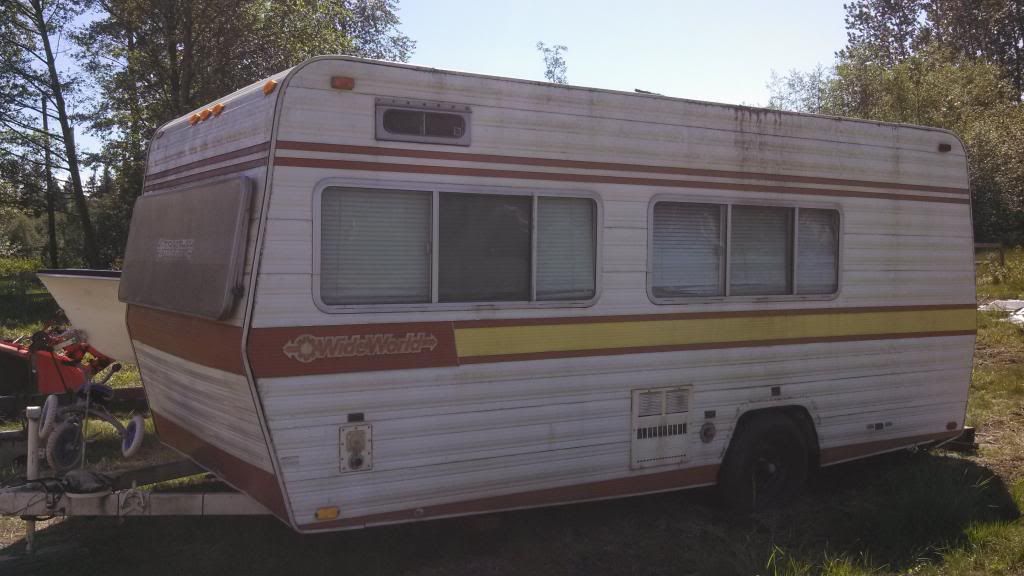
My um..."project" will be arriving tomorrow after plopping down $190. It's not too pretty on the outside and even worse on the inside. When I went inside the other day I honestly thought it was the perfect place for a serial killer hide out. (or maybe a meth lab ala Breaking Bad?) As you can see by the pics, there is much work to be done. There is some rot on the ceiling and walls, a bit on the floors but I won't know for sure until I start tearing things apart. There is a stove, fridge, propane stuff, toilet, shower...not sure what works yet. The windows seem to be in great condition and there are many of them which really was a plus for me. The front of the trailer has huge windows on the very front and right and left sides so I've already envisioned sitting in that area looking out across a lake with a nearly 180 degree view.

This task is somewhat daunting to me because I don't have a lot of experience in carpentry. I'm fairly good with diy projects and built my own hot dog cart which I use to this day. However, repairing "rv stuff" is new but I figure I can learn to do anything if I just seek info and try! :D (what I don't know at this point is probably good!)

I ask for forgiveness and patience up front because I'm sure I'll be asking stupid questions like "how do you light a stove", etc. I'll try and google as much as I can before boring everyone to death while this build unfolds. I have no idea how long it will take, what awaits for me but I'm excited to give it a whirl.

I thought I'd start with a game plan and priority list before it even arrives. I don't want to start tearing things apart before doing a few important things. This is what I've come up with so far.

I have no idea if I'll be keeping furniture or even keeping it in the same place but I feel - because of my "greenness" that documenting everything about the layout is important. Lot's of pics....where this bench is, where that table is....and lot's of measuring and writing down dimensions.

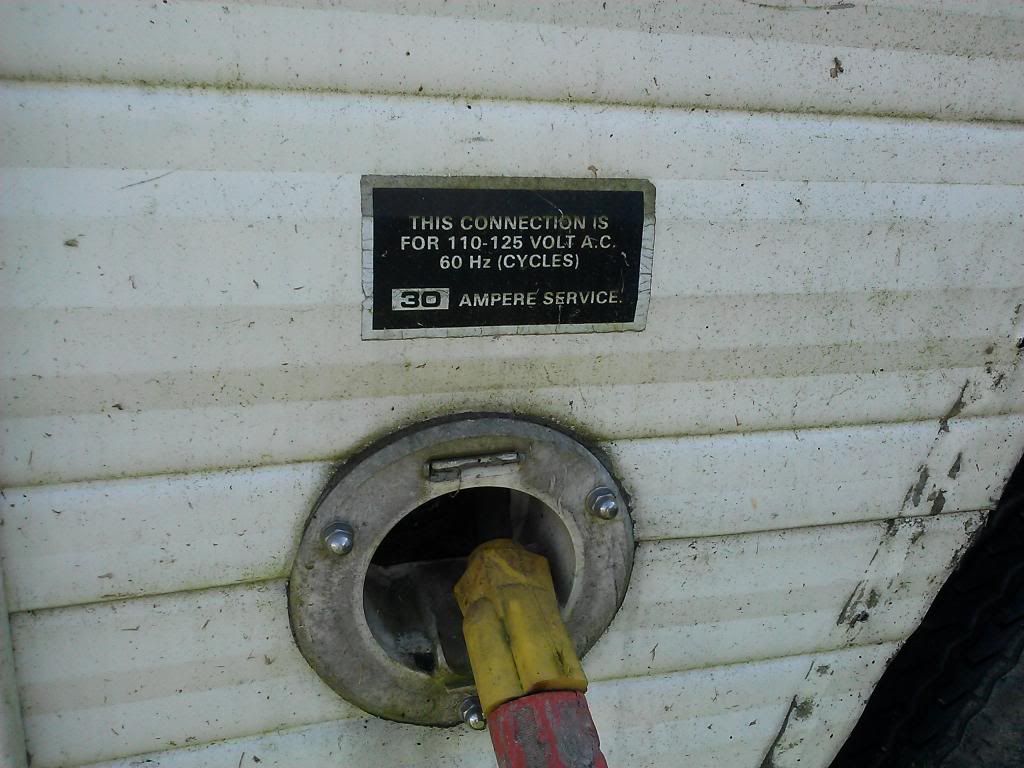
Next I think I need to see what appliances work, and what doesn't work. I know power works inside but didn't have it plugged in long enough to see if the fridge kicked in. I'll grab a spare propane bottle and hook it up and see if things light but not until I inspect the copper lines (is that what they use I'm assuming?) probably check for leaks first, then see if things will fire up. The stove was utterly disgusting with food still in the burners but maybe that's a good sign that it was working up until this baby was abandoned.

After doing those two things I guess I'll start carefully pulling up some floorboards...maybe start with the walls first. Unscrewing any fixtures, etc. and see how extensive the rot is.

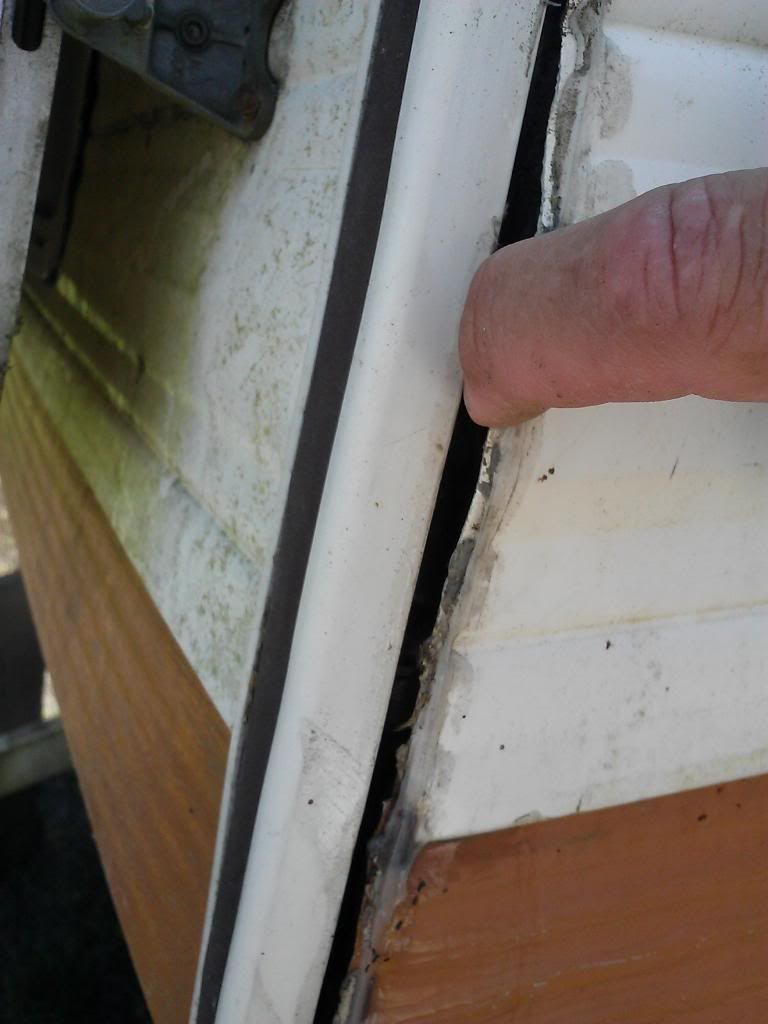
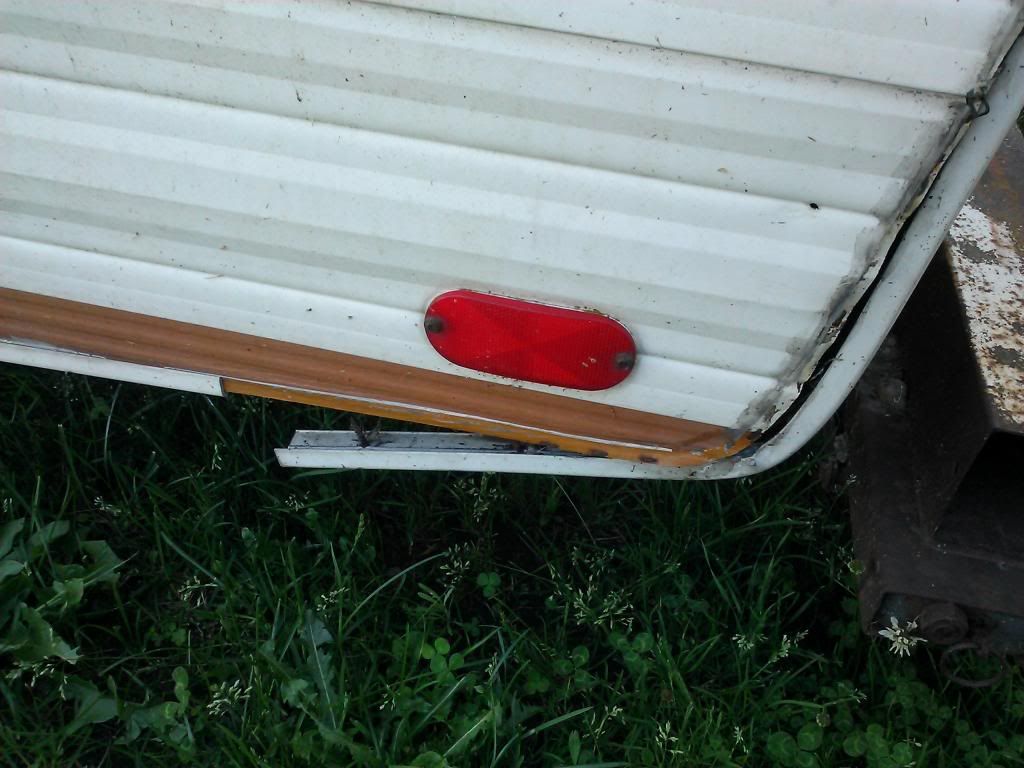
Some things about rv's are still a mystery to me...well, how to repair them is still a mystery. For instance, you can see in the pic that two outside corners of the rv are coming apart and I could see (and my car key scrapping inside of it confirmed it) that the corner verticle board are rotted. So the outside aluminum/plastic (?not sure what they are) panels are still ok - which I don't plan on using because they are butt ugly or I'll paint them or something - but the wood corners are bad. I'm already thinking, how the heck do I repair that? I replace the studs/joists whatever they are and then how do I attach and protect it all from getting wet later? That's what I need to learn and google will become my best friend.

Part of me is thinking if fridge and stove don't work, heck I could completely change the "kitchen" around so those aren't even components (instead of buying new appliances) and build in a cooler, hot plate burner, etc. And the bathroom....I could completely omit it and just make a huge living space. It would be nice to keep the toilet but maybe lose the shower? I'm scared to death to rebuild the shower area (however you would do that!) only for me to do it wrong and things would start rotting again. After all, the majority of the time I see myself camping in camp grounds with bathrooms and showers but it would be great to have a toilet in the place for those late night pee trips.

As far as decor....(and I know this is overdone to death) but I really like the old school, Shasta RV, 50's/60's retro style. I'm not sure how it would go with a '77 trailer but something else to think about.

Enough of me rambling....it's coming tomorrow! Hopefully I'll start fiddling with it this weekend and put up some more pics. Thanks everyone!
Image

Image

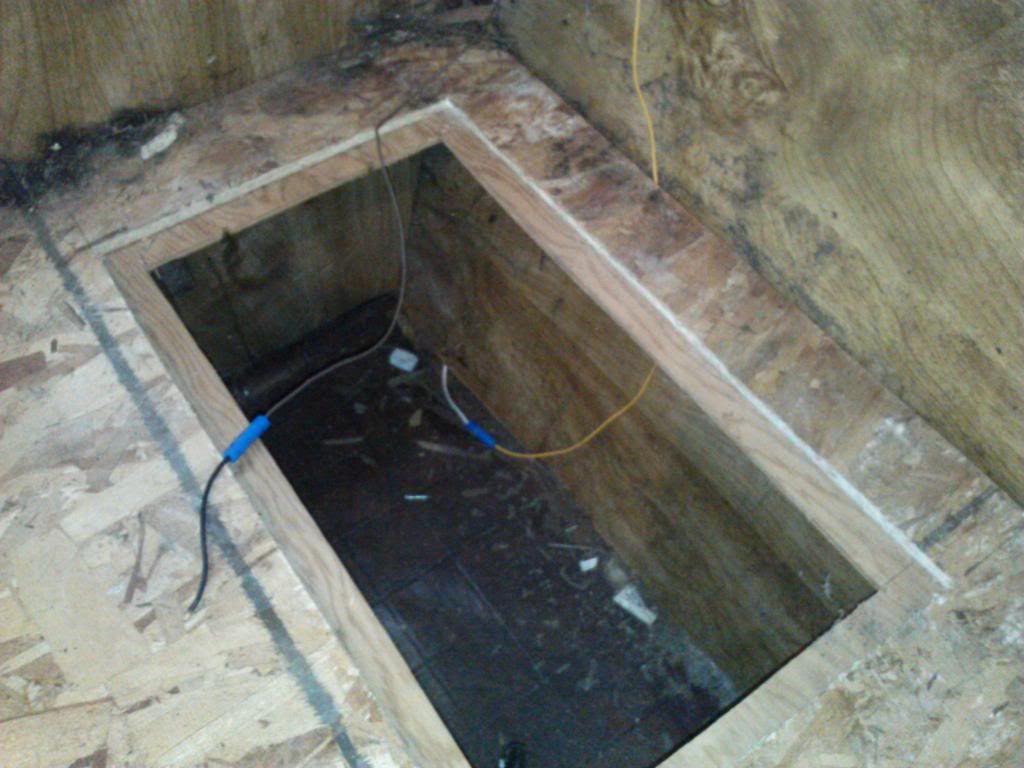
This area is right underneath the front window
Image

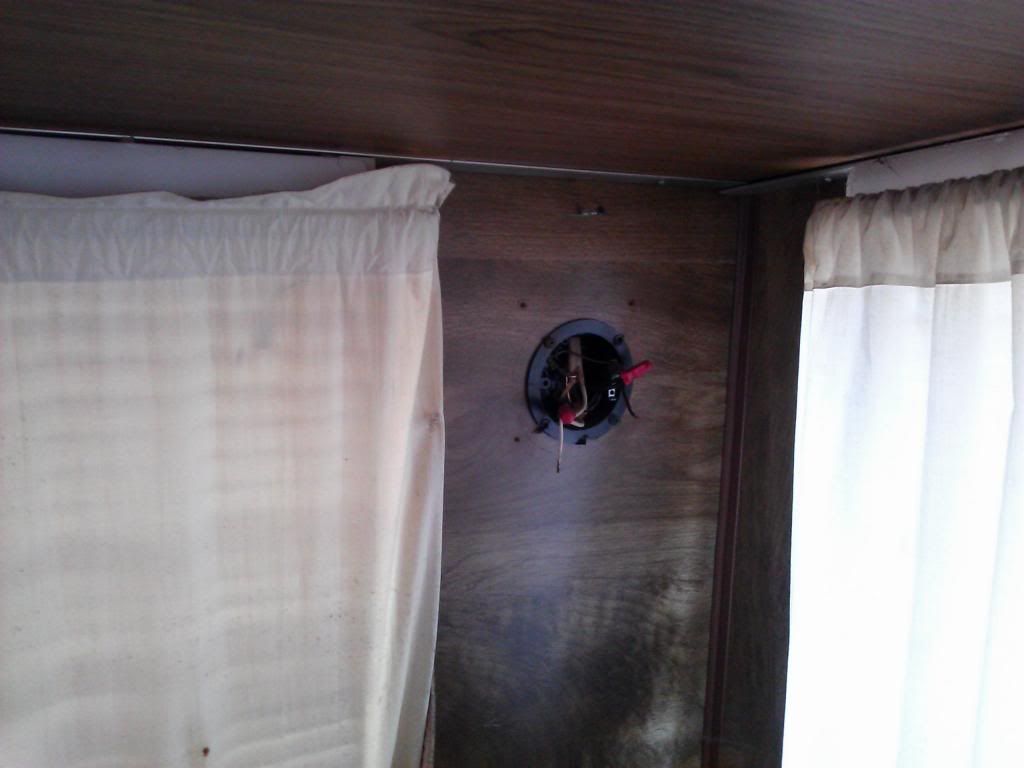
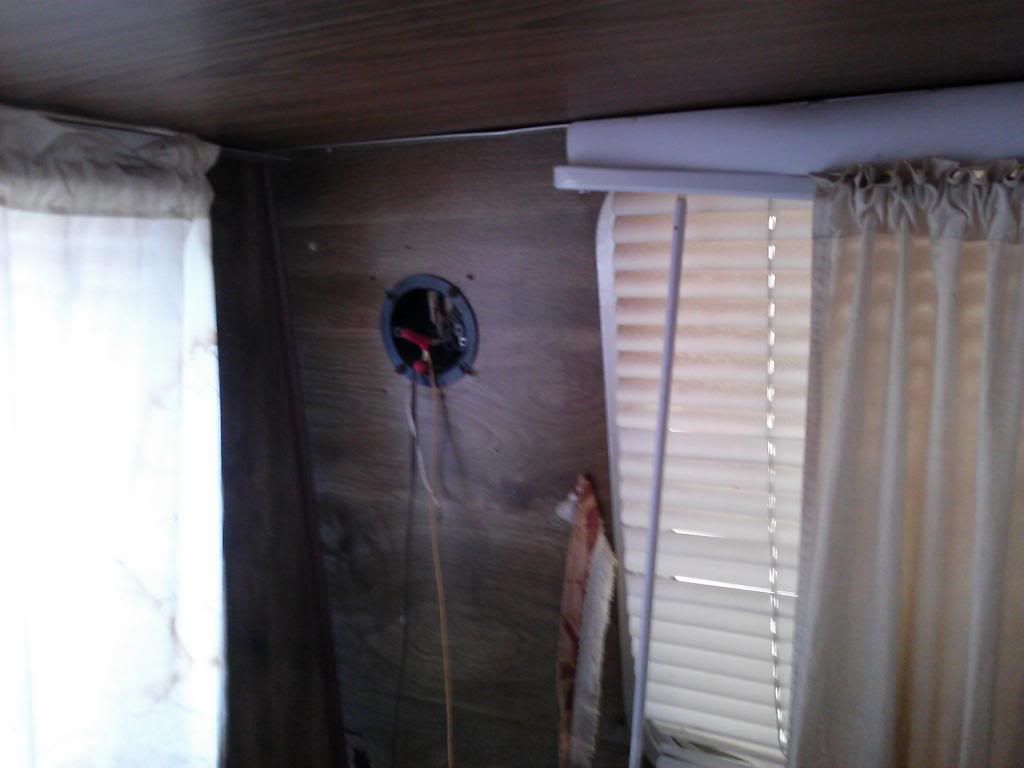
I'm not sure if this wiring was from a speaker or a light fixture?
Image

Image

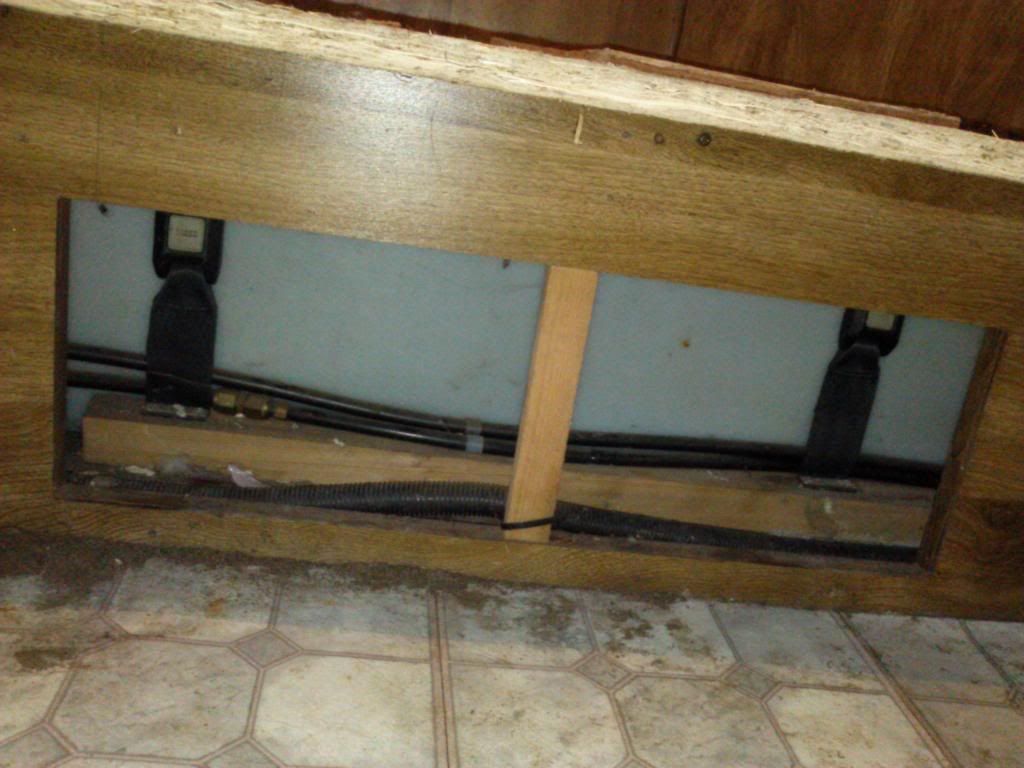
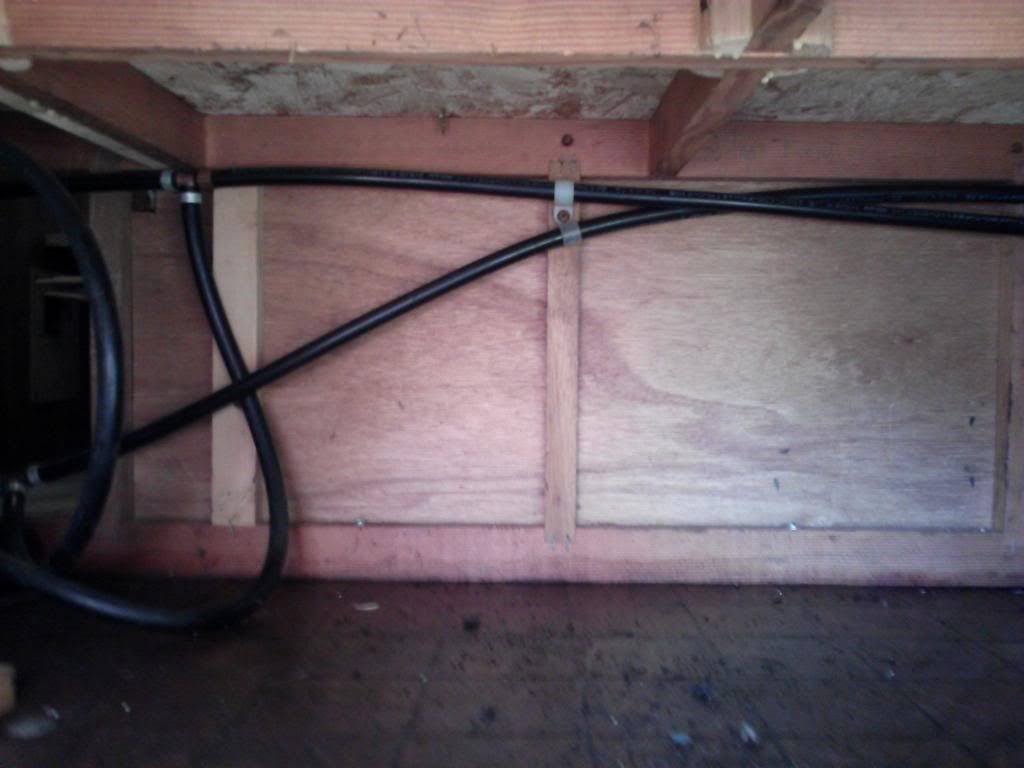
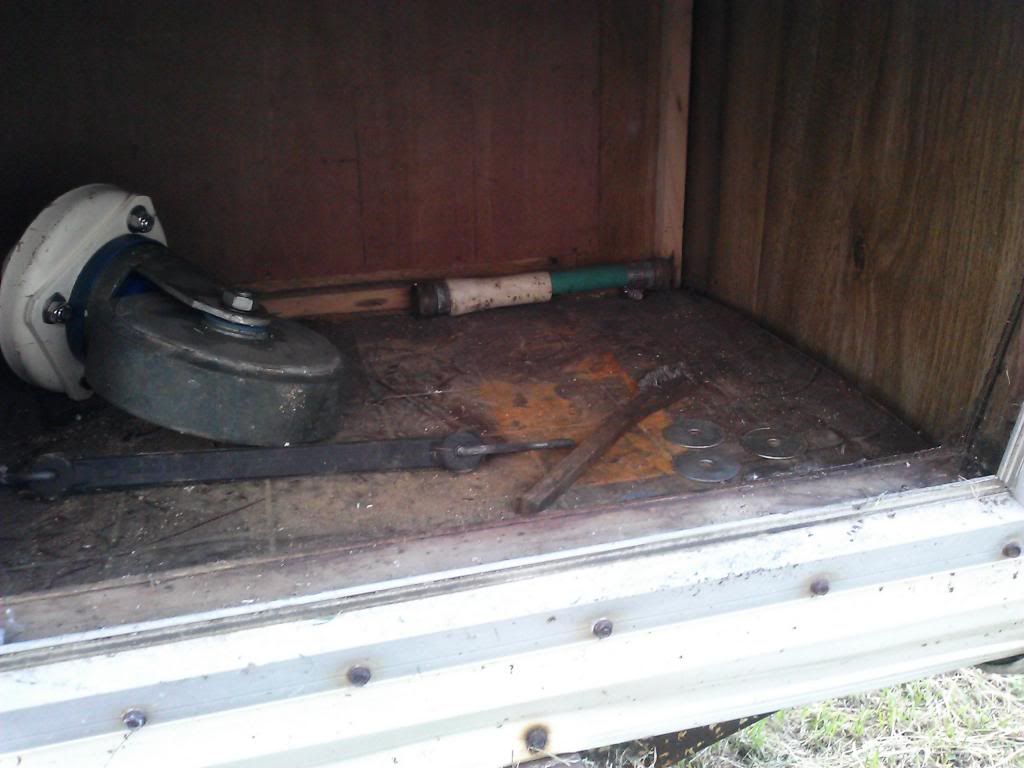
This pic is looking in one of the outside cubbyholes. I'm thinking that is a bench...wood looks good there. Are those black hose lines water lines I'm guessing?
Image

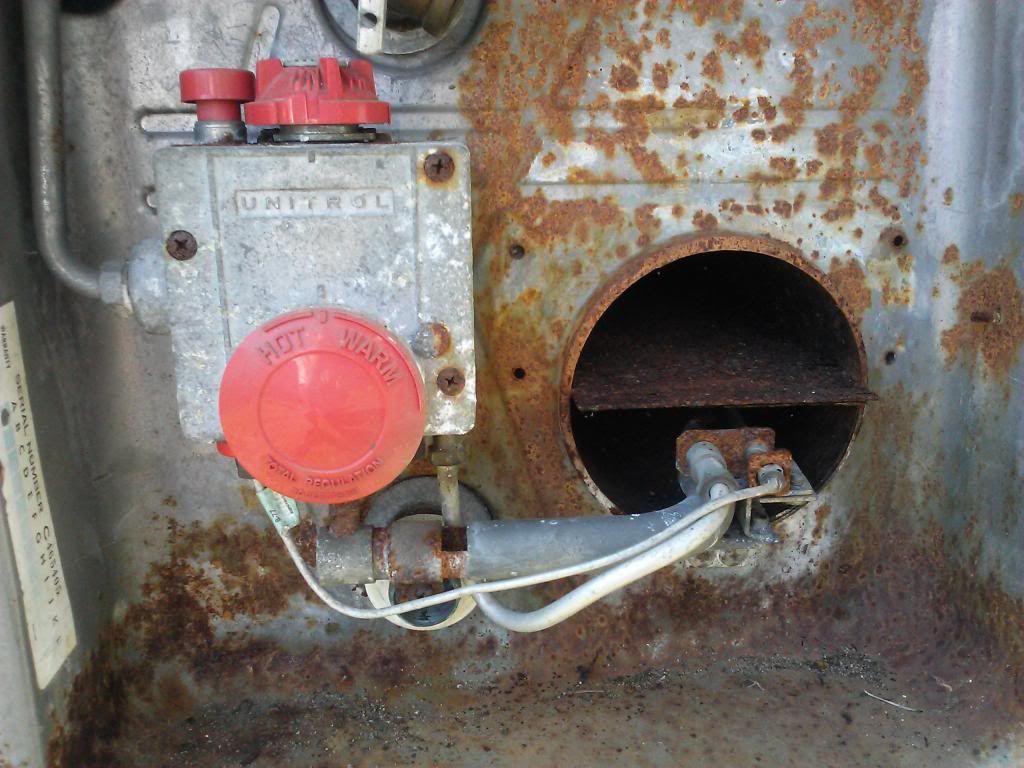
Someone told me this is the water heater? I need to learn how to light this....I didn't see any directions like you usually see pasted on the inside
Image

This cubby hole is the rear...right above rear bumper.
Image

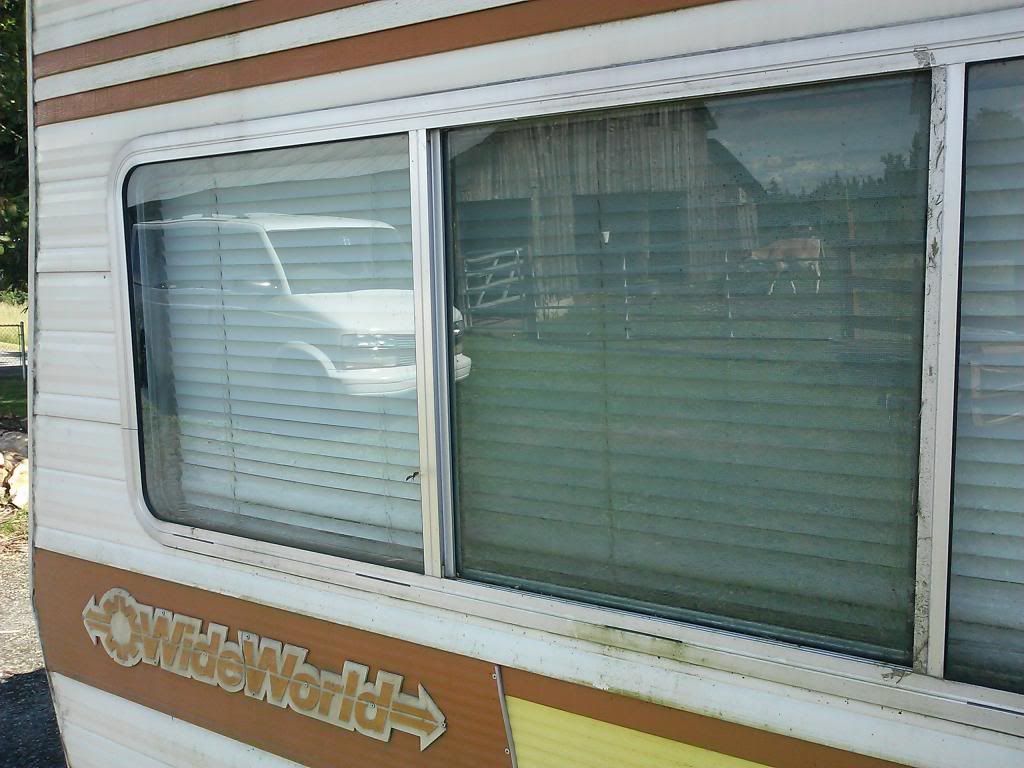
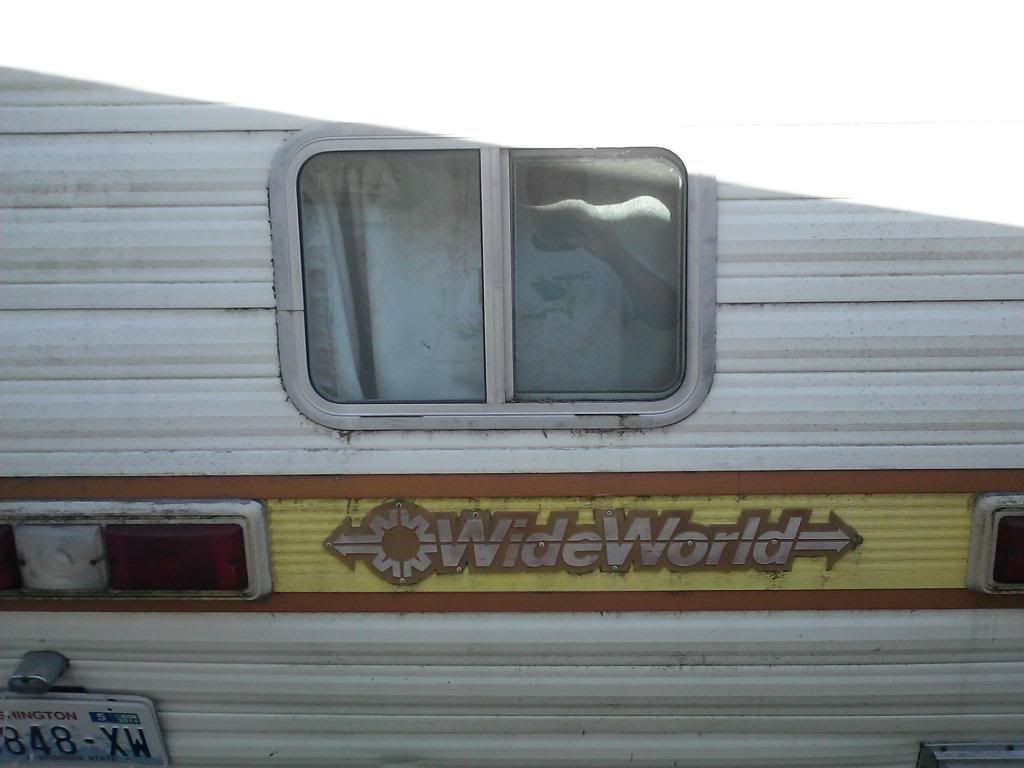
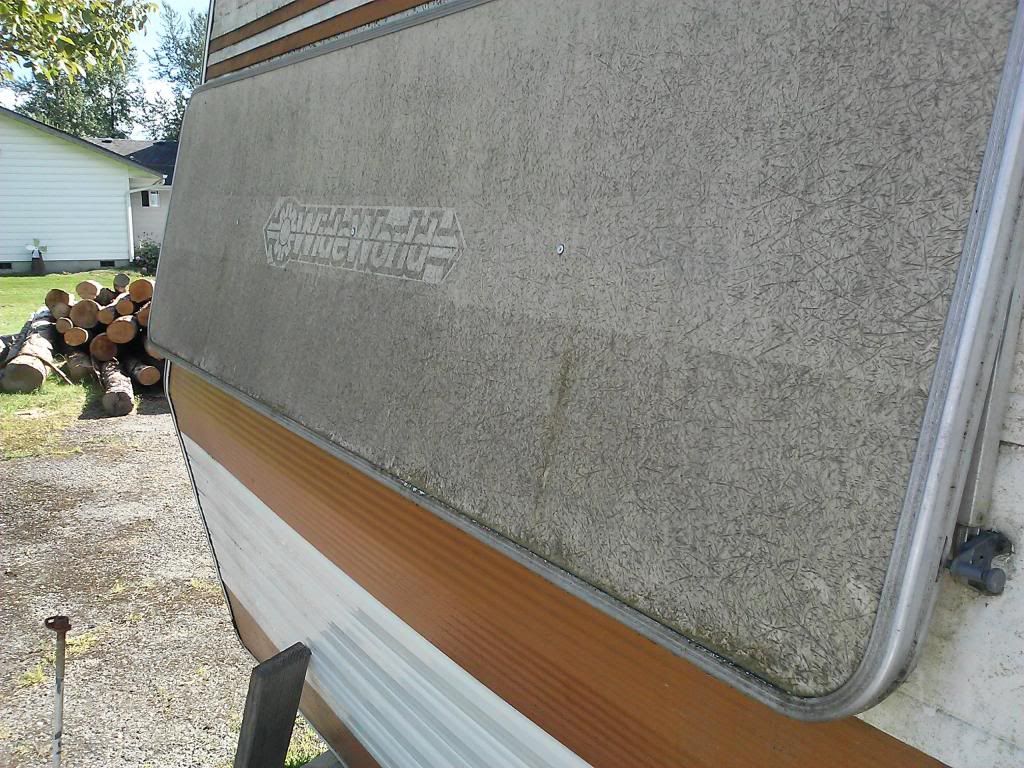
Shot of the rear of the trailer. That Wide World logo is kind of retro...ha ha. Does this thing look wider then the typical 17' trailer or was this just hype?
Image

Rear left side corner coming apart. I'm tempted to just rip all of this siding, vinyl, lights, reflectors and take it to the dump but I don't want to do anything stupid.
Image

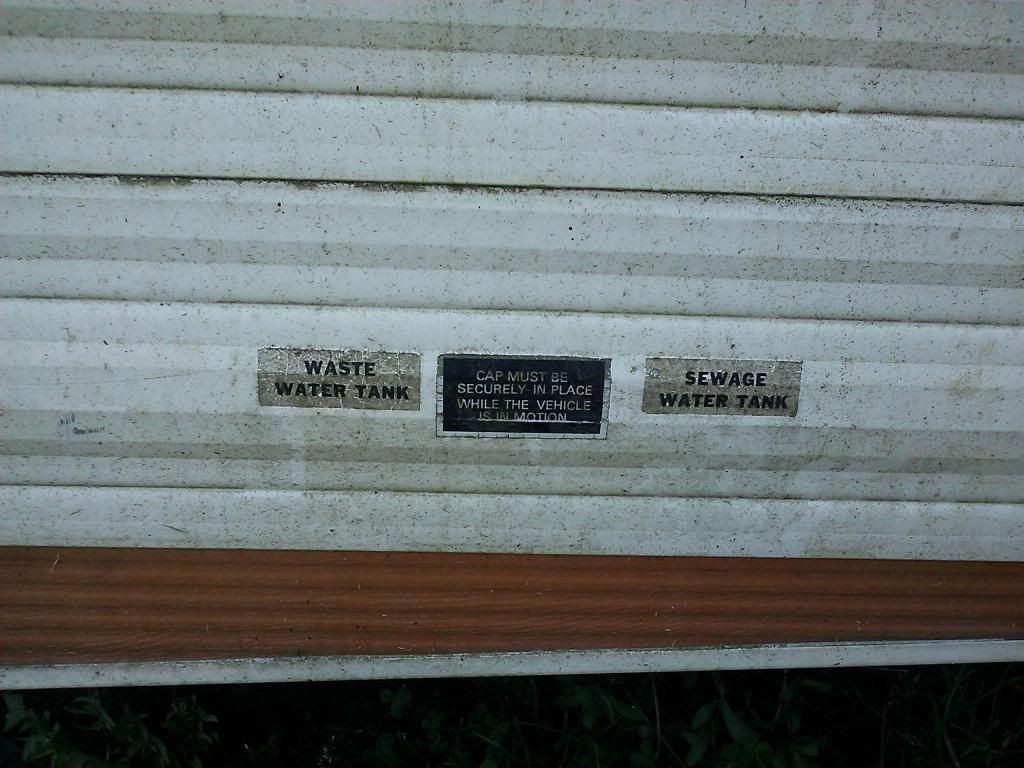
OOo! The sewage tank! I never saw a sewage dump hose
Image

Image

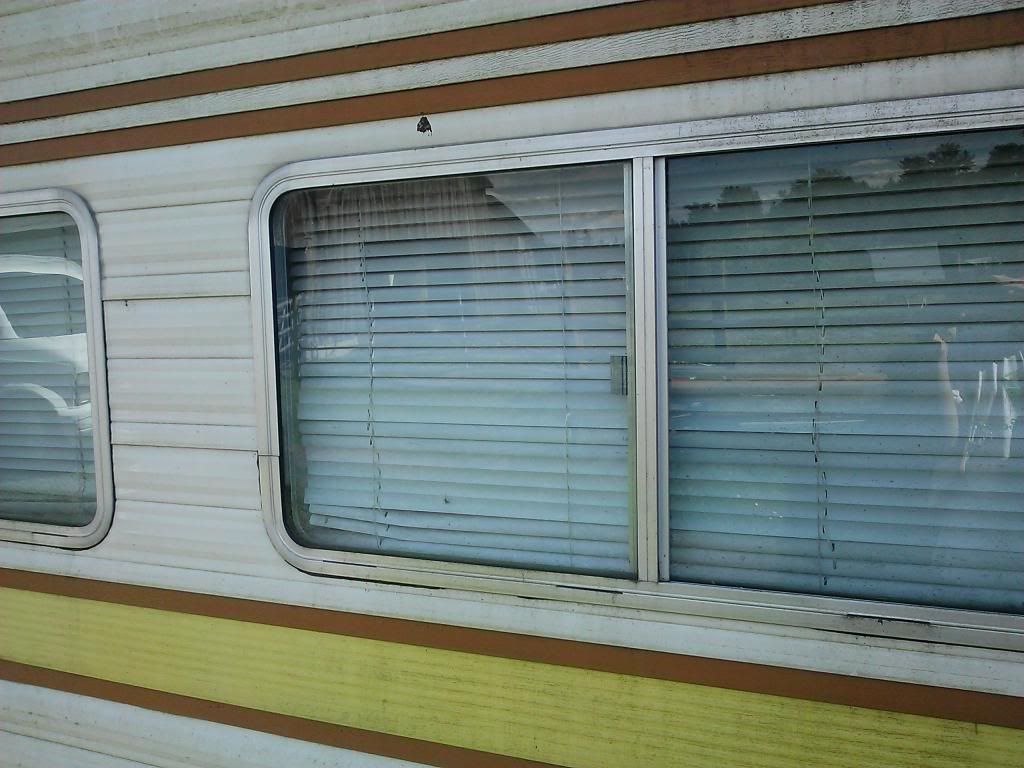
Windows, windows everywhere! I love them!
Image

Image

Image

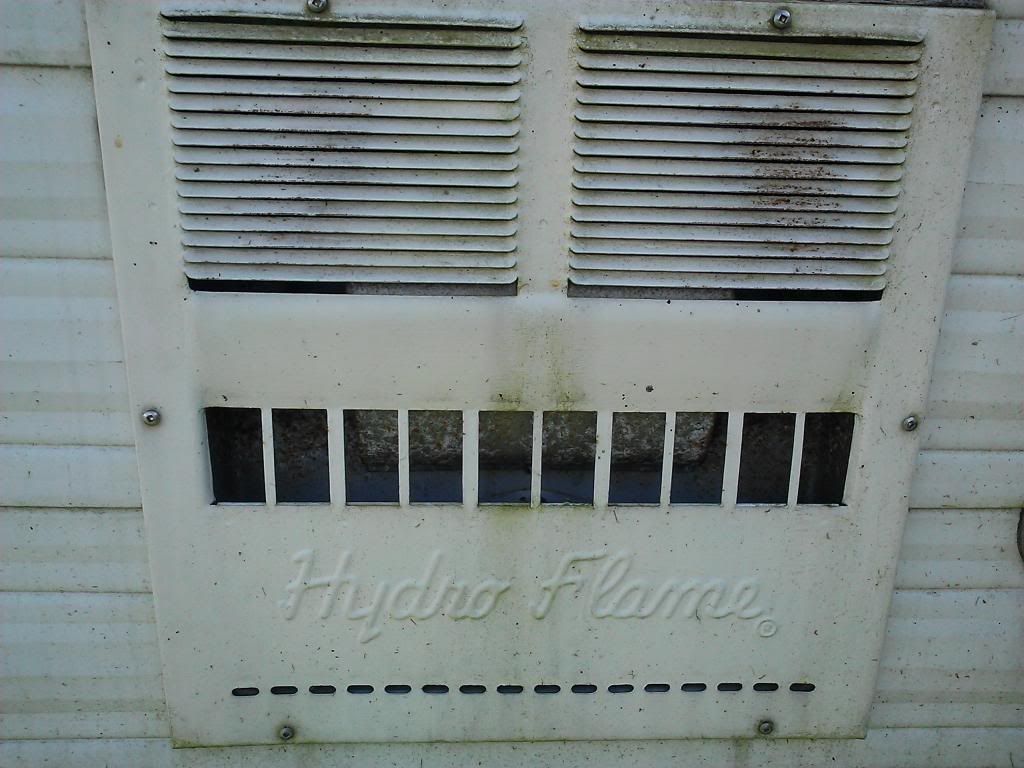
The furnace?
Image

Lovely!
Image

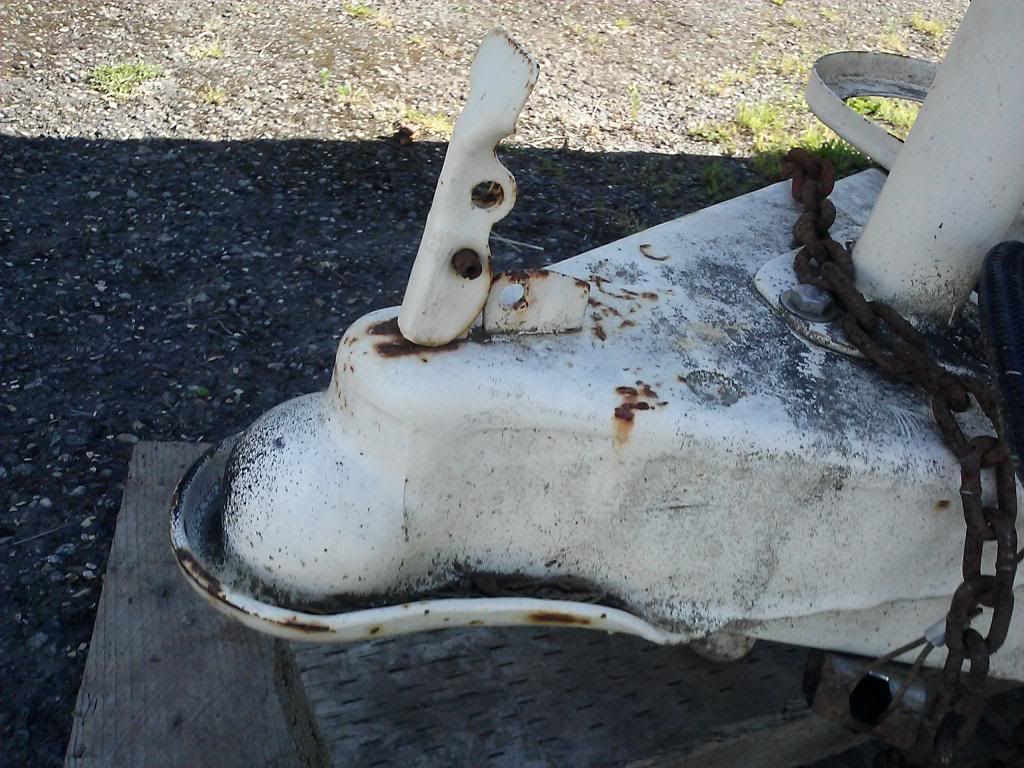
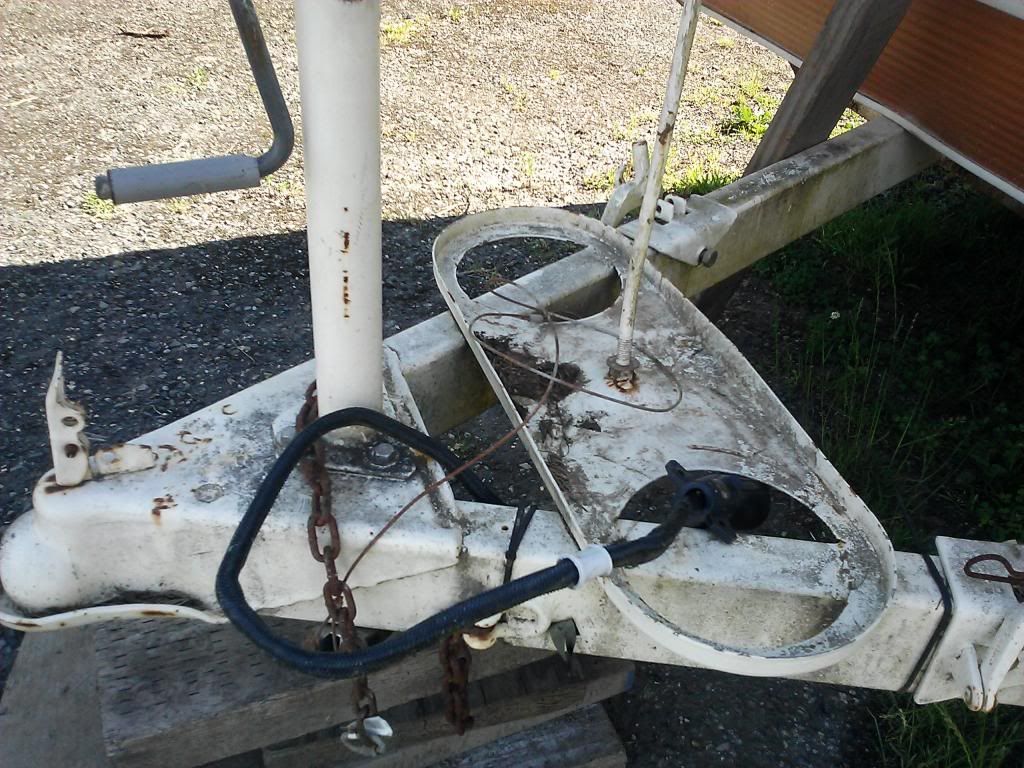
This propane holder thingy (like my technical jargon) looks a little bent....hmmmm....I don't like that
Image

This is the first thing I'm going to clean tomorrow! I don't know why and I know it will get filthy again long before I'm done but I just want to take some Greased Lightening to this baby with a scrub brush and scrub it up just to see what it looks like!
Image

Yikes!
Image

Image

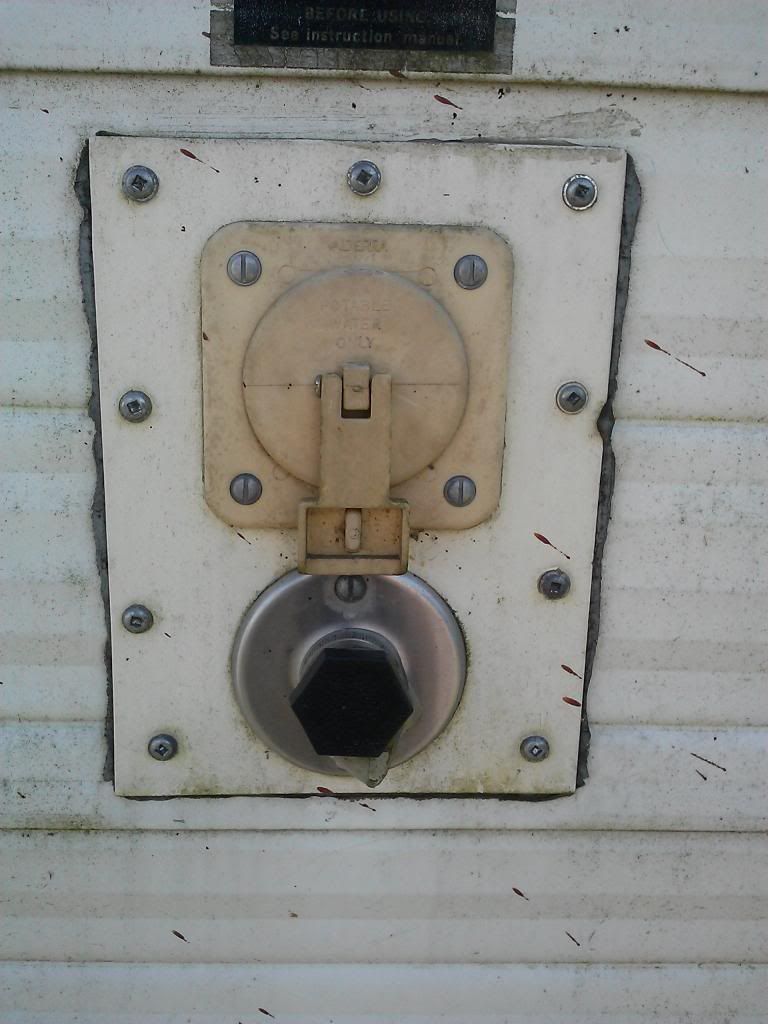
I have no idea what this is....anyone?
Image

Anyone need to freshen up? ha ha
Image

Dinner's on!
Image

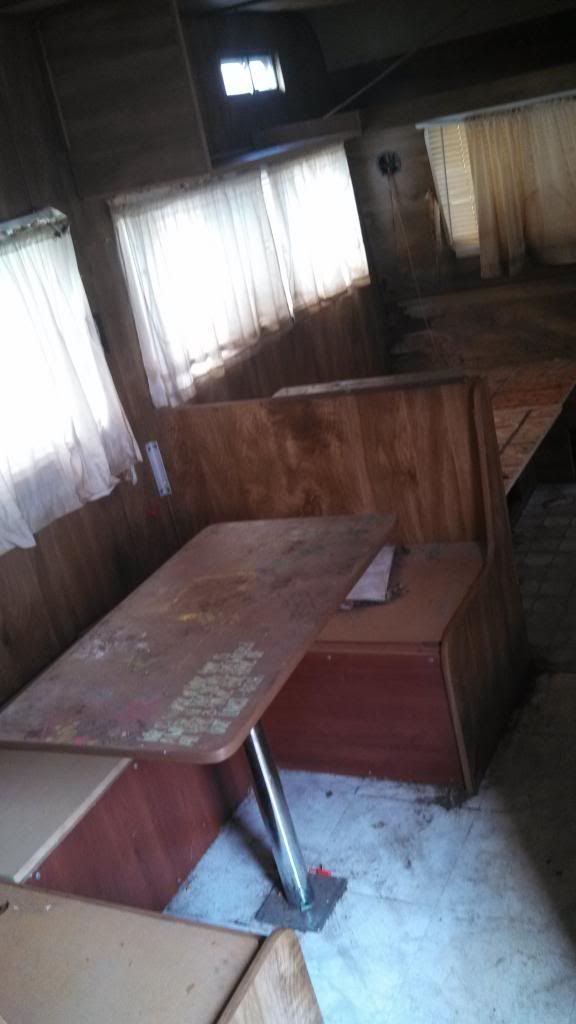
At least that metal pole is still there! That's something right? And I remember trying to move the table back and forth to see if the floor was weak there and it felt solid.
Image
Kevin
Bellingham, WA
User avatar
djdawg
Teardrop Master
 
Posts: 129
Joined: Wed Nov 14, 2012 11:36 am

Re: '77 Holiday Rambler Wide World - here we go!

Postby mezmo » Thu Jun 20, 2013 3:31 am

If you remove the exterior aluminum siding and don't reuse
it, don't take it to the dump, sell it at the scrap metal buyers,
it'd give a few bucks towards the rebuild.

Can you locate a copy of the brochure for the TT ? It'd probably
be hard to locate one, but you never know - the reason I ask is
that often a lot of brochures have some diagram of the TT''s
construction that might be a good reference - probably a long
shot on that...
If you have a house - you have a hobby.
User avatar
mezmo
1000 Club
1000 Club
 
Posts: 1817
Images: 194
Joined: Fri Jan 01, 2010 4:11 am
Location: Columbia, SC

Re: '77 Holiday Rambler Wide World - here we go!

Postby djdawg » Thu Jun 20, 2013 10:51 am

Great idea Mezmo...I contacted Holiday Rambler about a manual (even a digital one) and they said to contact their parts dept which I haven't done yet....It would be great to have something.
Kevin
Bellingham, WA
User avatar
djdawg
Teardrop Master
 
Posts: 129
Joined: Wed Nov 14, 2012 11:36 am
Top

Re: '77 Holiday Rambler Wide World - here we go!

Postby PKCSPT » Thu Jun 20, 2013 9:21 pm

Looks lke a ton of work but what a great little trailer. Love windows
121172 116946 159644
PKCSPT
Silver Donating Member
 
Posts: 1515
Images: 61
Joined: Wed Mar 31, 2010 11:27 pm
Location: Minnesota
Top

Re: '77 Holiday Rambler Wide World - here we go!

Postby djdawg » Fri Jun 21, 2013 12:49 am

Christmas arrived early for me today...ha ha. Trailer is here and I did some walk through videos. I'm not sure why it's not letting me imbed the thing in the thread but the link will get you there. I tried to keep them brief but somewhat entertaining. Weather permitting I'll start scrounging around inside this weekend.


http://youtu.be/7jgpkcg28GE

http://youtu.be/T_IXvBhb440

http://youtu.be/Rv1E4pnkfJE
Kevin
Bellingham, WA
User avatar
djdawg
Teardrop Master
 
Posts: 129
Joined: Wed Nov 14, 2012 11:36 am
Top

Re: '77 Holiday Rambler Wide World - here we go!

Postby djdawg » Fri Jun 21, 2013 1:58 am

Early question...in the front of the trailer there is some bunk bed sheets installed and I'm not needing a bunk bed at all. Do people still put storage up there in that area or do folks every have that area free and clear if they don't want bunk beds.

I think what I really need to do is go to an RV show or find some rv mags or rv designs online or something so I can get some direction before I start ripping stuff apart too much.
Kevin
Bellingham, WA
User avatar
djdawg
Teardrop Master
 
Posts: 129
Joined: Wed Nov 14, 2012 11:36 am
Top

Re: '77 Holiday Rambler Wide World - here we go!

Postby djdawg » Fri Jun 21, 2013 3:52 pm

So as I've already determined, there is rot that I will need to deal with but one place I wanted to tackle first is the corner, verticle board that is directly behind the shower stall. I'm not sure how extensive it is or if I'm even going to keep the shower but should I attempt this fix from the outside? I know normally you would fix it from the inside but I'm not thrilled with pulling the shower stall. There is also ceiling rot in that same corner.

To make things even more difficult the trailer isn't under cover yet except for a tarp. (this will change soon)
Kevin
Bellingham, WA
User avatar
djdawg
Teardrop Master
 
Posts: 129
Joined: Wed Nov 14, 2012 11:36 am
Top

Re: '77 Holiday Rambler Wide World - here we go!

Postby djdawg » Fri Jun 21, 2013 11:25 pm

OK...so is anyone reading this? Cuz I need some assistance :D

My day started out with finding feces still in the toilet! Hooray! :x

I started playing with the trailer today and found some good things and one very potentially bad thing. That's where I need your help!

Good stuff first!

Just as I thought, the corners were pretty rotted out. I peeled the sidings back farther and from what I can tell they actually used two 2x2's side by side (or they may be 2x4's - can't tell yet until I pull them out) so the one 2x2 is pretty bad and the one next to it has some issues but not as bad as I thought. (but of course I'll replace them both) The horizontal studs that run from the corners (back to front) have rot only about 10"-12" in.

Inside I started lifting up some floor, benches and as I thought early on, the bathroom is the worst and there was some rot that crept out into the entryway. However...the rest of the floor looks good! I peeled off some walls and aside from the corners I mentioned before, I saw lots and lots of dry wood!!! Hooray!

I found some manuals too...that was cool. None for the trailer itself but the water heater, furnace, stove and fridge. Weird to see them as they are 35 yrs old but have held up pretty well.

So I guess that's all the good stuff...ha ha.

I found duct tape covering the heater vent which was weird. But I didn't see a thermostat (but I have the manual! LOL) so maybe it just blew hot air all the time so that's why he covered it.

My biggest concern is that I found while pumping water through the system that the hot water heater leaks. Now I think I know what all that rust has done that you see in the pic. I will need to google/search (or if anyone has any direct advice) on what to do about a leaking hot water heater. BTW, I was only running cold water through the system when this happened. (is it normal for cold water to still go through the hot water heater?)

OH...one more thing! I can't tell if the fridge is working when I plug in electric. I believe I have all the dials set correctly. I read somewhere else that sometimes you have to leave it plugged in for an extended period of time if it's been sitting dormant for awhile? Tomorrow I'm going to try and fire up the propane and see what works that way.

So I guess that's about it....so today's questions in case anyone wants to chime in are:

***Leaky hot water heater...what to do. How much to replace, etc. I wrote down the serial number because I read that you can tell what brand it is that way? And that would probably tell me how much it might cost to replace? It's C465405

***If a stud is rotten only about 6" up, do I replace the whole 8 feet of it or if I can only replace a section how does one do that?

***I've already done a lot of searching on this site and anywhere I can online but have yet to find step by step instructions (video would be even better of course) on how to replace corner frame pieces. I know there has to be an exact procedure....if anyone has a link, that would be great.

***The god-awful 70's faux wood grain cabinets....can they be sanded so I can paint them? Can they be covered? They are awful sturdy and that would save me a ton of work if I could use them somehow but change them up. Hardware will need replaced but they are sturdy and already in so.....

I had some inspiration today....the u shaped dinette area? That lower vertical board that I'll call a kick plate - I think it would look cool to cover that with corrugated steel! I knew I was going to use that as decoration somehow in my tt but wasn't sure how. And I can continue the look throughout the rest of the trailer in other ways. And using it on the kick panel means I don't need to paint, cover or do anything with the current boards other then cover them. I love that stuff!

Thanks for reading this already long journal! I'll get some more pics up after cleaning some stuff out this weekend.
Kevin
Bellingham, WA
User avatar
djdawg
Teardrop Master
 
Posts: 129
Joined: Wed Nov 14, 2012 11:36 am
Top

Re: '77 Holiday Rambler Wide World - here we go!

Postby rebapuck » Sat Jun 22, 2013 12:12 am

Good start and you are enthusiastic. That will take you a long way.

I'm only guessing, but you can paint anything these days with the right paint.

Keep the camera handy. We love pictures.
Judy
1966 VW camper
1967 VW singlecab
Image
User avatar
rebapuck
.
 
Posts: 2243
Images: 1
Joined: Thu May 14, 2009 1:55 pm
Location: Chapel Hill NC
Top

Re: '77 Holiday Rambler Wide World - here we go!

Postby djdawg » Sat Jun 22, 2013 11:50 pm

Wasn't able to do much today but I did find out the stove and oven work with the propane! Woo hoo! And my fridge works....electric. Haven't had a chance to see if it works yet on propane but this is all good news. :D
Kevin
Bellingham, WA
User avatar
djdawg
Teardrop Master
 
Posts: 129
Joined: Wed Nov 14, 2012 11:36 am
Top

Re: '77 Holiday Rambler Wide World - here we go!

Postby mezmo » Sun Jun 23, 2013 1:26 am

Hi DJ,

I had a post but it got 'eaten' by the ever-voracious "ComputerGlitch".
No time now to redo, but I'll try again in a day or two.

Cheers,
Norm/mezmo
If you have a house - you have a hobby.
User avatar
mezmo
1000 Club
1000 Club
 
Posts: 1817
Images: 194
Joined: Fri Jan 01, 2010 4:11 am
Location: Columbia, SC
Top

Re: '77 Holiday Rambler Wide World - here we go!

Postby mezmo » Mon Jun 24, 2013 1:39 am

Hi DJ,

Here's another stab at getting a post up.

It's a good idea to do a thorough cleaning as you mentioned. You
can find alot out that way - once it's clean it may not be as bad as you
thought. Also remove any mouse activity residue, completely, if you have
any - they are the bane of old TTs !

From your pics, the exterior aluminum looks to be in good shape. I wouldn't
do too much with that, and be careful as you investigate. If you can keep that
in good shape - not adding any dents, creases and wrinkles yourself - and
reinstall it if you remove it, you will save a big chunk of change. New aluminum,
or other exterior covering - FRP, steel e.g. - to cover the body would not be
cheap. You already bought what you have, so perhaps a good strategy would be to
reuse it and repaint it when the time for that comes. It looks to me like it is installed
in horizontal strips with interlocking seams. The tops of each strip are most likely then
stapled to the studs and then the next strip interlocks to that and the process is
repeated.Here're a couple links regarding the siding. The tutorial was done by forum
member len19070. He has used the method on a couple of his builds.
http://serroscottycamperenthusiasts.com ... IDING.html
http://serroscottycamperenthusiasts.com ... gfinal.pdf

As far as the interior configuration goes, you can do whatever you want as you repair/
remodel, constrained by the existing wall openings and all the HVAC type installations.
If you keep those pretty much as they exist, it'll save time, materials and expense, but you
can still customize the storage and seating and sleeping accomodations. Most TTs are
designed with a certain number of occupants in mind and the seating sleeping and storage
is done for that. If your requirements aren't the same as it was originally designed for
[e.g.sleeping 6], modify it to your requirements. Most people seem to feel that having a
dedicated bed area for sleeping is a positive idea, as converting a dinette or fold-up
couch can get to be a pain. It all depends on your likes and dislikes. If you do away with
the upper bunk, do think about making a large shelf [say half the sideways width of the
existing bunk] or overhead cupboard there to store light bulky things like pillows.
blankets, heavier jackets etc. Good well thought out [and especially extra] storage just
makes using the TT easier and camping items easier to organize.

Here is a link to the only web site that I've run across that is specifically tailored to repairing
TTs [vintage ones]. It is run by TnTTT member Rob48. I haven't joined it yet as it is targeted
to 1969 and older 'vintage trailers' [very common on "vintage trailer" sites], but it is open access to anyone wanting to view it, you just can't post on it if you don't join. Owning a 1969 or
older [or actually wanting to] vintage trailer is the only requirement to join that I see. [BTW, We
have a 1977 Avion, that needs some repair on various floor areas due to water damage. Some
of it I've already begun, but it is located out of state from me, so I only get to work on it about once a year.] Anyway the various techniques and approaches may be of interest/use for you
re-build project. They still apply to 'newer' TTs that use the same/similar build methods.
http://repairingyesterdaystrailers.yuku ... cfKkfnVCSr

Since your TT is a minor brand of Holiday Rambler here are a few links to groups dedicated
to or about them, maybe they'd be info sources for you. Check them out for whatever they
are worth - I have no idea, but you may get lucky and find specific info you need. [Just
from a fast Google search.]
http://www.holidayrambler.com/holidayrambler/index.html
http://www.holidayrambler.com/holidayra ... wners.html
http://www.irv2.com/forums/groups/39-ho ... +club.html
http://www.campfireclicks.com/Community ... fault.aspx
http://www.hrrvc.org/
http://www.docbigs.net/1977/1977-holida ... r-manuals/

Since you were wondering about a starting approach, I'd try doing most of your
investigation from the interior and leave the exterior siding on as is. The interior paneling
is probably woodgrain printed 'plywood' of about 1/8 to 1/4 inch in thickness, so I
wouldn't cut any deeper that that into the walls. otherwise you'll hurt structure/studs,
and possibly wiring or whatever else is behid the paneling. Shallow cuts on that should
allow you to remove portions of it you need to for rot removal and/or investigation. You
didn't sound too eager to keep it as it is too much, so you could reinstall it in the good areas
and sand it to paint it, or even install new interior paneling if that hits your fancy.

While I'm thinking about it - here's a shorter post I did in another build journal that may
be useful to you:
"Just wondering if you have one of those oscillating multi-tool
tools, and their various blades ? It'd make any demo easier as
they can get into places and do things a lot of other power tools
can't. I have a cheapo Harbor Freight one [@$20 I think it was].
It has been very handy with a bedroom remodel we did last year
[demo involved] and with demo-ing out an old built-in in the den
and replacing that with a new more functional built-in, this year.
If you can afford one, one of the various brands with the quick-change
[of the blades/attachments] feature would be more desirable over
ones with the manual changing of the blades/attachments with the
hex-wrench that the cheapo ones, like mine, use. Just weigh out the
cost-time-convenience-"handiness" factors involved for your situation.
It's definitely a handy power tool to have in my view."
Get an assortent of the blades, they have them for both wood and
light metal, good enough to cut through small nails or staples.

I have to add that I used mine on the start of the Avion floor repairs and
it is an invaluable handy tool. Also check out the Kreg System jig for
screwing together butt joints. I don't have one, but it's on my list of
tools to get. I've only read good info about them. It may be useful to
splice in new studding where you need to replace rotted members. I
understand they have a range of jigs, so a simpler one may not be too
expensive.

Since you think you'll start your serious [and carefull] demo in the bath
area, I'd concur, and say to just take out the existing bath totally. It looked
to be heavily damaged in the pic, so it's not worth saving. I'd only put in
a new portapotty or cassette type toilette if you are not really interested
in a shower, and make that one one with the higher seat, ~ 17in or so.
[Warning: Mini Rant] Most TT/RV baths, and especially showers, are ridiculous,
especially in smaller sized units. They're only sized to be useful for small
children. Average sized adults, and larger sized adults just do not fit. [Rant end].
You can get rid of the existing setup, repair the floor and walls etc, and use that
space as the new portapotty room, it'd probably be large enough for that.

The only other things - off the top of my head at the moment - is to be sure to
glue all your repair joints together [as well as using metal fasteners if you do so]
and especially glue the paneling back onto the wall structure 'studs' [the same goes
for the roof/ceiling and the floor repairs. There is a wide range of construction
quality in TTs, but the one unifying theme in them, is to try and to make all the
various component parts into "one" so that they all end up reinforcing each other
and thus provide greater strength together than they have individually.

Also, take alot of pics to document for yourself how something is put together
so that when you go to reassemble etc. you have a visual reference, so much
easier to do in these days of digital cameras.

Also again, when you replace the rotted corner pieces, do try to seal them against
water intrusion and consider wrapping the joint [ say 4-6 inches each side ?] with
some of the new ice-shield type window flashing material. It's supposed to work
like the roof ice-shield permanent membrane and seal against water intrusion and
even seal fasterers that penetrate it.

Oh, another thing [Ha!], you may need to redo the sealing around the windows
too. Deteriorated sealing around them is one source of water intrusion. They look to
be the 'clamp ring' type, so it shouldn't be too difficult, just a bit time consuming.

Just be systematic in your approach and you should be fine. In the past, I've rebuilt a
factory made metal covered door on a 1969 Marlette Mobile Home I used to own years ago,
[a very high quality MH] including replacing the rotten wooden interior framing, adding
a new stained and then varnished birch interior door panel and replacing the carfefully
removed exterior metal cladding and window - and I had not a clue as to what I was doing
when I started doing it. And my two brothers and I replaced the floor structure and end
walls, including the long wall's bottom plate, in an 8ftx24ft expando room extension in our
late Mom's 1984 Shannon Mobile Home [a poor quailty MH we found out]. [Water had rotted
the floor structure and the edges of the floor deck in the expando due to p*sspoor design,
and the improper installation of sliding glass doors on the expando's end walls.] We'd never
done anyting like that before either but it turned out fine.

Common sense and a willingness to learn and do will take you far and get you a rebuilt TT
once you're all done.

Cheers,
Norm/mezmo
If you have a house - you have a hobby.
User avatar
mezmo
1000 Club
1000 Club
 
Posts: 1817
Images: 194
Joined: Fri Jan 01, 2010 4:11 am
Location: Columbia, SC
Top

Re: '77 Holiday Rambler Wide World - here we go!

Postby djdawg » Mon Jun 24, 2013 10:54 am

Norm/Memo...I can't thank you enough for your long and thoughtful post. The fact that you took the time to type that out not once but probably twice :( is above and beyond what I was expecting. Thank you so very much...what a great way to start my day waking up to that!
I'm heading off to work right now but I will respond later.
Kevin
Bellingham, WA
User avatar
djdawg
Teardrop Master
 
Posts: 129
Joined: Wed Nov 14, 2012 11:36 am
Top

Re: '77 Holiday Rambler Wide World - here we go!

Postby djdawg » Tue Jun 25, 2013 12:34 am

Dang...I had a computer fart too! Had a looooong response all typed out...I'll try again.

First off...thank you everyone and a special thanks to Mezmo/Norm! :D You inspired me and helped me so much...thanks! I'll check out those links and learn, learn, learn!

Ok...I'll respond to some of your points in order. I've come to the realization (not easily I might add) that I'm stuck with this siding. I called Hemet Valley RV and Siding today and got a ball park figure on new siding for this baby and it's well over $2k. I had no idea it would be that much. Lame. So I'm trying to come up with options. I've heard - and I wasn't sure if it was in jest or not - that some folks have taken their trailers to Maaco. Really? I also saw a few people on youtube that spray painted their siding and it didn't look half bad. I'm also following one guys build and he put aluminum sheeting on the side and is painting that. (over the top of a luan outer skin) I have no idea how much aluminum sheeting would be for my tt but maybe that's an option?

My biggest challenge in all of this is that I don't have a covered area yet to really get cracking so I have to be careful what I do until then. I started farting around with the stove top (more on that later) just to feel like I'm accomplishing something.

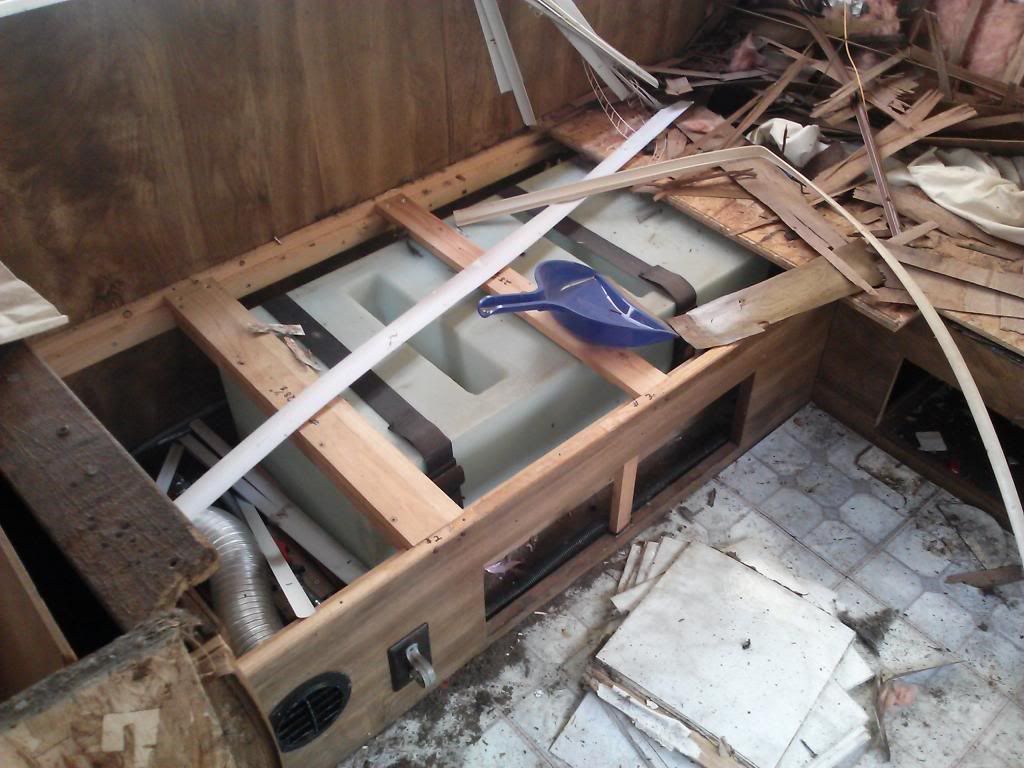
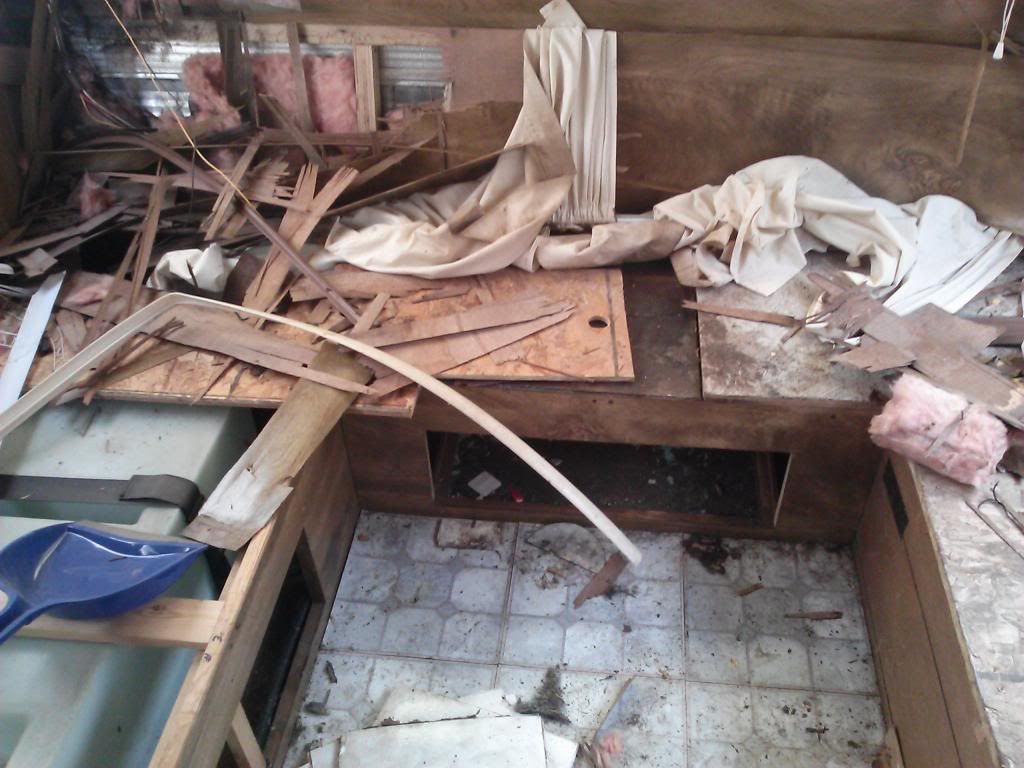
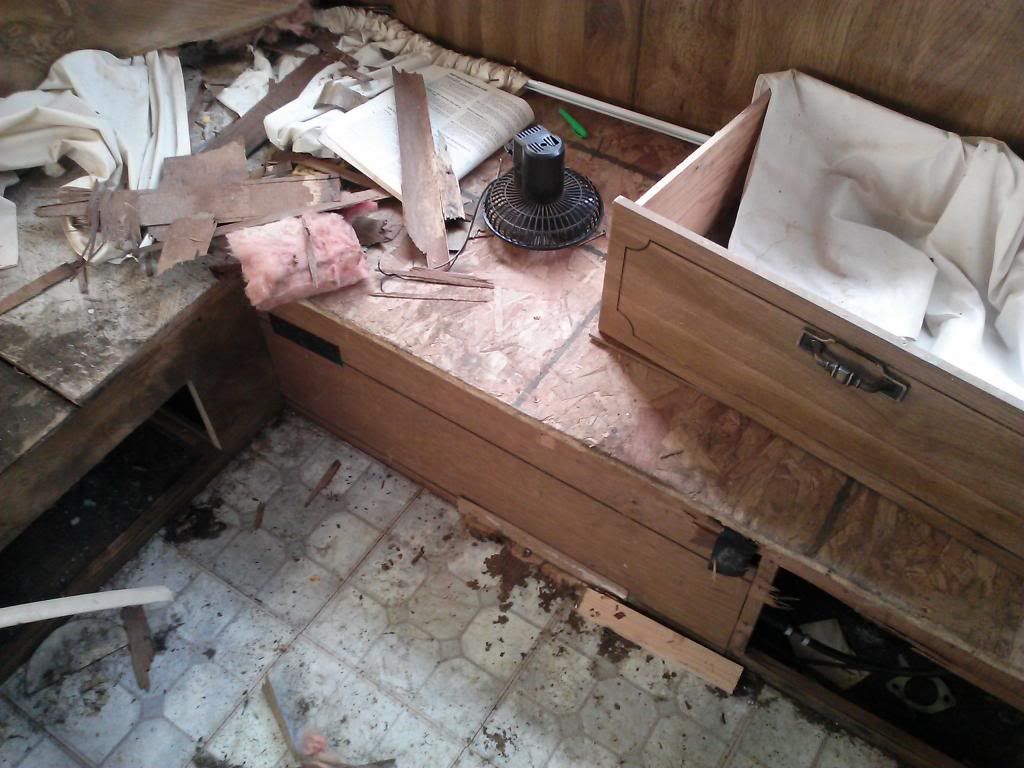
The forward sleeping area - I took some pics tonight (also some video but I'm having a problem getting it to work properly in a post) of the U shaped lower area and the bunk area above it. I have decided that I don't want a permanent bed set up because I really like this open, casual seating area and I found a spot where I could put a tv screen/dvd set up which would be cool. (not so viewable from the dinette area) To stretch a piece of plywood across the U in order to make a good size bed wouldn't be too tough and I wouldn't have to extend it all the way to the dinette area like I originally thought. (See the youtube videos) I've already thought that I could put wooden sliders above to cover up storage and that would be cheap and easy.

The lower U shaped area starting from left to right...
Image

Image

Image

Here are the links to the videos:

http://youtu.be/d9I-ycmM540
http://youtu.be/hnEH6P_FOUY


Bathroom/shower - I think taking out the shower is probably the way to go. Is it difficult to relocate the toilet in that room? And should I keep a sink in there? There is an odd countertop configuration going on with the sink...the countertop extends INTO the shower stall which I really don't understand but maybe that was the norm back then. If I pull out the shower stall I'll have to put in a new sink, build one, etc somehow. It seems like the room will end up being bigger then it needs be (or maybe it will be BETTER when it's bigger) but I don't really want to kick down structural walls that separate rooms.

That $20 HF tool you were talking about...it's not a router is it? Is it more like their version of the Dremel tool?

Some of the mysteries of how a tt is built are finally starting to get clearer to me but I'm still a bit confused about corners, sealing, etc. From what I can tell these old time tt's are built this way...starting from the inside...an innerwall made from luan, etc, then the wall studs with insulation, then it's covered with siding....that's it right? So how on earth do these suckers not get wet and leak all the time? I know there is trim that runs from the top of say where the left outside siding meets the back outside siding but how does that keep rain out? As far as I can guess, it seems like the whole thing should be dipped in that black rubbery stuff you see sold on late night tv before the siding is put on. I just don't get that part yet but I'll keep learning....and I want to put in new insulation...I see some people use the old school fluffy stuff and other's use foam core board. Which is better? I want to keep the heat in, keep it cooler in the summer, and deaden the sound because I'll probably play my stereo loud and drink vodka. :lol:

Windows: Are you thinking that they need to be taken out of the trailer and redone? And by redone...I'm not really sure what that means. I see what I think is butyl (?) tape where they are fitted into the hole of the trailer but I also see it in the window frames itself....like where the glass fits in. What should be redone and can someone that's never done it do it?

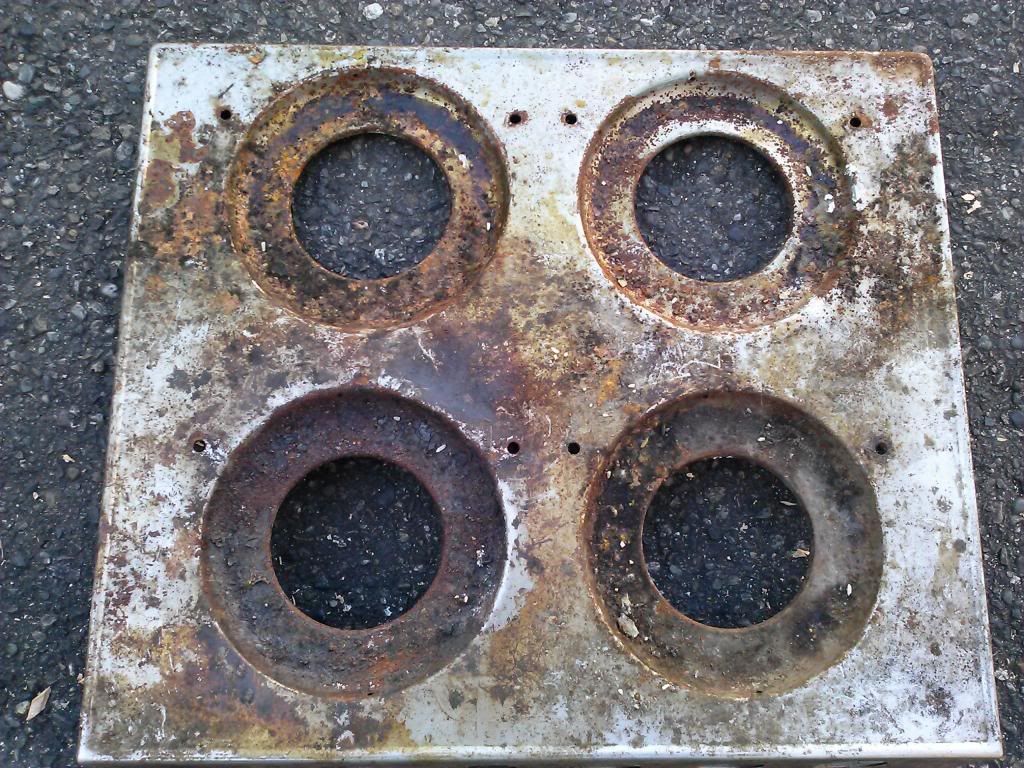
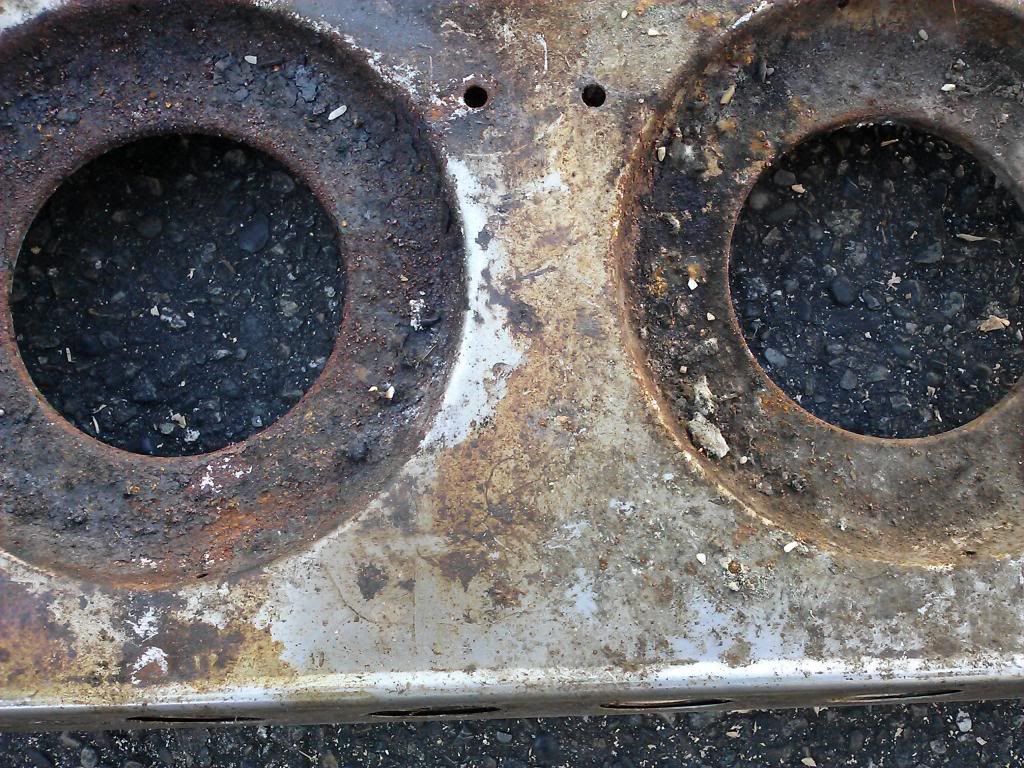
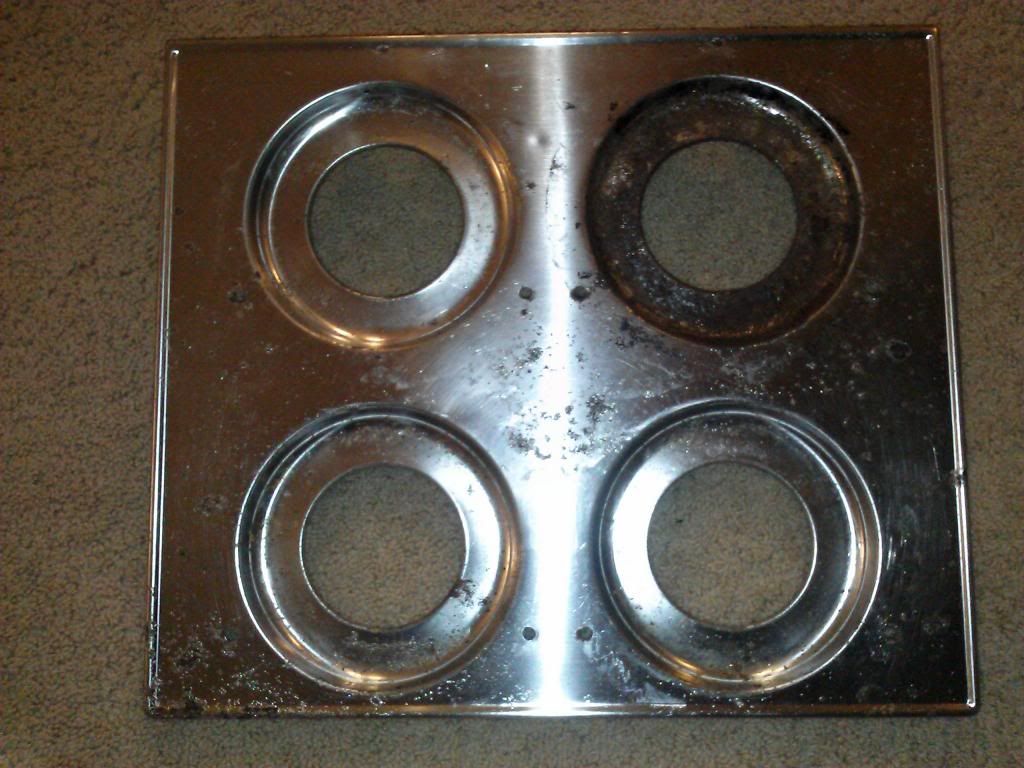
I've been playing with the stove top because I can't rip things apart too much at this point until I get undercover. As you can see in the pics it was very disgusting when I got it. (I found a chicken bone on the stove top and I think that will be name of my trailer!) I scrubbed and scrubbed it....then sprayed oven cleaner on it and scrubbed it again. What's left is some rust and the metal is pitted in some places. I've read that many people have had good luck with using high heat engine paint which I would like to do. Can an orbital sander with the right paper get the pits and rust off?

Image

Image

Image

Ok...that's about all I can write about tonight....thanks everyone!
Kevin
Bellingham, WA
User avatar
djdawg
Teardrop Master
 
Posts: 129
Joined: Wed Nov 14, 2012 11:36 am
Top

Re: '77 Holiday Rambler Wide World - here we go!

Postby djdawg » Tue Jun 25, 2013 1:17 am

One odd thing...I can't find a battery on this rig for the life of me. Is a battery really needed if someone is going car camping in a park where there is power, water, etc?

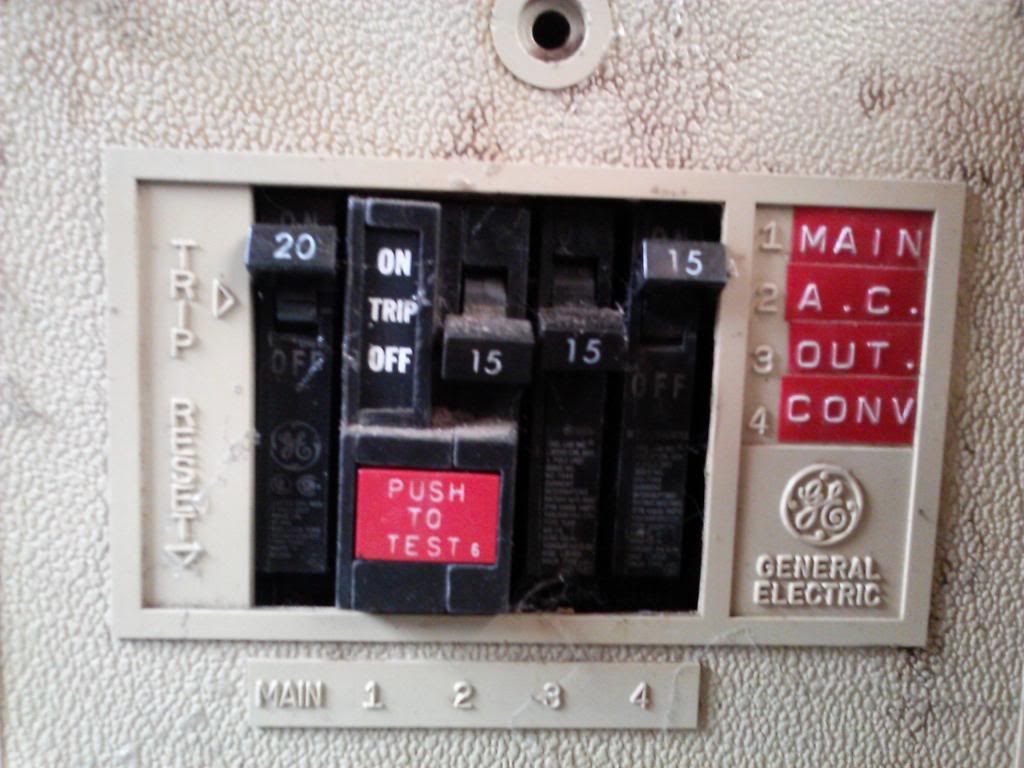
Here's an interesting pic....I'm trying to decipher it and I understand that the main power is switch #1, AC #2 and so on. What I don't know is "trip" setting? I'm guessing you would flip your switches to the middle or trip while en route? What is the purpose of that? And I can't see where this thing ever had AC. If a trailer has AC shouldn't there be a big mushroom unit on the roof? And I don't know what "out" (#3) or "Conv" (#4) is...any thoughts?

Image
Kevin
Bellingham, WA
User avatar
djdawg
Teardrop Master
 
Posts: 129
Joined: Wed Nov 14, 2012 11:36 am
Top

Next

Return to Build Journals

Who is online

Users browsing this forum: No registered users and 56 guests