A close up of the edge showing the spliced joint.
I like that double spline. What bit?

Tony
Teardrops n Tiny Travel Trailersor t n ttt for short (tnttt.com) |
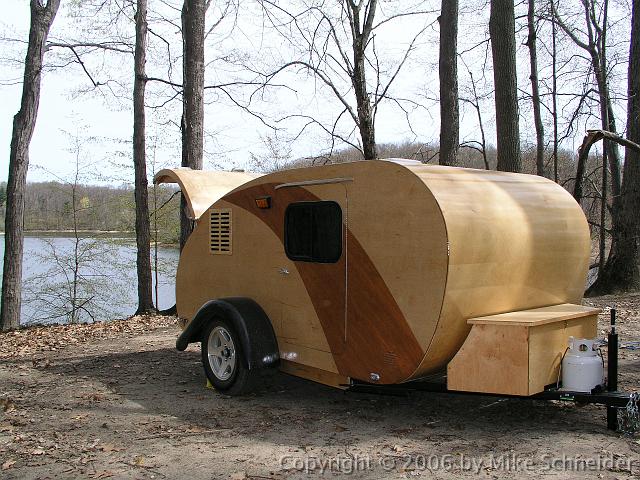
![]() by tony.latham » Thu Mar 12, 2020 1:17 pm
by tony.latham » Thu Mar 12, 2020 1:17 pm
A close up of the edge showing the spliced joint.

![]() by erfnie » Thu Mar 12, 2020 4:11 pm
by erfnie » Thu Mar 12, 2020 4:11 pm

![]() by erfnie » Sat Mar 14, 2020 9:15 am
by erfnie » Sat Mar 14, 2020 9:15 am
![]() by erfnie » Sat Mar 14, 2020 10:42 am
by erfnie » Sat Mar 14, 2020 10:42 am


![]() by erfnie » Mon Mar 16, 2020 8:22 am
by erfnie » Mon Mar 16, 2020 8:22 am
![]() by erfnie » Tue Mar 17, 2020 8:30 am
by erfnie » Tue Mar 17, 2020 8:30 am

![]() by erfnie » Tue Mar 24, 2020 9:39 am
by erfnie » Tue Mar 24, 2020 9:39 am

![]() by tony.latham » Tue Mar 24, 2020 10:06 am
by tony.latham » Tue Mar 24, 2020 10:06 am
You can see the roof spars in this picture but they are just sitting up there...


![]() by erfnie » Tue Mar 24, 2020 10:16 am
by erfnie » Tue Mar 24, 2020 10:16 am
tony.latham wrote:Are you going to varnish the headliner before you install it? (oh, please tell me yes!)

![]() by tony.latham » Tue Mar 24, 2020 2:23 pm
by tony.latham » Tue Mar 24, 2020 2:23 pm
I'm not quite sure what you mean by headliner?

![]() by erfnie » Tue Mar 24, 2020 2:41 pm
by erfnie » Tue Mar 24, 2020 2:41 pm
separate, before it gets installed ![]() by breb » Tue Mar 24, 2020 4:31 pm
by breb » Tue Mar 24, 2020 4:31 pm
![]() by OP827 » Tue Mar 24, 2020 6:14 pm
by OP827 » Tue Mar 24, 2020 6:14 pm

![]() by tony.latham » Wed Mar 25, 2020 9:30 am
by tony.latham » Wed Mar 25, 2020 9:30 am
...we do plan to build and poly that whole roof/headliner

![]() by working on it » Wed Mar 25, 2020 10:03 am
by working on it » Wed Mar 25, 2020 10:03 am
...we do plan to build and poly that whole roof/headliner


Users browsing this forum: No registered users and 66 guests
