First things first though.... If you haven't seen my design, that's documented in the following thread :
https://www.tnttt.com/viewtopic.php?f=27&t=76162&start=45
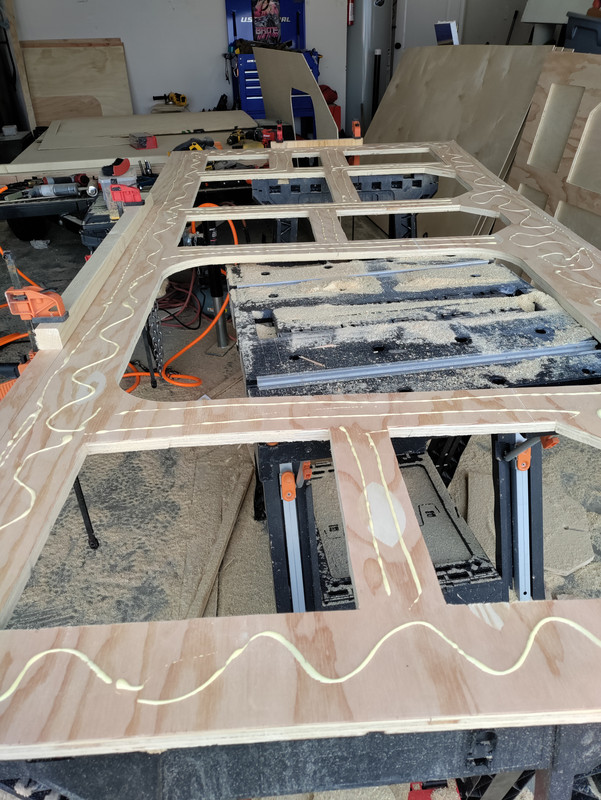
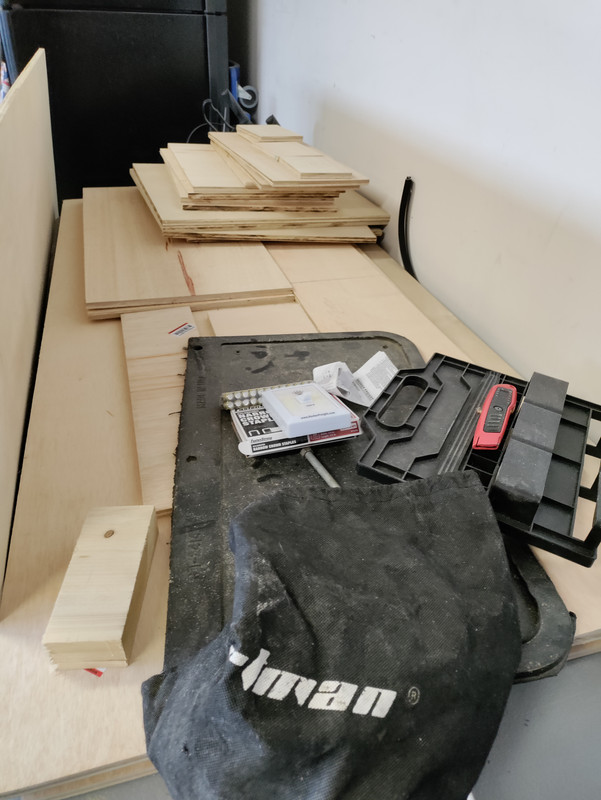
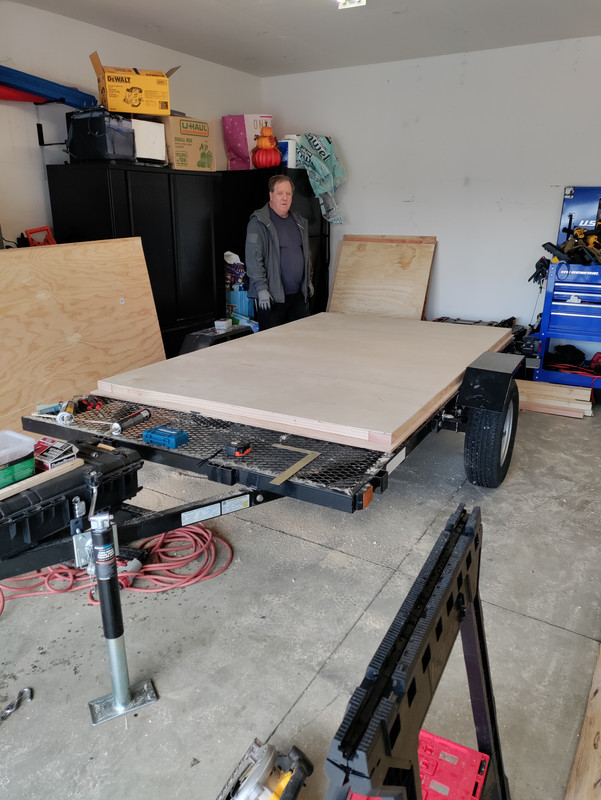
We started with the floor. I used 2x4 for the framing, 1/2 in ply for the bottom, and 1/4 birch on the top. The voids are filled with 1.5 inch foam insulation
The panels are staggered on the top and bottom. There are two 48x60 panels on the bottom of the floor, and one 48x58 (or thereabouts) panel on the top center, and one 24x58 (give or take) panels on each end.
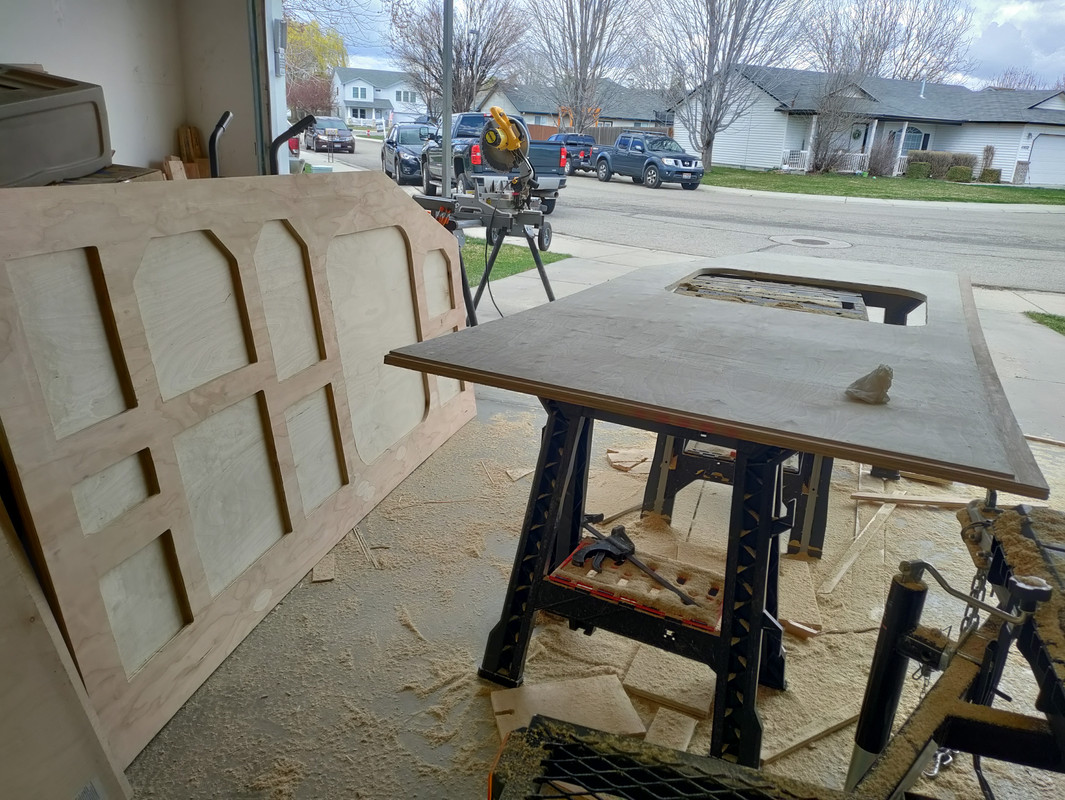
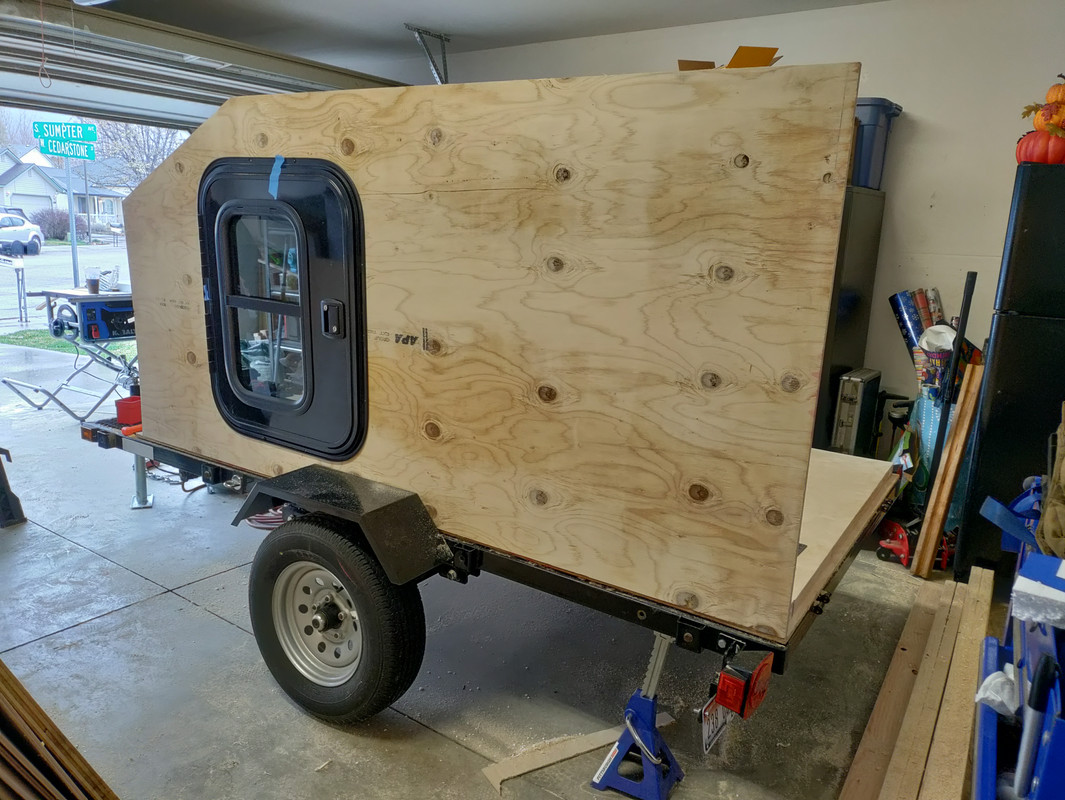
We then measured about 8 times before cutting the door out from the side wall, and seeing where it landed.
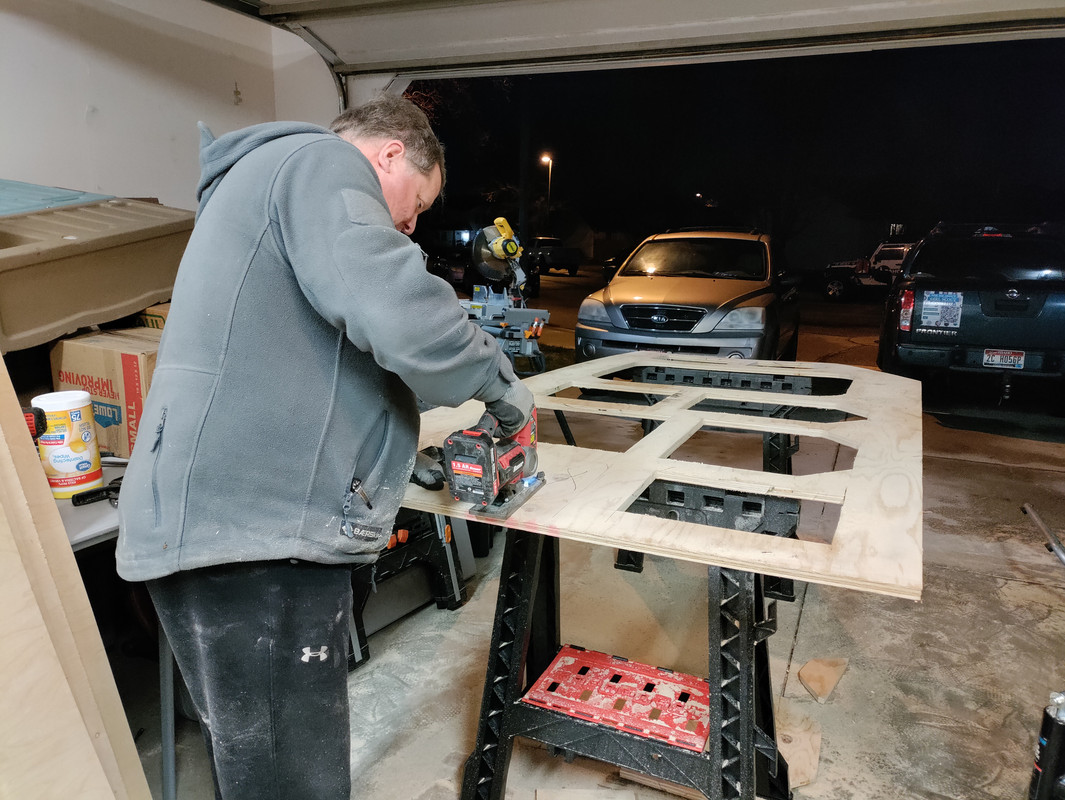
The, basing everything off the dimensions in my design, cut all the voids out for the wall insulation, giving us the template for the other wall.
Today, the plan is to get the rear galley skeleton cut, test fit that door, get the other wall skeleton cut, and get the inner skins on the walls.
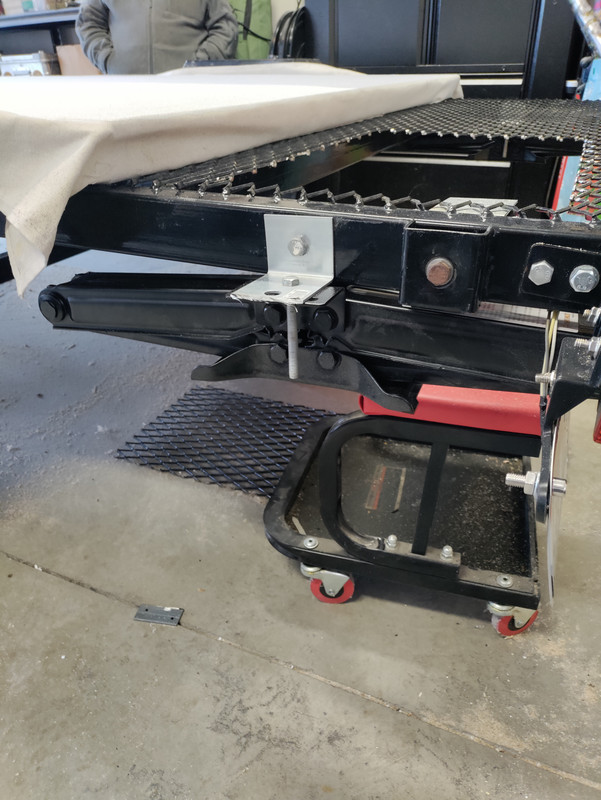
I was hoping to be able to wait on moving the axle, but that's going to have to happen sooner, rather than later, it seems.
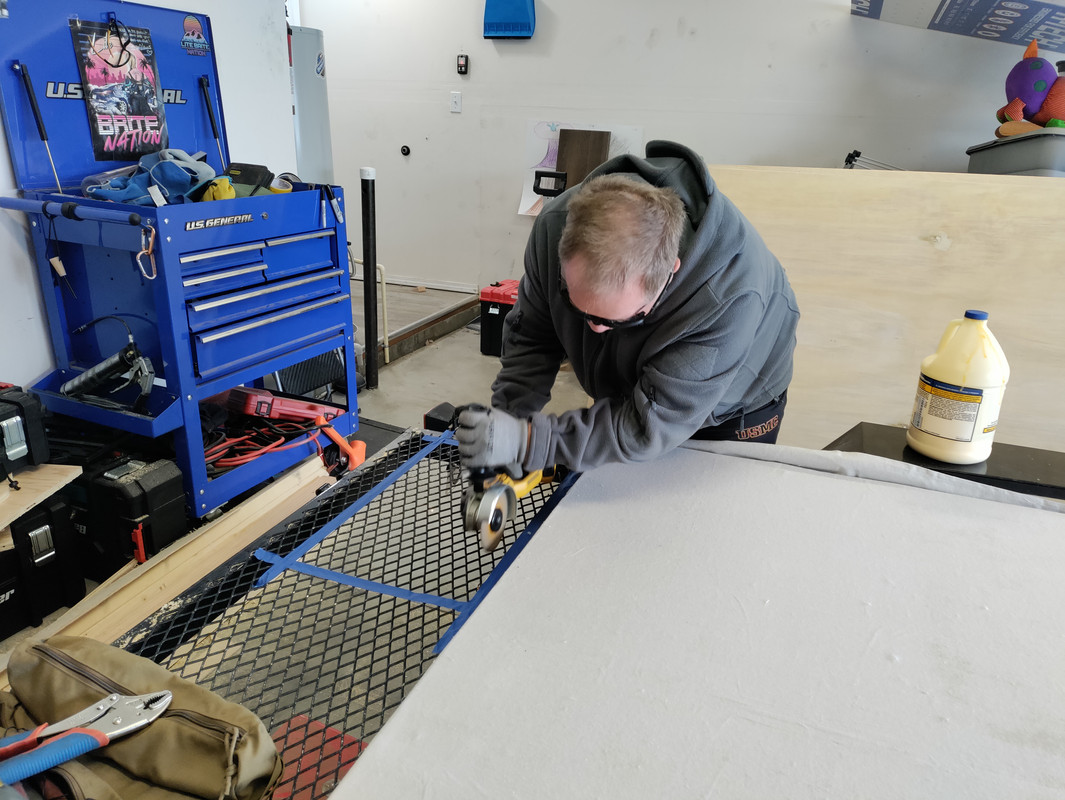
We then cut o