Latest updates.
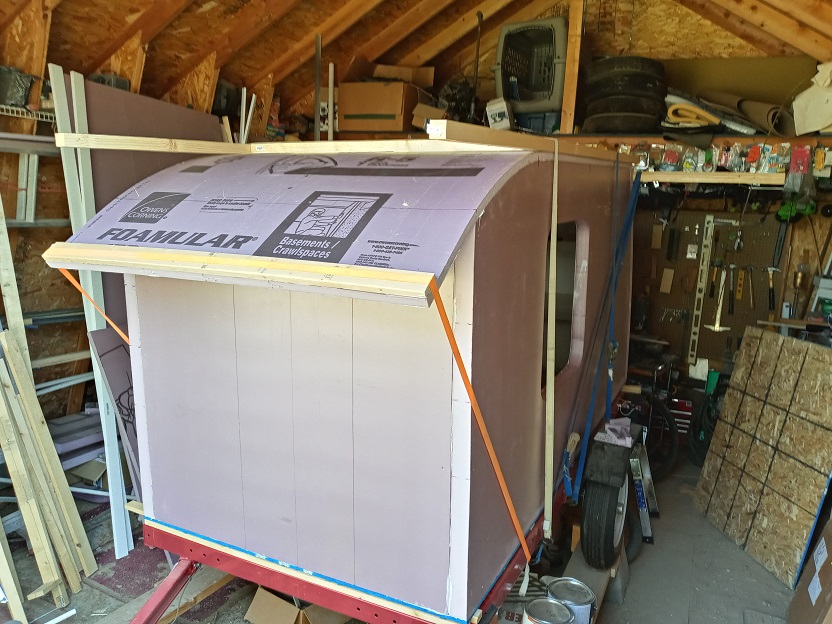
I glued on the inner roof piece. This is a 1" thick piece of foam that I was able to bend around the slight front radius. The idea is to add two pieces without having to kerf the foam. It is a bit tricky to glue this up even with this slight bend. There is still a lot of tension stored in the foam and it can overcome the glue adhesion if not prepped and glued properly.

- inner roof
- 20201005_132331_HDR s.jpg (198.77 KiB) Viewed 1848 times
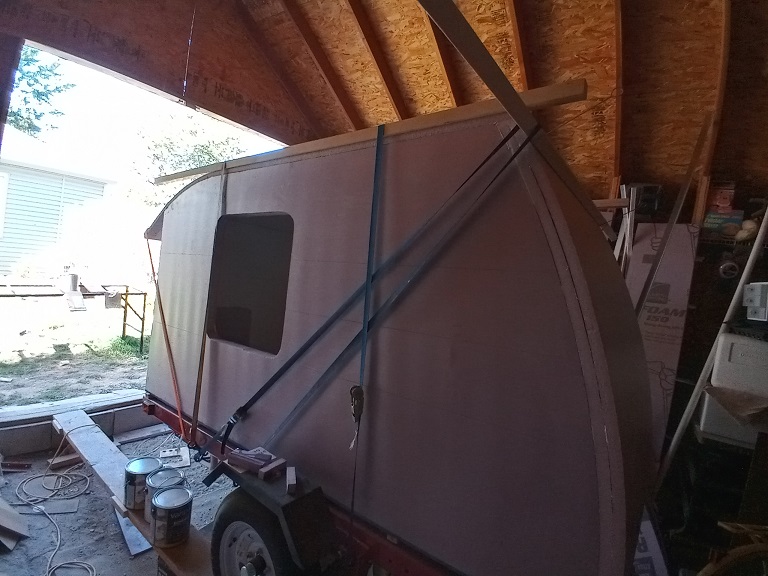
I wanted this to work better than it did so future builds could go faster. Waiting a week for the glue to dry enough so I did not have a glue failure was way more time consuming than running the kerfing tool for 1 hour. Also there is a lot of strain in the bend which deforms the curve a bit in the center. Luckily the cross members I installed helped with this a lot. My thinking is kerf for future builds.

- Inner roof #2
- 20201005_132407_HDR s.jpg (142.95 KiB) Viewed 1848 times
Once I got the inner roof on I found that by applying two 1" pieces of foam on the roof allowed a simple and easy way to install electrical systems in the roof. I think this is probably the way to build all foamies that will have complex electrical systems installed if thought out well.
All my builds have included electrical systems. In my first build I cut channels with a hot wire. It worked out pretty good but was very time comsuming. On my #2 and #3 builds I used a more simplified wiring system to cut time. I simply just used a drill with a extra long drill bit to drill out wiring channels. Of course this limits you to certain electrical box locations that have to be in reach of the drill bit. This pretty much also eliminated any roof electrical installs unless you got real tricky with how you drilled.
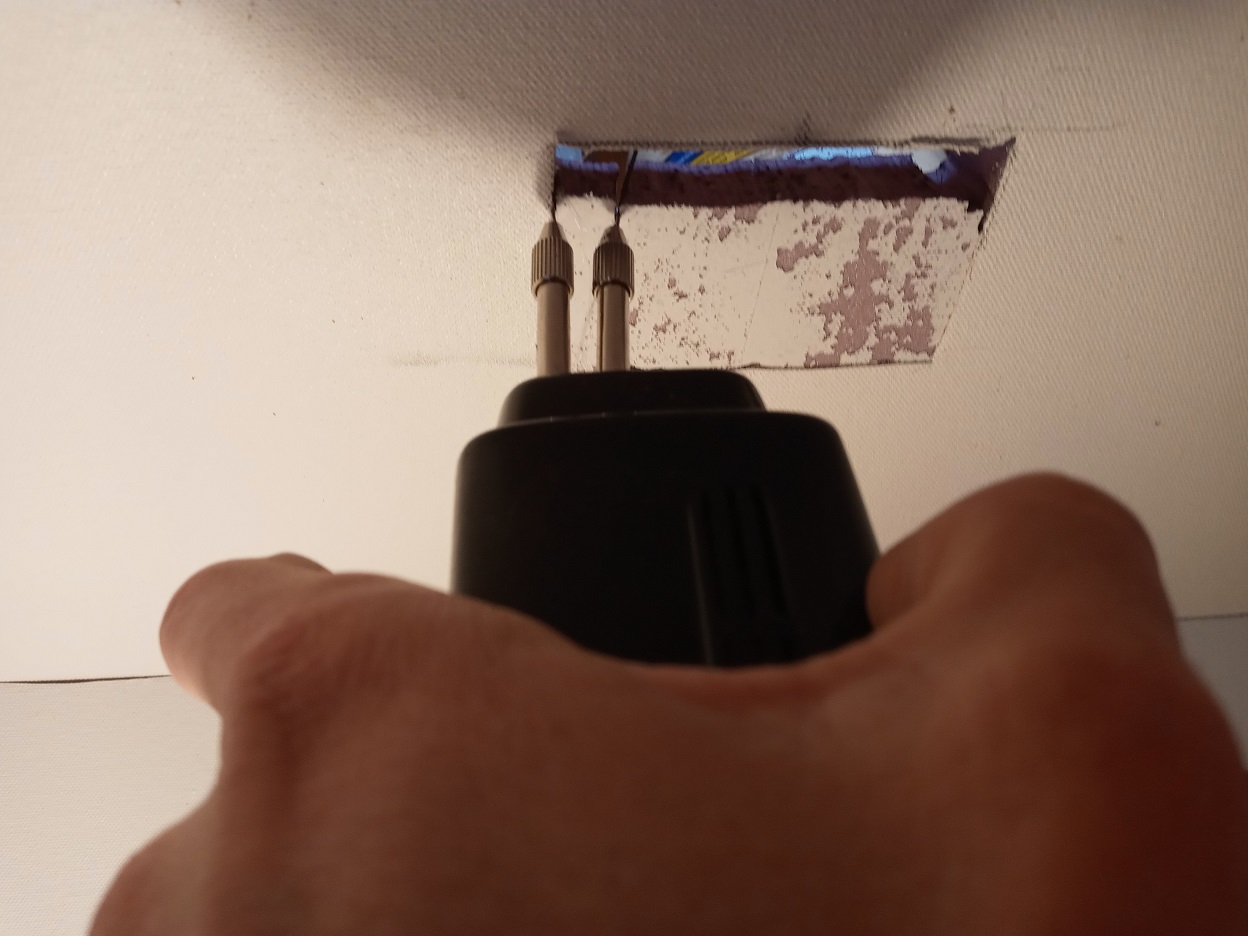
So I figure out where I want my electrical boxes and removed the canvas from that location. I then used my hot wire to cut out the foam to accept the electrical box.

- electrical box
- 20201009_132726 s.jpg (204.97 KiB) Viewed 1848 times

