And so it begins!!...

Posted:
Wed Mar 20, 2019 10:42 pmby MatBirch
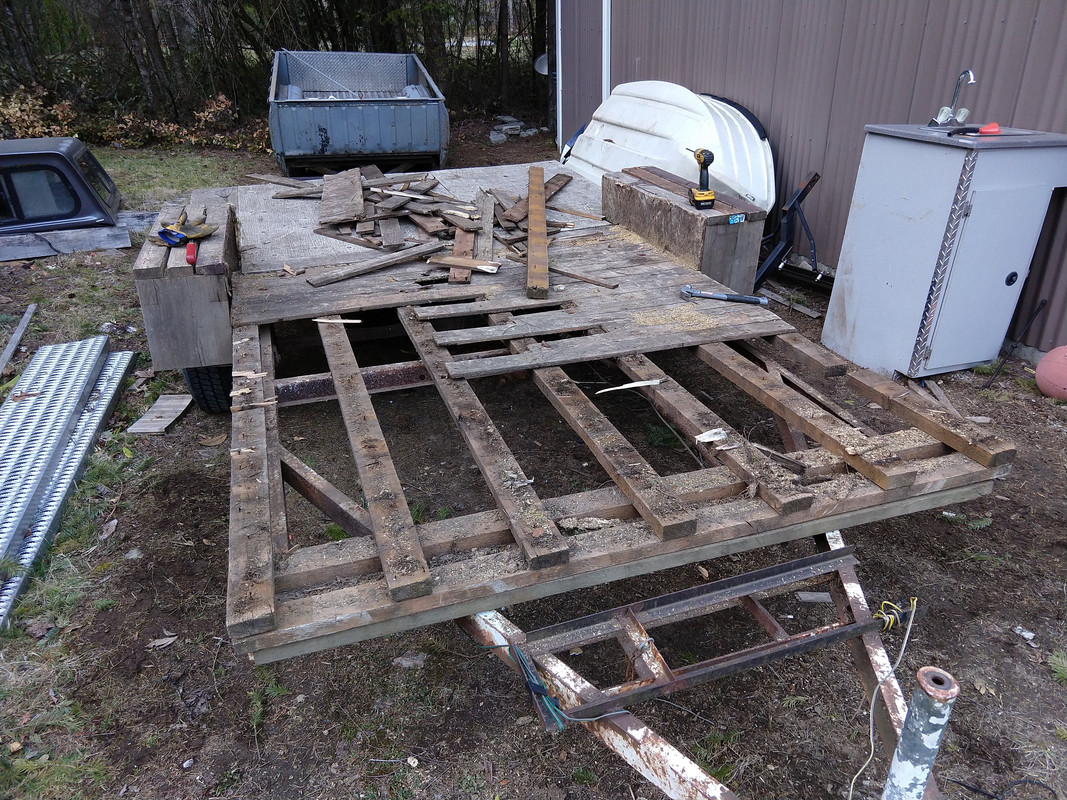
The sun came out this week, so I was able to catch up a few things, make a dump run, and clear some space to get my trailer in to get started on my build. I picked up this gem over the winter for $100. The axle is straight, tires are good, steel is rusty, but sound.
As you can see, it was truly a gem in the condition I acquired it in- someone had turned an old camp trailer frame into a peach of a flatbed.
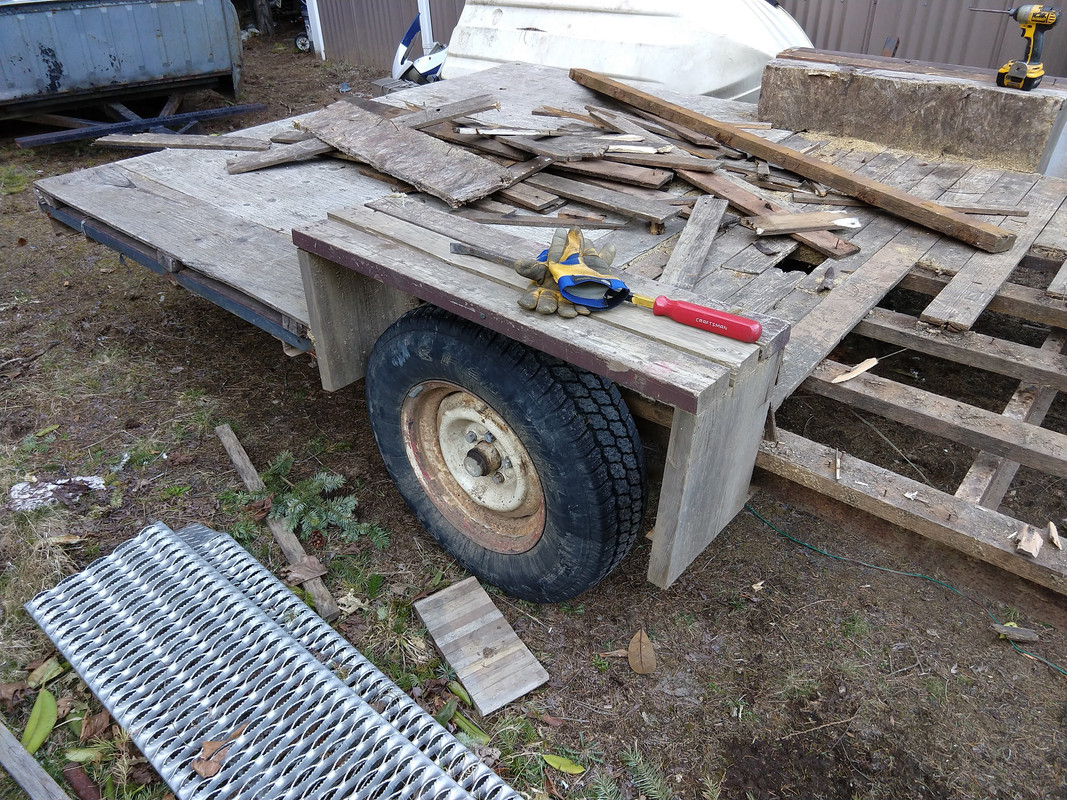
It took me about 45 minutes to strip all the crap off of it. Now I need to make another dump run!


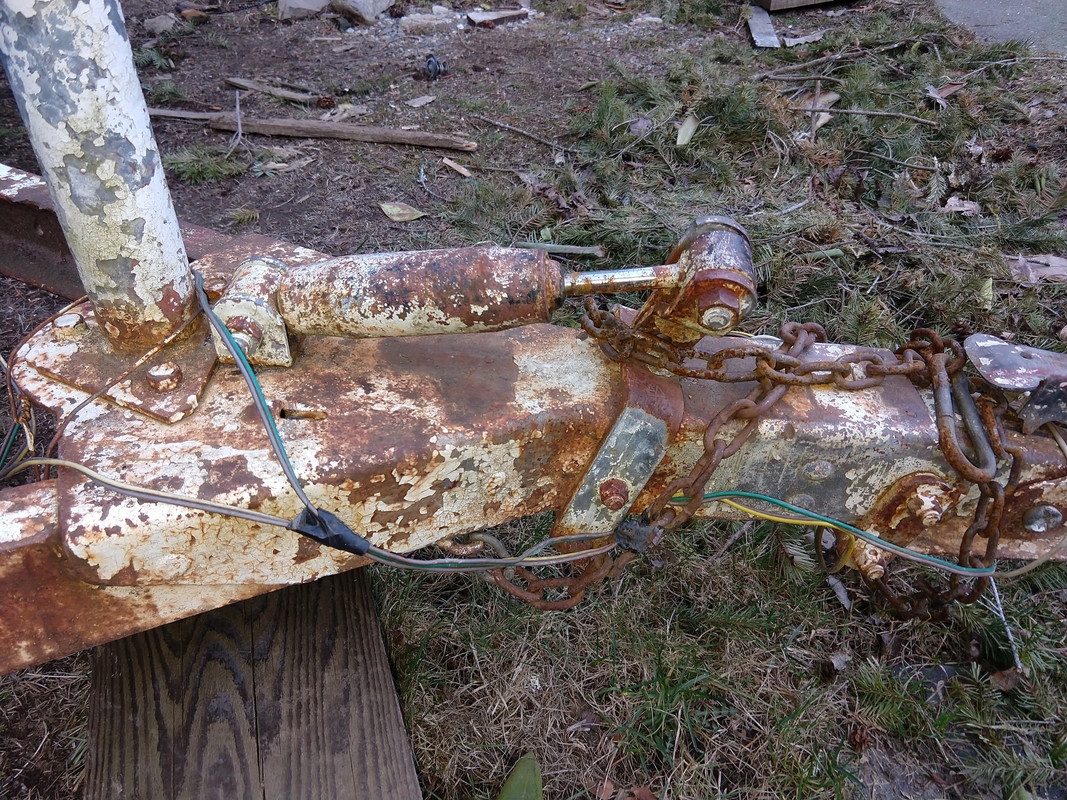
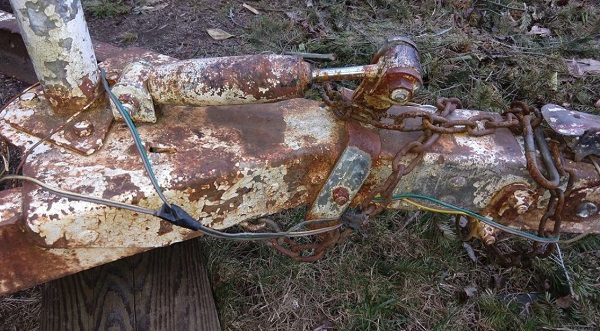
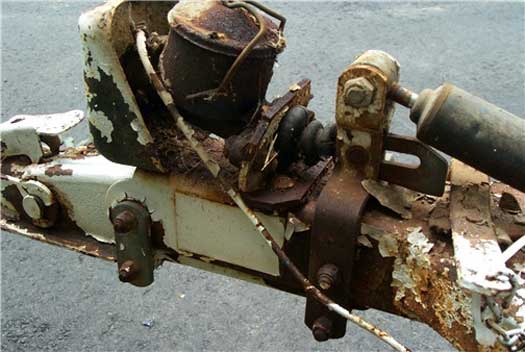
Anybody ever seen a hitch coupler like this? Surge brake? Stabilizer? Trailer has electric brakes...
Re: And so it begins!!...
Posted:
Thu Mar 21, 2019 5:28 amby GPW
Nice Find !!! Just a little cleanup and some paint …

Re: And so it begins!!...
Posted:
Thu Mar 21, 2019 7:09 amby swoody126
GREAT SCORE
w/ some elbow grease a wire brush and a slathering of OSPHO it will be ready for another 50 years
sw
Re: And so it begins!!...
Posted:
Thu Mar 21, 2019 8:16 amby tony.latham
Is that a shock absorber on the coupler??? What’s it supposed to do??
T
Sent from my iPad using Tapatalk
Re: And so it begins!!...
Posted:
Thu Mar 21, 2019 8:33 amby working on it
MatBirch wrote:...Anybody ever seen a hitch coupler like this? Surge brake? Stabilizer? Trailer has electric brakes...
- surge brake shock absorber.JPG (133.76 KiB) Viewed 1893 times
* Looks like the trailer had surge brakes (hydraulic), but was changed to electric brakes later on. I don't see where the old master cylinder was mounted (maybe underneath the tongue?). Perhaps the brake system rusted-out, and it was easier to convert to electric.
Re: And so it begins!!...
Posted:
Thu Mar 21, 2019 10:36 amby MatBirch
working on it wrote:MatBirch wrote:...Anybody ever seen a hitch coupler like this? Surge brake? Stabilizer? Trailer has electric brakes...
surge brake shock absorber.JPG
* Looks like the trailer had surge brakes (hydraulic), but was changed to electric brakes later on. I don't see where the old master cylinder was mounted (maybe underneath the tongue?). Perhaps the brake system rusted-out, and it was easier to convert to electric.
My first thought was surge brake as well, but in thinking about it, it’s the wrong orientation? Also, there would have to be moving connection between the ball/coupler and the tongue. It is all solid, and shows no sign of being modified. There is also nothing under the frame. There is an old propane line, but nothing that could have headed to wheel cylinders or anything.
My guess is some sort of anti-sway or equalizing attachment

Actually, just found this- appears to be the same, or at least was at one time... 1972 Jayco pop up
Re: And so it begins!!...
Posted:
Sun Mar 24, 2019 7:18 pmby MatBirch
So, I didn’t bother with a bunch of pics, since you’ve all seen plenty. I did a couple of experiments on some adhesion, materials, and fairing compound.
For the canvas on foam, I tried one with the old standard of thinned TB2, and one with gripper primer. I did the same for both- paint the surface, paint the back side of the canvas, then place it and smooth it in with a gloved hand. (Foam was sanded to break the shine and cleaned.) after a couple of hours, I top coated 1/2 of each sample.
I wasn’t planning to test at the end of the day, but when I was fiddling with it, the TB2 piece fell off in my hand! Like dollar store masking tape on waxed glass... I don’t know what I did wrong. That led me to go ahead and test the gripper piece. It was really impressive! I only pulled a little bit to opt for full cure. After 24 hours, I pulled a bit more and it was about 1/2 again better yet! Very impressed. I went back and put another TB2 sample together, and this time went with full strength TB2. My thought is that maybe I was too thin on the last one??? I’ll give it a day or two, but I’m sold on the gripper and am planning using it.
For fairing compound, I mixed up a batch of Red Devil ultralight spackle with a bit of gripper. I didn’t have a good way to measure, so I just sort of winged it. I made it so it was thick enough not to flow out, and dribbles would hold a form. It spreads with a spreader, but you’re not gonna brush it. I think I could have gone even thicker with a little less gripper. My goal was easy sanding but with better stick and flexibility than the spackle alone. I had an old test I’d done with gripper on plywood where I’d put a second layer of canvas on 1/2, creating a seam. I spread a nice thick layer, smoothing out the seam trying to hide it. I also put some damage in a hunk of foam to try it as a repair filler. I left it overnight to dry. It did shrink a bit, and seemed like maybe it wasn’t cured throughout. It seemed pretty soft. I went ahead and tried sanding it, expecting it to just gum up and get messsy. Turns out it was indeed dry throughout, and just flexible. It sanded quite well and didn’t gum up at all. Exactly what I was hoping for. I went to the foam piece and expected to break chunks off like you would with a pile of dried spackle. It would not. It will not come off the foam at all. Little bits of foam just come away with it. Again, very impressive! Lastly, I peeled the second layer of canvas off of the plywood sample. It peeled off down to the overlap, and finally came off. The compound stayed stuck strong to the canvas, even doubled back while peeling! There are micro cracks in it now, but it’s all still one homogenous piece of canvas/gripper/gripper&spackle.
Next I plan on trying it as a gap filling adhesive for corner joints and butt joints on foam. If the sample on the bare foam is any indication, it will provide a super strong (relative term) joint with a level of flexibility allowing for some forgiveness during construction.
Re: And so it begins!!...
Posted:
Mon Mar 25, 2019 2:41 amby rjgimp
MatBirch wrote:Anybody ever seen a hitch coupler like this? Surge brake? Stabilizer? Trailer has electric brakes...
I have a late 60s Steury popup frame I am intending to build on. It has surge brakes and a separate similar shock absorber looking thingy. I don't recall if it is part of the surge mechanism or not. It's in a storage unit, I'll be up there in a few days and I can get a better look at it and maybe a picture.
Re: And so it begins!!...
Posted:
Sun Mar 31, 2019 8:53 pmby MatBirch
Got some good work done this weekend around helping my daughter load up and move out of the house to her first apartment.
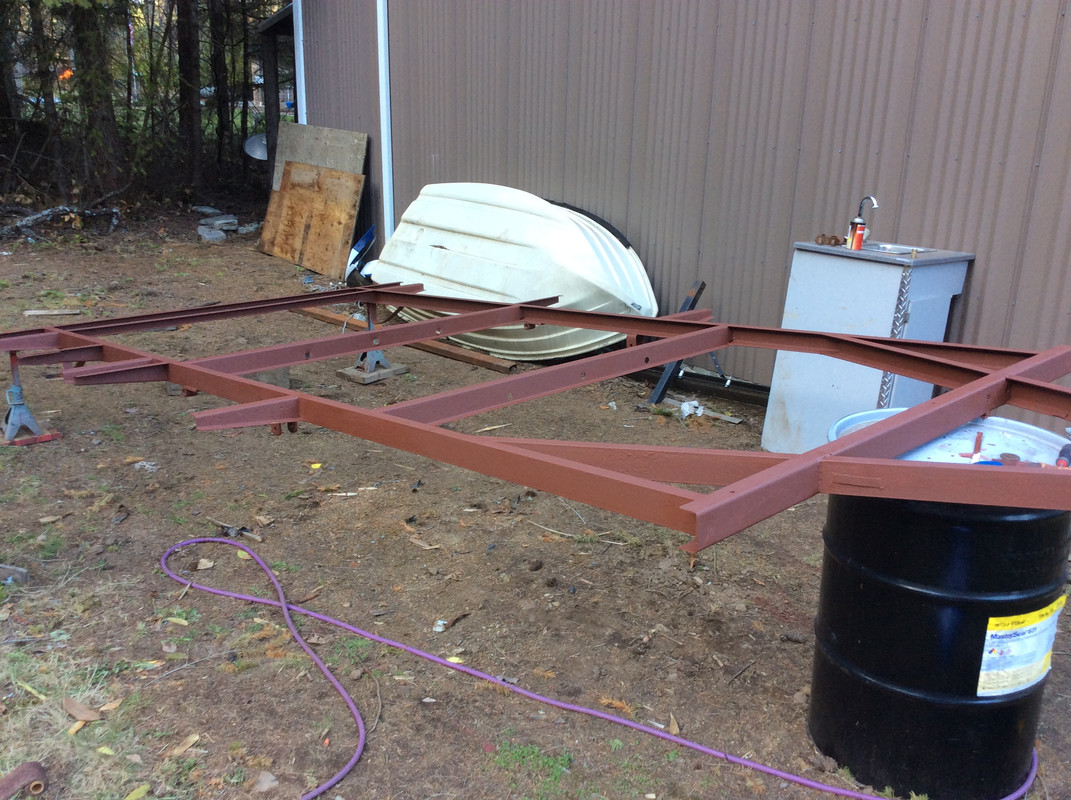
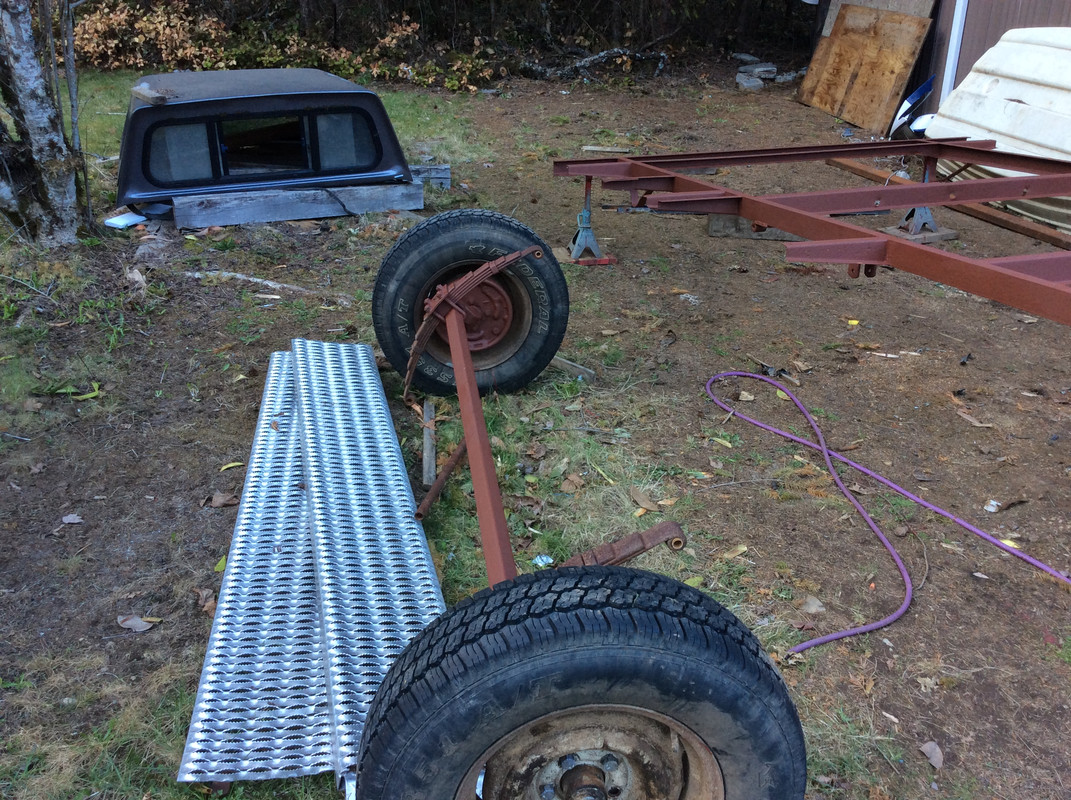
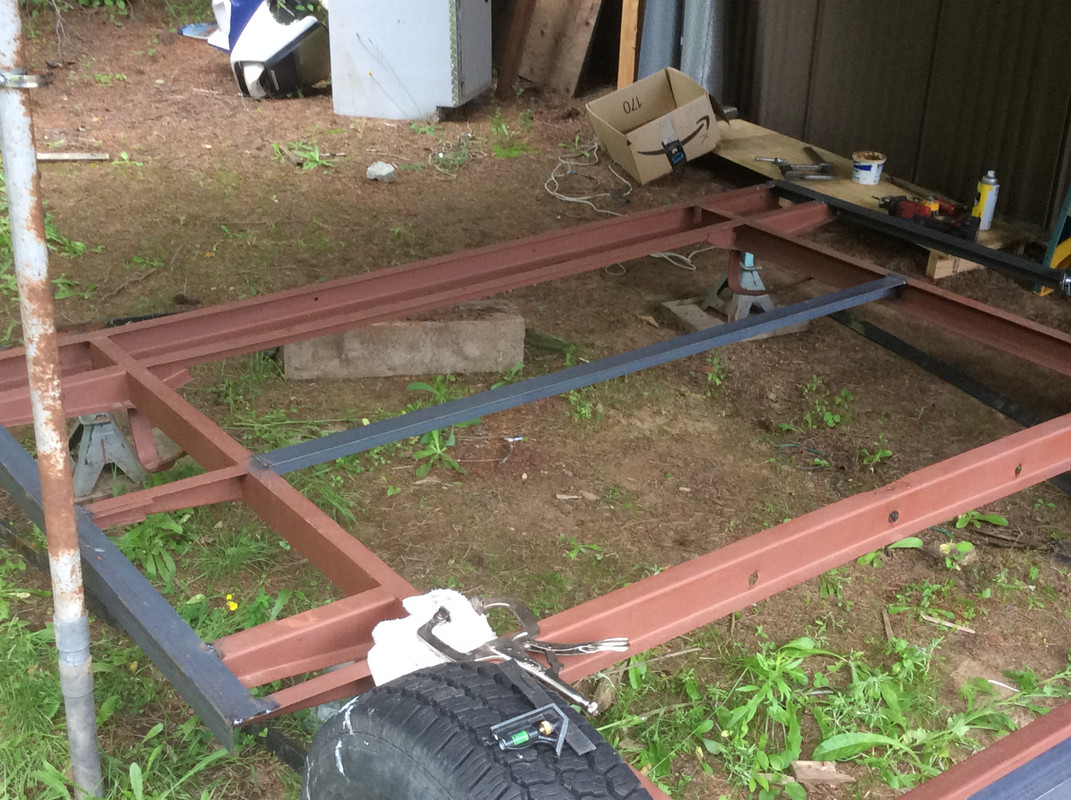
I got the junk hitch and surge brake cut off, all the random bits and bolts cut out, the old bed frame angle iron cut off. I also dropped the axle out to make it easier to handle the frame mods. Spent a couple hours with the wire wheel and the pressure washer so I could get it all rust treated and primed.
Re: And so it begins!!...
Posted:
Mon Apr 01, 2019 5:01 amby GPW
Looks like new !!! ish !!!
Good save !!!
Re: And so it begins!!...
Posted:
Tue Apr 02, 2019 10:10 pmby MatBirch
GPW wrote:Looks like new !!! ish !!!
Good save !!!
Thanks!
Foam question- I have some areas in my plans that I could save some money by using EPS beadboard for inner layers. I can’t find anything locally other than the stuff at the box stores with the plastic and foil layers. Anyone peeled those layers off to allow proper gluing and workability? Does it just tear up the foam?
Re: And so it begins!!...
Posted:
Wed Apr 03, 2019 5:02 amby GPW
Maybe while at the store , just could peel a little sample off a corner , see what happens … And then considering how everything else sticks to foam , it “should” come off easily ( maybe ? ) …. Testing is the only way to tell … unless someone here has tried it already ...
Re: And so it begins!!...
Posted:
Wed Apr 03, 2019 8:54 pmby MatBirch
GPW wrote:Maybe while at the store , just could peel a little sample off a corner , see what happens … And then considering how everything else sticks to foam , it “should” come off easily ( maybe ? ) …. Testing is the only way to tell … unless someone here has tried it already ...
Well, I should have thought of that myself, lol.
And the answer is... Yes, it peels right off. They don’t get any better bond than any of the rest of us.
Re: And so it begins!!...
Posted:
Thu Apr 04, 2019 5:28 amby GPW
MB, The Foam itself is the weakest part of all the gluing ( well tested here ) …. Why we go for the “Sock” effect , the canvas skin holding everything together rather than depending on an iffy glue join … Canvas glues to canvas VERY well … becomes strong and leathery …Certainly no durability problem , mine lives outside All the time …

Probably the hardest part of building the Foamie is sourcing the XPS Foam we like … Sometimes we find something readily available , but not the optimal material … like my Trailer made of the beaded EPS Foam which doesn’t even glue as good as others , but has worked Fine for many years now … It’s what I could readily find … and it was about a fourth of the price of the Blu/Pink Foam we wanted to use …( we did use some Blu foam on the back …naturally after we had everything together , we found an easy/cheaper source of the Blue Foam … ) Which we’ll use for our next trailer …

My first EPS foam source was a fella on the Bayou , had a bunch of it … Big blocks we had to hot wire sheets out of … We used what we could get … and afford ...
Re: And so it begins!!...
Posted:
Sat Jul 06, 2019 10:17 pmby MatBirch
Got a little update finally! It’s been a busy spring and start to the summer, and money is short. I finally got two nickels to rub together and got a little bit done on the trailer.
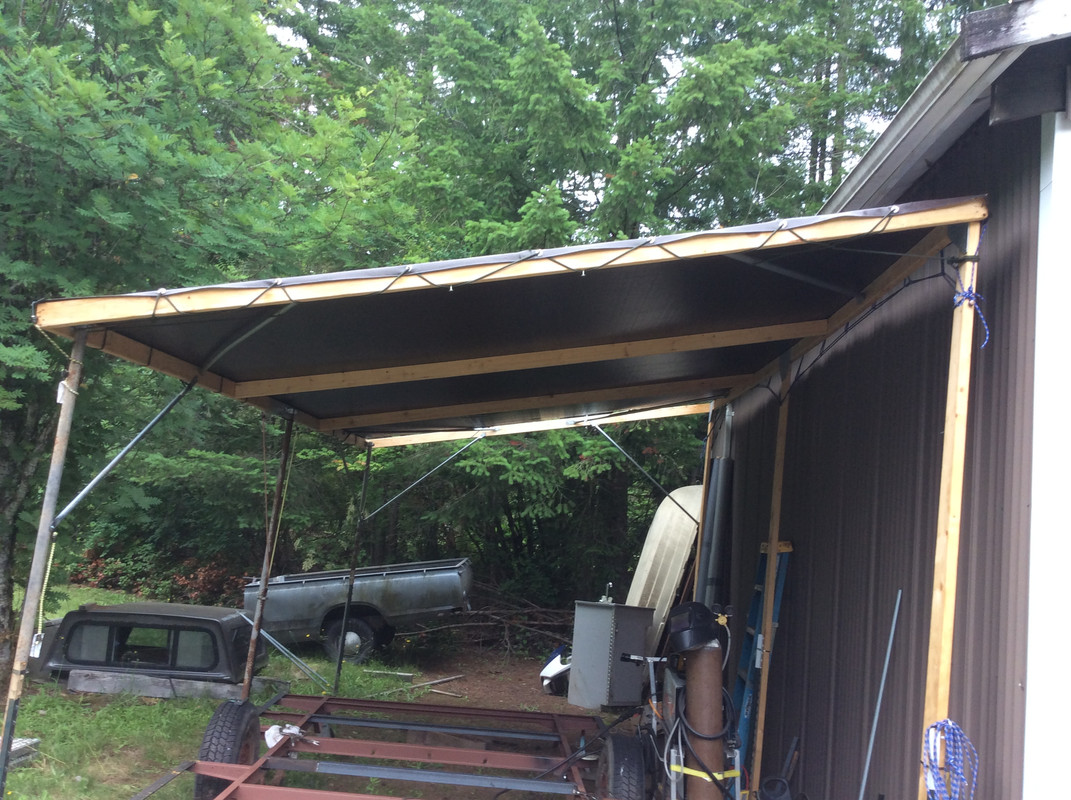
First however, I needed a place out of the weather so I built a quick and dirty shelter. It’s been working out very well. The garage tent things never last anyway, and this gives me more height to work.
I picked up a length of steel angle to add to my scraps, and was able to get all the repairs and additions to the frame done.
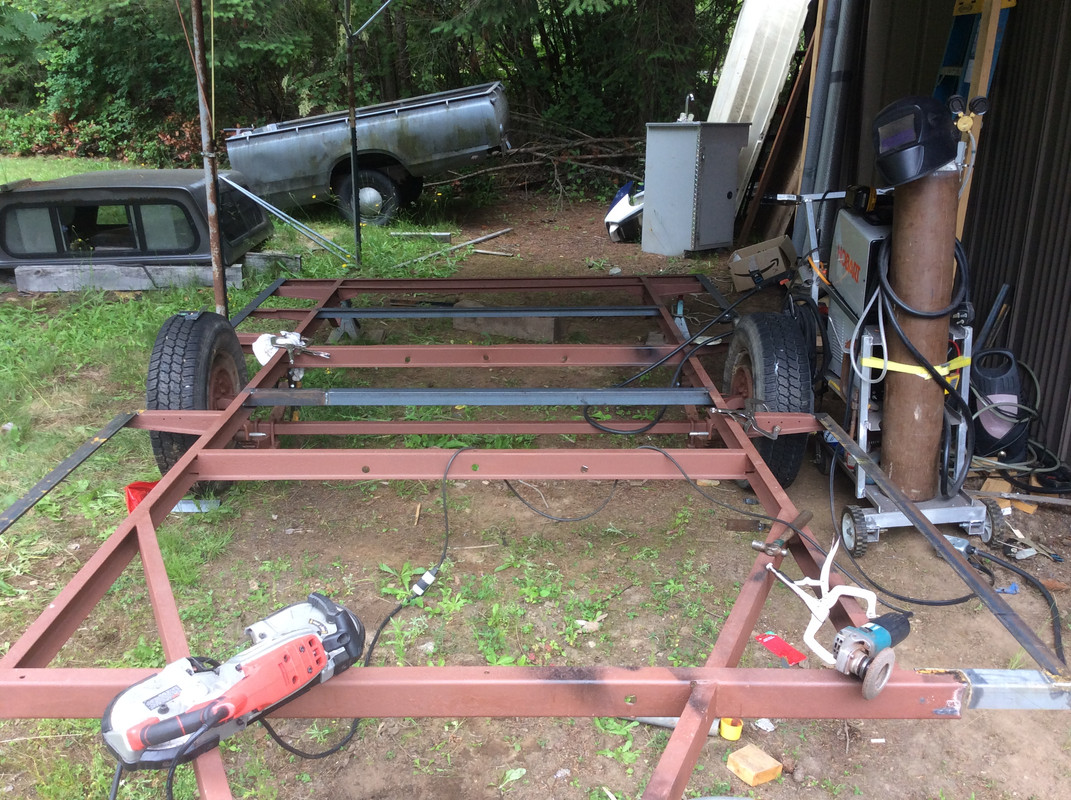
Tomorrow I should be able to get the tongue replaced and welded up. Then I’ll fab up some fender wells, so I can see about that floor!
