Mobile Fit Club Build - Tommy2tone_1999
Re: Mobile Fit Club Build - Tommy2tone_1999
![]() by hmikey » Wed Jan 22, 2014 9:21 am
by hmikey » Wed Jan 22, 2014 9:21 am
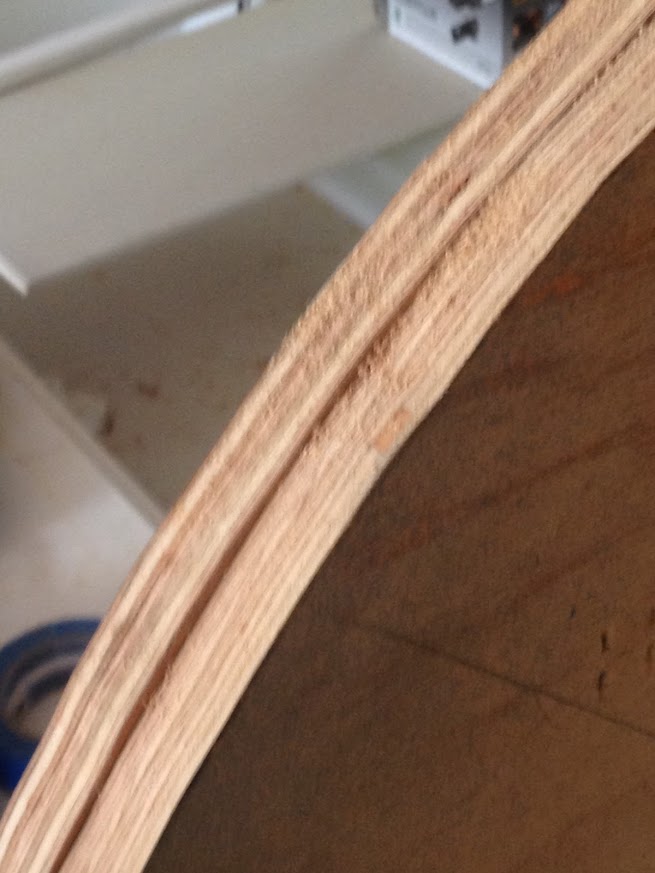
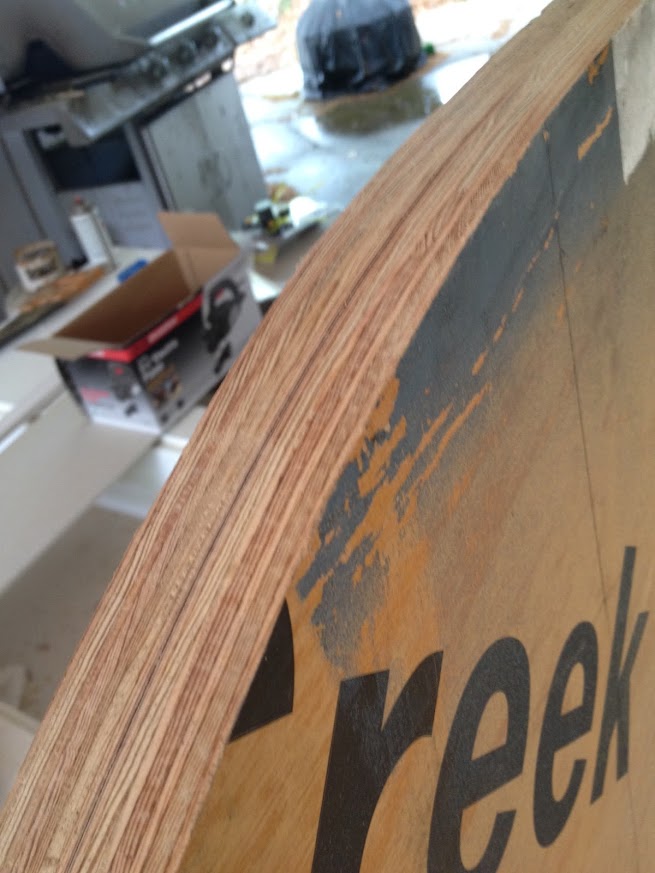
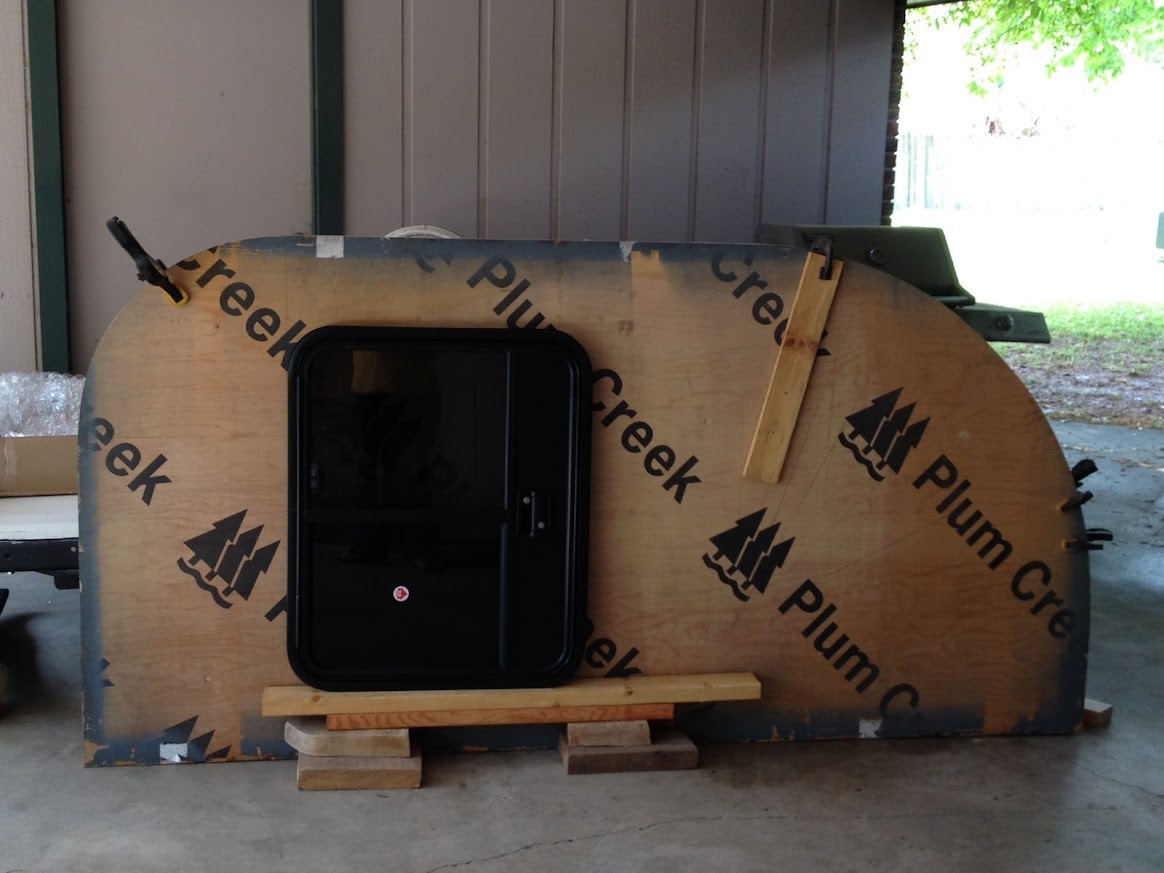
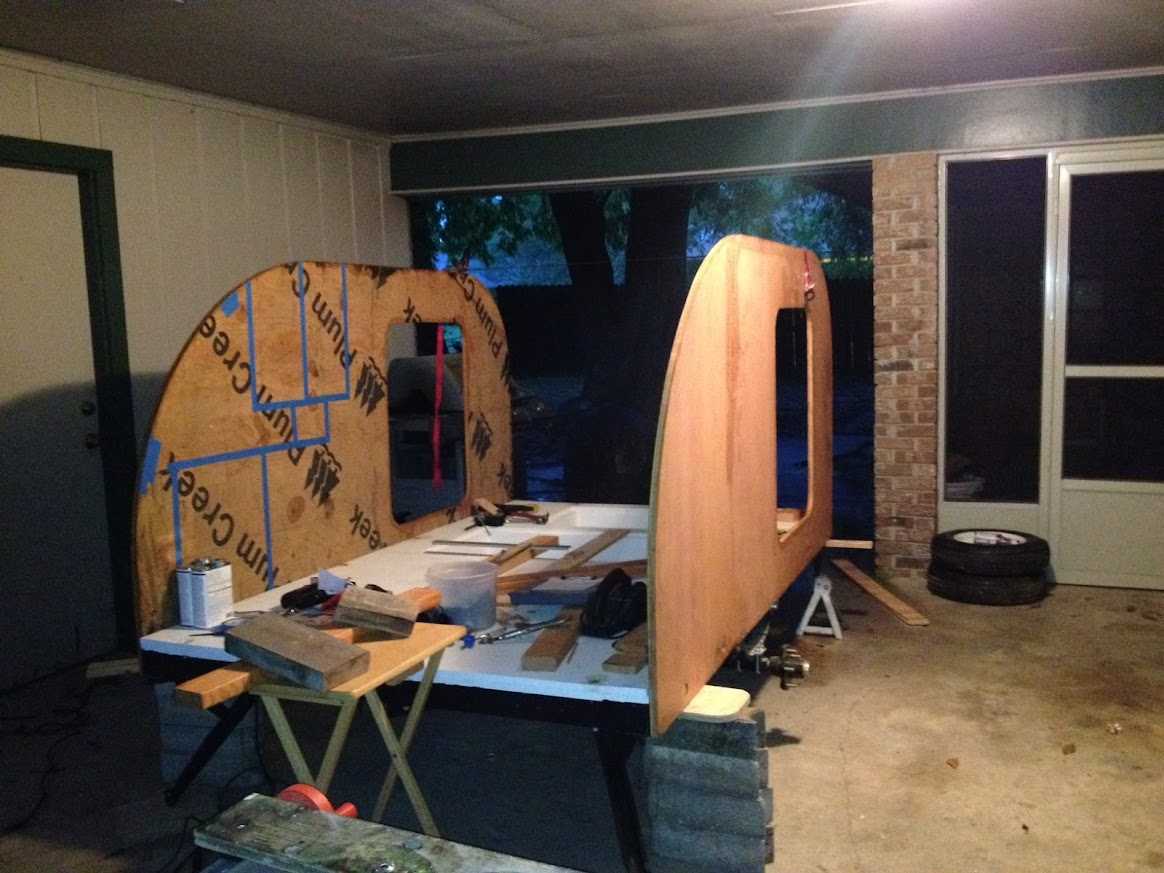
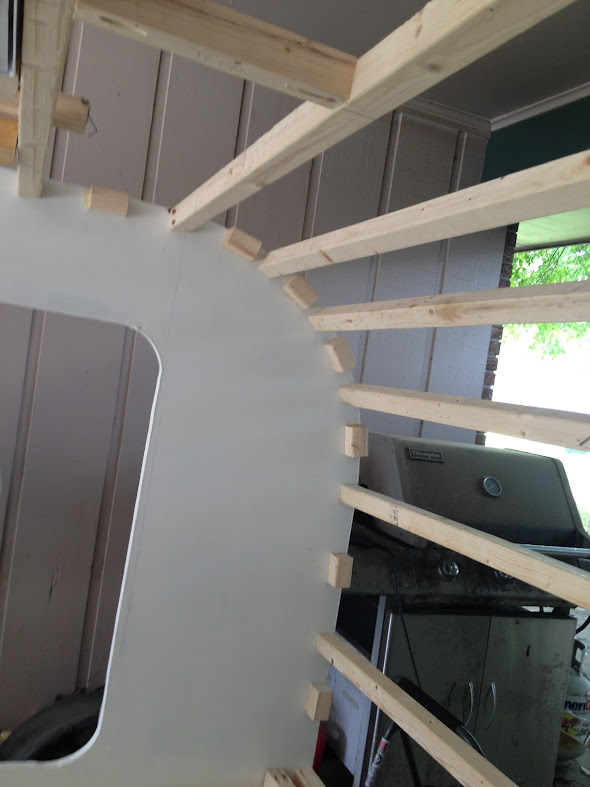
Hi: Great looking start. In the photo, is your floor frame already bolted down? More important, did you ever discover what the wedge shaped parts were? Mike
- hmikey
- Teardrop Builder
- Posts: 39
- Images: 0
- Joined: Fri Feb 18, 2011 12:35 pm
- Location: massachusetts
Re: Mobile Fit Club Build - Tommy2tone_1999
![]() by Tommy2tone_1999 » Sat Feb 01, 2014 6:55 pm
by Tommy2tone_1999 » Sat Feb 01, 2014 6:55 pm
Never did Mike. I finally got more CPES in today. Saw dust flying recommencing
Make time for fitness and it'll make time for you.
http://TommyDoran.com
http://tommydoran.com/favor
Interview: http://goo.gl/Non1oR
Build Journal - http://www.tnttt.com/viewtopic.php?f=50&t=58395
Come find me on Facebook - http://www.facebook.com/tommy.doran


http://TommyDoran.com
http://tommydoran.com/favor
Interview: http://goo.gl/Non1oR
Build Journal - http://www.tnttt.com/viewtopic.php?f=50&t=58395
Come find me on Facebook - http://www.facebook.com/tommy.doran
- Tommy2tone_1999
- Teardrop Master
- Posts: 236
- Images: 148
- Joined: Tue Oct 21, 2008 10:54 am
- Location: St. George, Louisiana


 .
.