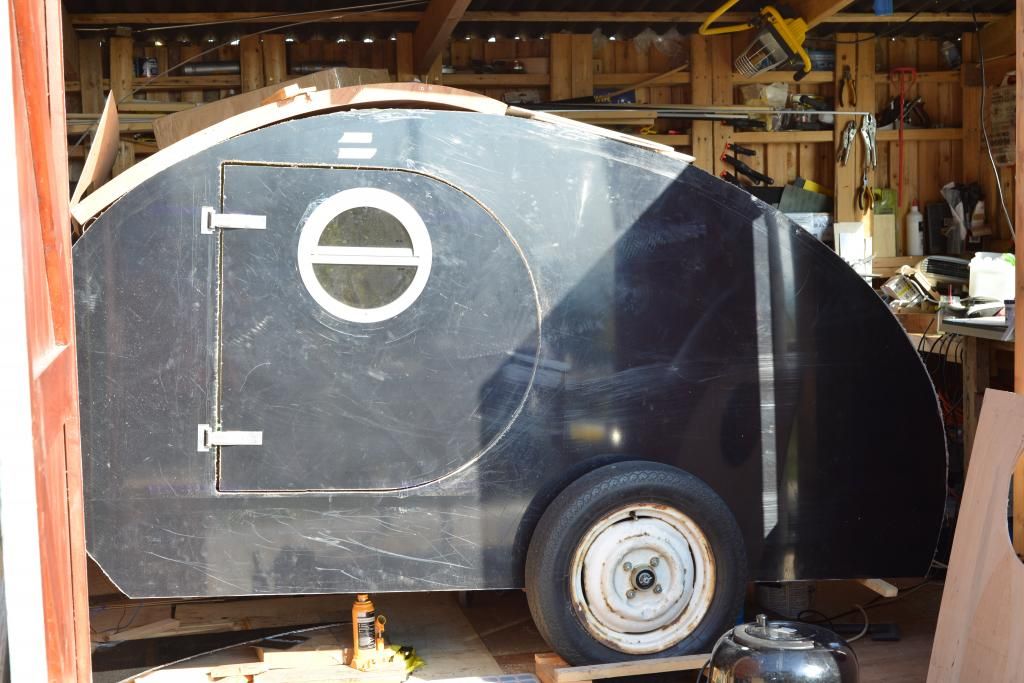
As the title says, I am building an 8x4 Grumman profile teardrop trailer in Scotland. I started it last year and did a couple of months work on it before getting distracted by other projects. I have now been back working on it for a couple more months and hope to get it finished this summer. I am skinning it with a product called Dibond normally used in the signmaking industry, which is a 3mm thick aluminium sandwich with plastic filling. The sides are black and the top will be silver.
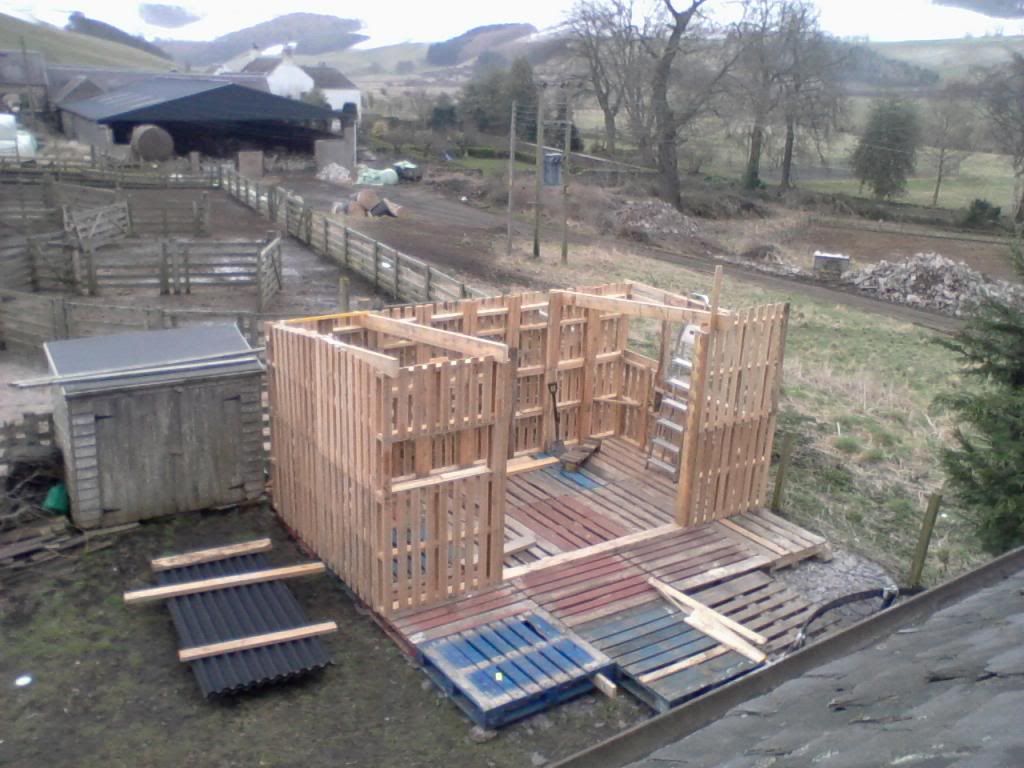
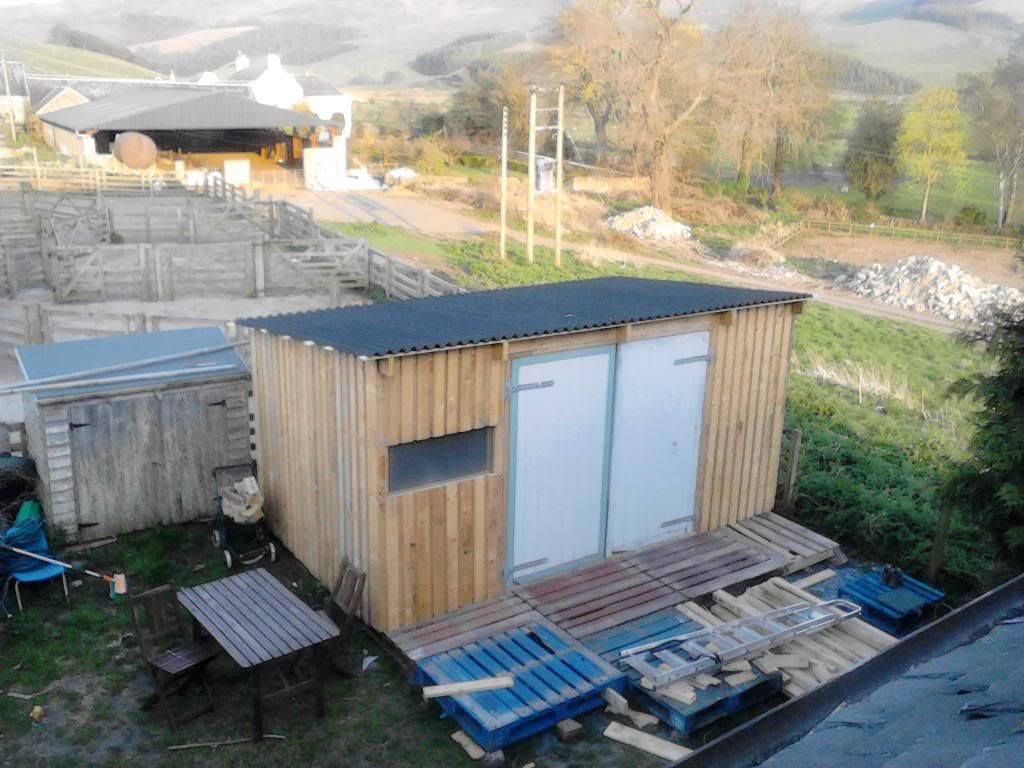
To start with I had to build a workshop. As I am rather short of money I built it out of discarded shipping pallets and surplus materials donated by friends. It is only just big enough to fit the teardrop inside and not really big enough to work in comfortably, but my landlord wouldn't let me build anything bigger so it has to do.
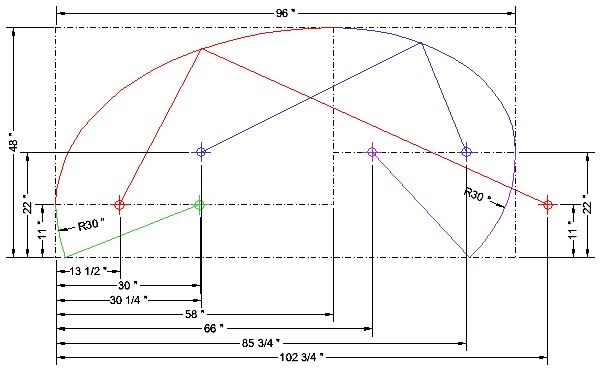
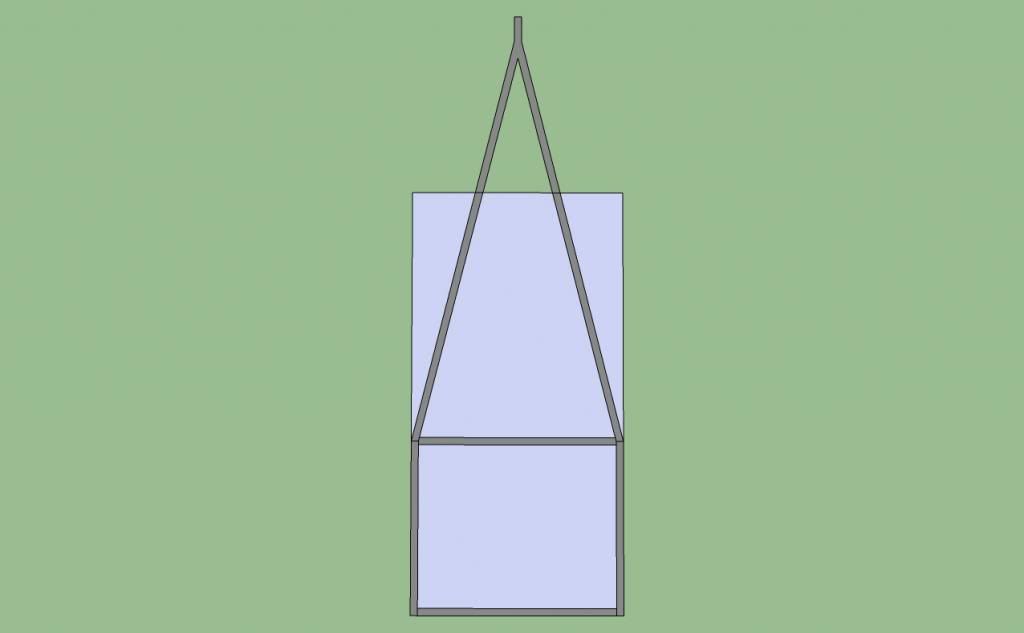
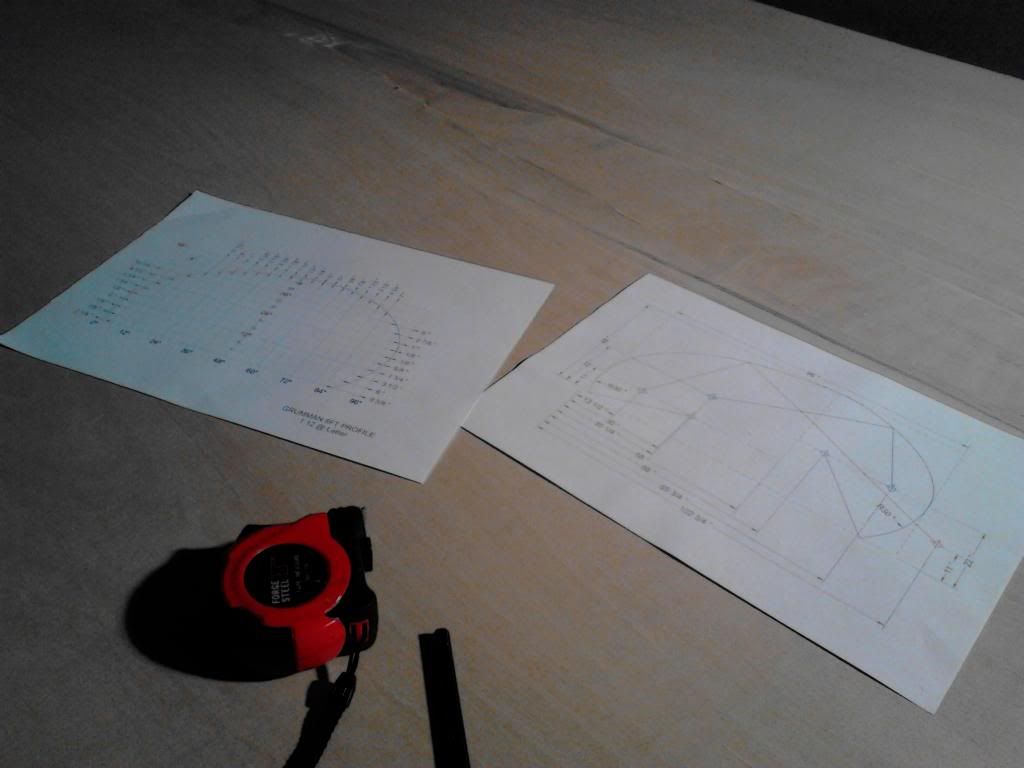
I used Angib's site to help me decide on a Grumman profile. Teardrops for me just have to be curvy!
Then I planned the trailer chassis to fit around the Grumman profile. I wanted a very simple lightweight chassis but went for something hopefully a bit stronger than the traditional triangular design found on many 8x4 small builds.
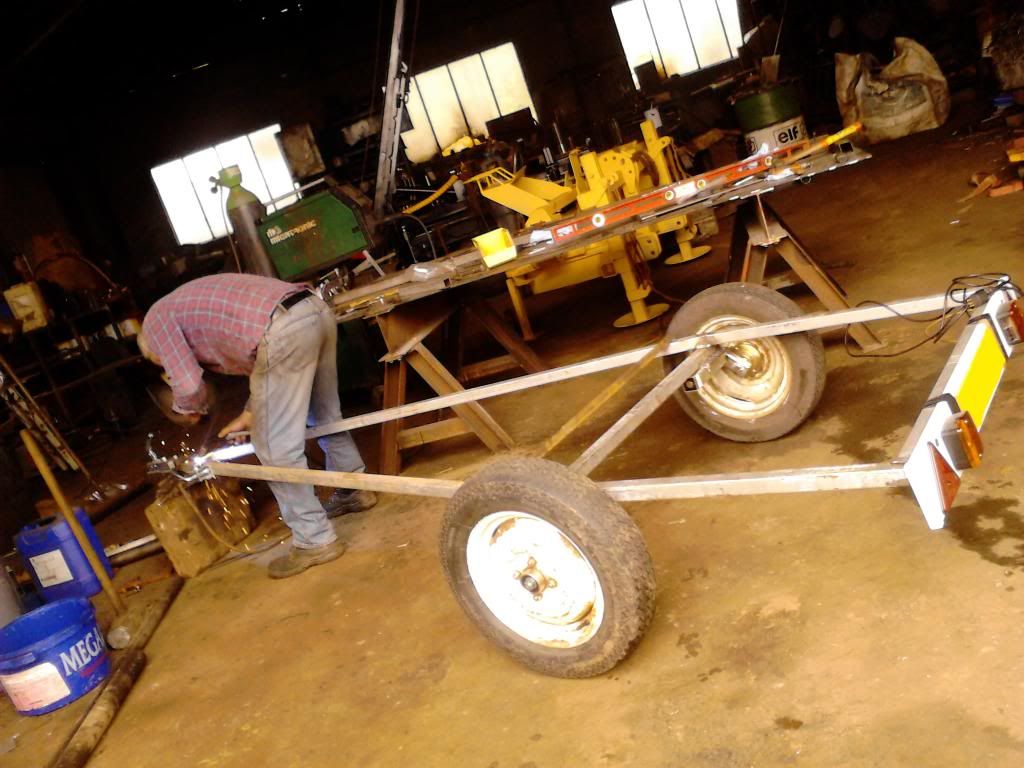
I bought the steel and other bits on eBay and it was welded up locally
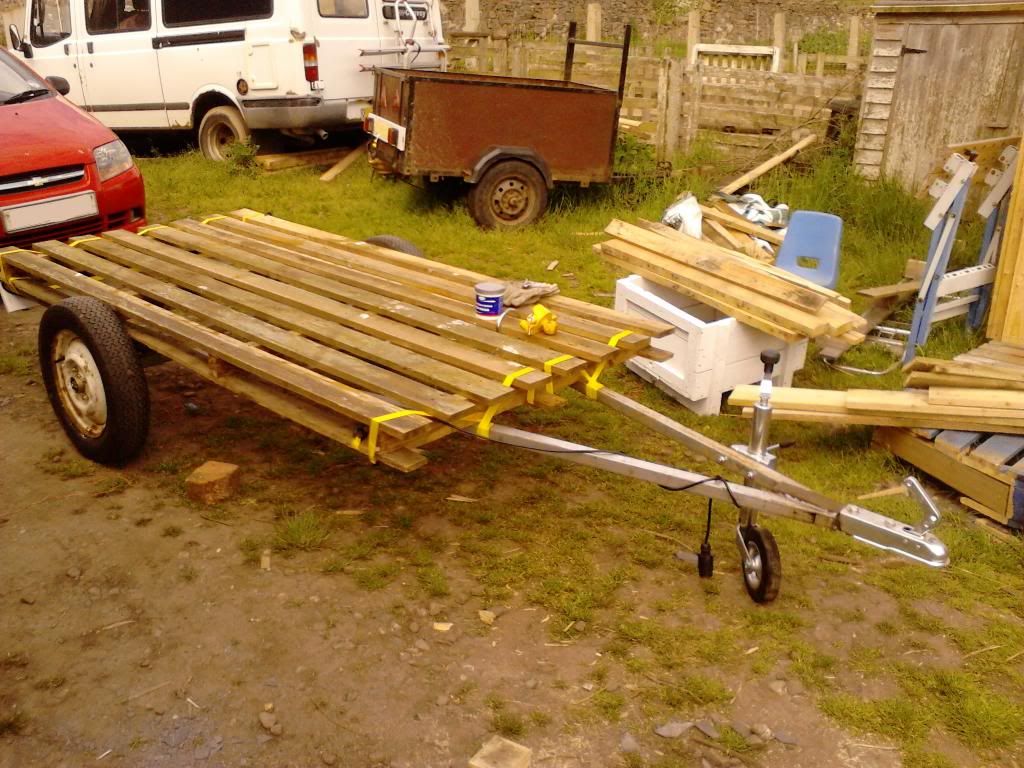
I then strapped a double shipping pallet to it and used it as a flatbed to collect the sheet materials for the build
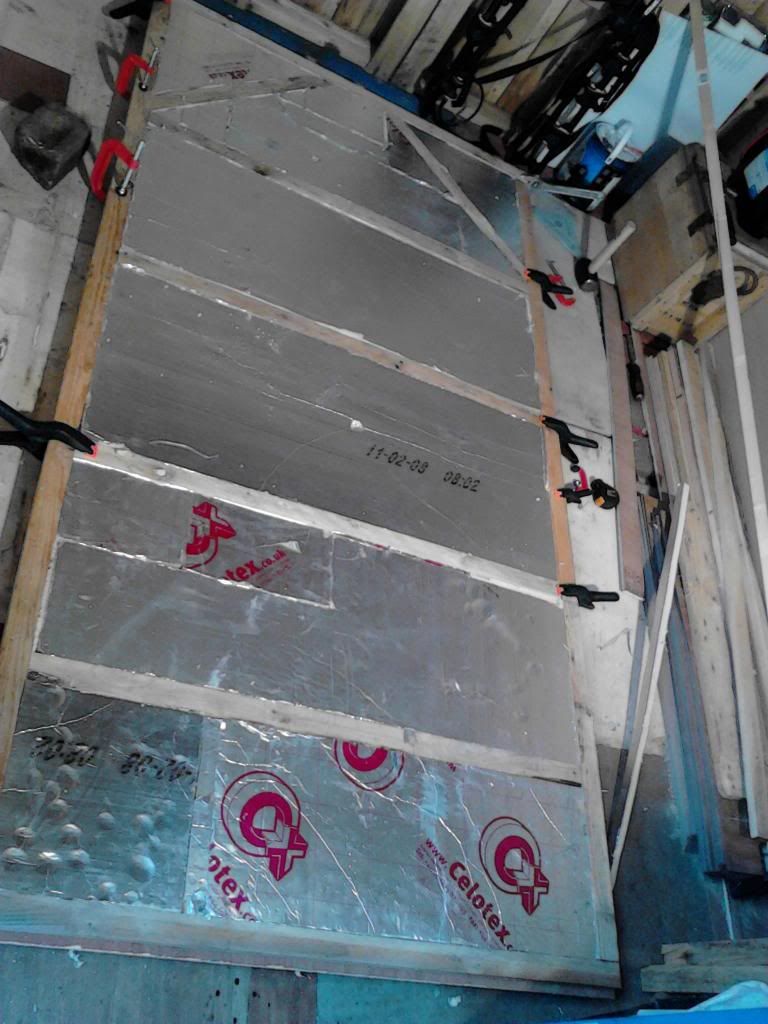
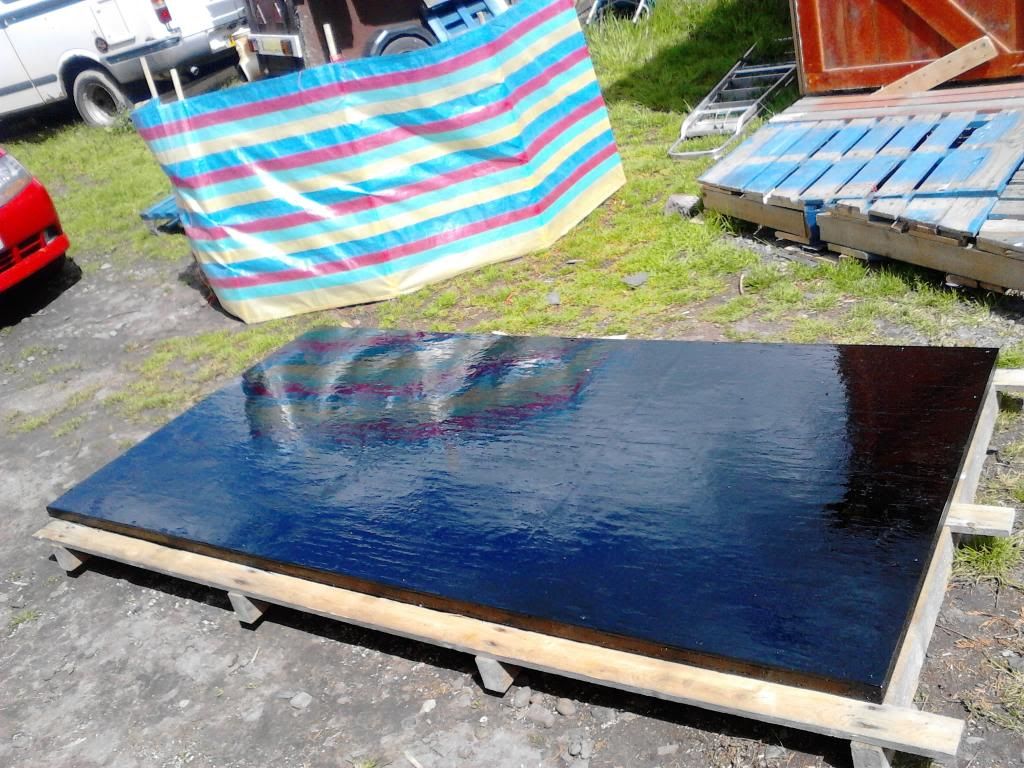
The base was made with two sheets of ply with battens (cut down from shipping pallets of course!) and insulation between. I then covered it with several coats of bitumen paint to hopefully waterproof it.
I was dreading the job of plotting the profile onto the side walls but it was actually very easy with Angib's diagrams and a large 1.2m right angle straight edge.
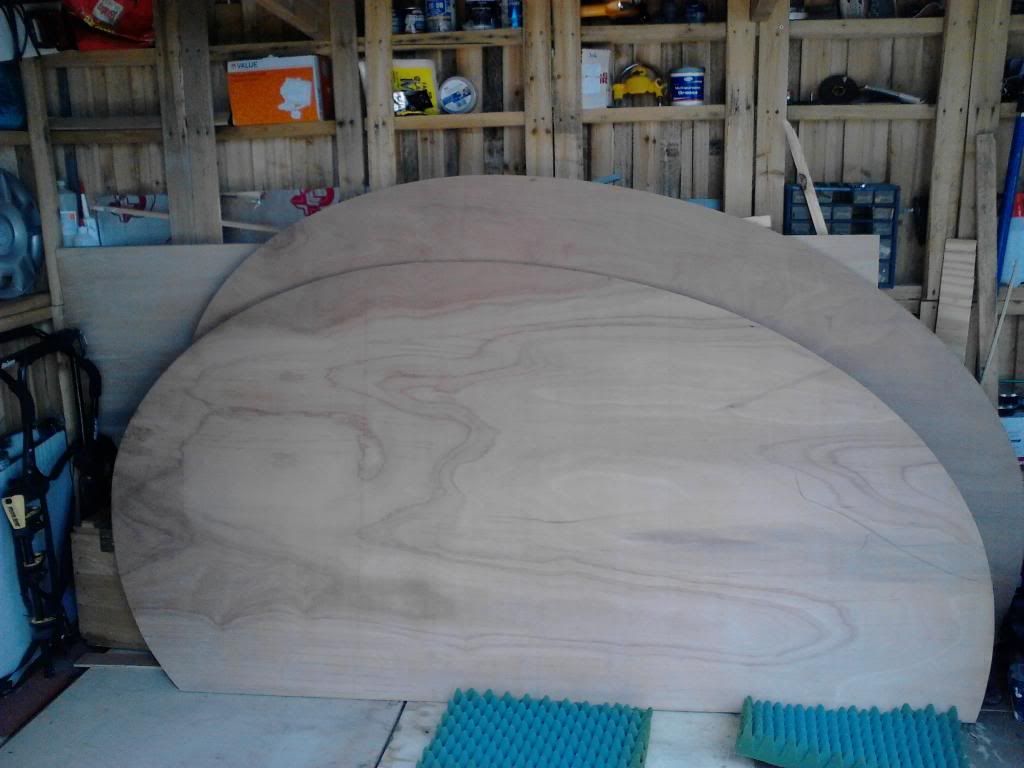
Sides cut out:
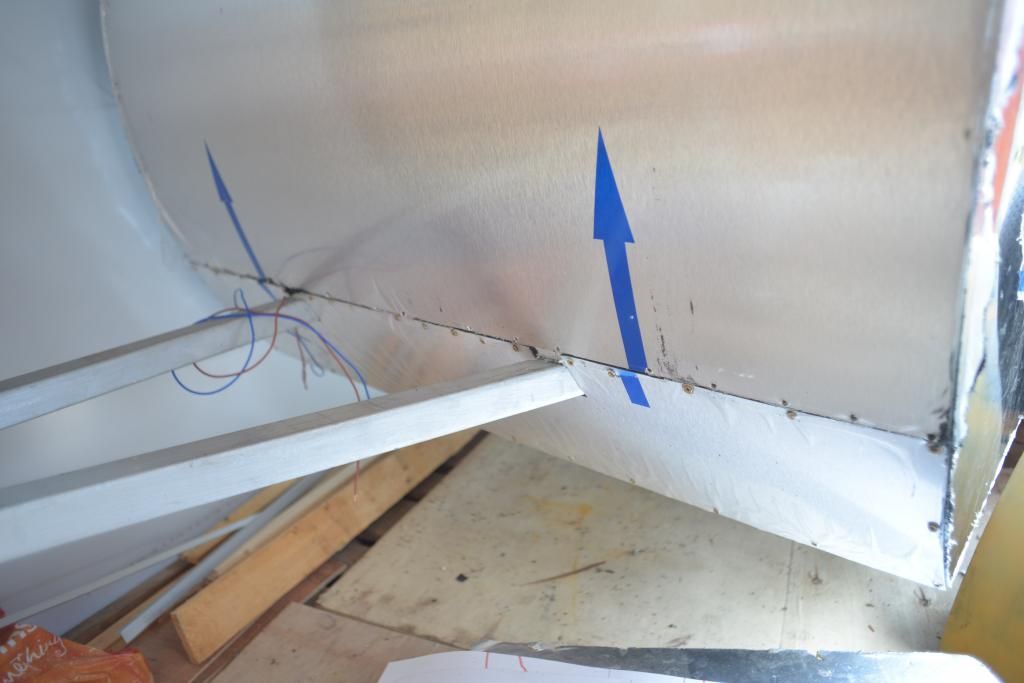
And fitted to the base:
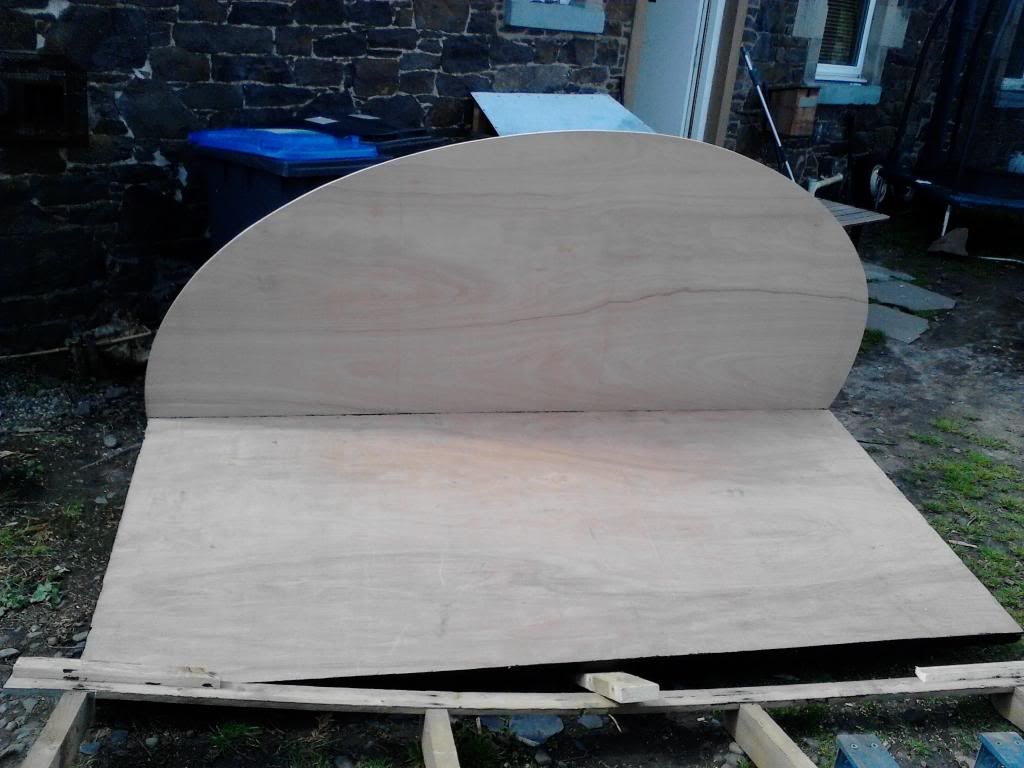
As you can see I didn't cut out the door before fitting the side walls as I wanted to wait until the skin was on to minimise warp. In hindsight I wouldn't do it that way again as it made things much more difficult for myself. I would also not drop the sides quite as much as I have on this one as it made things difficult later on (I wanted to avoid the 'off road' look of having the axle at the same height as the bottom of the sidewall).
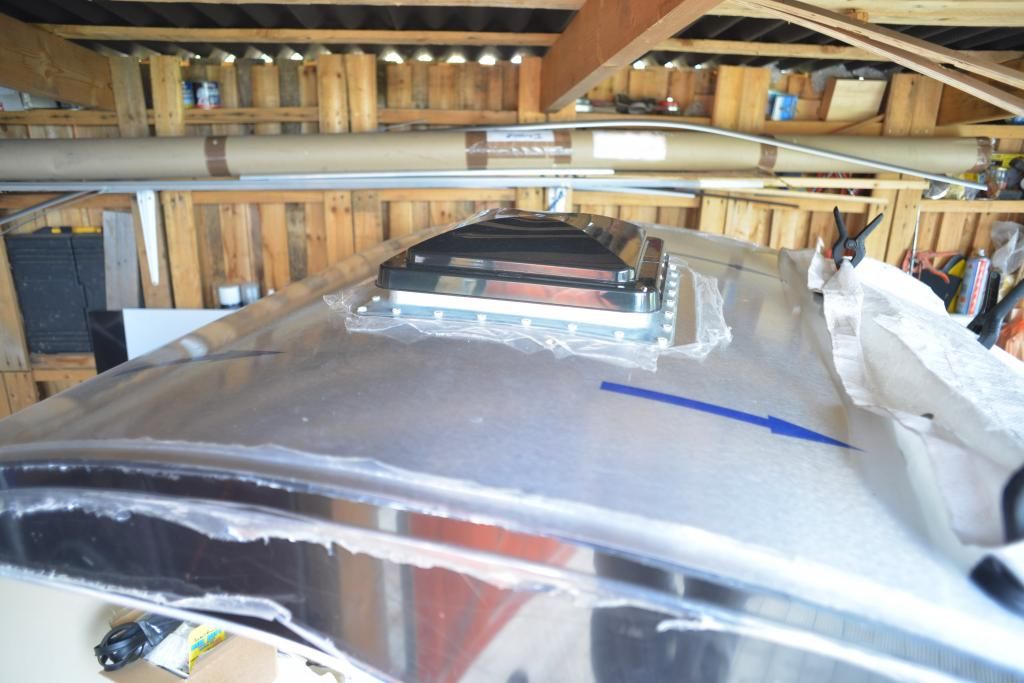
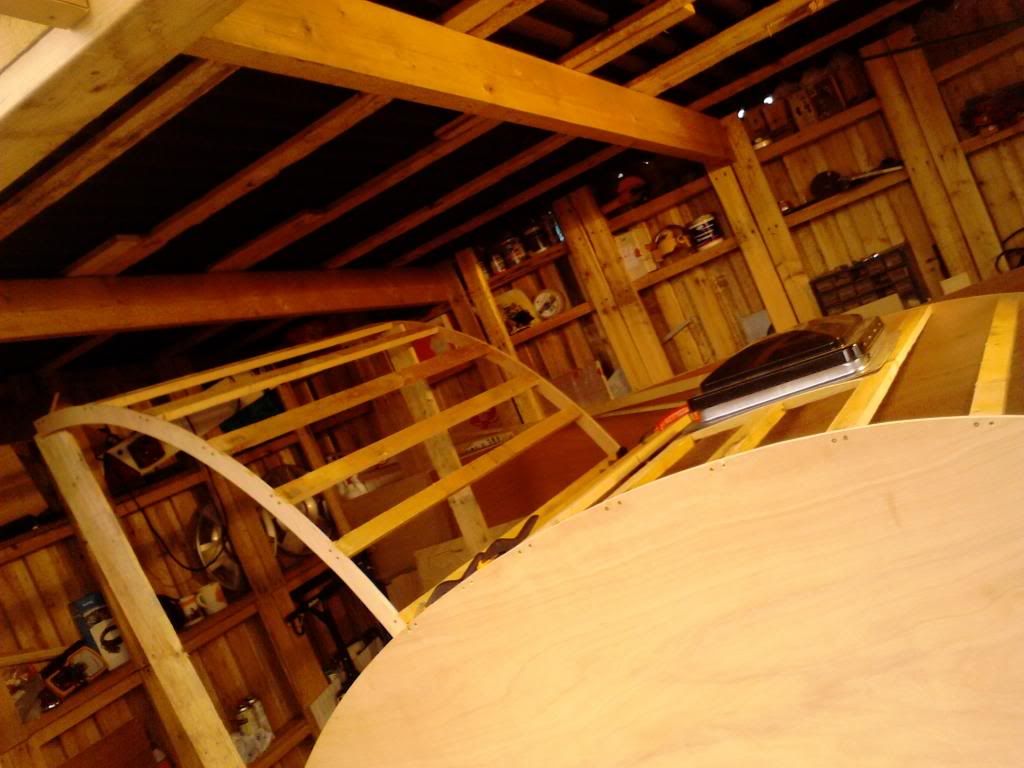
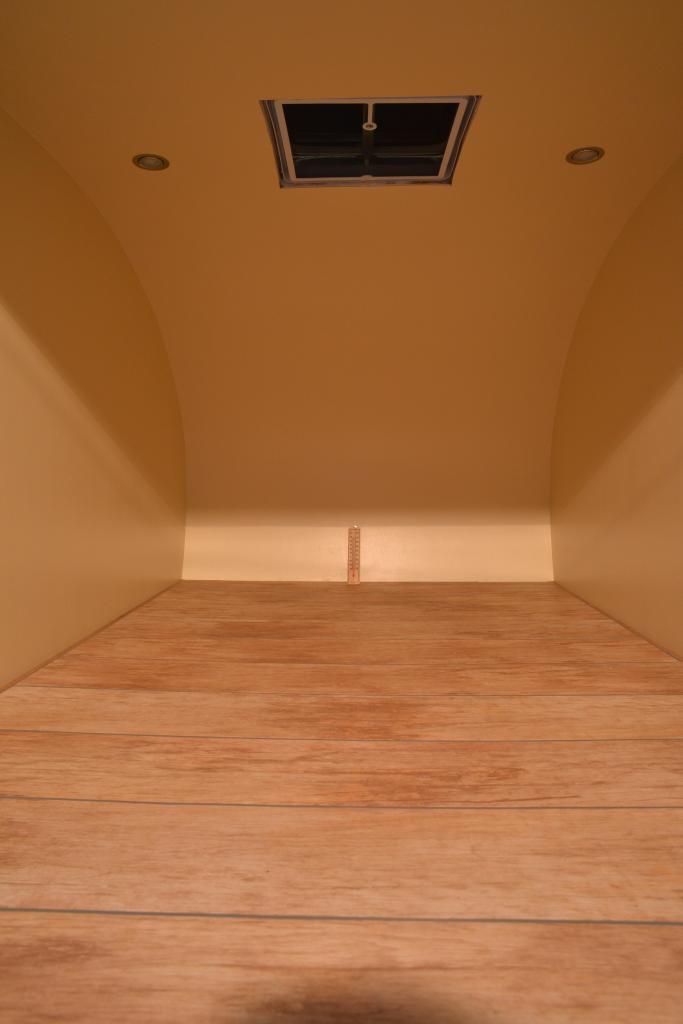
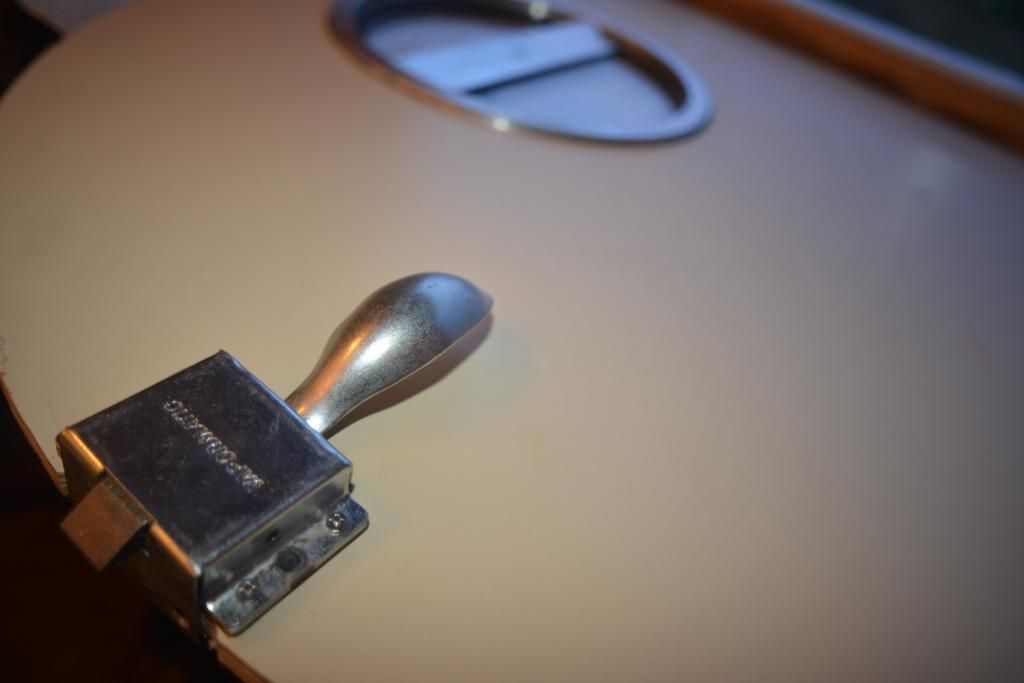
I fitted the cross-braces and test fitted the roof vent. If I ever build another one I would turn the cross braces through 90 degrees to improve strength.
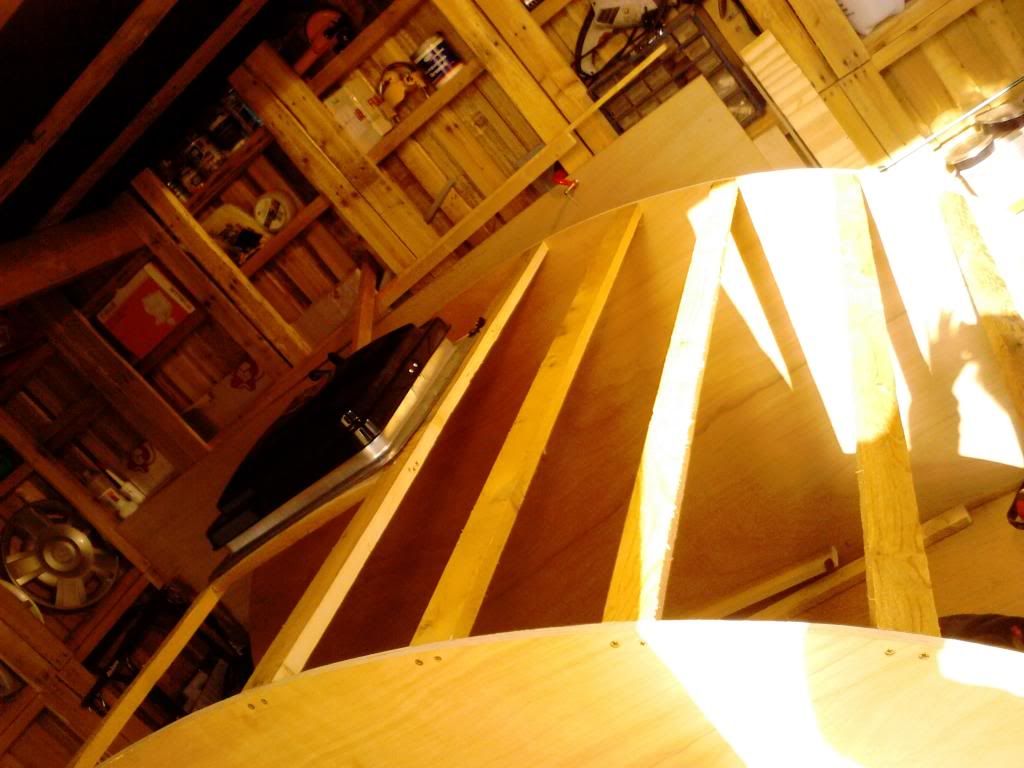
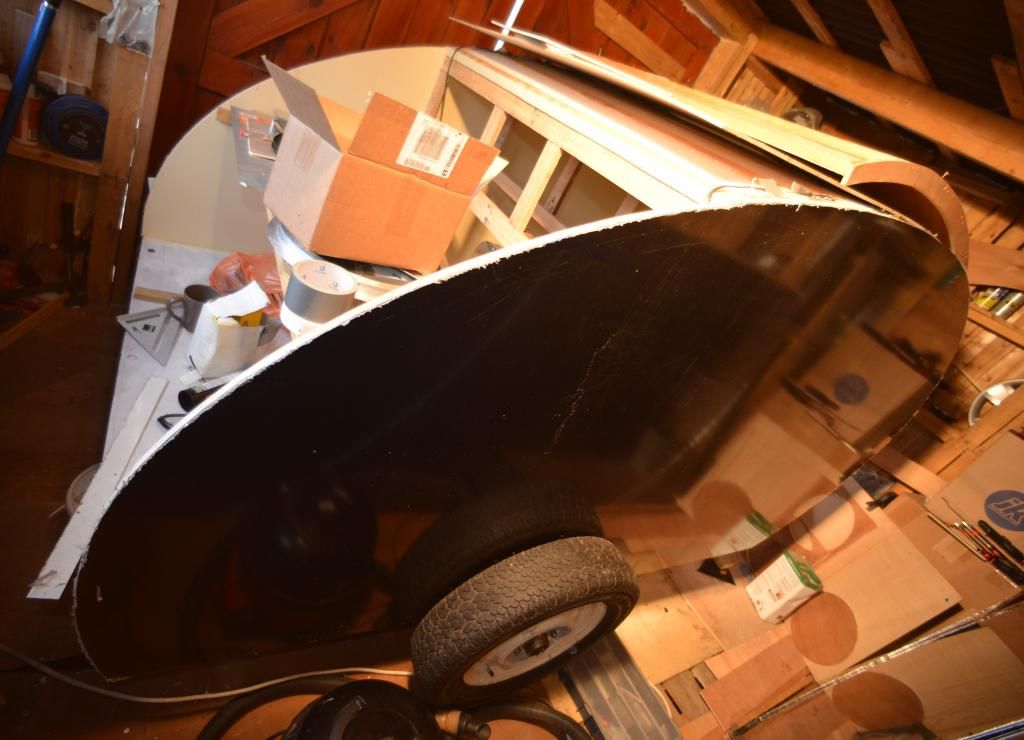
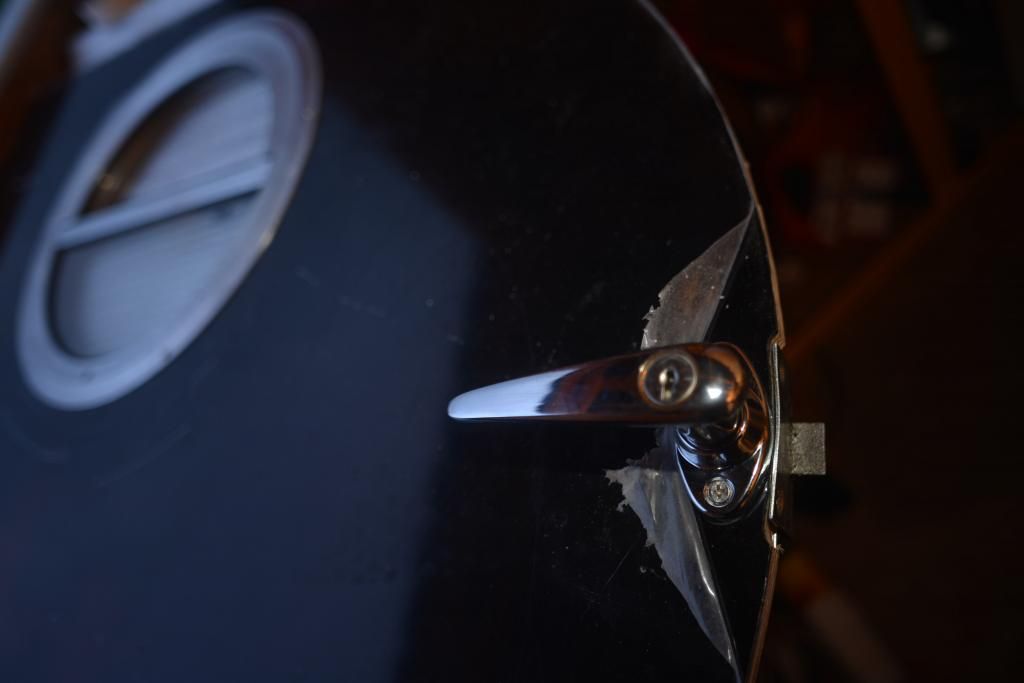
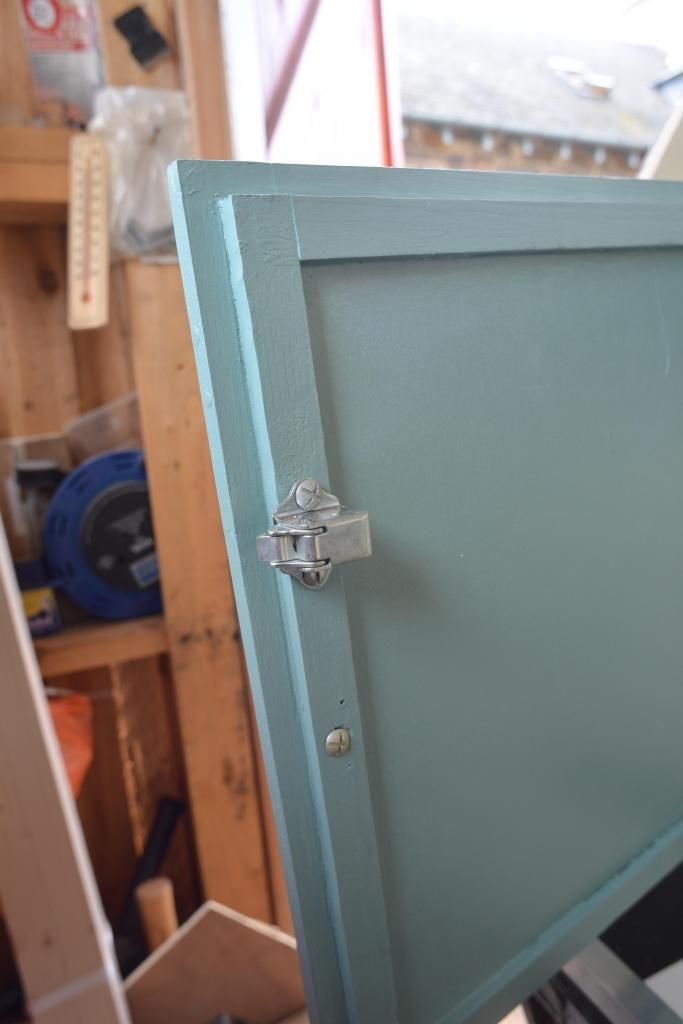
I roughed out the hatch and did a test-fit
 I have since begun to remake this hatch as I found that using 12mm ply on the sides was not enough to prevent 'spring back'.
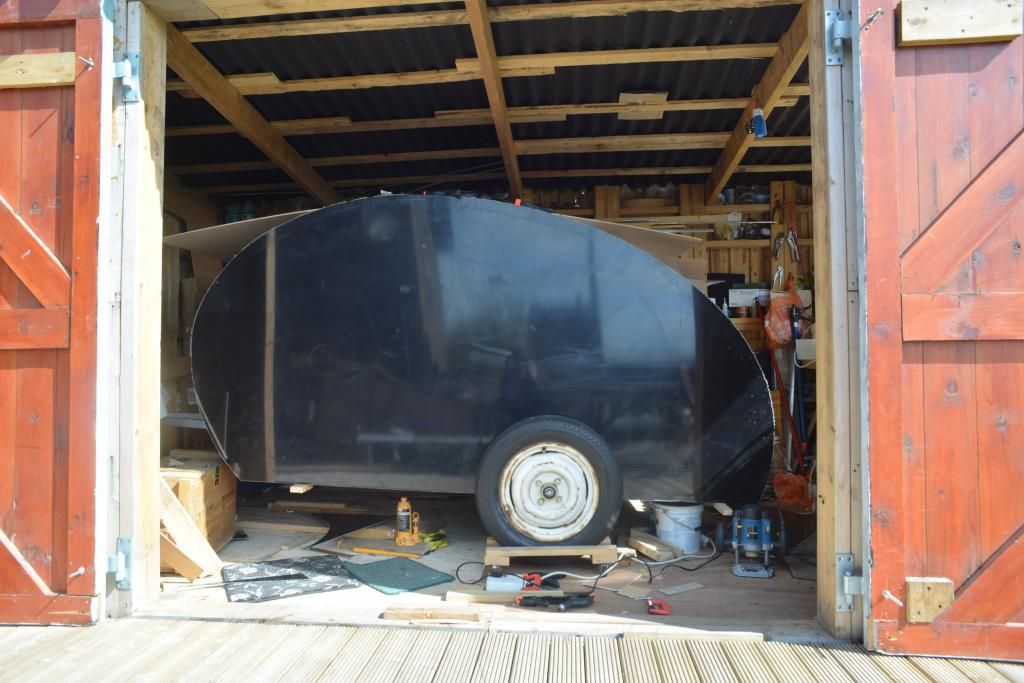
Pulled it outside for a quick look:

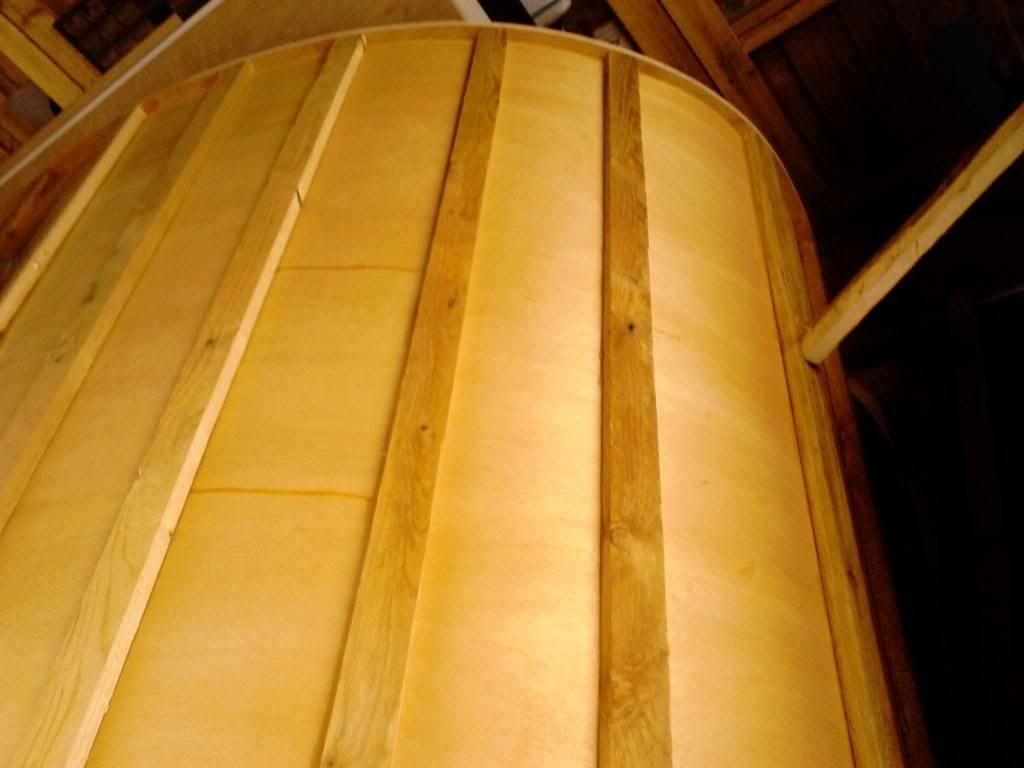
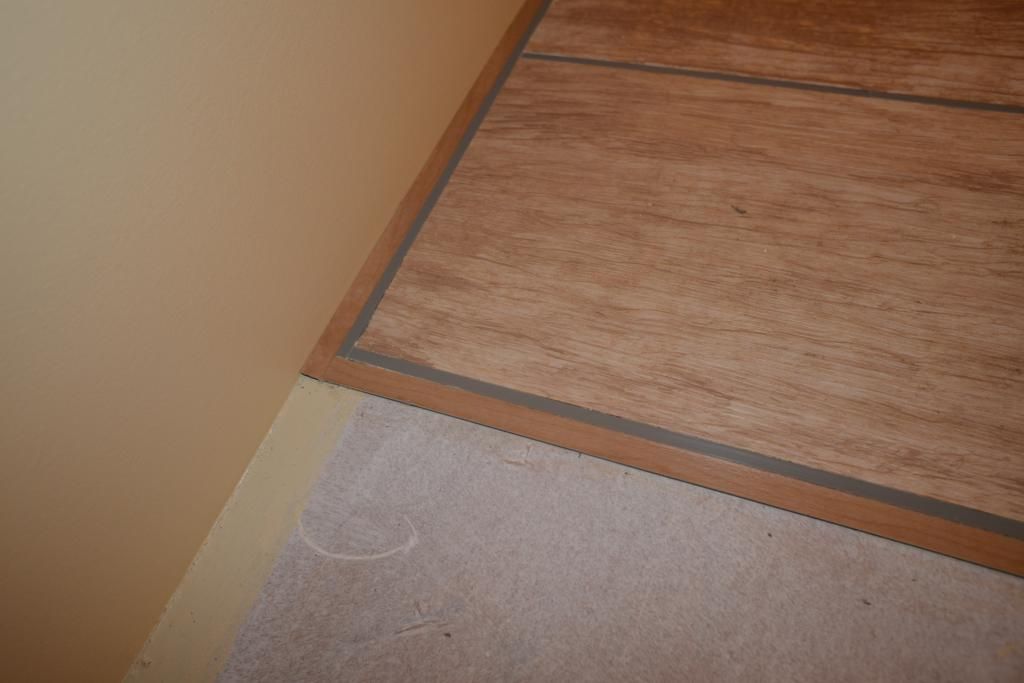
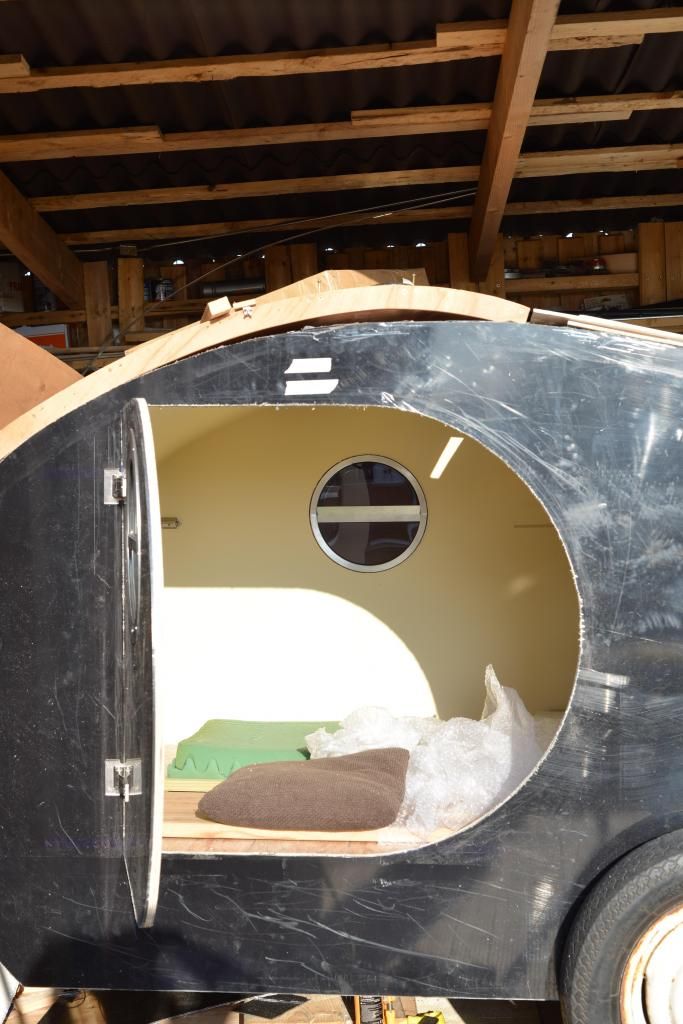
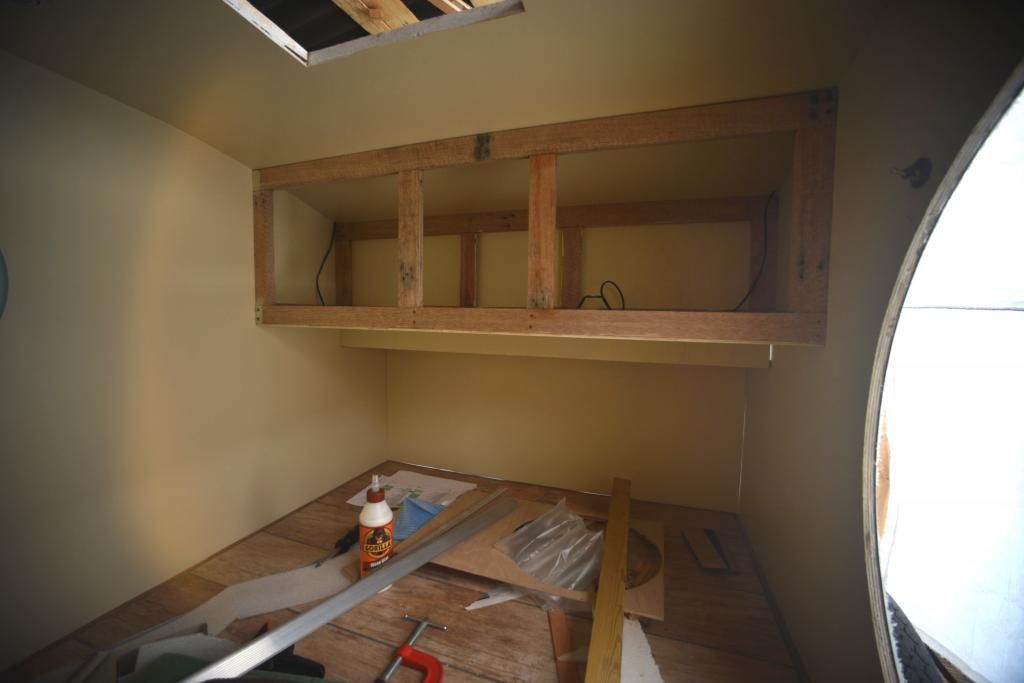
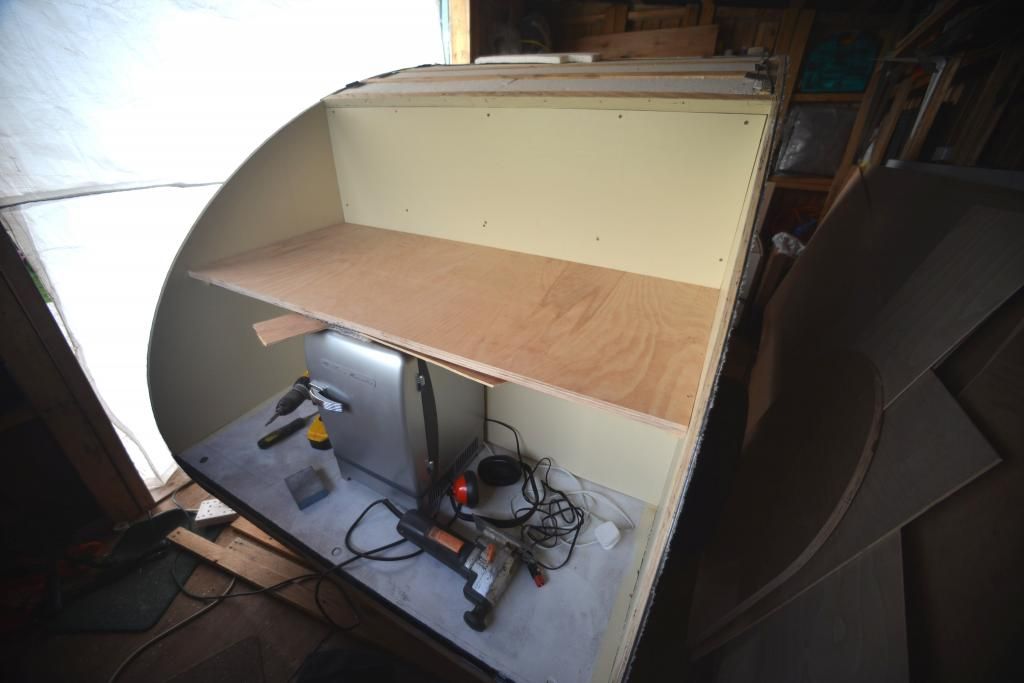
Then fitted the inner plywood skin:
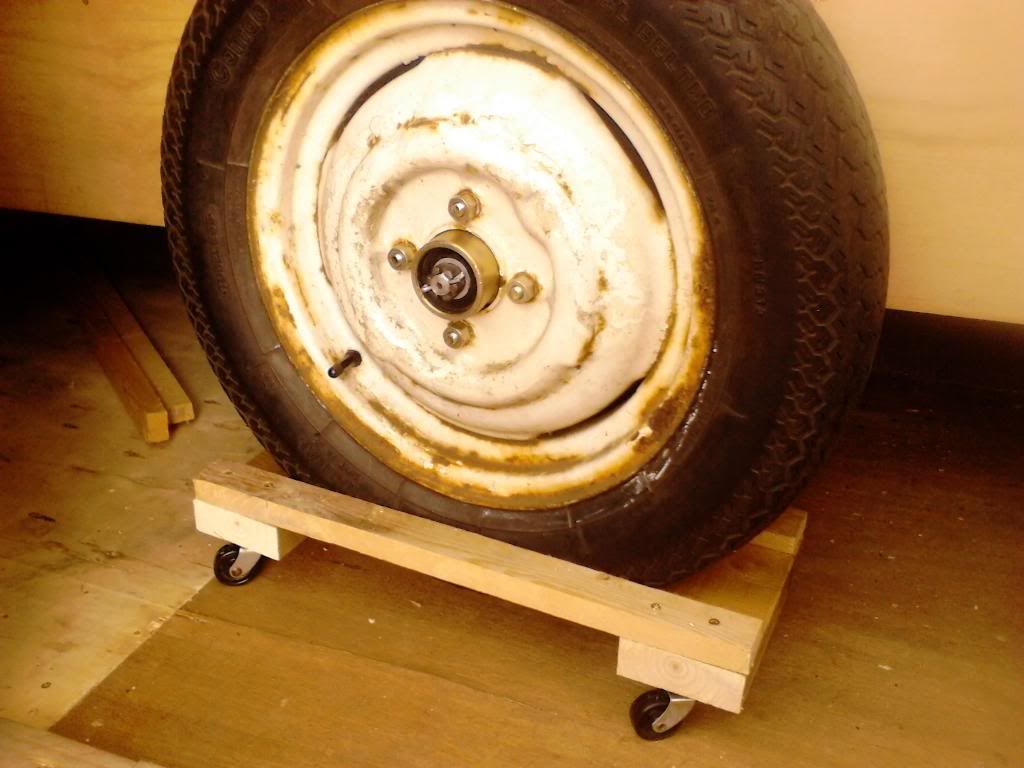
I had to make some castor dollies for the wheels to enable me to slide it from side to side to make the most of limited space in the workshop. Pallet wood again and castors from a skip (dumpster).
That was as far as I got last year. I will continue posting on a new post as I don't want this one to get too big and break the site or something....
 It should not cost much to pull.


 However my last name is Scott so I guess that should make up for it.