Alpine Touring - Frame prep, tongue ext, floor

Canvas covered foamies (Thrifty Alternatives...)

Moderator: eaglesdare

Alpine Touring - Frame prep, tongue ext, floor

Postby Wolfpack » Sat Jul 18, 2015 1:18 pm

Hello Everyone, :thumbsup:

I've been here lurking and as a member for the last 18 months, and I've followed many of your builds to get some ideas to build a TTT. :twisted:

The simple requirements I have are:

-Light weight.

-A decent sized cabin for me and my two dogs to sleep in.

-Fits in my garage.

-Have a big door on the back for occasional hardware / furniture store runs.

-Galley will not needed.
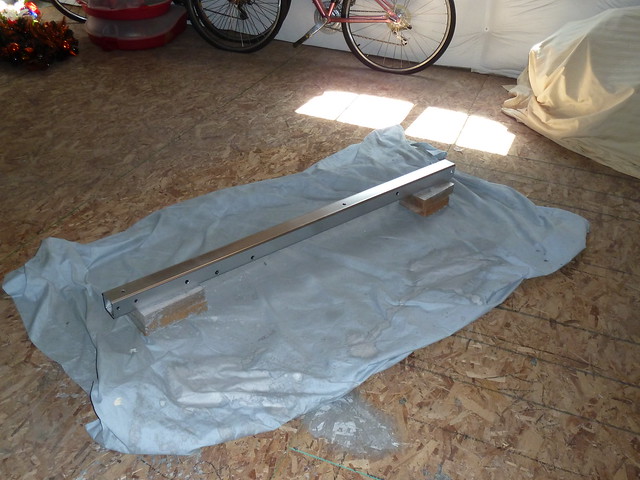
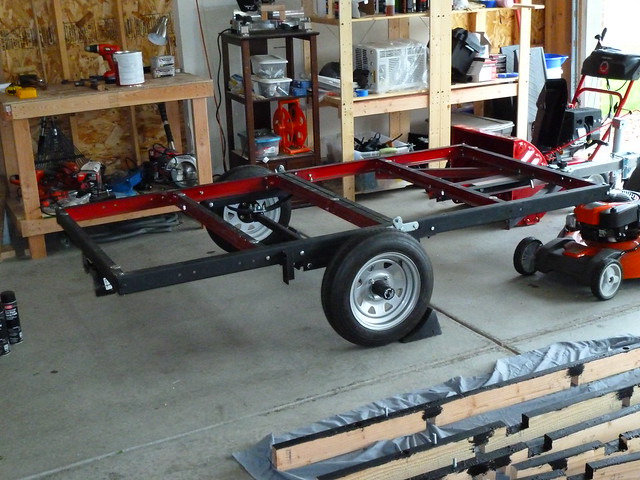
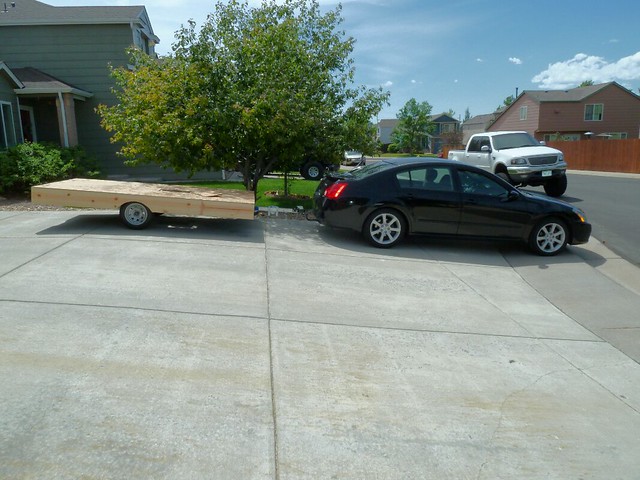
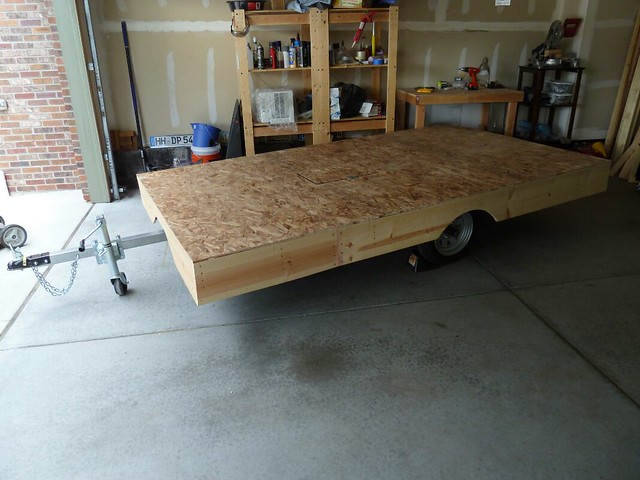
-Use my already titled 4x8 trailer. Registering a kit built trailer In Colorado is not fun. :?

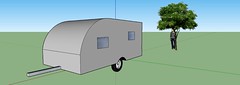
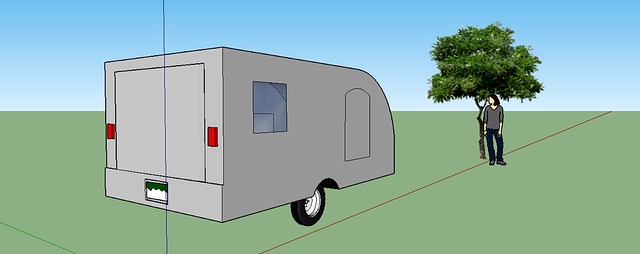
This is my sketch of it. It will be 10 1/2 x 6', and I am still tweaking my plans. I have named it 'Alpine Touring' because I plan to camp with it in the Rocky Mountains, in Colorado and neighboring states.

Image

Image

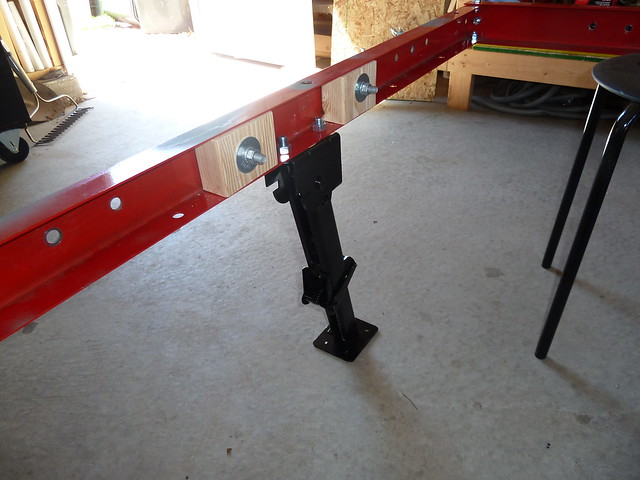
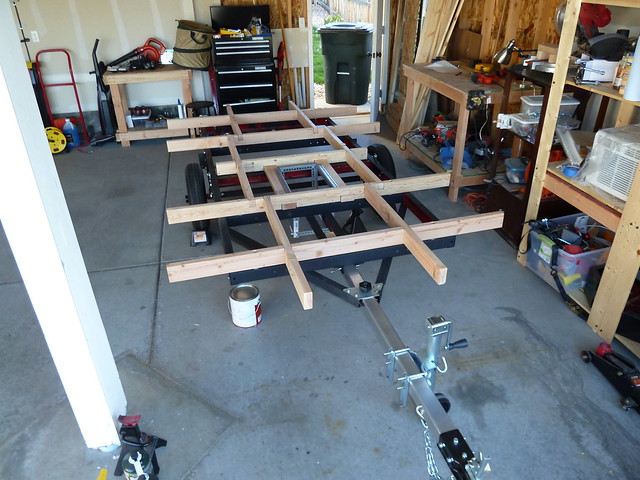
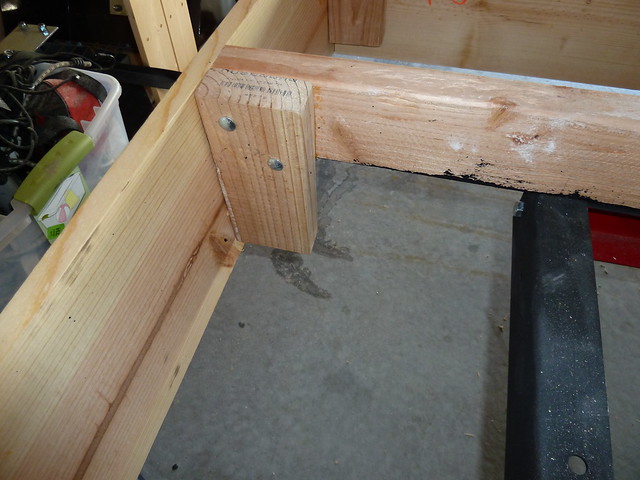
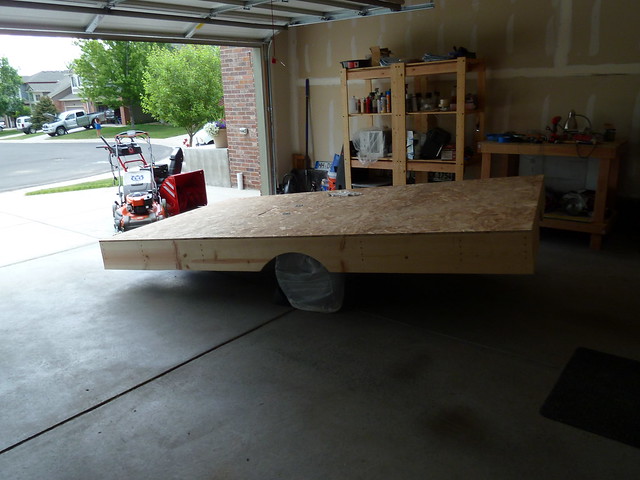
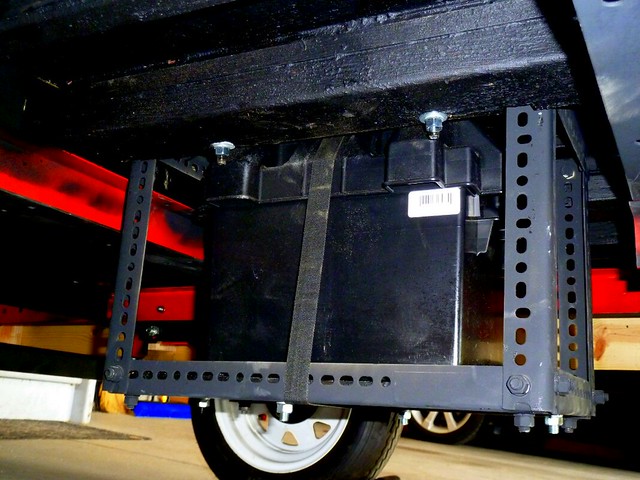
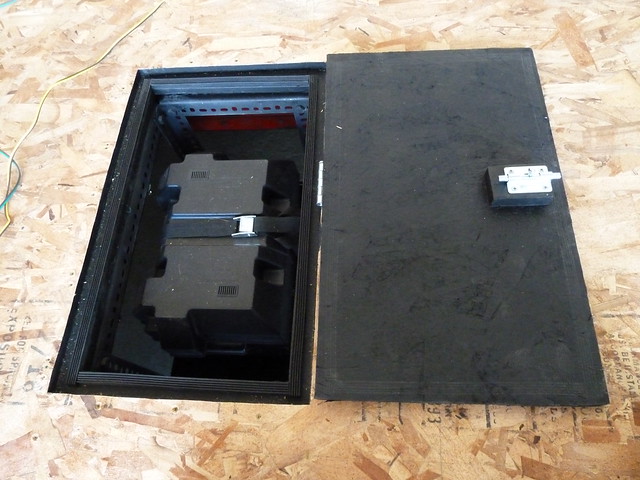
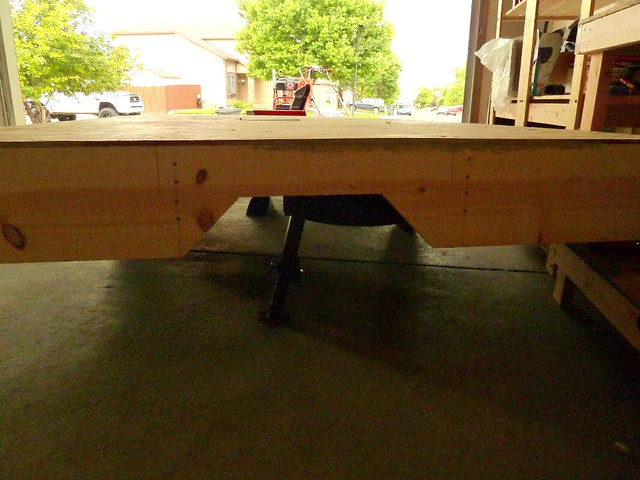
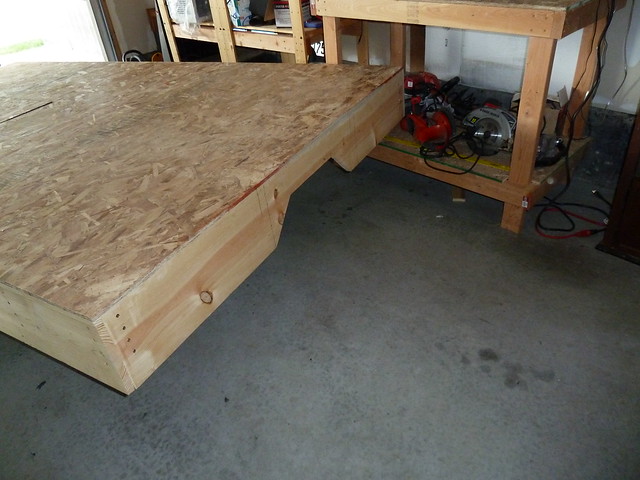
Ive been working on this trailer for the last few months, but as my progress has been very slow, I decided to get the floor finished before starting a build journal. I dont have much experience working with metal, wood or foam, and already I have learned some good lessons. :D

Thanks for reading,

Jim. :wine:
Last edited by Wolfpack on Sat Jul 18, 2015 3:12 pm, edited 1 time in total.
User avatar
Wolfpack
Teardrop Builder
 
Posts: 32
Images: 1
Joined: Mon Dec 08, 2014 4:32 pm
Location: Castle Rock, CO

Re: Alpine Touring - Frame prep, tongue ext, floor

Postby Wolfpack » Sat Jul 18, 2015 1:57 pm

I started the first couple of jobs in the basement, while it was snowing outside.

I am quite happy to use the stock 12" wheels, but I wanted a different color to white, so I resprayed them with silver rim paint I came across at the local Auto parts store.

Image

Next I extended to tongue by 1ft, and I used a 5' x 2 1/2" x 1/8" steel square tube.

I test fitted it to make sure the holes I drilled lined up.

Image

and then sprayed it with self etching primer and silver enamel.

Image

I noticed the holes in my tongue jack were in the wrong places for this new tongue and would likely be a poor fit. So I drilled some corresponding holes in the tongue, and now it fits perfectly, there is no movement at all.

Image

I then sanded and sprayed the axle and trailer frame with matt black enamel.

Image

You will see the hinge is still in place on the trailer, I gave this much thought and saw others making brakets to replace it. My floor will be above the hinge, and after using this as a utility trailer for 3 years, I am very confident it is strong enough for this purpose; so I cant see any good reason to replace it. It will also mean if I want to do a second build, I can return this one to a utility trailer easily again. :twisted:

Thanks for reading,

Jim. :beer:
Last edited by Wolfpack on Sat Jul 18, 2015 3:10 pm, edited 1 time in total.
User avatar
Wolfpack
Teardrop Builder
 
Posts: 32
Images: 1
Joined: Mon Dec 08, 2014 4:32 pm
Location: Castle Rock, CO

Re: Alpine Touring - Frame prep, tongue ext, floor

Postby Wolfpack » Sat Jul 18, 2015 2:36 pm

I wanted a stabilizing jack at the rear of the trailer, but I didnt want to weld any brackets on. I thought if I just bolted it onto the thin metal beams, they would just bend and flex, so I came up with a red neck type solution. Here it is being test fitted before I painted the blocks with black beauty.

Spoiler alert: Now I have the floor finished, the stabilizing jack is solid and there is no movement at all, I can always go back and add one to each corner if needed.

Image

I decided that I would overbuild the floor, the main reason for this is due to the low weight this foamie will be, and my concern about side winds; adding a little extra weight to the floor wont do any harm. Here is the lay out of my floor joists, before they are glued, screwed and bolted to the frame. These are the first lap joints I have ever made.

Image

Here is my setup for the side skirts. I bolted 7" pieces of 2x4 to the floor joists, glued and attached the skirts to them with 3 1/2" screws. IIRC the skirts are 1/2 x 9".

Image

The wheel arches I cut. I have little experience with a jigsaw, and I am very happy with this, I was more acurate with the second side. I removed the wheels to test this setup, and there is no obstruction from the skirts.

Image

I made the floor with sheets of OSB, and attached them with liquid nails and deck screws. Here it is hooked up to my car to see what this all looks like. I like it so far.

Image

Thanks for reading,

Jim. :beer:
Last edited by Wolfpack on Sat Jul 18, 2015 3:23 pm, edited 4 times in total.
User avatar
Wolfpack
Teardrop Builder
 
Posts: 32
Images: 1
Joined: Mon Dec 08, 2014 4:32 pm
Location: Castle Rock, CO
Top

Re: Alpine Touring - Frame prep, tongue ext, floor

Postby Wolfpack » Sat Jul 18, 2015 3:05 pm

I sprayed the under side of the floor with truck bed liner, that was fun. :D I did not paint the inside of the skirts as I shall be gluing the canvas to them. I will touch them up afterwards.

Image

Here is my battery cage installed. I have a group 24 battery in it now, but I made it big enough for a group 27, if I ever want to do that.

Image

...and from above. This is not what a barrel bolt was intended for, however my theory is that the door will need a little force to shut, and the seals will be pushing the door upwards, which I hope will be enough to stop the bolt undoing itself. I had to use quite a bit of force to undo the bolt to take this picture, so I think Im on the right lines.

Image

I had to cut some of the rear skirt away, as I could only access the stabilizer by laying on the floor; it will also make access to the spare wheel much easier.

Image

It should look ok when it's painted.

Image

Yesterday I applied some filler to a few places on the skirts, and noticed a few screws that needed more counter sinking.

Image

My next job will be making the side door, window, cargo door, and ac hatch frames. I will install all of those into the walls (excluding door frame) before attaching them to the floor.

Thanks for reading,

Jim. :beer:
User avatar
Wolfpack
Teardrop Builder
 
Posts: 32
Images: 1
Joined: Mon Dec 08, 2014 4:32 pm
Location: Castle Rock, CO
Top

Re: Alpine Touring - Frame prep, tongue ext, floor

Postby ukewarrior » Sat Jul 18, 2015 9:35 pm

Can you explain how you painted the stock wheels?
Did you remove the tires and valve stems?
Did you sand before painting?
ukewarrior
Donating Member
 
Posts: 107
Joined: Tue Apr 21, 2015 3:19 pm
Top

Re: Alpine Touring - Frame prep, tongue ext, floor

Postby KCStudly » Sat Jul 18, 2015 11:30 pm

You are doing nice work. I am looking forward to following along with the rest of your build. :thumbsup:
KC
My Build: The Poet Creek Express Hybrid Foamie

Poet Creek Or Bust
Engineering the TLAR way - "That Looks About Right"
TnTTT ORIGINAL 200A LANTERN CLUB = "The 200A Gang"
Green Lantern Corpsmen
User avatar
KCStudly
Donating Member
 
Posts: 9611
Images: 8169
Joined: Mon Feb 06, 2012 10:18 pm
Location: Southeastern CT, USA
Top

Re: Alpine Touring - Frame prep, tongue ext, floor

Postby Wolfpack » Sun Jul 19, 2015 8:07 pm

KCStudly wrote:You are doing nice work. I am looking forward to following along with the rest of your build. :thumbsup:


Thank you KC. :thumbsup:

ukewarrior wrote:Can you explain how you painted the stock wheels?
Did you remove the tires and valve stems?
Did you sand before painting?


I carefully covered the valve stems and tires with painters tape. The instructions told me to sand the wheels with 320 grit sandpaper, and then I cleaned them with denatured alcohol, before painting.

Image
User avatar
Wolfpack
Teardrop Builder
 
Posts: 32
Images: 1
Joined: Mon Dec 08, 2014 4:32 pm
Location: Castle Rock, CO
Top

Re: Alpine Touring - Frame prep, tongue ext, floor

Postby bespurcell » Sat Aug 15, 2015 10:13 pm

Nice build! :applause:
bespurcell
Teardrop Inspector
 
Posts: 11
Joined: Mon Aug 18, 2014 3:56 am
Top


Return to Foamies

Who is online

Users browsing this forum: No registered users and 30 guests