The Poet Creek Express - Foamie Hybrid

Canvas covered foamies (Thrifty Alternatives...)

Moderator: eaglesdare

Re: The Poet Creek Express - Foamie Hybrid

Postby dales133 » Fri Jul 31, 2015 7:17 am

Fred Trout wrote:
dales133 wrote:Looks great mate. Fred might have a point with the plasterer skim coating it.
They realy can do magic.
The only concern id have is what they use and how flexible it is.
Keep up the good work


Really, most of the smoothing & spackle is from fairing & sanding before you canvas so the canvas & glue hold it in place. The skim coat is very thin and a primer like Gripper will hold it in place just fine. An experienced dry wall finisher will tell you what needs fixing before they do the mud since there are limits to the process but they work so fast and make it so smooth that it's art in motion.

I do a fair bit of it myself and even though the canvas and glue envelope it id still want something more flexible than standard plaster as its verry brittle and could/wjll crumble under the canvas given enough impact/movement.
There are premixed acrylic fillers that could be used
User avatar
dales133
4000 Club
4000 Club
 
Posts: 4605
Images: 1
Joined: Mon Oct 13, 2014 5:26 pm

Re: The Poet Creek Express - Foamie Hybrid

Postby Fred Trout » Fri Jul 31, 2015 11:49 am

:R Sounds like you want to use too much mud and not enough sandpaper :R

Plaster is completely different from vinyl spackle (plaster as in lath & plaster). This is a skim coat - less than 1/16 to 1/32 thick; plaster is MUCH thicker:

Image

Yes, if you just have to put spackle on thick, you could use a binder, even TB II or acrylic paint would work. But there are better solutions like Great Stuff to fill and sand smooth the larger gaps, dings, & voids if you want. GS is nice because it has pretty much the same sanding properties as Styrofoam but spackle with binder in it usually is much harder to sand than EPS, so you end up with bumps of it that stand proud after sanding one area with both - more edges.

I have never had any problems with the thin spackle on walls all over my house and the spackle there is just covered by paint. That's after driving nails through it, bumping with furniture, etc. The dry wall underneath it is another story since it deforms so easily.
User avatar
Fred Trout
The 300 Club
 
Posts: 396
Joined: Fri May 08, 2015 4:30 pm
Location: SW Montana

Re: The Poet Creek Express - Foamie Hybrid

Postby dales133 » Fri Jul 31, 2015 12:43 pm

Sorry fred if you misunderstood me,i ment ive done alot of plastering not canvas and glue over anything....that im just about to try for the first time
So youve had no issue with tb2 sticking to spackle fred?
User avatar
dales133
4000 Club
4000 Club
 
Posts: 4605
Images: 1
Joined: Mon Oct 13, 2014 5:26 pm
Top

Re: The Poet Creek Express - Foamie Hybrid

Postby Fred Trout » Fri Jul 31, 2015 2:34 pm

So youve had no issue with tb2 sticking to spackle fred?


I have seen grains of spackle get pulled up when you pull the TB II wet canvas away from the foam - they are about like grains of sand, so I don't pull the canvas like that anymore (not that it made any difference in appearance). Instead I slide the canvas along the foam by pulling an edge sideways. No problem with adhesion, bubble formation, etc. on these exterior walls after I let the TB II cure - yet. The spackle has had no other effect that I can see except to make the finish smooth & hide the fabric weave.

- Just finished the second coat of exterior paint.
- Under that is Glidden Gripper.
- Under that is the final vinyl spackle skim coat & fairing.
- Under that is the concrete paint which was an experiment to fill the canvas weave (it failed to do that, so mostly a wasted step unless the waterproofing is worth something).
- Under that is canvas (or TB II on top of canvas in high impact expected areas)
- Under that is the TB II used to glue the canvas to the foam with some fairing with vinyl spackle to repair minor dings, joints, manufacturer printing, etc.

So after a couple of weeks of layers applied on spackle no real problems except on those few spots where TB II was painted on top of the wet canvas and those finger tip size bubbles ironed out and stayed flat under subsequent layers.

We will see what happens when the TD is exposed to rain, temperature changes, sunlight, and so on -- anything is possible. Robot did not see his bubbles until he was camping for a while.

It could shrink to the size of a pea or implode at 60 mph !! :R
User avatar
Fred Trout
The 300 Club
 
Posts: 396
Joined: Fri May 08, 2015 4:30 pm
Location: SW Montana
Top

Re: The Poet Creek Express - Foamie Hybrid

Postby KCStudly » Fri Jul 31, 2015 9:30 pm

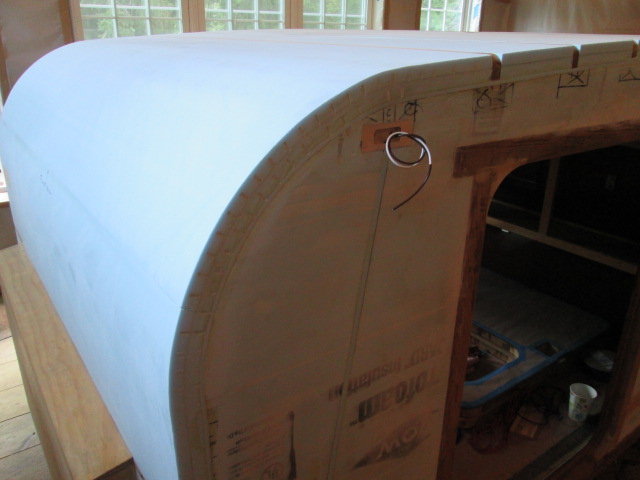
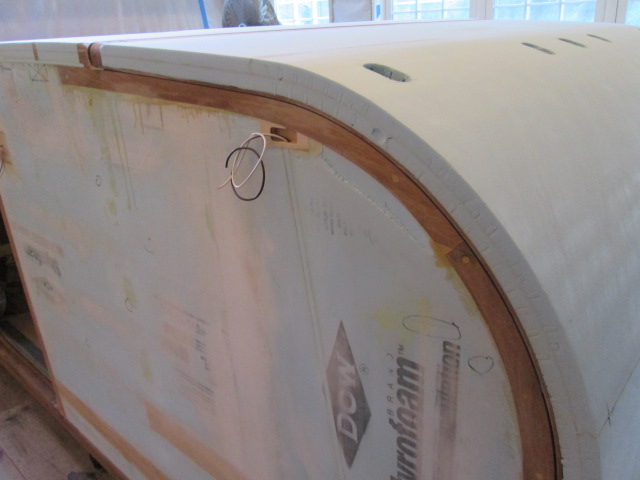
Sanded the clearance light wireway filler pieces back flush to the walls tonight. Respirator and the small hand block with a fresh piece of 100 grit got the job done.
Image

The TB2 definitely gave the foam a crusty crispiness. It sanded off easy enough, but did make the foam feel less spongy.

Friends Dale and T will be in town with the boat on Sunday, so am looking forward to a nice visit with them and likely a nice boat ride out in the sound.

Tomorrow I think I’m going to start chinking in the ends of the roof kerfs and get that all prepped for rounding over the roof edges.
KC
My Build: The Poet Creek Express Hybrid Foamie

Poet Creek Or Bust
Engineering the TLAR way - "That Looks About Right"
TnTTT ORIGINAL 200A LANTERN CLUB = "The 200A Gang"
Green Lantern Corpsmen
User avatar
KCStudly
Donating Member
 
Posts: 9613
Images: 8169
Joined: Mon Feb 06, 2012 10:18 pm
Location: Southeastern CT, USA
Top

Re: The Poet Creek Express - Foamie Hybrid

Postby KCStudly » Sun Aug 02, 2015 12:33 am

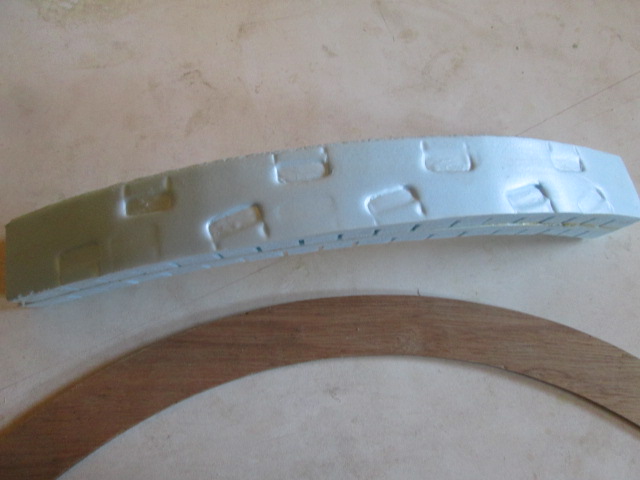
Today was kind of an experiment to see what method I would use to fill the exposed ends of the kerfs in the roof and hatch foam. I was leery about just stuffing spackle in there since there really hasn’t been any long term testing that I am aware of and it is kind of fragile. Whatever I use I want it to sand easily like the foam, since I still need to round over the profile edge.

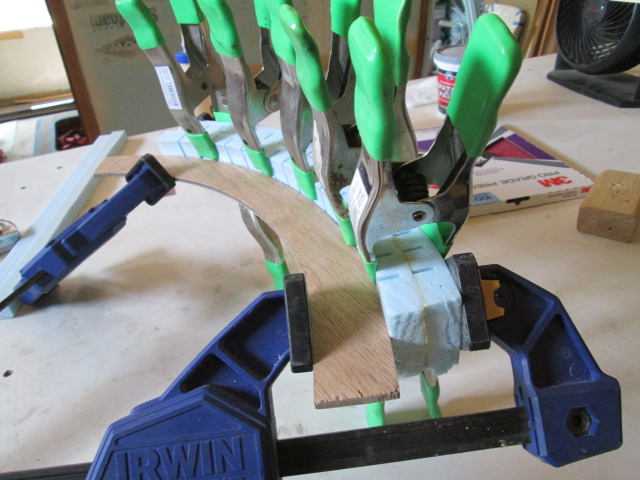
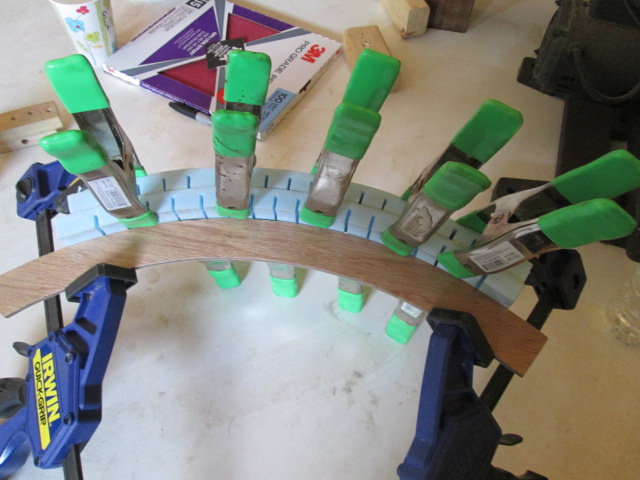
When I mentioned that one of the builders (I think it may have been Fred Trout) recommended mixing some TB2 in with the spackle to give it a little more strength, and that I was thinking of adding foam sawdust as a filler/binder, Karl suggested that I do a test. So I took a strip of the 3/4 thk foam, cut the length in half, kerfed both pieces and glued them with TB2 over my front riblet template as a form.
Image
Image

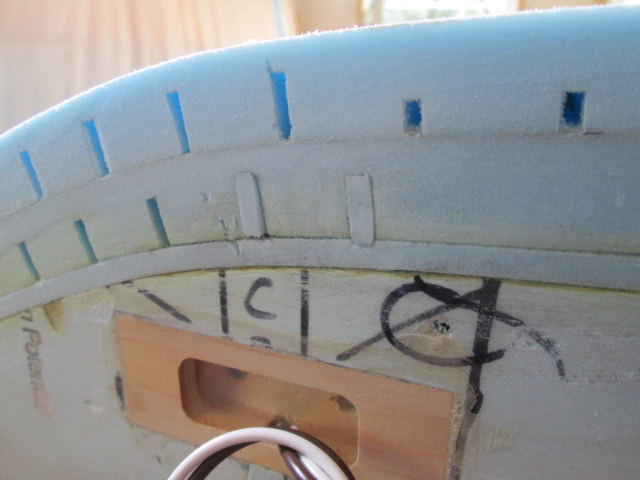
But that was going to take time to cure, so I dug out an appropriately sized strip of foam from the “spare parts” pile and started stuffing. The dents and gouges around the kerfs from my fingernails was discouraging, but the area will need a skim coat of spackle anyways, so I suppose that could work.
Image

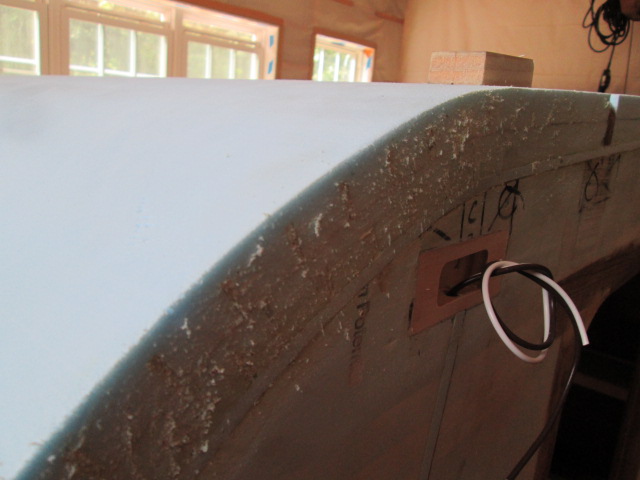
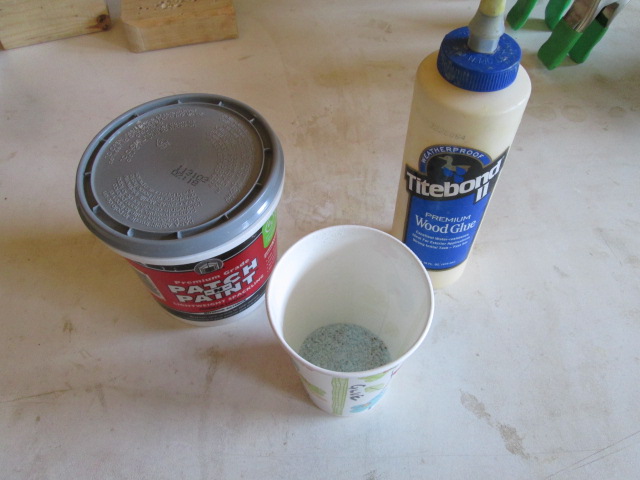
I got impatient waiting for the test coupon, so decided to go ahead and experiment on the street side front. I scooped about 1/4 cup of mostly blue foam dust, with a little wood sawdust mixed in, out from under the table saw.
Image

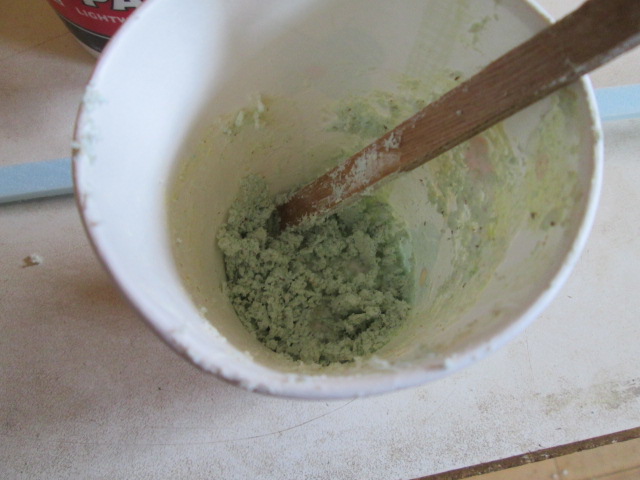
Mixed in about 2 tbs of spackle and 1 tbs of TB2 and stirred with a stick getting a somewhat grainy consistency.
Image

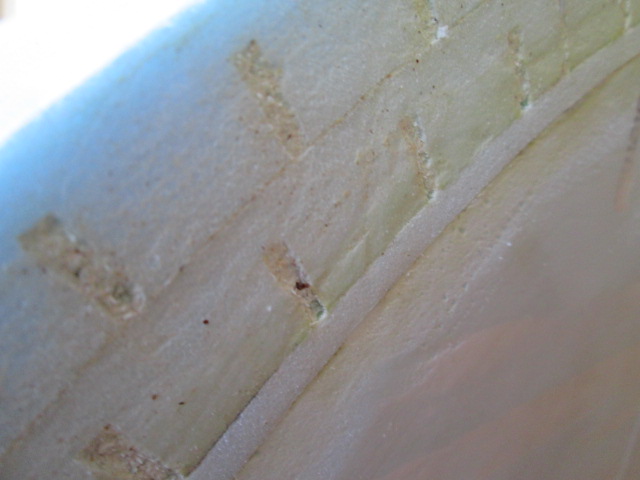
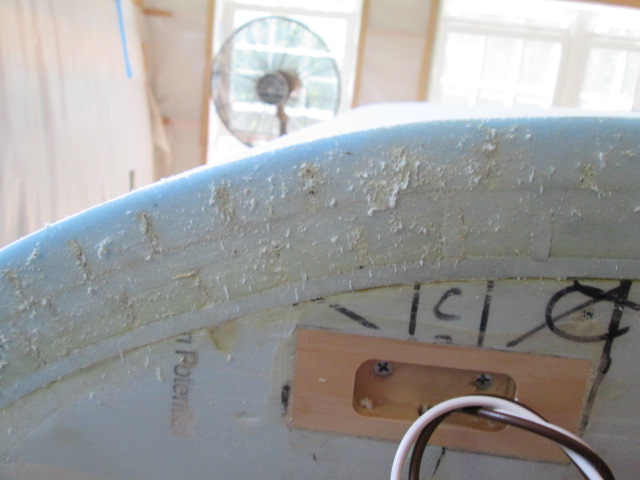
Used the stick as a spatula to smear the stuff on and pushed it into the ends of the kerfs with gloved fingers.
Image
Image

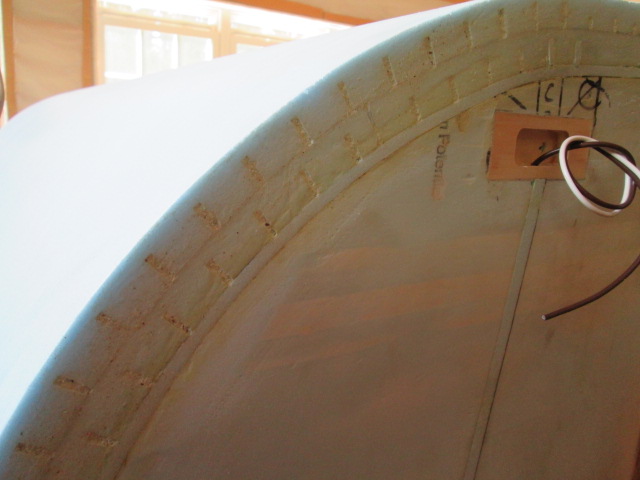
Rather than let it harden with all of the bramble, and rather than clogging up sandpaper, I just burnished the rough stuff off by rubbing a small block of pine over it. The dark specks are wood sawdust.
Image
Image

I’m not sure how deep I was getting it, whether it would be enough to allow for the round over, and it seemed to suck in some, either from the burnishing or from shrinking as it dried, so a skim coat of spackle would still be needed.

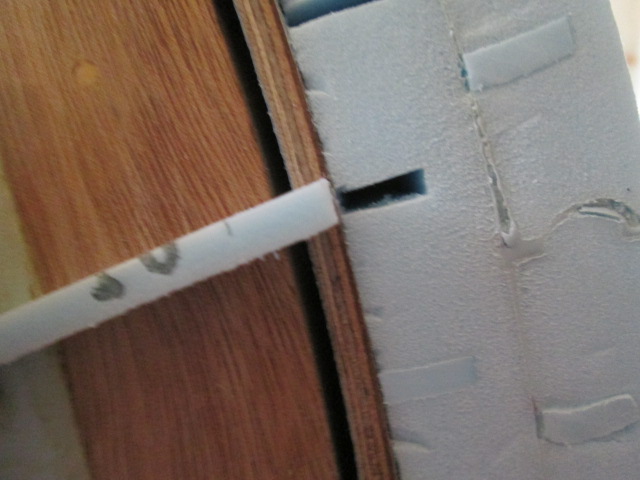
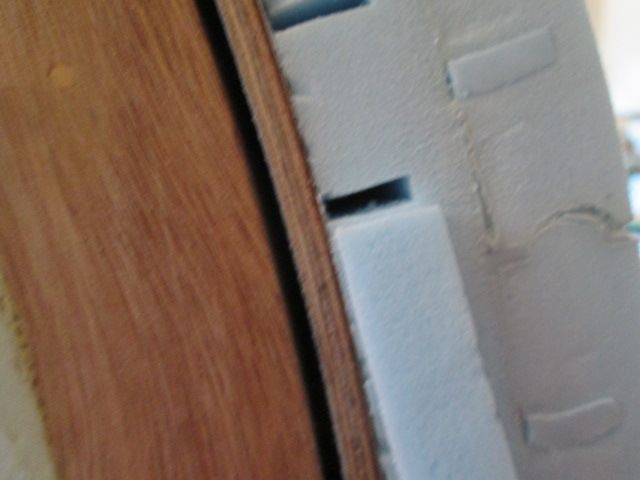
That was also a little messy with crumbly bits falling on the floor. So maybe I could improve my technique “chinking”. Back to the hatch. The strip of foam I was using was just a little wider than the kerfs were deep, and a bit thicker than the kerfs were wide.
Image
Image

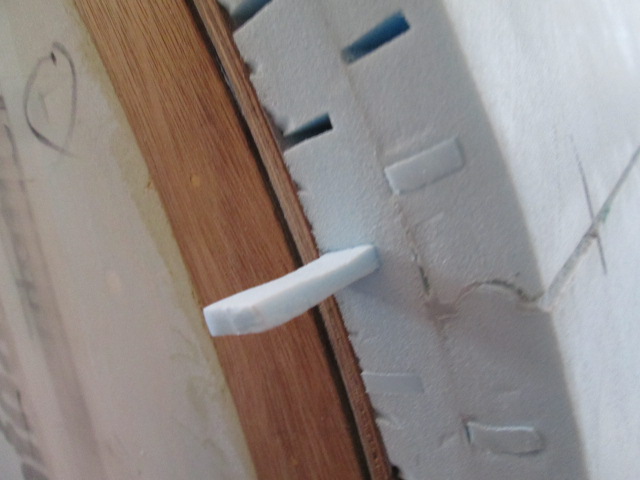
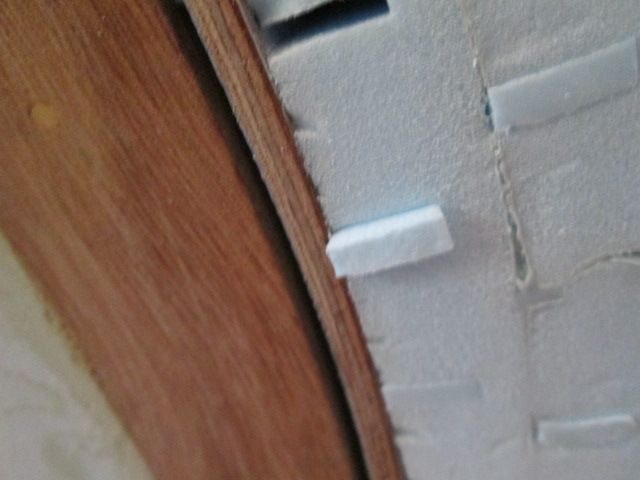
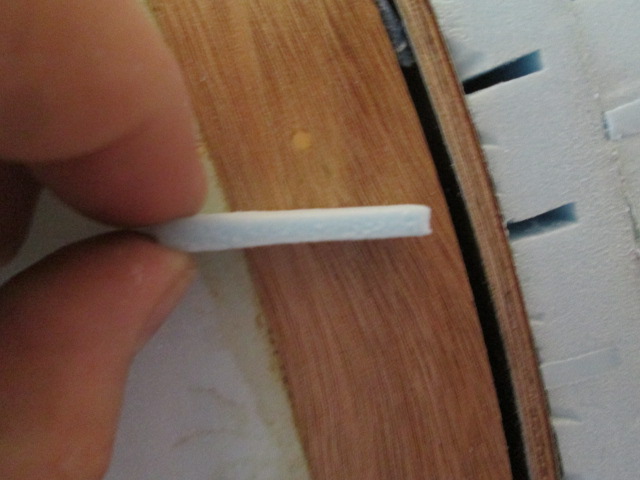
After cutting a piece about an inch long, by squeezing it between my fingers to flatten a bit I could stuff it in the kerf about 1/4 to 3/8 inch before friction made the resistance too much. Later I found that if I stuck a thin oak strip in the kerf and pried gently up and down I could compress the foam into a slight funnel shape and it made it easier to get the plug started, while the foam would spring back sort of self-healing and tighten up again.
Image
Image

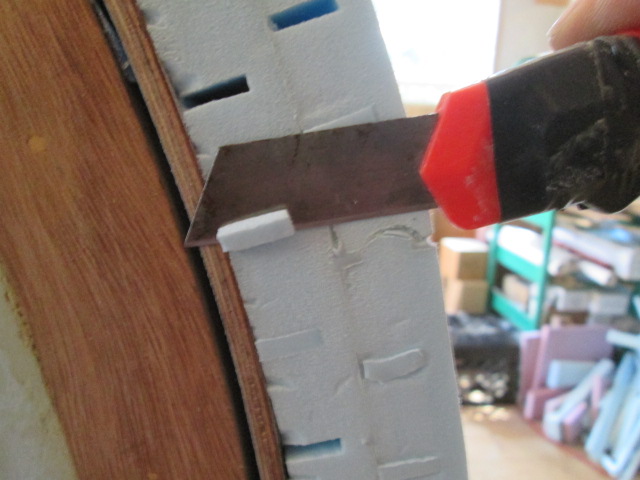
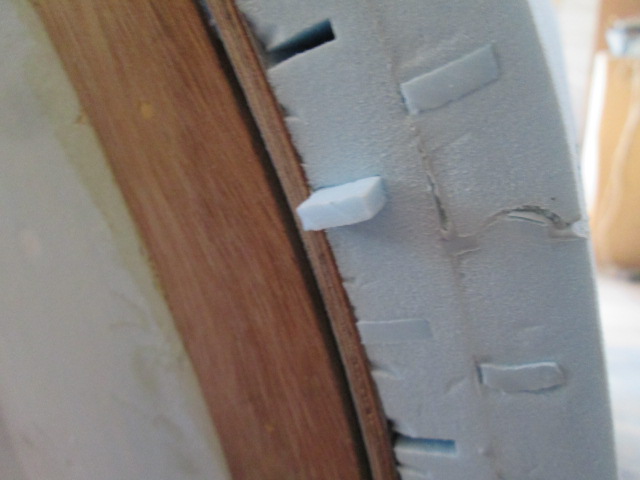
Then I rough cut leaving about 1/4 inch proud.
Image

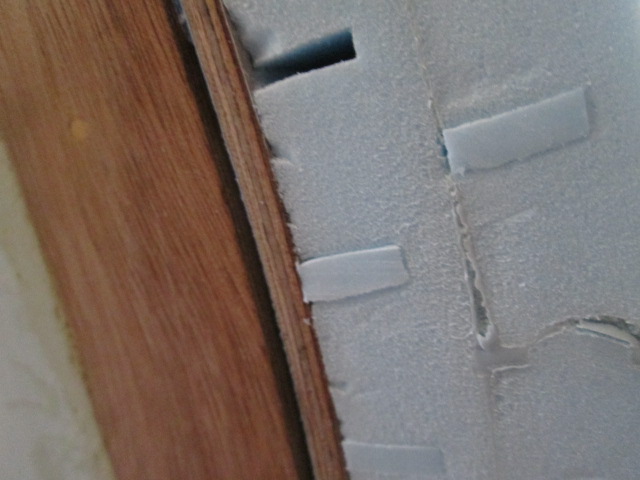
The stick came in handy again stuffing the filler that last little bit before final trimming flush.
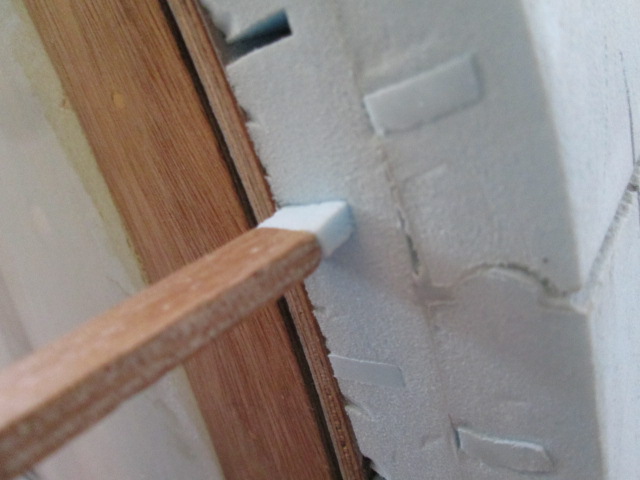
Image
Image
Image
Image

Then a quick scrub with 220 grit on the small block.
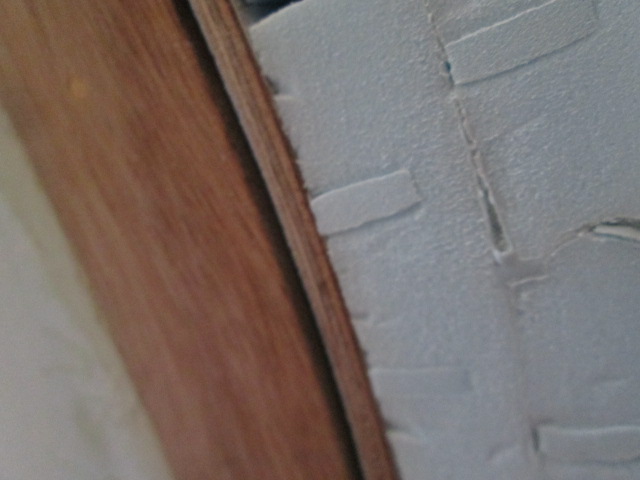
Image

Still tended to crush the foam around the plug a little, so still needs some spackle. And it was slow and tedious compared to the filled spackle blend.
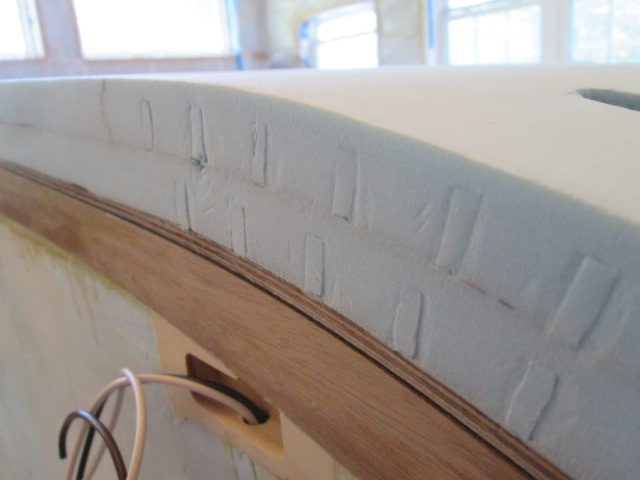
Image

By this time the test coupon had set up. The spring clamps crushed a bit, but that just provides more opportunities to test filler recipes.
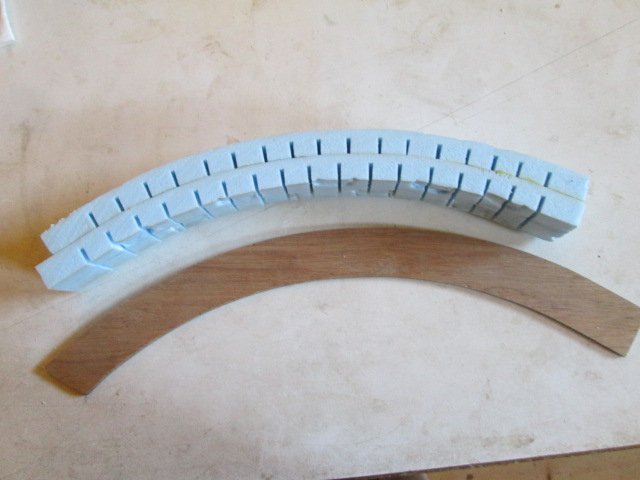
Image
Image

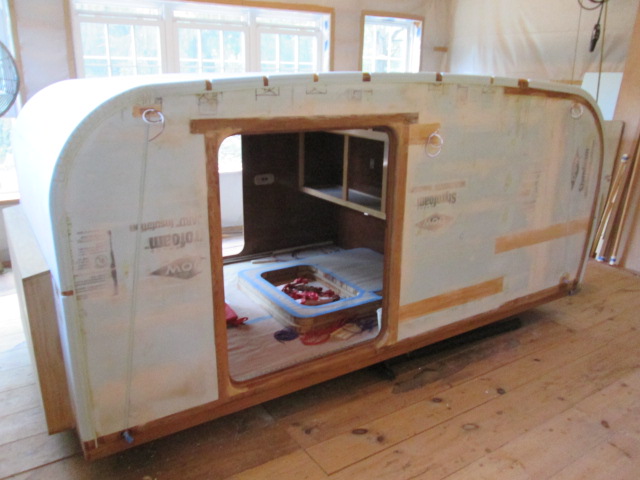
That was enough for today, so I will leave with a couple of overview shots.
Image
Image
Image
KC
My Build: The Poet Creek Express Hybrid Foamie

Poet Creek Or Bust
Engineering the TLAR way - "That Looks About Right"
TnTTT ORIGINAL 200A LANTERN CLUB = "The 200A Gang"
Green Lantern Corpsmen
User avatar
KCStudly
Donating Member
 
Posts: 9613
Images: 8169
Joined: Mon Feb 06, 2012 10:18 pm
Location: Southeastern CT, USA
Top

Re: The Poet Creek Express - Foamie Hybrid

Postby Fred Trout » Sun Aug 02, 2015 1:08 am

That looks pretty good either way but I'd be curious to see how the mixture works out. I would have been tempted to just trowel in peanut butter consistency Great Stuff and let it do it's expansion; it trims off pretty easy with a steak knife and then sands pretty much the same as the foam. That worked pretty well for me but that was in router holes, edges of wood inserts, and so on.
User avatar
Fred Trout
The 300 Club
 
Posts: 396
Joined: Fri May 08, 2015 4:30 pm
Location: SW Montana
Top

Re: The Poet Creek Express - Foamie Hybrid

Postby GPW » Sun Aug 02, 2015 8:51 am

Any decent canvas would easily cover over all those slots , but I can certainly agree about feeling the need to completely fill those holes .... just because it makes for a better job , and less chance for water intrusion. 8) :thumbsup: :beer:
There’s no place like Foam !
User avatar
GPW
Gold Donating Member
 
Posts: 14912
Images: 546
Joined: Thu Feb 09, 2006 7:58 pm
Location: New Orleans
Top

Re: The Poet Creek Express - Foamie Hybrid

Postby KCStudly » Sun Aug 02, 2015 9:06 am

Yeah, I'm still not 100/ct pleased with my ability to sand GS. Even after trying the knockdown technique on the license plate holder I still had voids and chunks pull out.

It was the void/mold issue on the FoamStream that has me being mindful to fill every void. :thumbsup:

Boat ride today! :D
KC
My Build: The Poet Creek Express Hybrid Foamie

Poet Creek Or Bust
Engineering the TLAR way - "That Looks About Right"
TnTTT ORIGINAL 200A LANTERN CLUB = "The 200A Gang"
Green Lantern Corpsmen
User avatar
KCStudly
Donating Member
 
Posts: 9613
Images: 8169
Joined: Mon Feb 06, 2012 10:18 pm
Location: Southeastern CT, USA
Top

Re: The Poet Creek Express - Foamie Hybrid

Postby GPW » Sun Aug 02, 2015 9:09 am

Try sanding in only one direction .... Did I mention that before ??? :thinking:
There’s no place like Foam !
User avatar
GPW
Gold Donating Member
 
Posts: 14912
Images: 546
Joined: Thu Feb 09, 2006 7:58 pm
Location: New Orleans
Top

Re: The Poet Creek Express - Foamie Hybrid

Postby GoTurtleGo » Sun Aug 02, 2015 6:10 pm

The Express looks wonderful. Thank you for all the experimentation reports. Very instructive as usual.

Mr GPW - is that a foam rule, "sanding in only one direction?" I don't remember it being mentioned before.

Cheerio,

Katheen
GoTurtleGo
User avatar
GoTurtleGo
Teardrop Advisor
 
Posts: 77
Images: 0
Joined: Tue Jul 29, 2014 6:03 am
Top

Re: The Poet Creek Express - Foamie Hybrid

Postby KCStudly » Sun Aug 02, 2015 6:16 pm

Thanks Turtle. The whole thing is one big experiment! :lol: :lol: :lol: :D
KC
My Build: The Poet Creek Express Hybrid Foamie

Poet Creek Or Bust
Engineering the TLAR way - "That Looks About Right"
TnTTT ORIGINAL 200A LANTERN CLUB = "The 200A Gang"
Green Lantern Corpsmen
User avatar
KCStudly
Donating Member
 
Posts: 9613
Images: 8169
Joined: Mon Feb 06, 2012 10:18 pm
Location: Southeastern CT, USA
Top

Re: The Poet Creek Express - Foamie Hybrid

Postby mikeschn » Sun Aug 02, 2015 6:16 pm

KC,

Your build is looking awesome! Lots of attention to detail, and there's lots of detail there!!!

Mike...
The quality is remembered long after the price is forgotten, so build your teardrop with the best materials...
User avatar
mikeschn
Site Admin
 
Posts: 19202
Images: 479
Joined: Tue Apr 13, 2004 11:01 am
Location: MI
Top

Re: The Poet Creek Express - Foamie Hybrid

Postby KCStudly » Sun Aug 02, 2015 6:22 pm

Thank you, Mike. I appreciate it. :)
KC
My Build: The Poet Creek Express Hybrid Foamie

Poet Creek Or Bust
Engineering the TLAR way - "That Looks About Right"
TnTTT ORIGINAL 200A LANTERN CLUB = "The 200A Gang"
Green Lantern Corpsmen
User avatar
KCStudly
Donating Member
 
Posts: 9613
Images: 8169
Joined: Mon Feb 06, 2012 10:18 pm
Location: Southeastern CT, USA
Top

Re: The Poet Creek Express - Foamie Hybrid

Postby lfhoward » Sun Aug 02, 2015 8:32 pm

mikeschn wrote:KC,

Your build is looking awesome! Lots of attention to detail, and there's lots of detail there!!!

Mike...

I definitely agree too. Nice work, KC. :thumbsup:

Perhaps this is because I am still a bit of a newbie to the teardrop trailer thing, but I think it's pretty amazing that you can actually build a trailer out of foam. Sort of mind-blowing! That said, it is an awesome build you have there. It's looking great.
My off-road camper build on an M116A3 military chassis:
http://www.tnttt.com/viewtopic.php?f=50&t=62581
Tow vehicle: 2008 Jeep Liberty with a 4 inch lift.
User avatar
lfhoward
1000 Club
1000 Club
 
Posts: 1370
Joined: Wed Jan 22, 2014 6:10 pm
Location: Philadelphia, PA
Top

PreviousNext

Return to Foamies

Who is online

Users browsing this forum: No registered users and 17 guests