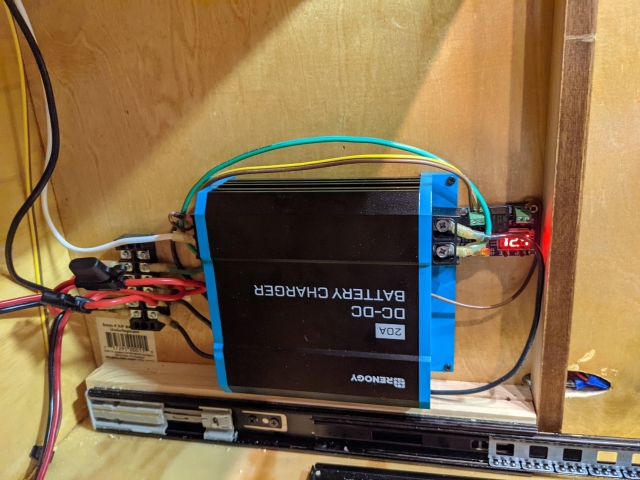
We've had some cases where we started running out of power during longer trips (and cloudy weather), so I decided to add DC<->DC charger. This way we can keep charging the battery when driving between camping spots and I don't need to worry about what it's going to do to AGM battery.
The DC charger needs to be turned on only when the engine is running but the AUX power in my car hookup is on all the time (it's basically a direct battery connection).
I was initially hoping to control the charger with a voltage detector which you see in the photo (when the voltage would go up above 13V I knew the engine was running). This worked great before to control the power source for the fridge, so it would switch over to car battery when driving.
However after adding a DC charger, the initial voltage would often drop momentarily to 9V after it turned on, causing the voltage detector to disconnect the DC charger relay (which would make the go voltage go up above 13V, and over and over and over again)
I ended up running a separate line which is on only when the engine is running to control the charger.

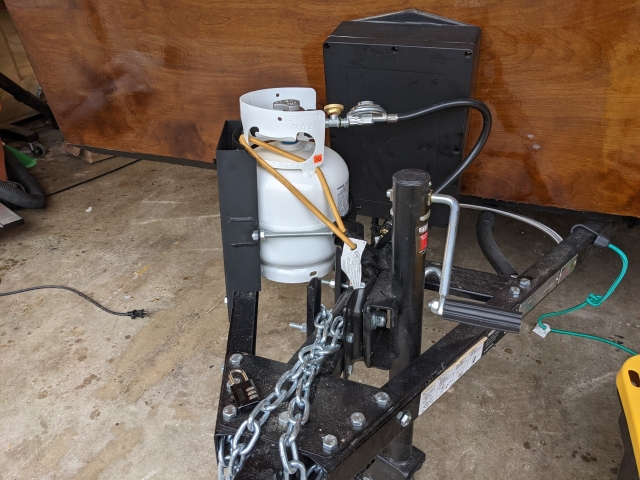
I also got tired of 1lb propane bottles, and added a 5lb bottle on the tongue, using a large fire extinguisher mount. The propane line was run inside electric conduit mounted under the chassis.


 That's a nice lookin' woody!