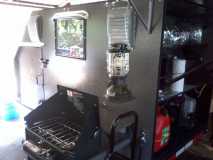
working on it wrote:UPDATE> 8/25/13> I finally had room to mount and test the side table cooking stand, when I was making my lantern hangers.(I did have to drill two more holes, alas). Here it is:

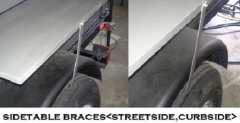
UPDATE: 5/11/14 Here I go again...not happy with the easily assembled cookstand I built, though handy, it requires 10 minutes assembly time, and 12 pieces to do so. I didn't even assemble it on my last trip (I was lazy, after a very hard month before at work). So, I looked around the garage (again digging into my stockpile of pieces not used on this trailer or other projects-I did the same yesterday on my generator stabilizer), and came up with aluminum angle stock, T-Slot Tracks and bolts, and a 1/2"x12"x 48" pine plank. I cut the plank into two table tops, painted them, then attached to the T-Slot Tracks. I bolted the T-Slot bolts to the angle (locking them at the proper alignment), cut off the excess bolt length, cut recesses into the sidewall to fit them, used three carriage bolts per side thru the wall, and used PL adhesive to seal it up. Test fit, and hung the tops up to dry. I'll make the underside braces next weekend (aluminum flat stock, bent into a
[ shape, to rest on the tire). I chose to use aluminum angle as the permanently-mounted piece on the sidewall, because it matches my home-made rain deflectors above/around the door. I still plan to use the cookstand, but for quick attachment, the small side tables go on in a second!
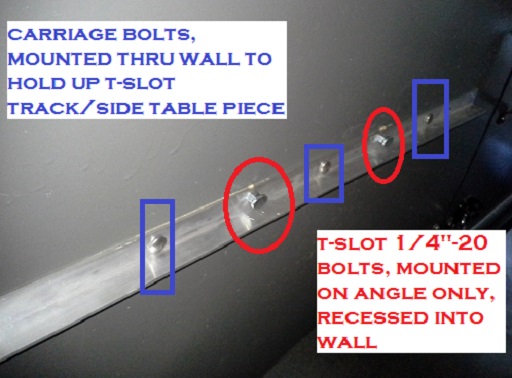
- aluminum angle assembly.jpg (74.13 KiB) Viewed 741 times

- T-Slot, aluminum angle test fit.jpg (68.53 KiB) Viewed 741 times
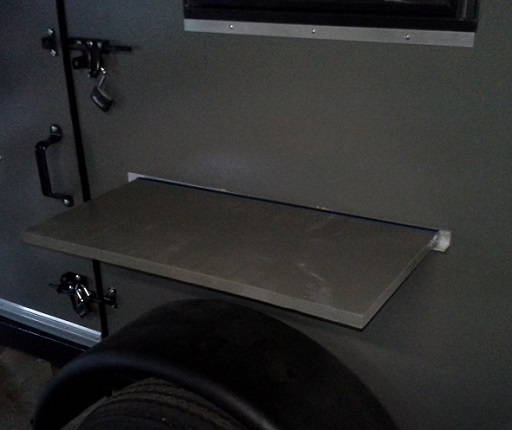
- T-Slot, aluminum angle side table sans brace.jpg (52.52 KiB) Viewed 741 times
UPDATE: 5/17/14 as stated, I needed to add some bracing underneath the side tables...which I made from 1/8" thick aluminum flat bar (I wanted 1/4" thick, but HD was out). Good enough for testing, though.
 They look very practical. Beautiful. Fun. Almost suggesting a happy time in Margaritaville.


 and a bad case of analisys paralasys
  . But once I get going this will be tried and tested.