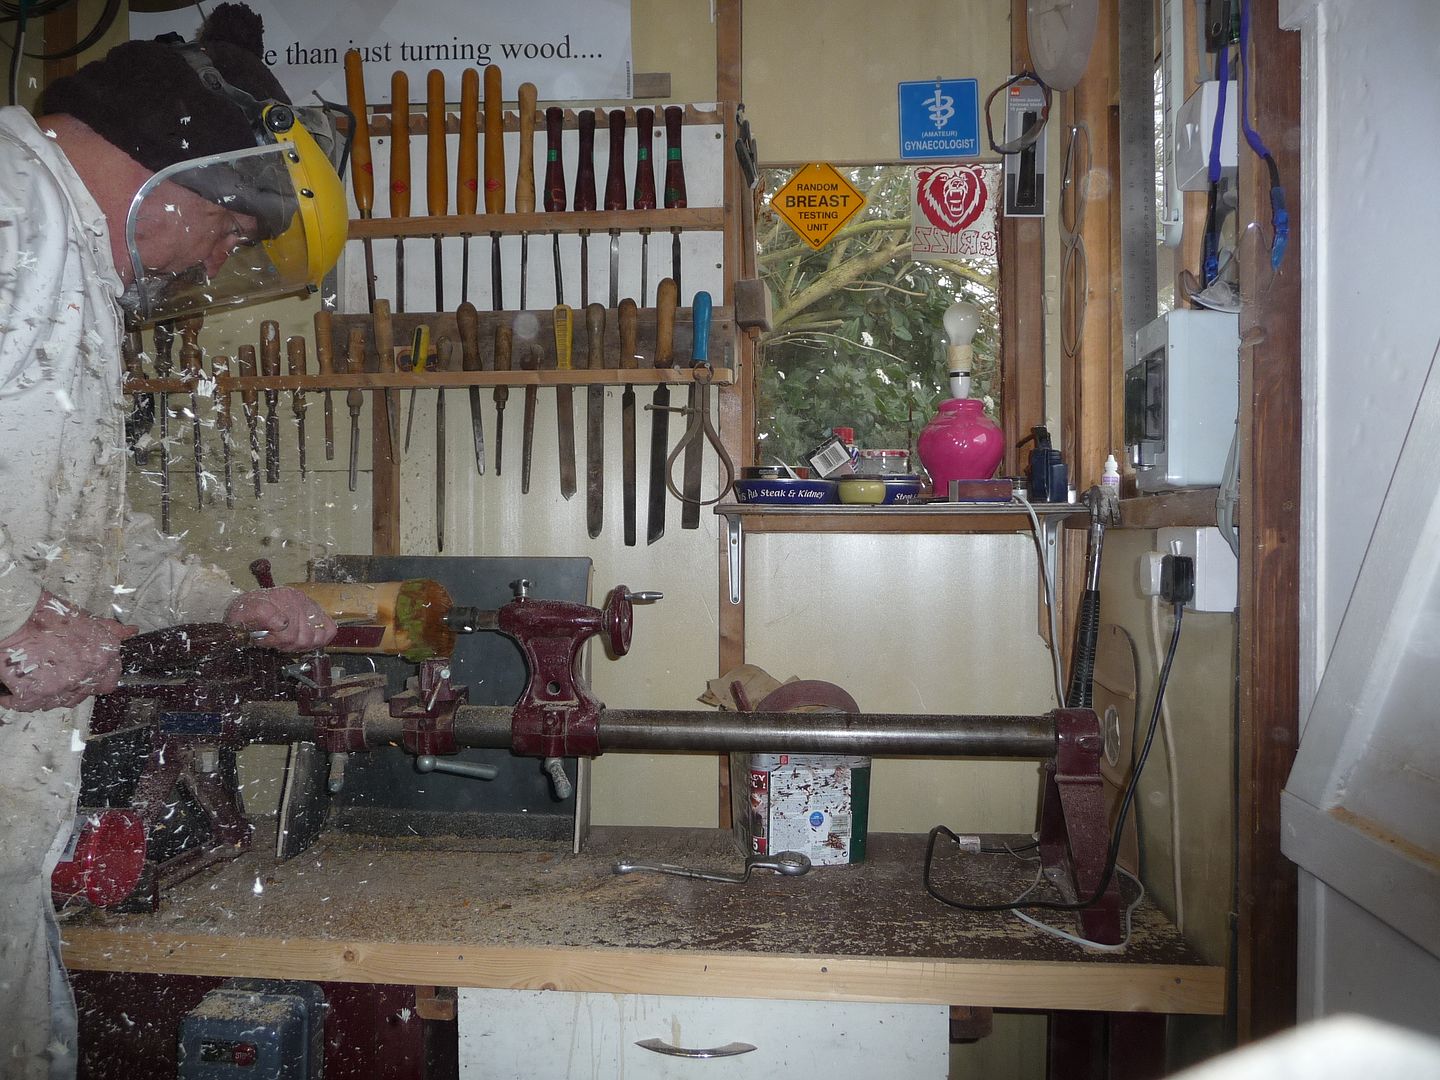
Spent some quality time in the shed again today.
Did some Rat-repairs, then worked on the lathe the rest of the afternoon.
Last year we had rats in the loft for about two weeks max until Harley went up the loft ladder and patrolled up there, they left as fast as they came but they had wreaked havoc, and chewed up a load of my Dinky Toys, and other personal stuff that was stored up there.
Harley on her way up.....

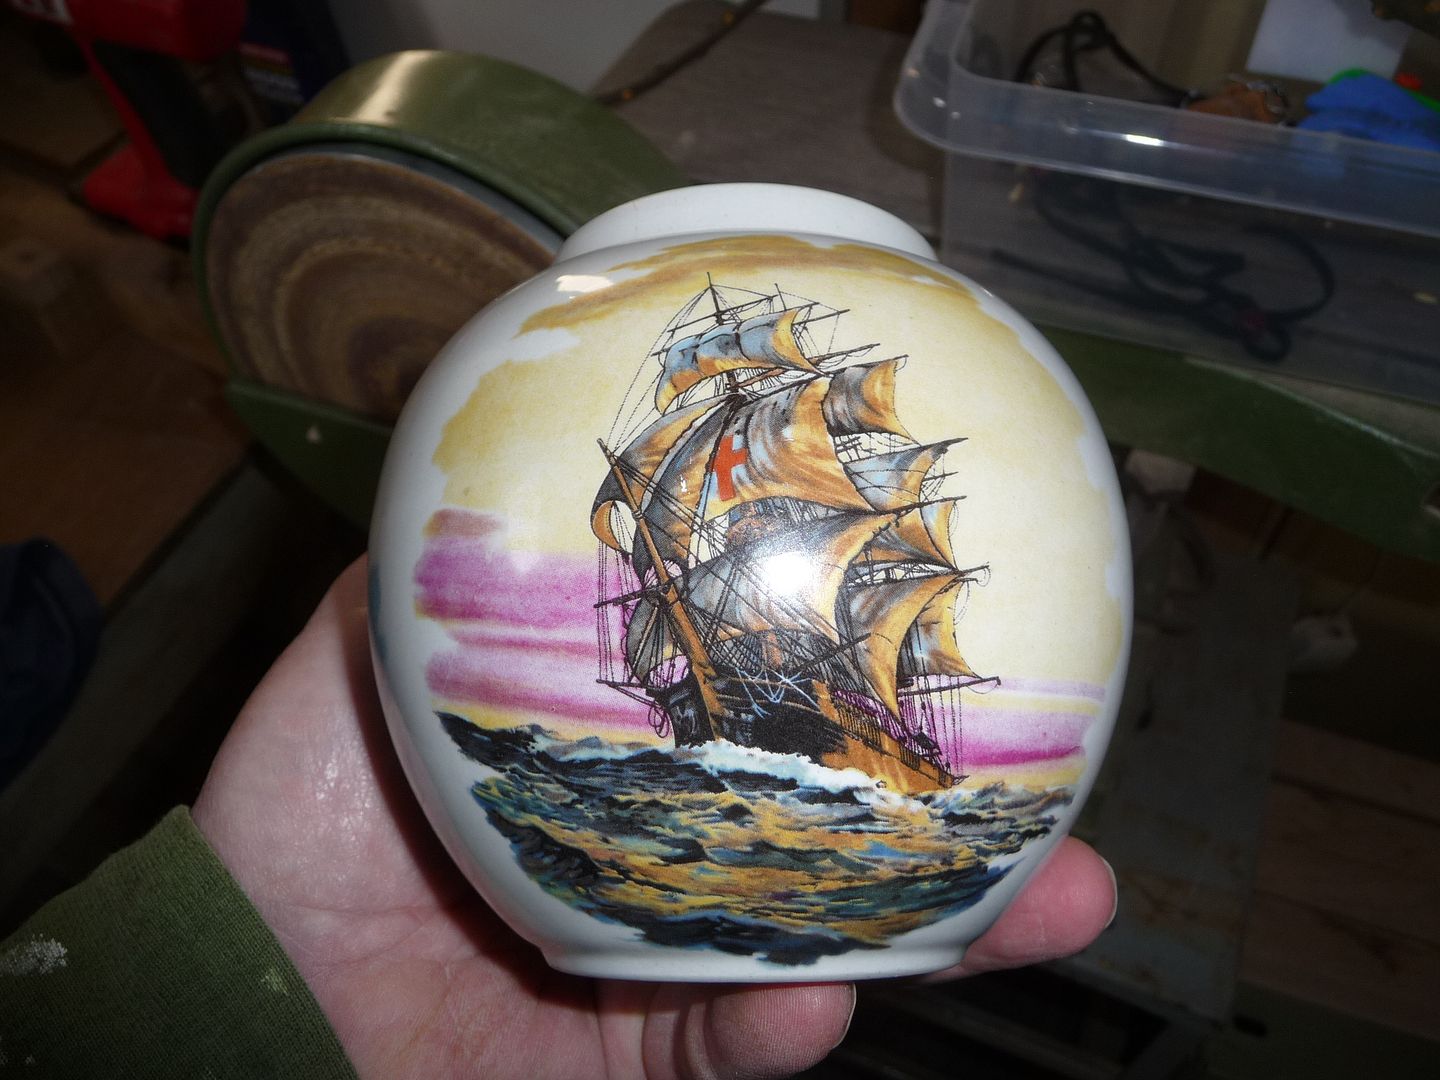
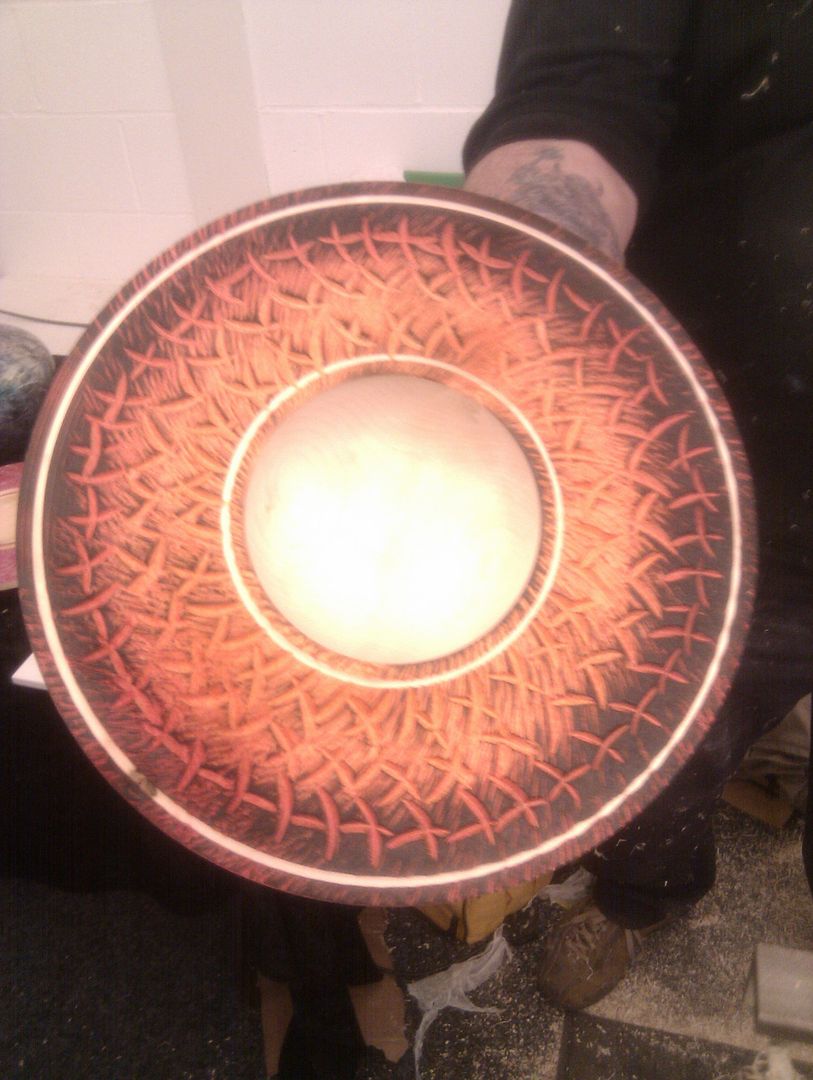
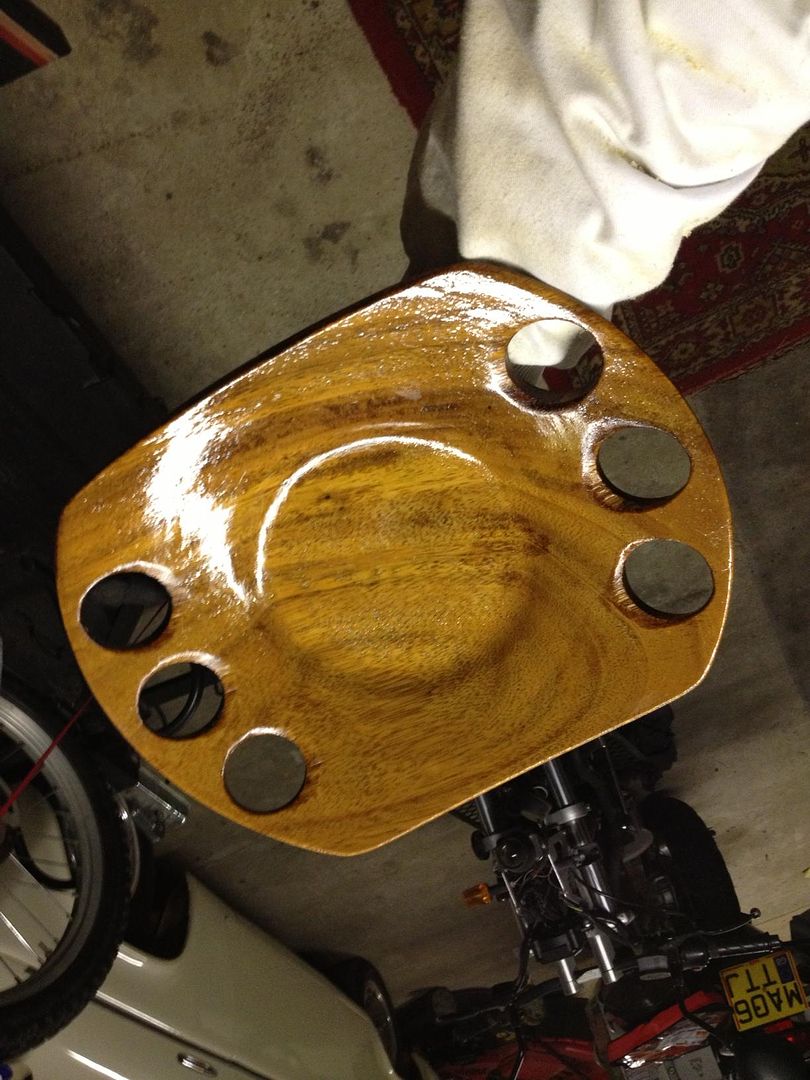
This bowl was actually a trophy I was awarded about 11 years ago, but the rats chewed up the part where my name had been laser cut along with the details..... so I decided to cut the damage which fortunately was on both sides, off and then drilled some huge holes in the sides to balance the look out a bit. Unfortunately it was not a very neat job, but hey, the fruit aint fussy.
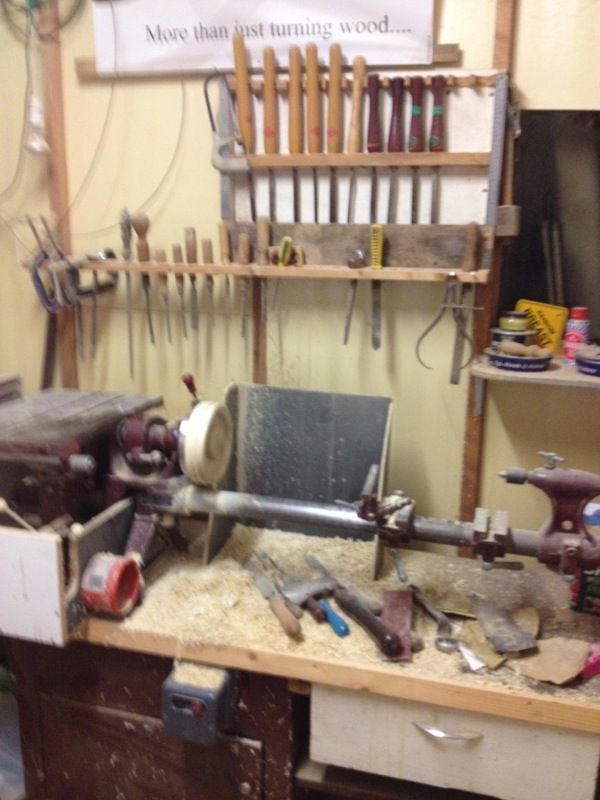
Then back to the lathe.
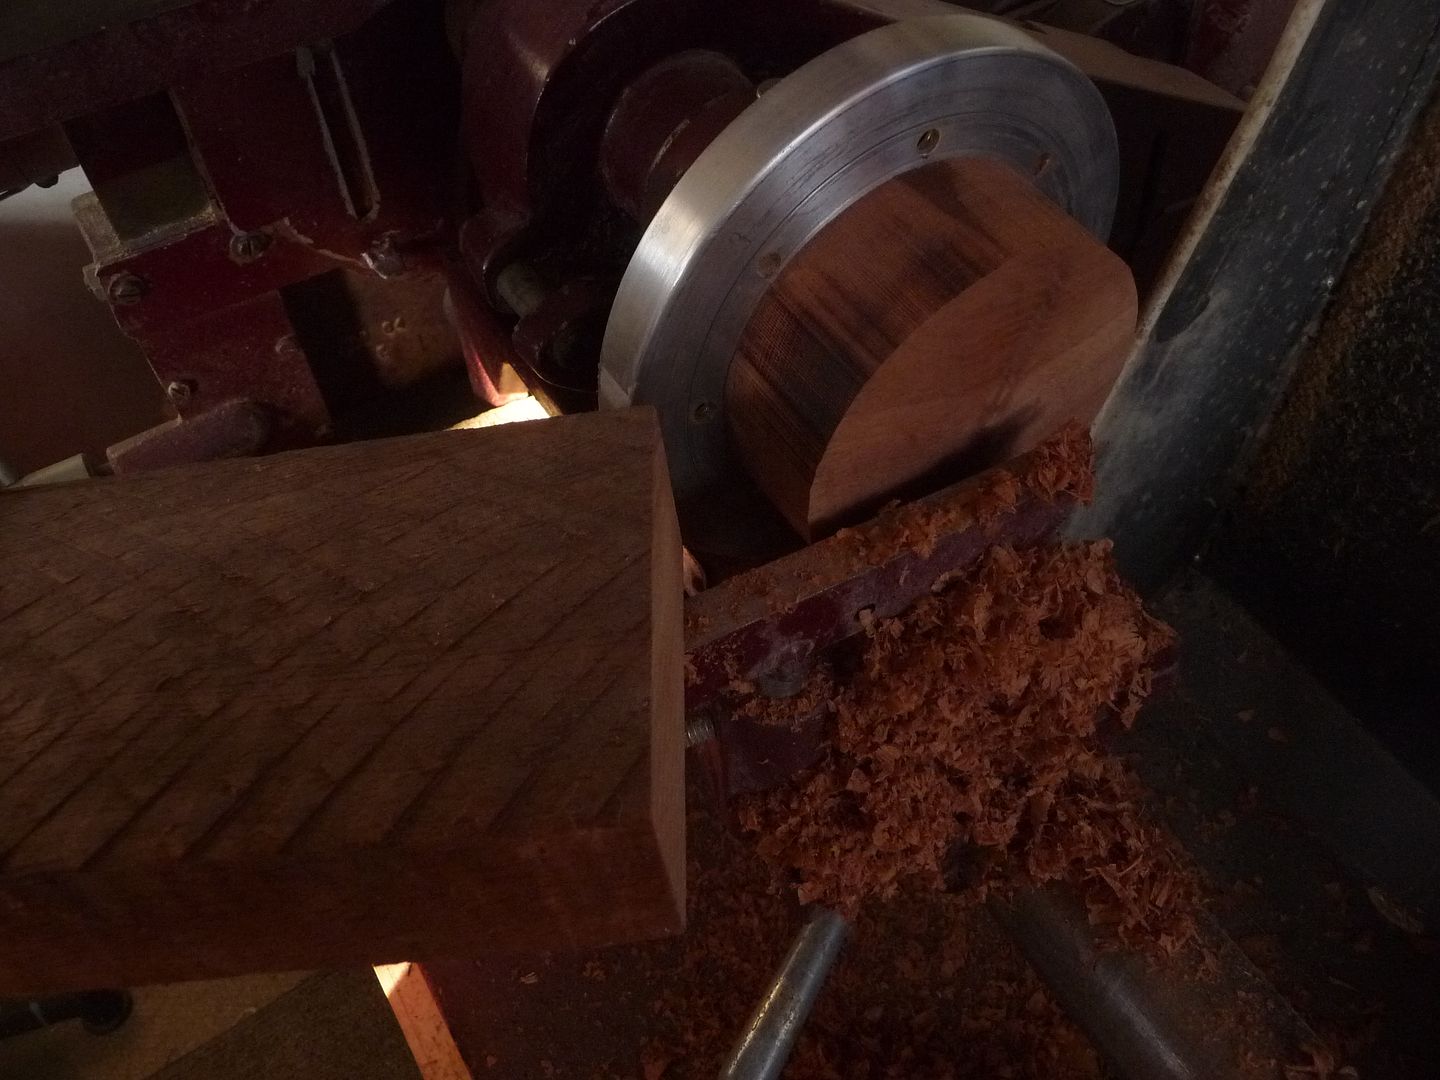
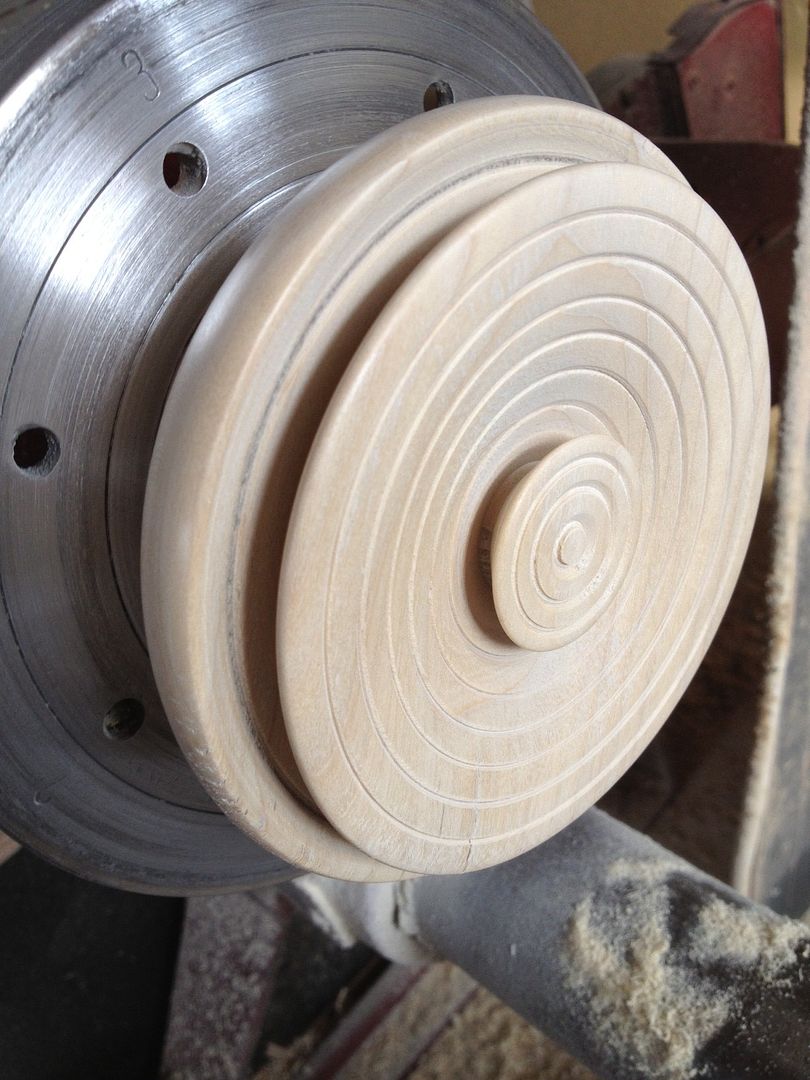
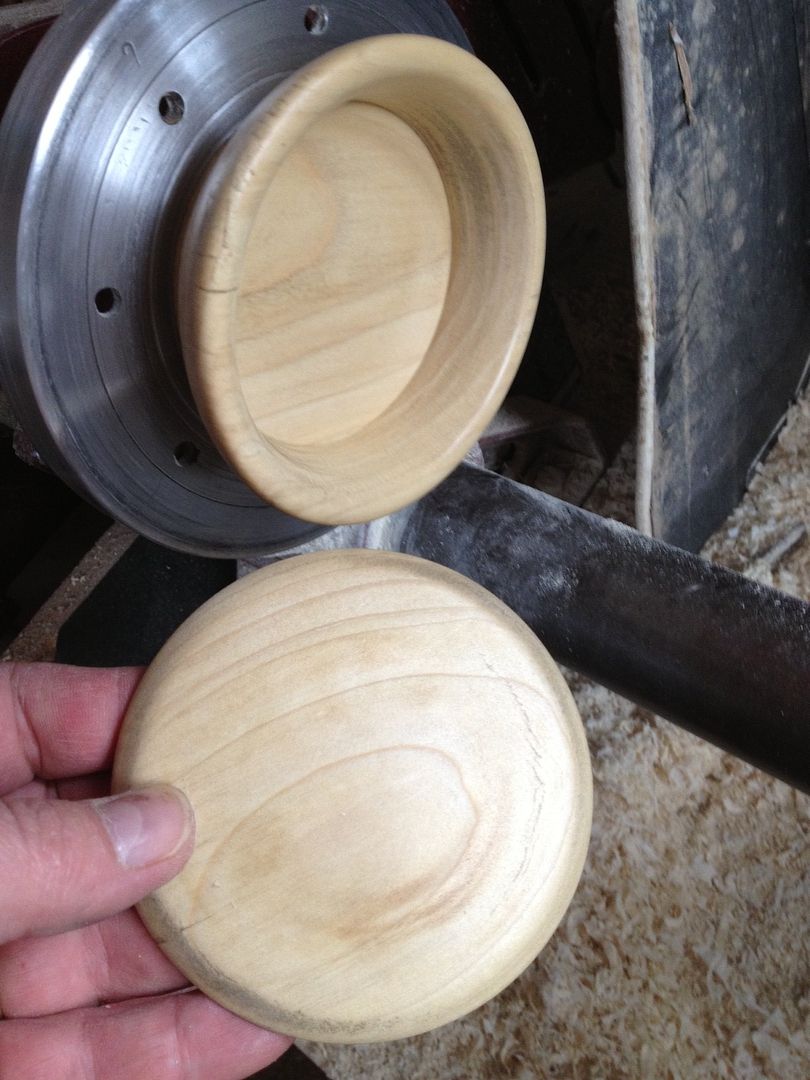
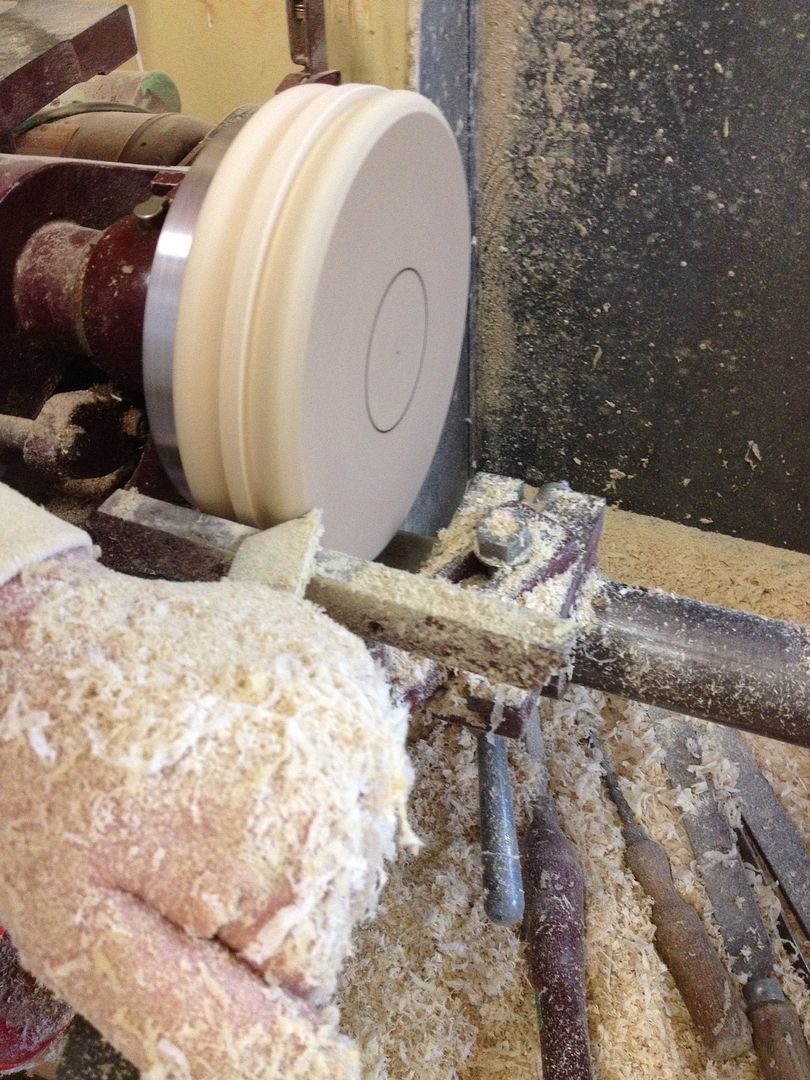
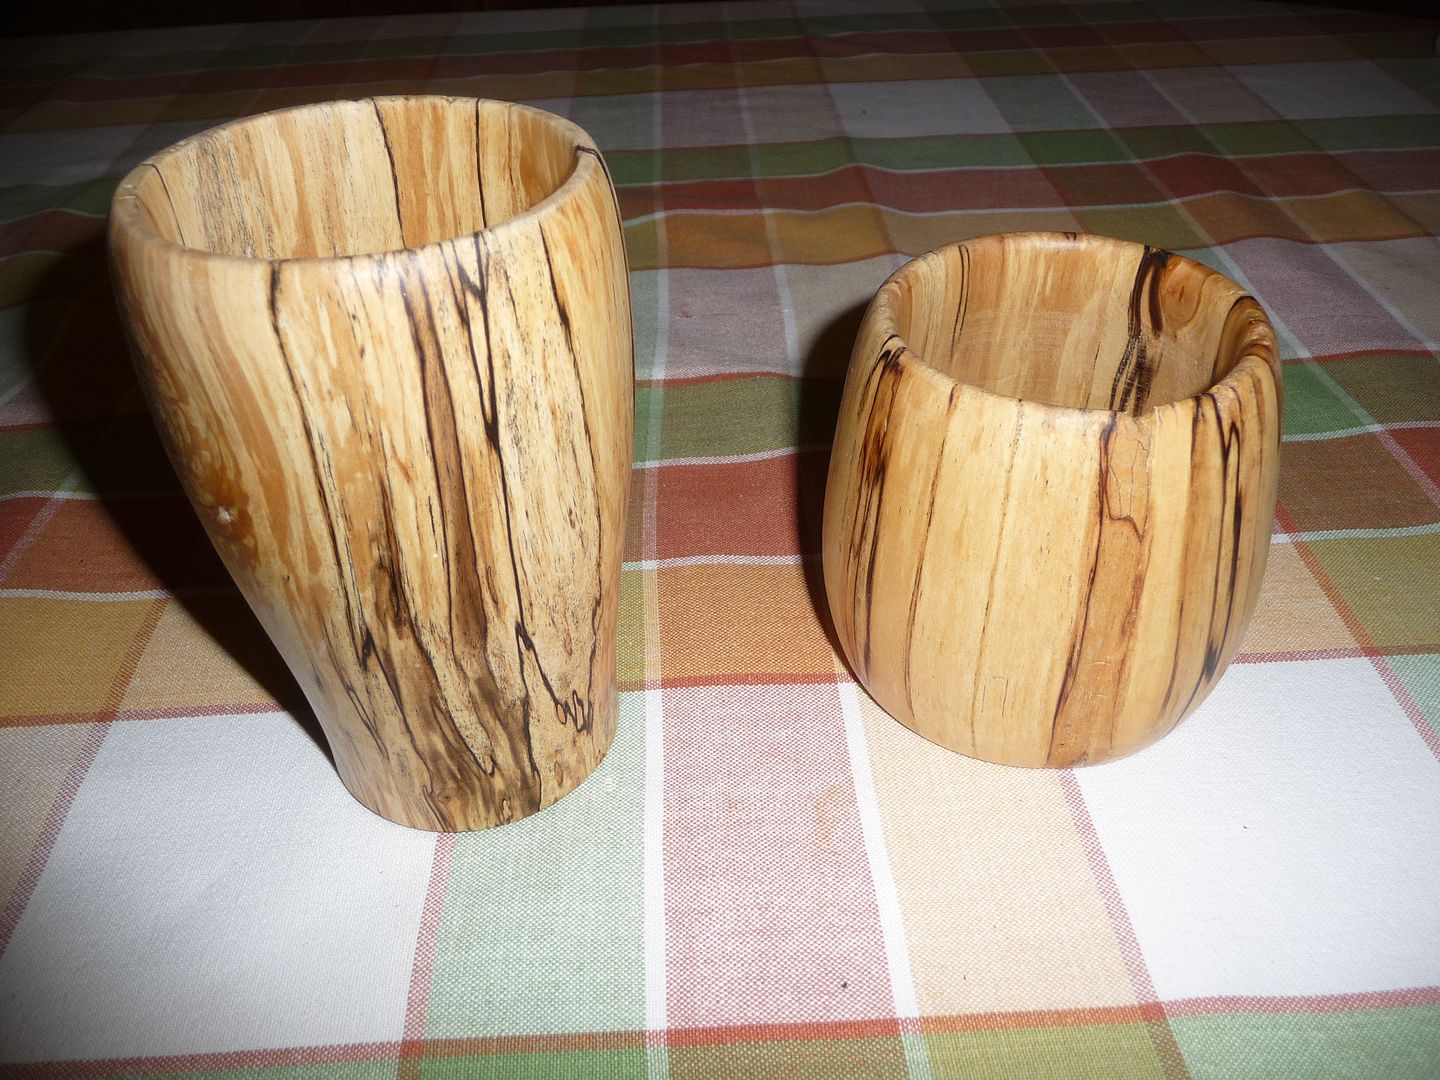
Firstly made a small wooden ashtray with a lid for my mate Tim from a single piece of Tulip wood.
The idea is to turn the lid and bowl off the same mounting and to separate the lid from the rear and then to continue and make the bowl to fit the lid.
No reason, just nice to challenge myself.
Separated
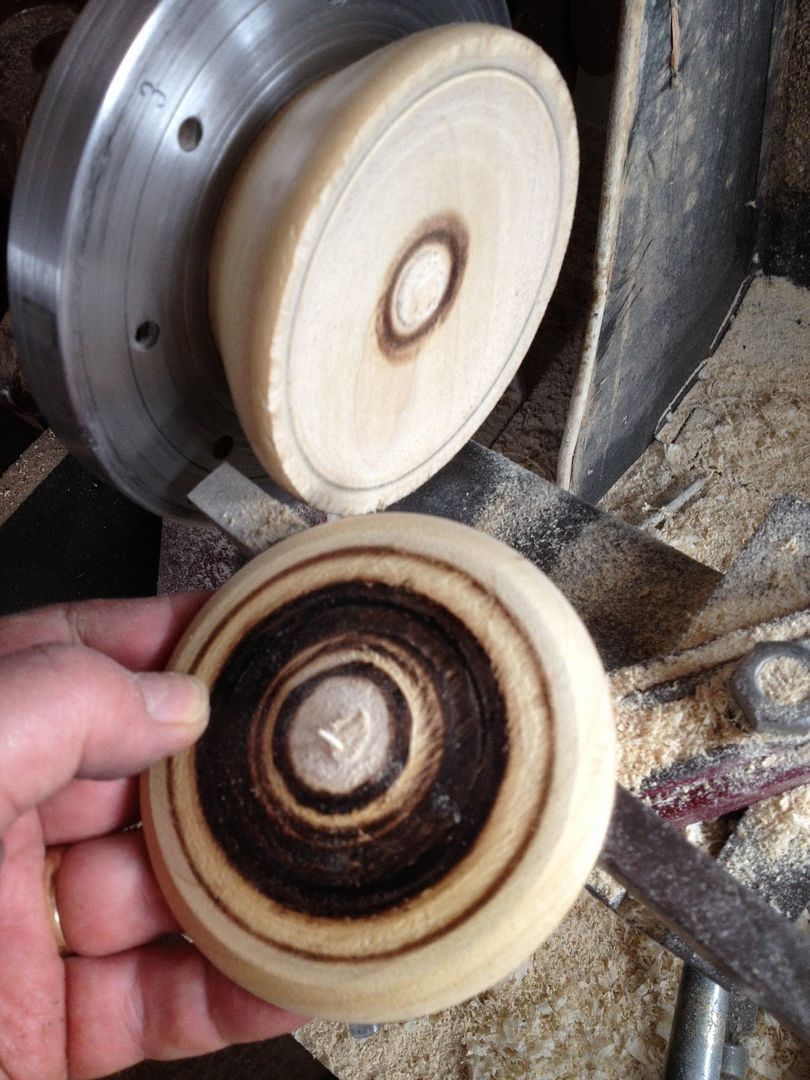
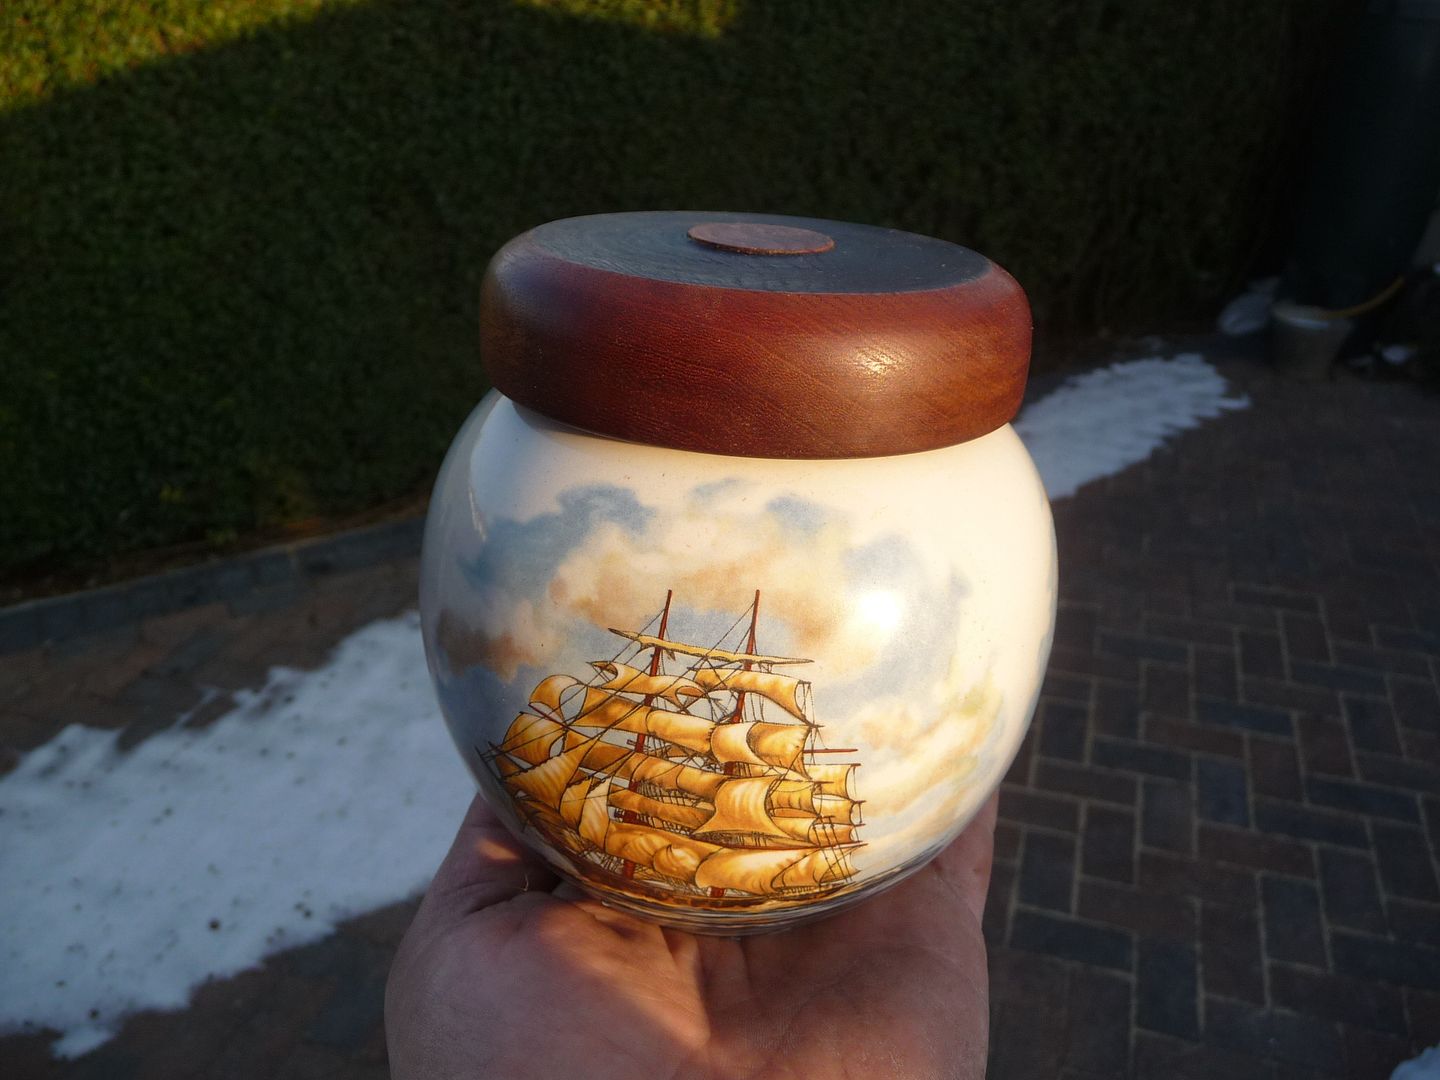
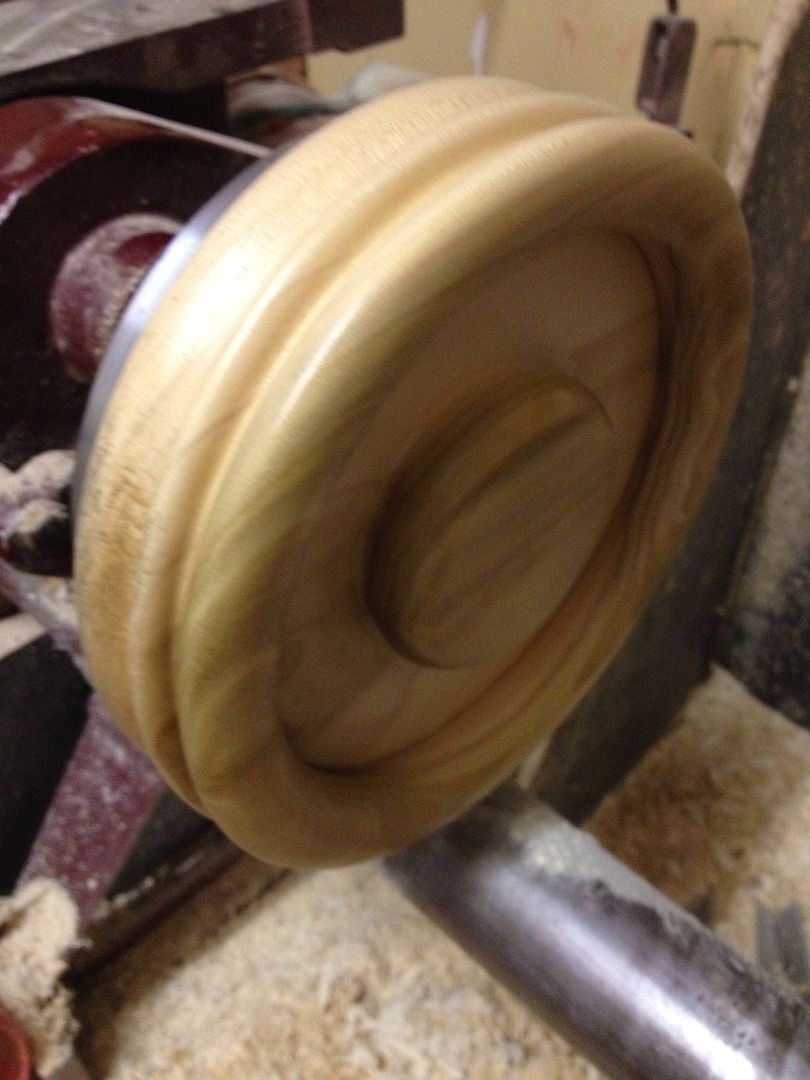
Bowl turned, lid finished off.
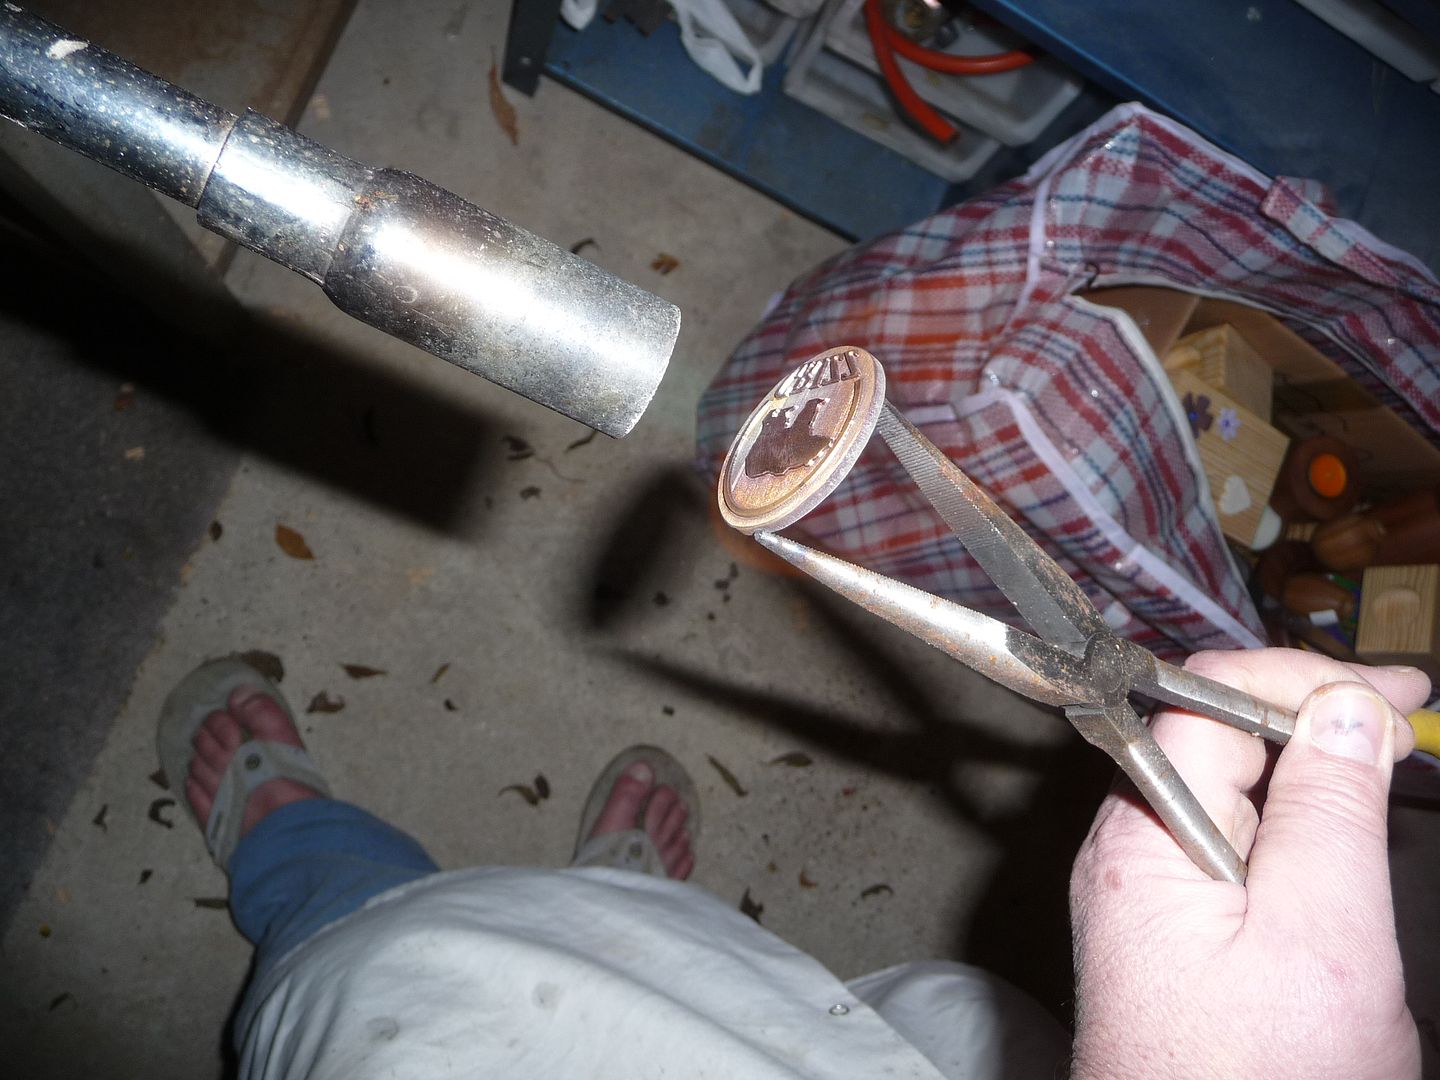
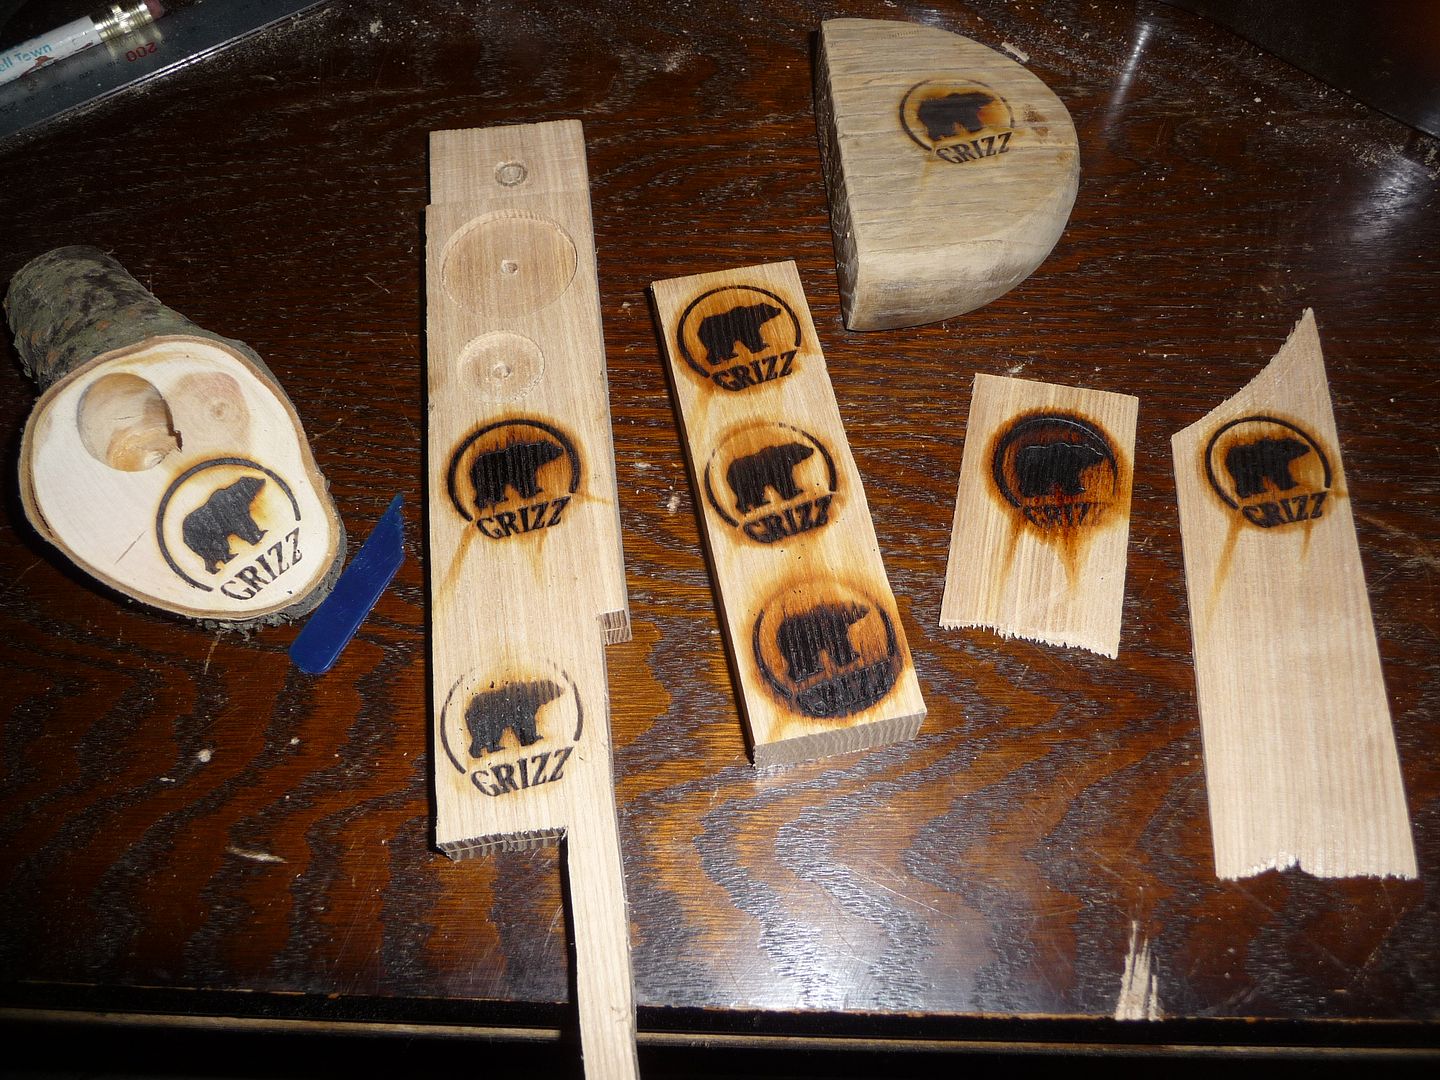
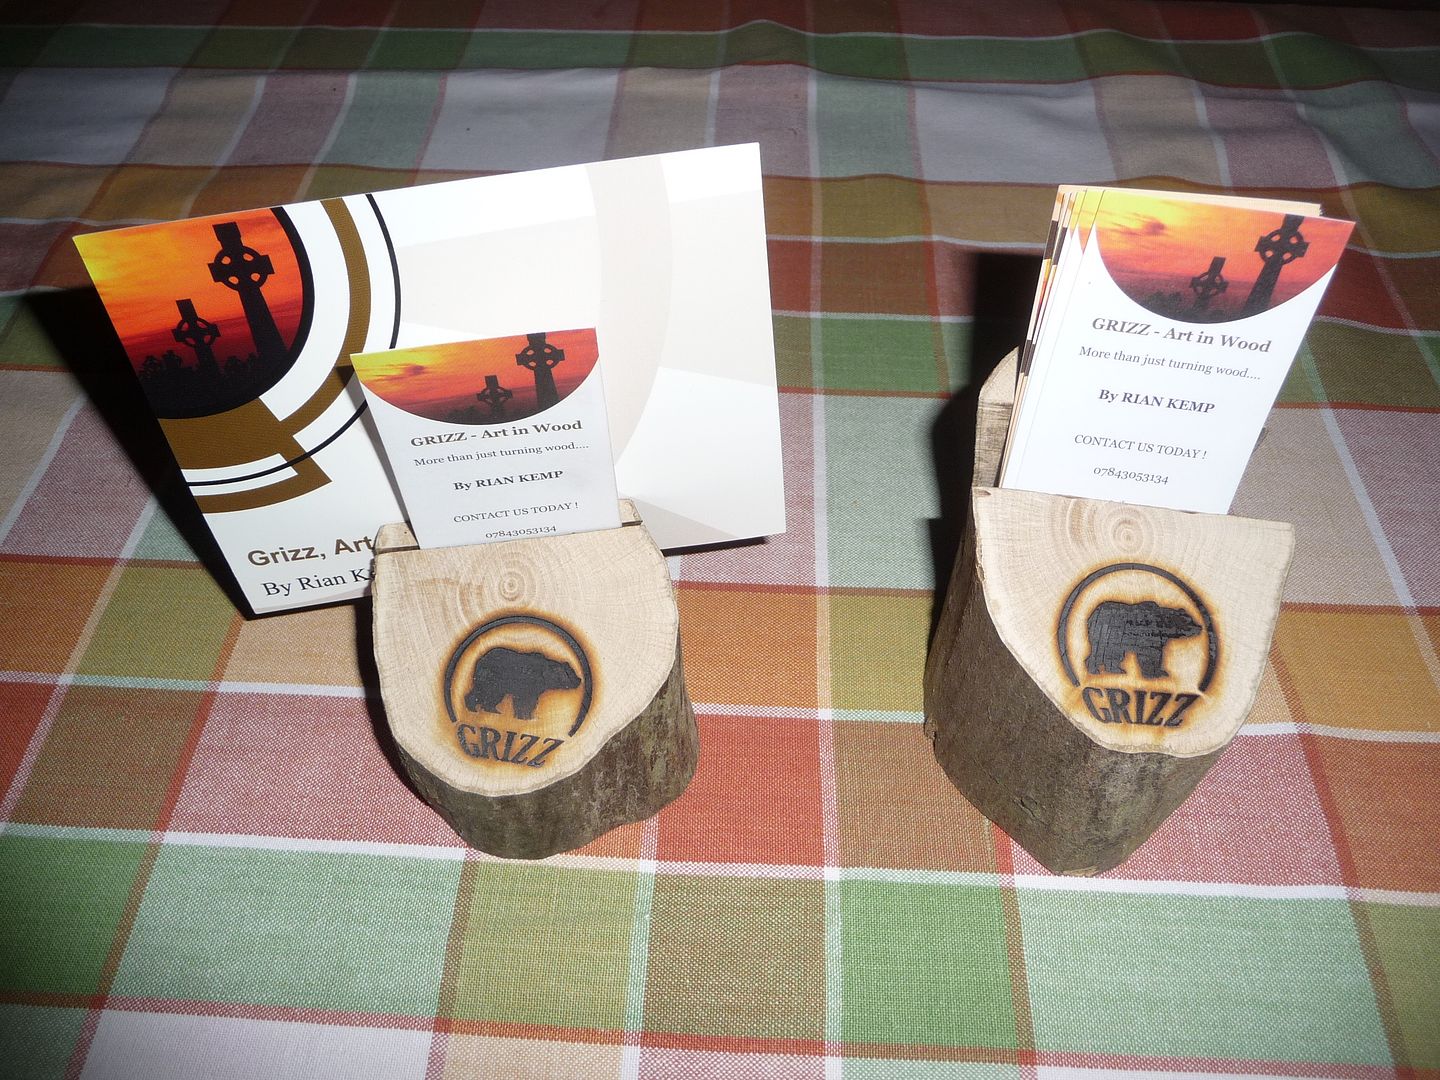
Branded.
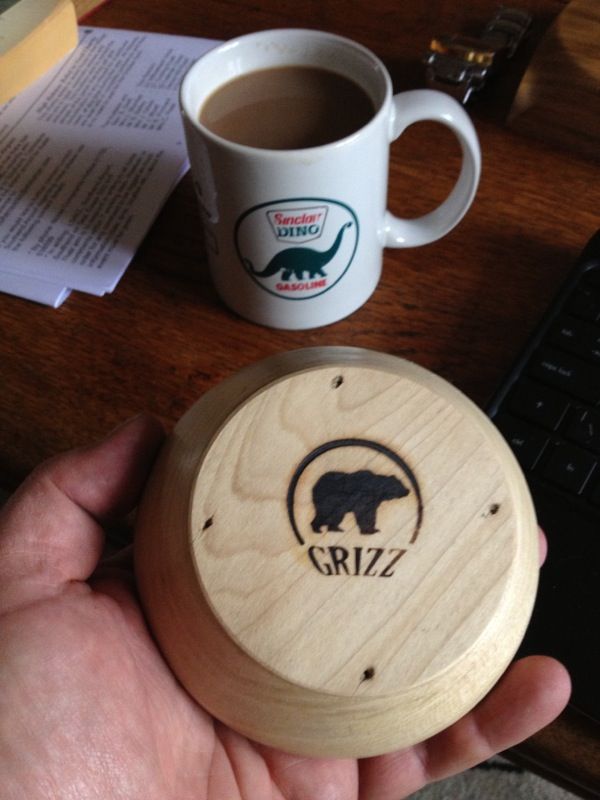
Done.
Natural wood crack in this case is a feature to show lid and bowl was one, normally it would be consigned to the fire wood pile.
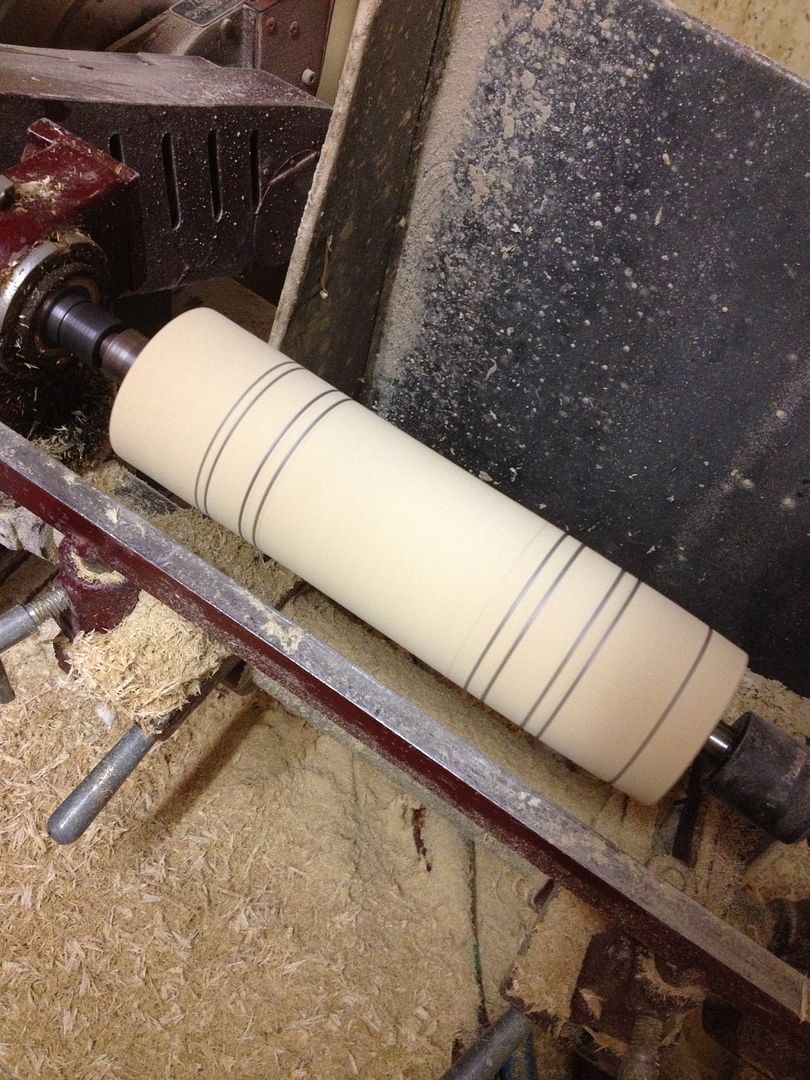
Next up I wanted to make Nicola a Valentines Candle stick. She loves her candles, and I have not made her one for a while.
I wanted to create a stem with a pair of "Captive Rings" to symbolize our union and the candle..... who knows? Passion, Fire, a beacon ?
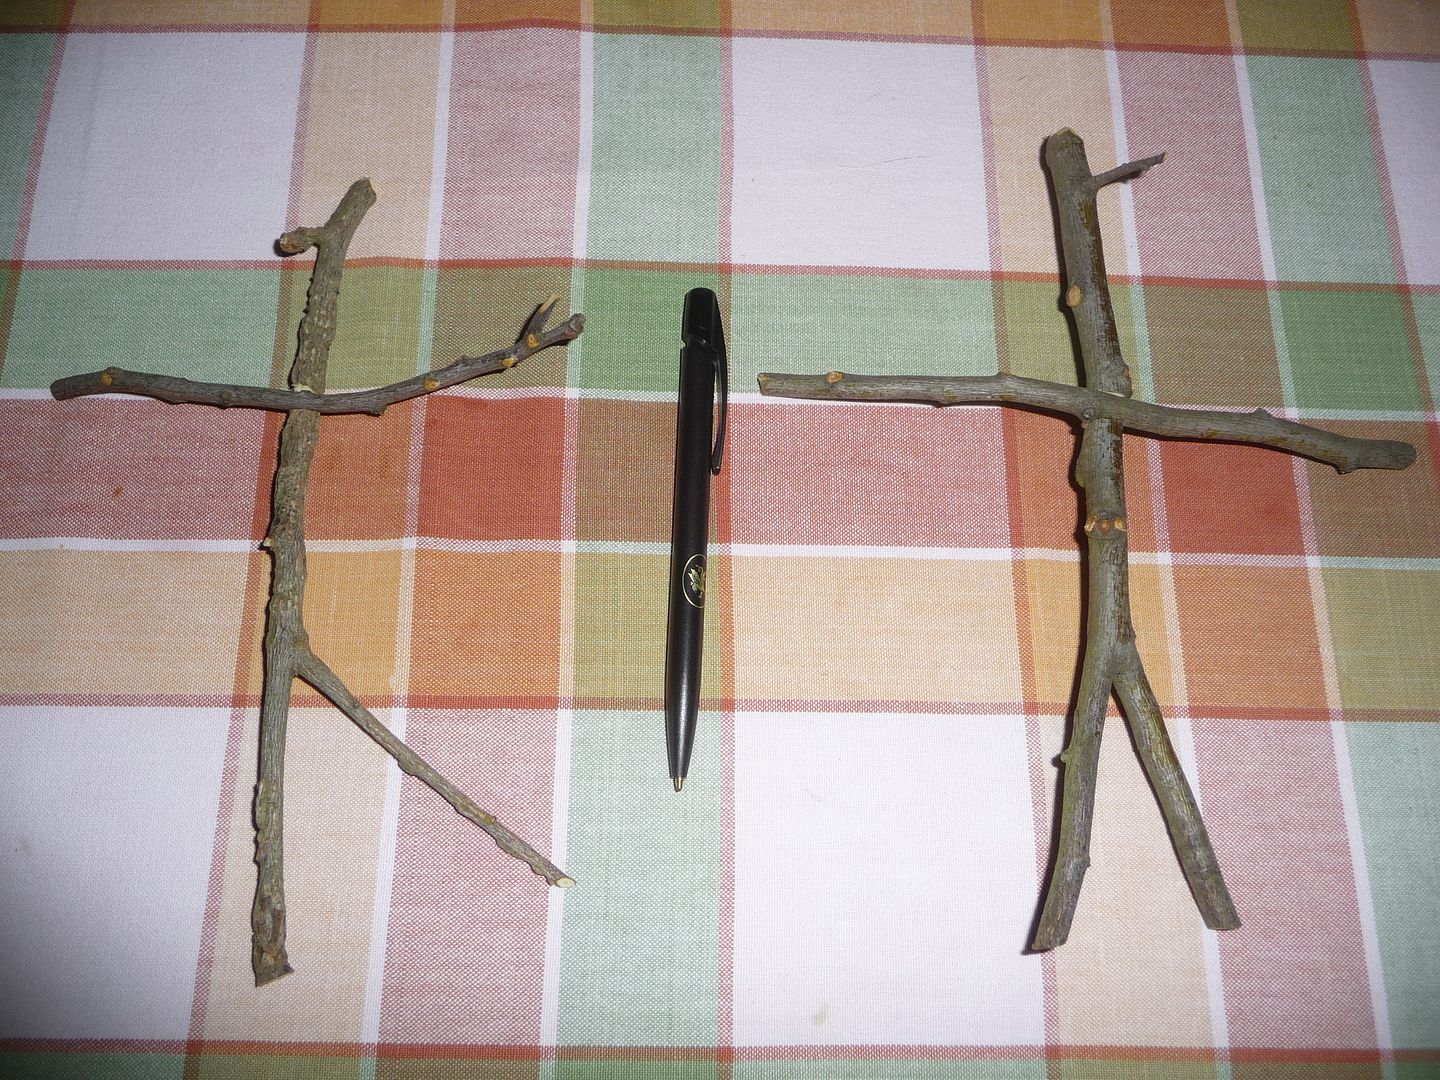
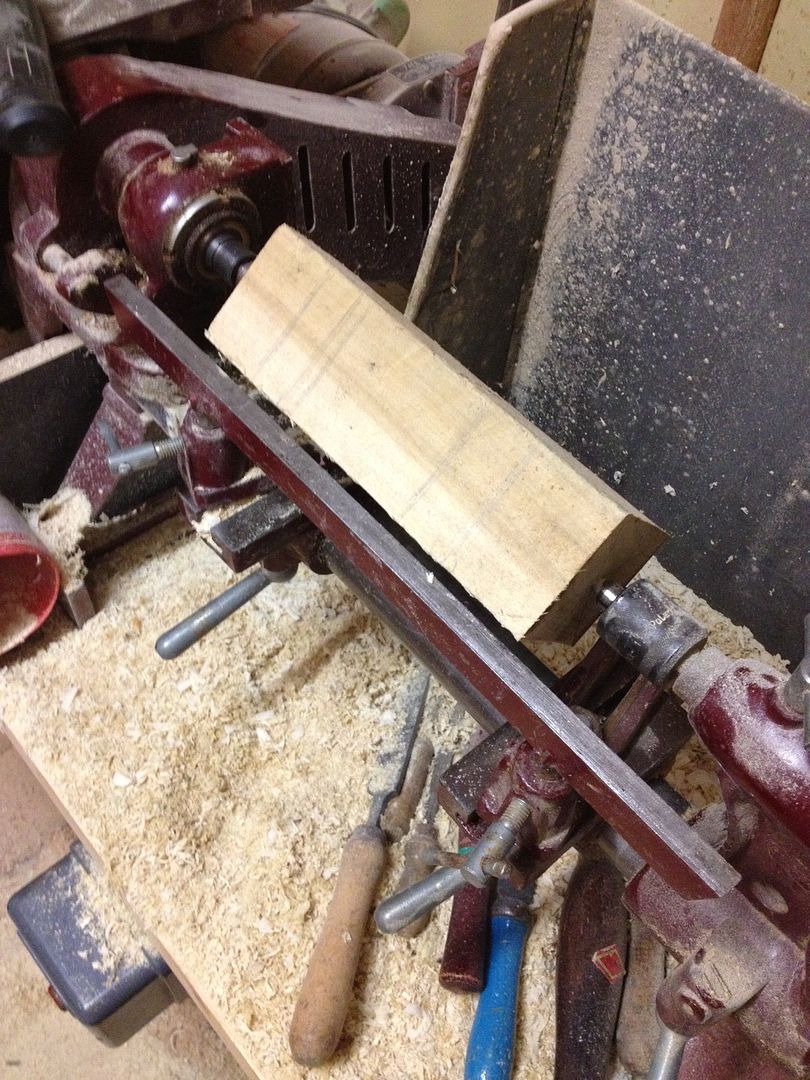
Started with some lumps of wood
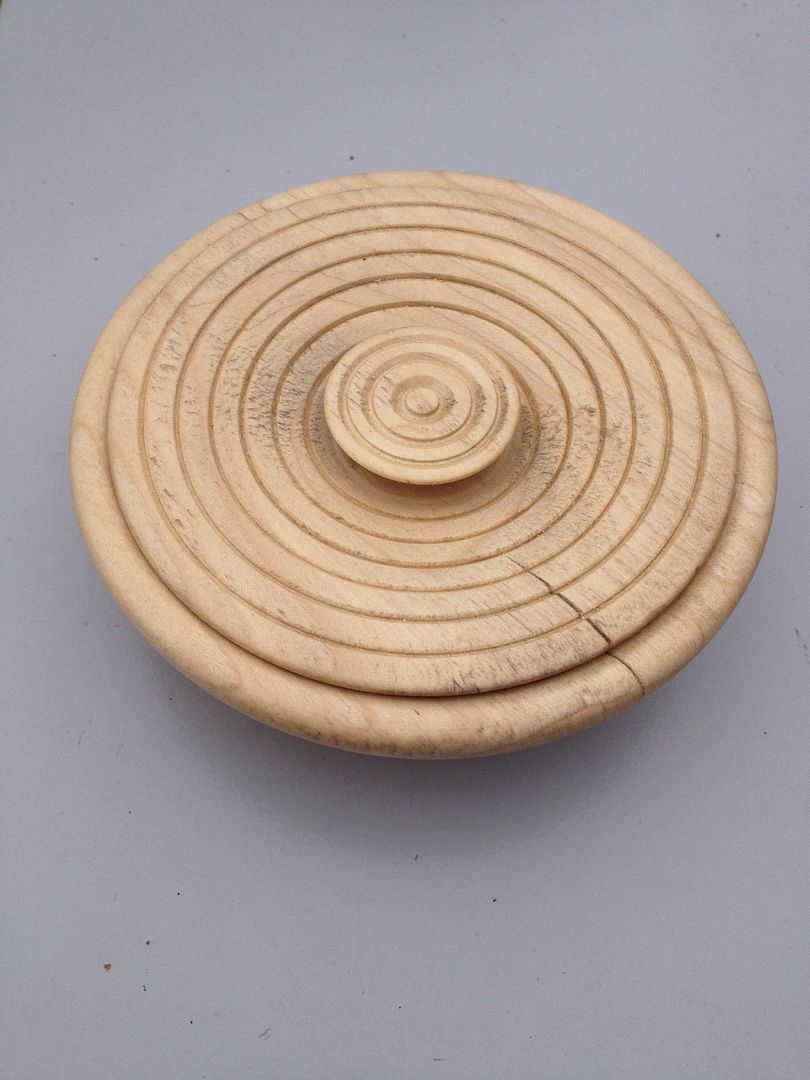
The base also gets stylized rings.
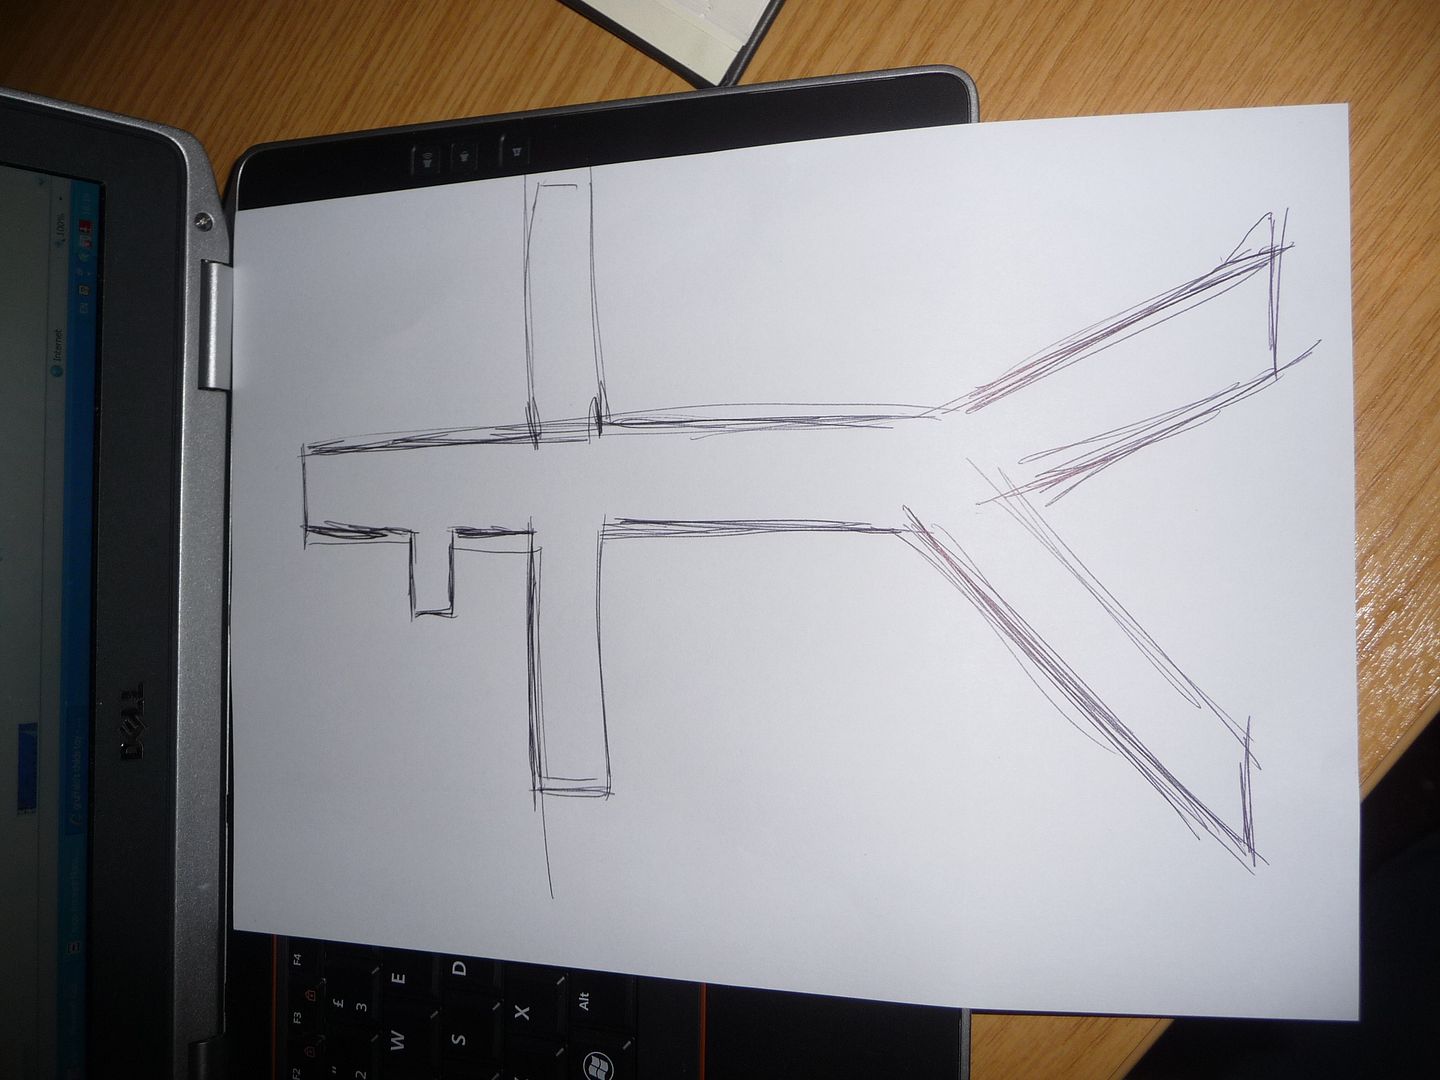
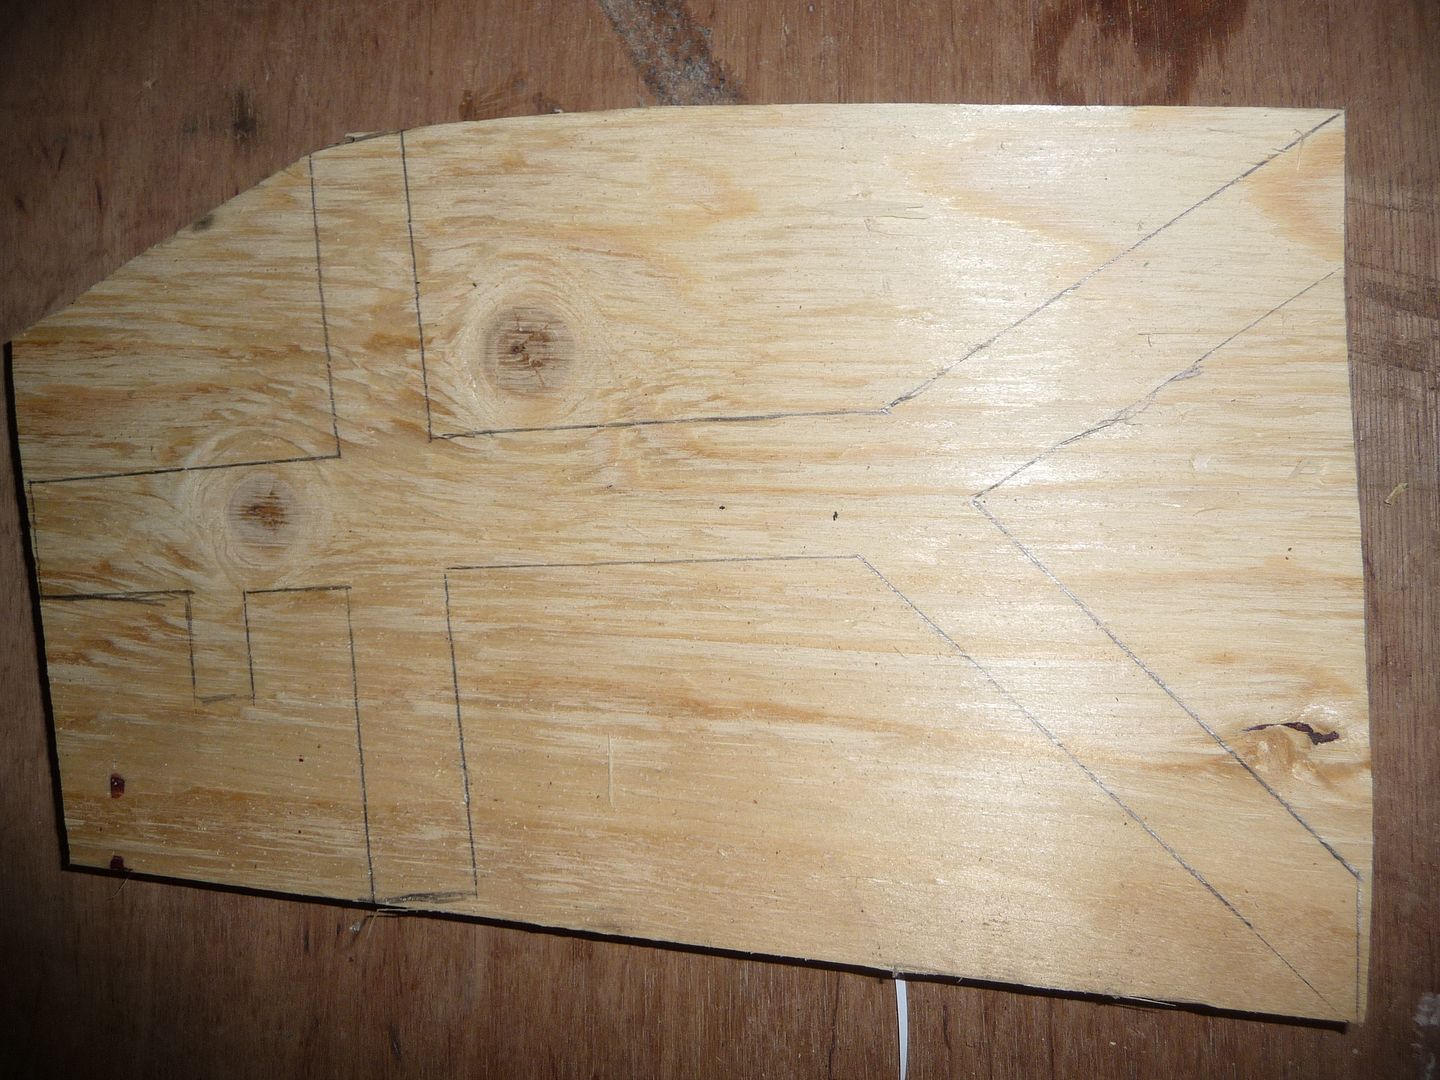
I usually pre-plan the cuts by penciling them onto the wood and then grooving the marks.
Base done.
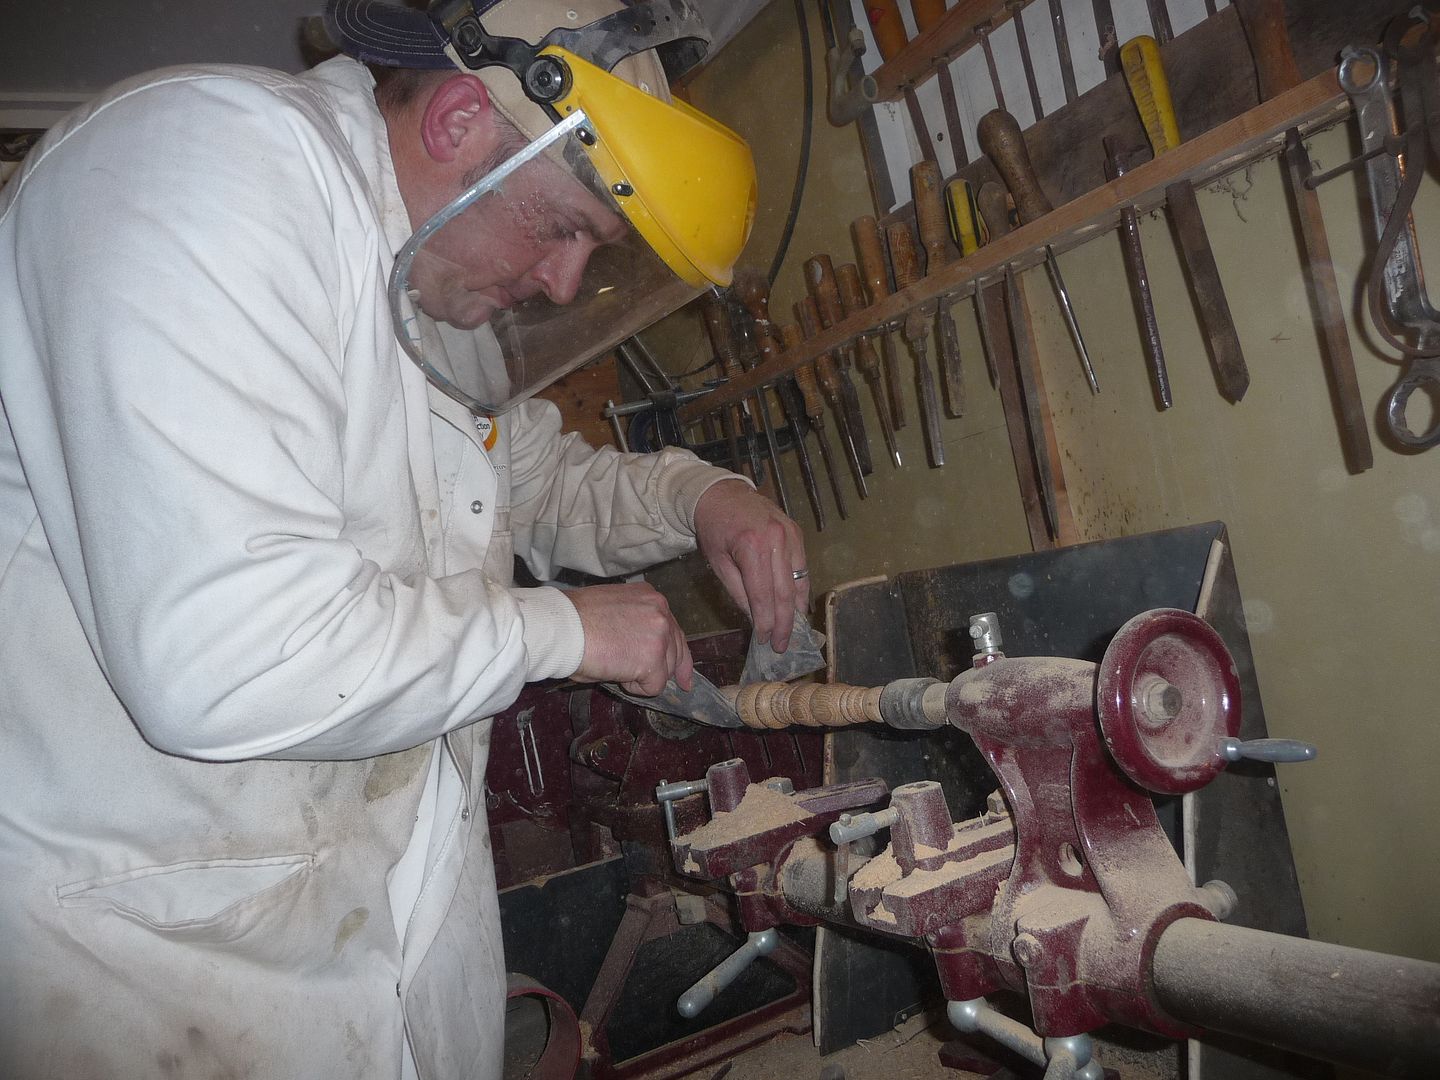
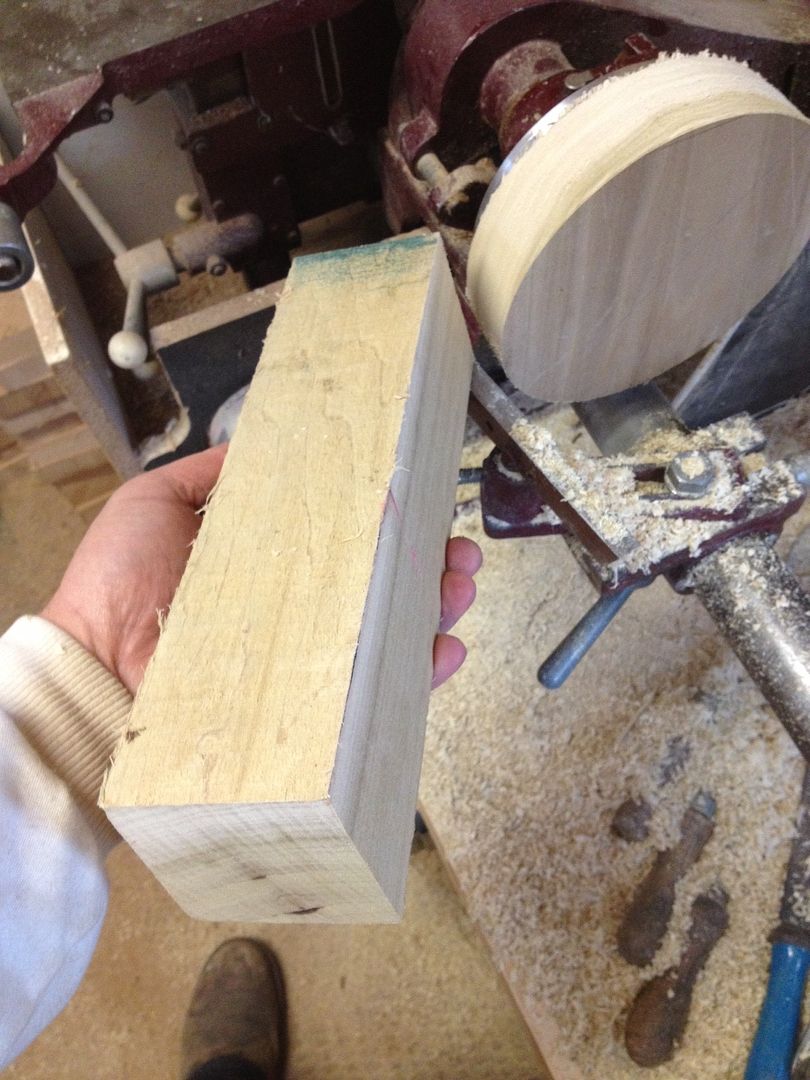
Next up was the stem.
Starting here..... I first rough shape it, and get the one end down to the size of where it will fit onto the base.
Then mark out where the rings and shapes will be cut.
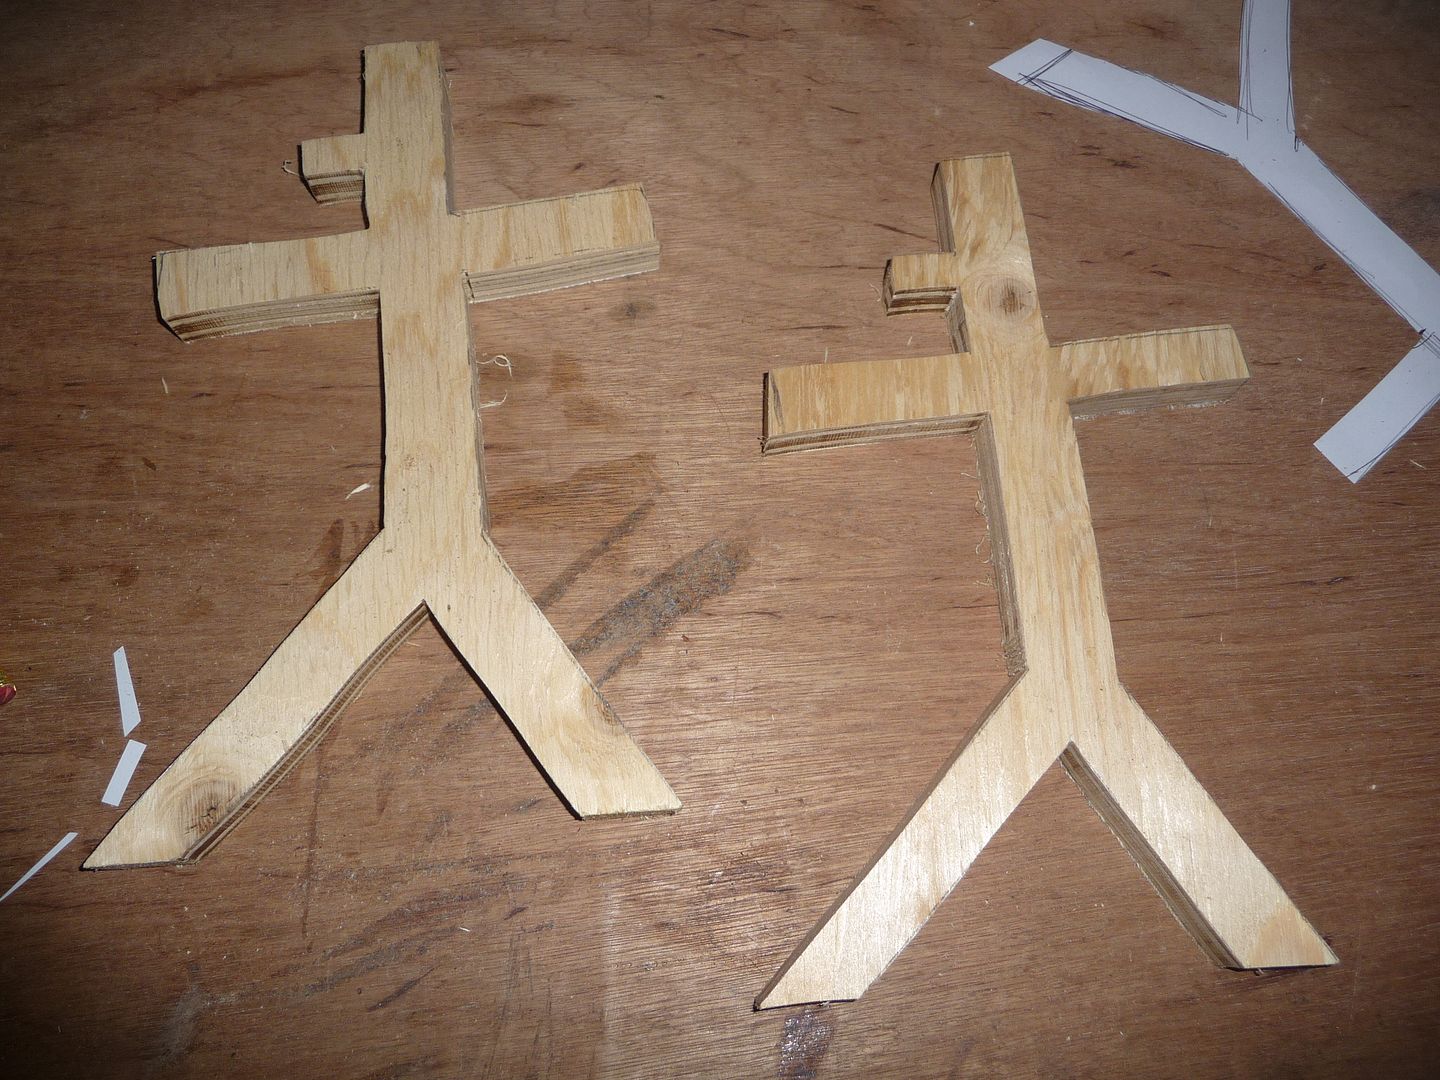
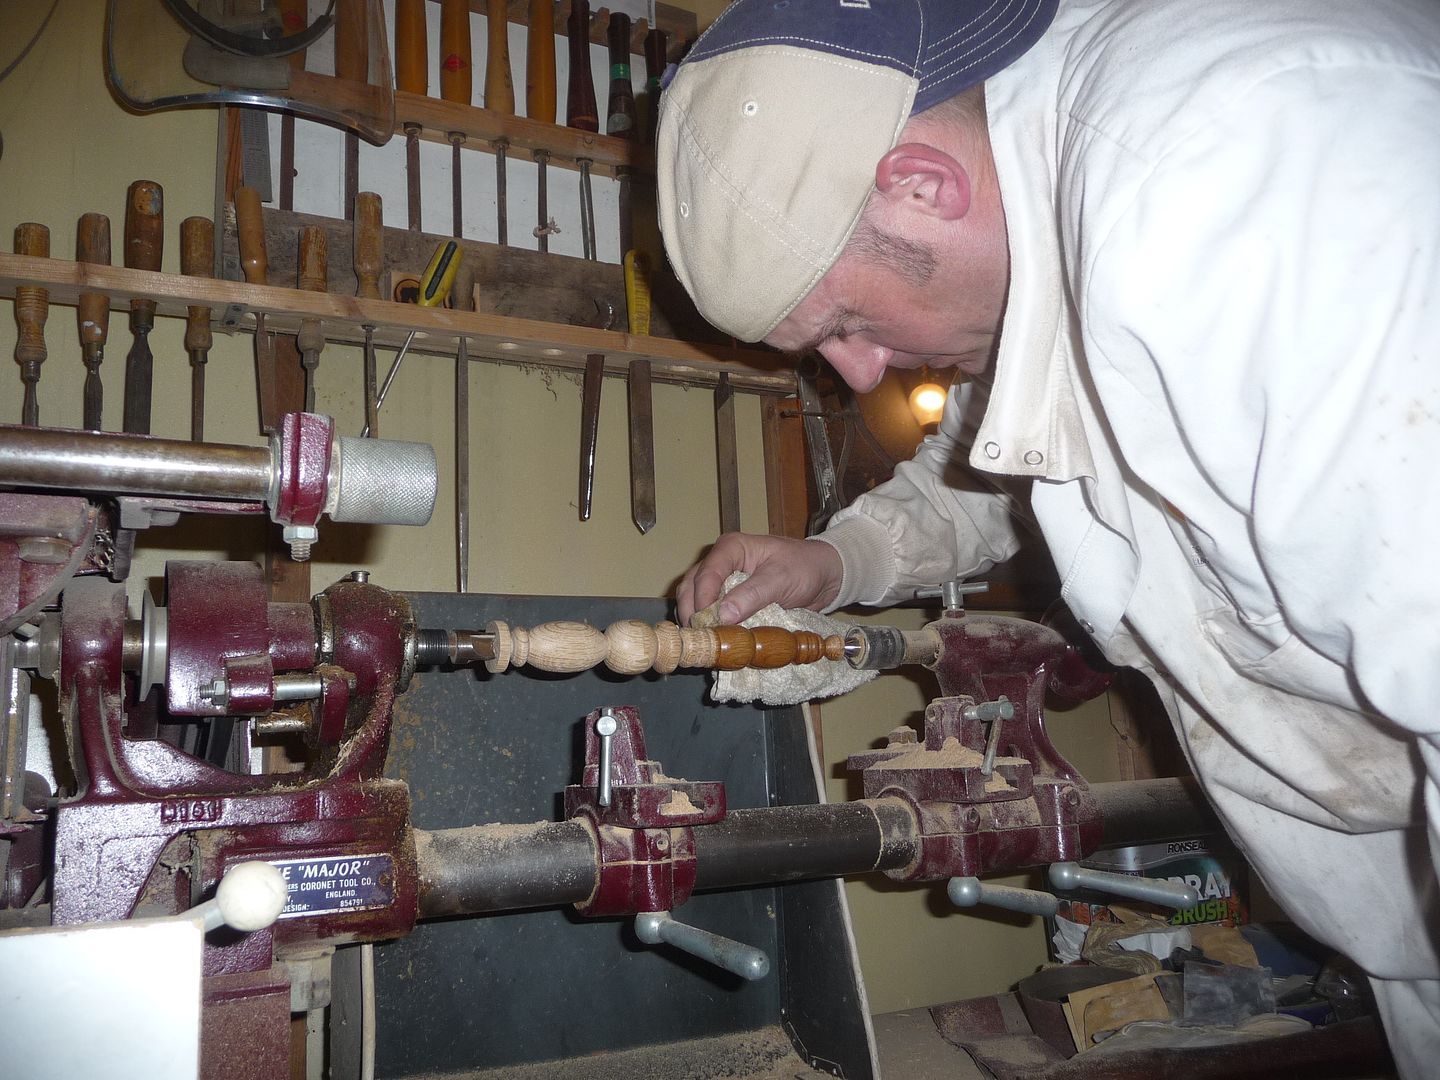
Cut the basic shapes and also sanded down to fine sand paper as the next part is a lot trickier, separating the rings from the stem.

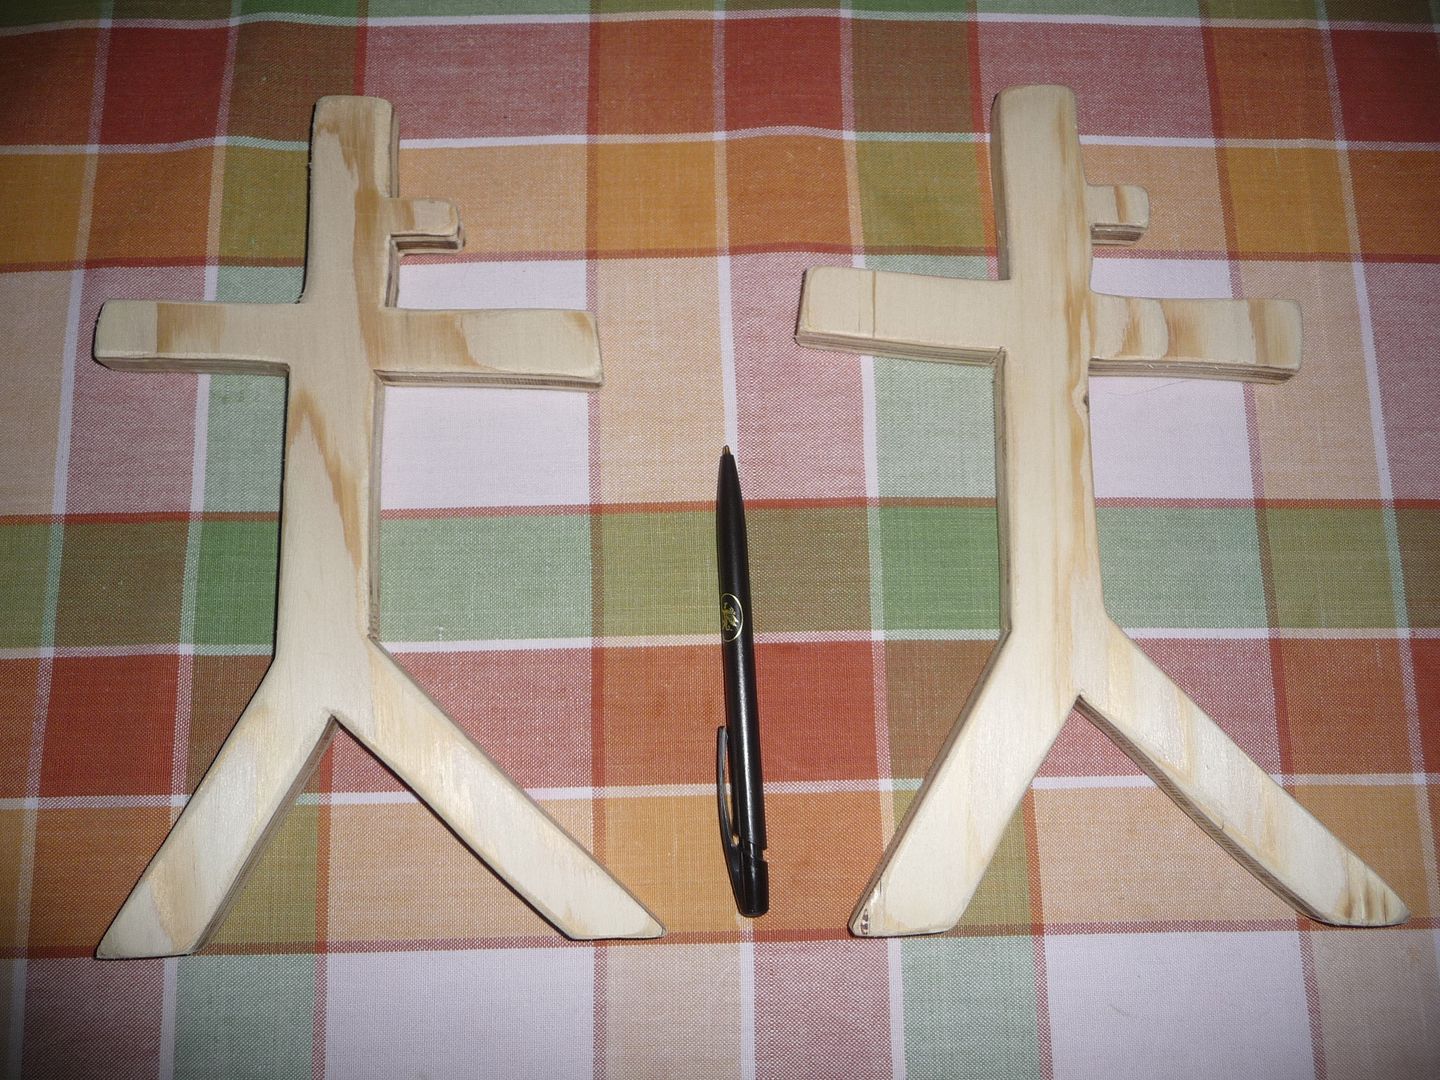
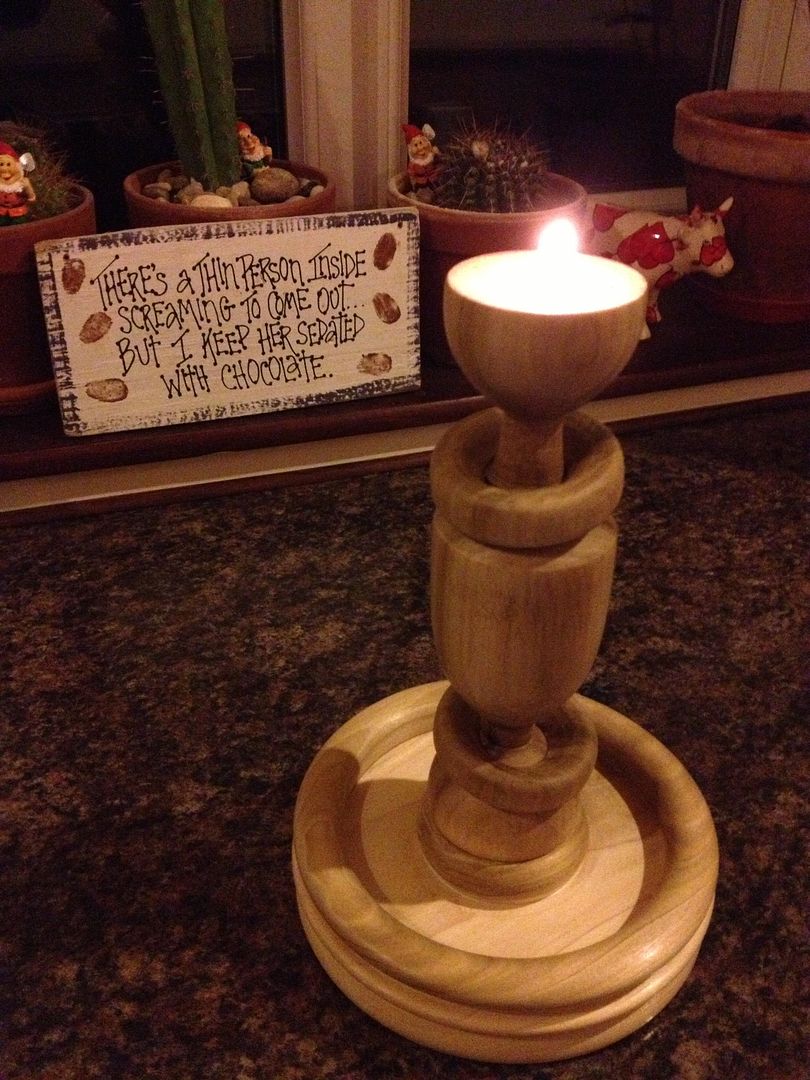
Rings successfully separated, and sanded and waxed.

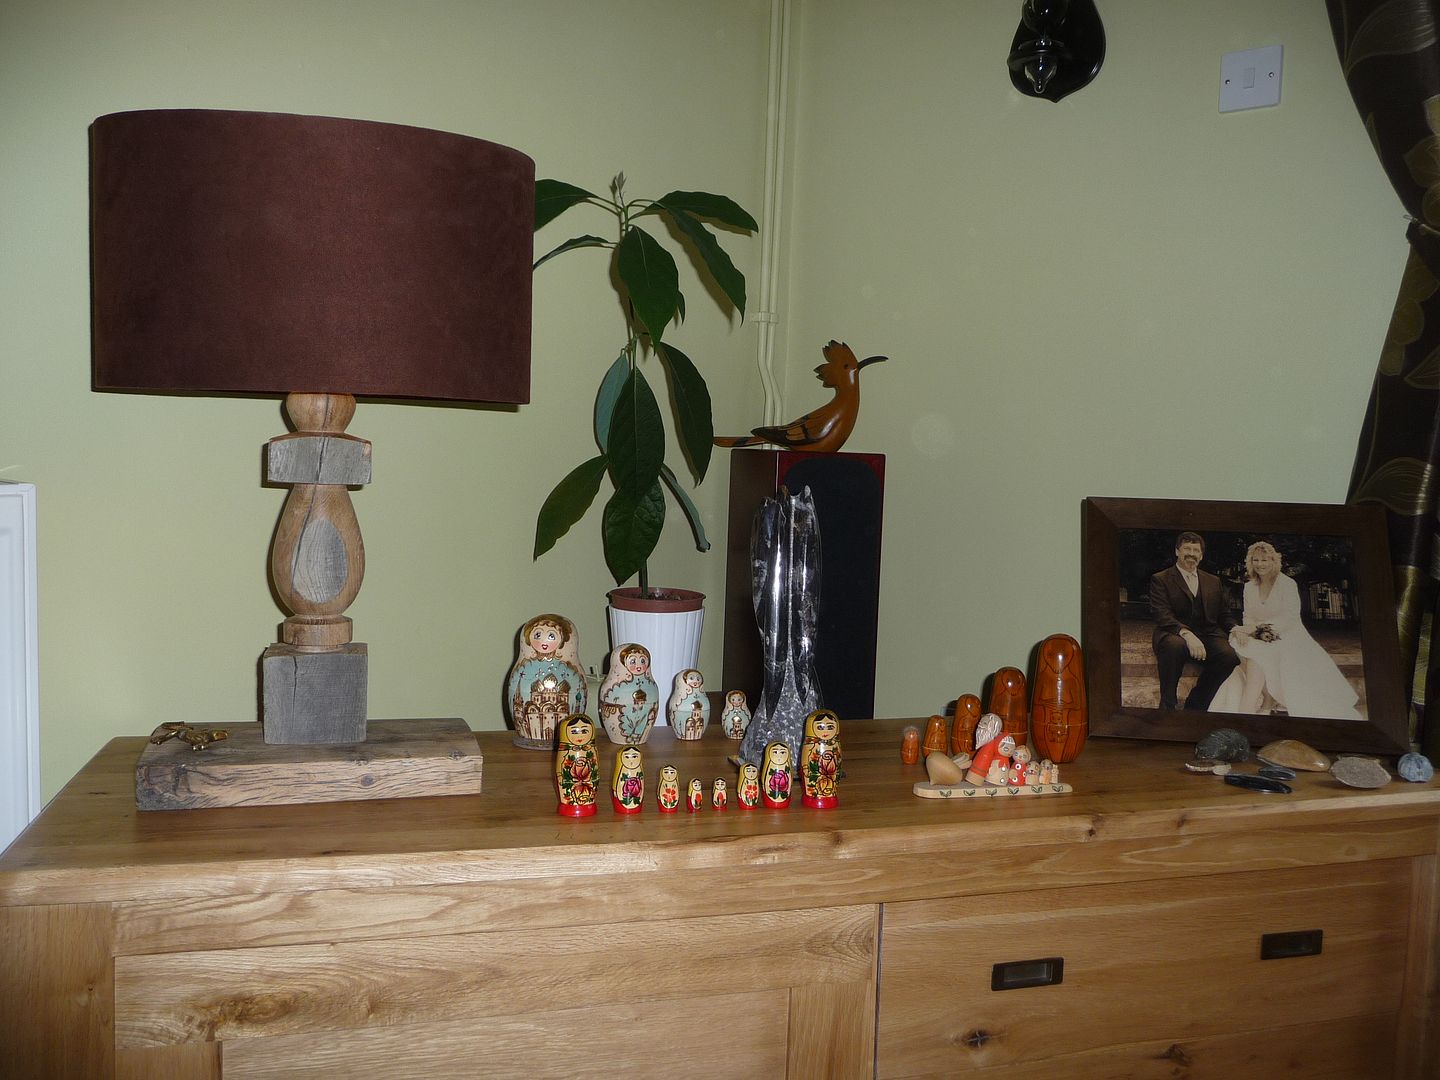
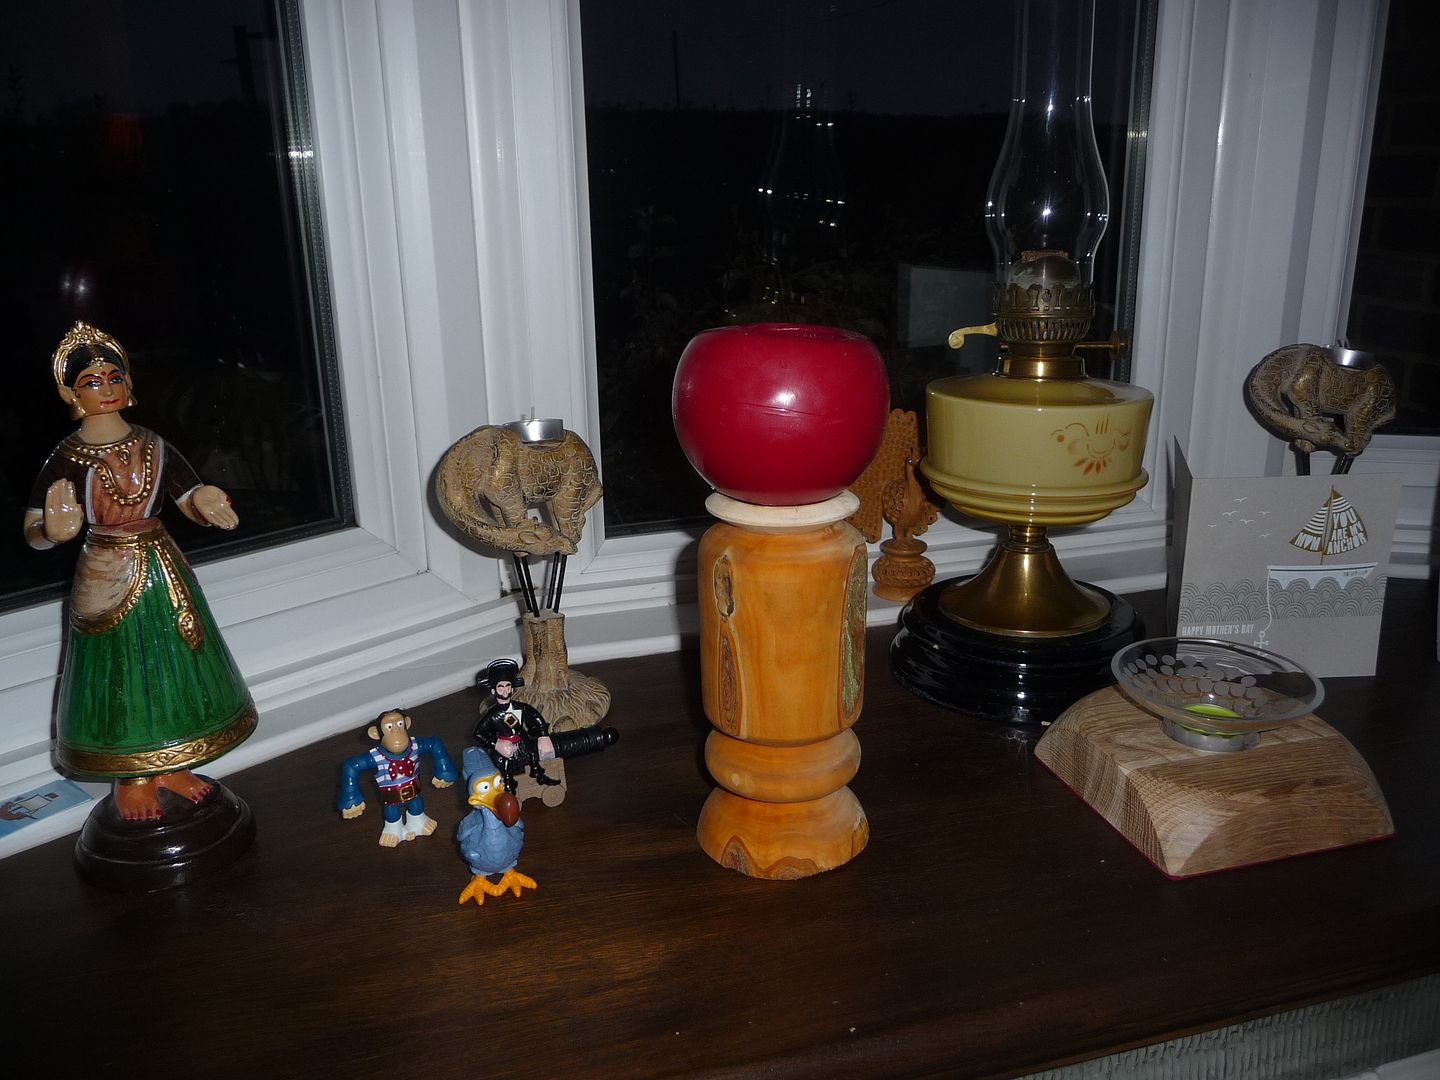
Finally assemble base and stem, one more polish and then bring indoors to test out.
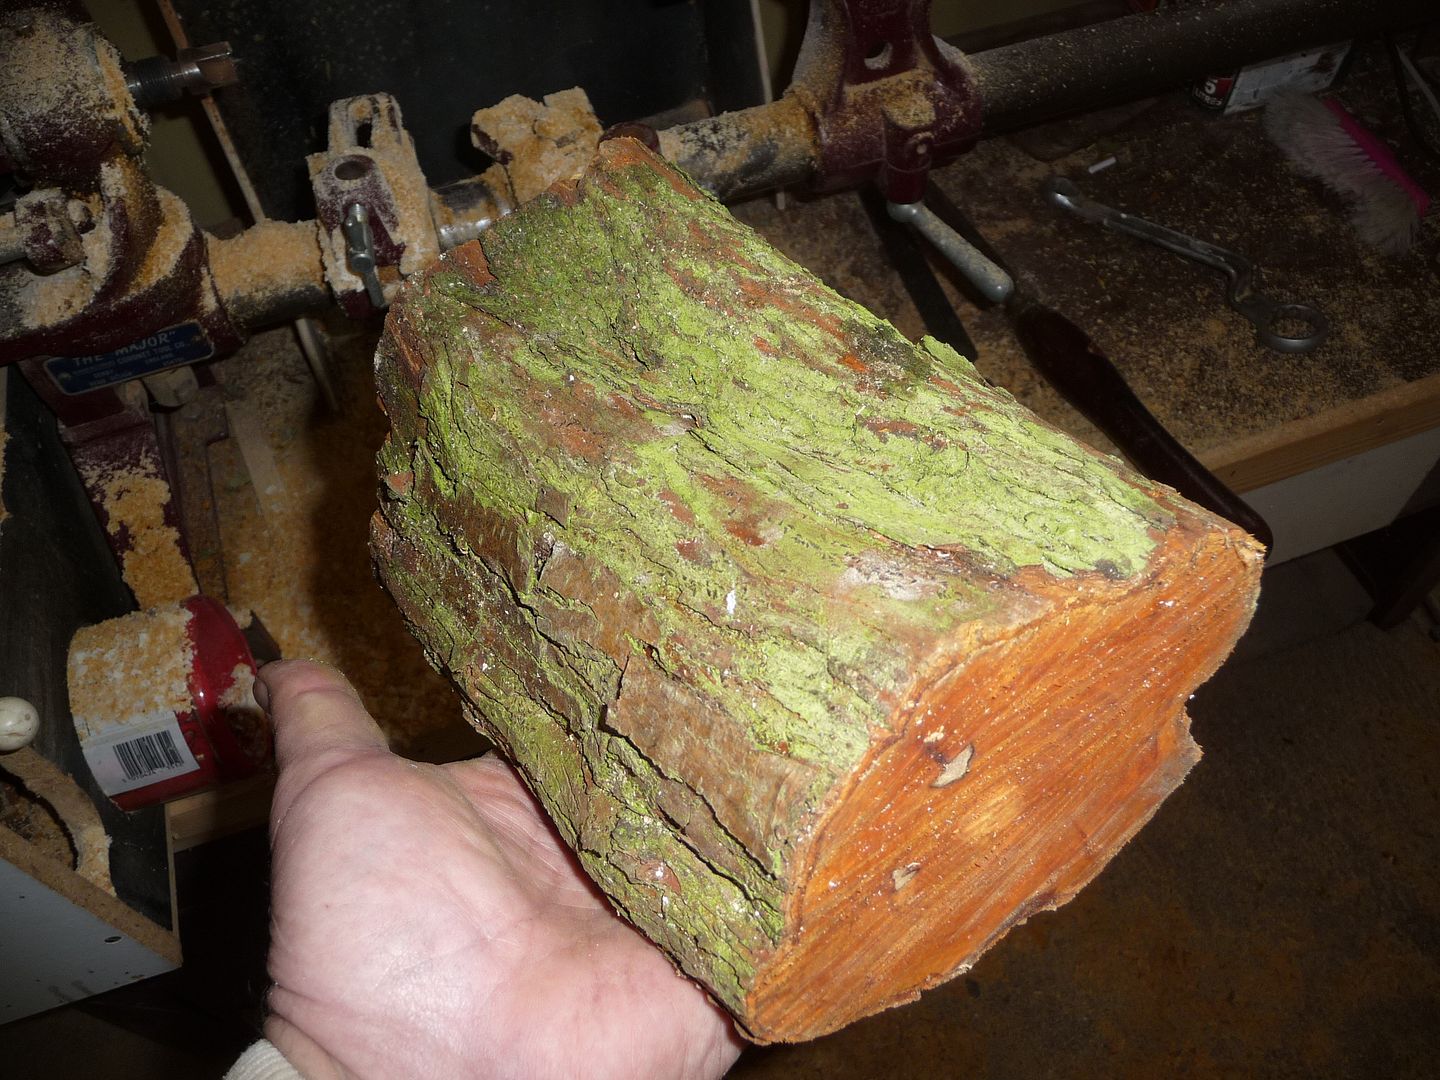
Last year Mickey was chopping out some trees in his garden, all the stems and stumps are mine to turn into firewood.
One of the stumps was quite gnarly, so I set it aside in the shed to dry out.
Today I decided to make a candle stick for a mate, and cut it to shape on the bandsaw, then set it up on the lathe, rough gouging it to shape and then turning it in such a way as to maintain as much of the character as I could.
Of course I had cracked while drying in the shed, but that adds to its appeal.
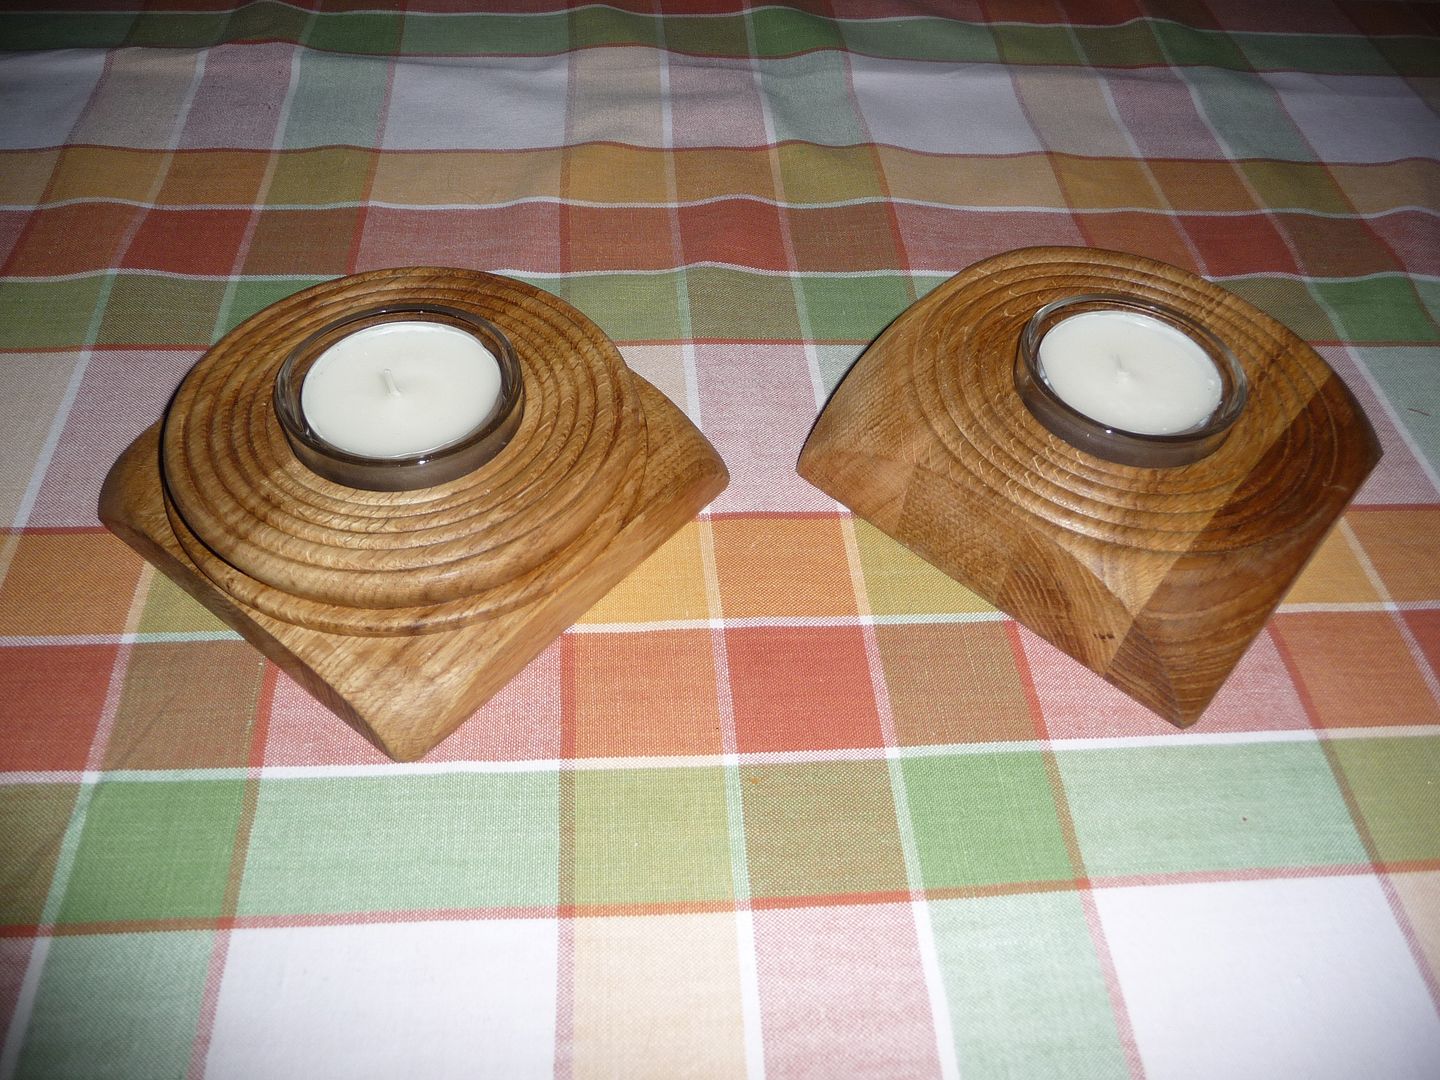
I will be trying to make it so that it can be used as both a conventional candle stick, as well as a tealight holder...... women like that sort of stuff.
Unfortunately I did not take a photo of the stump before I started working it.


Base of the candle stick.....

And done....

In other news, Nicola came home a bit earleir to day, and when she saw the candlestick, she asked if I could make a small bowl for her.
Of course I obliged.
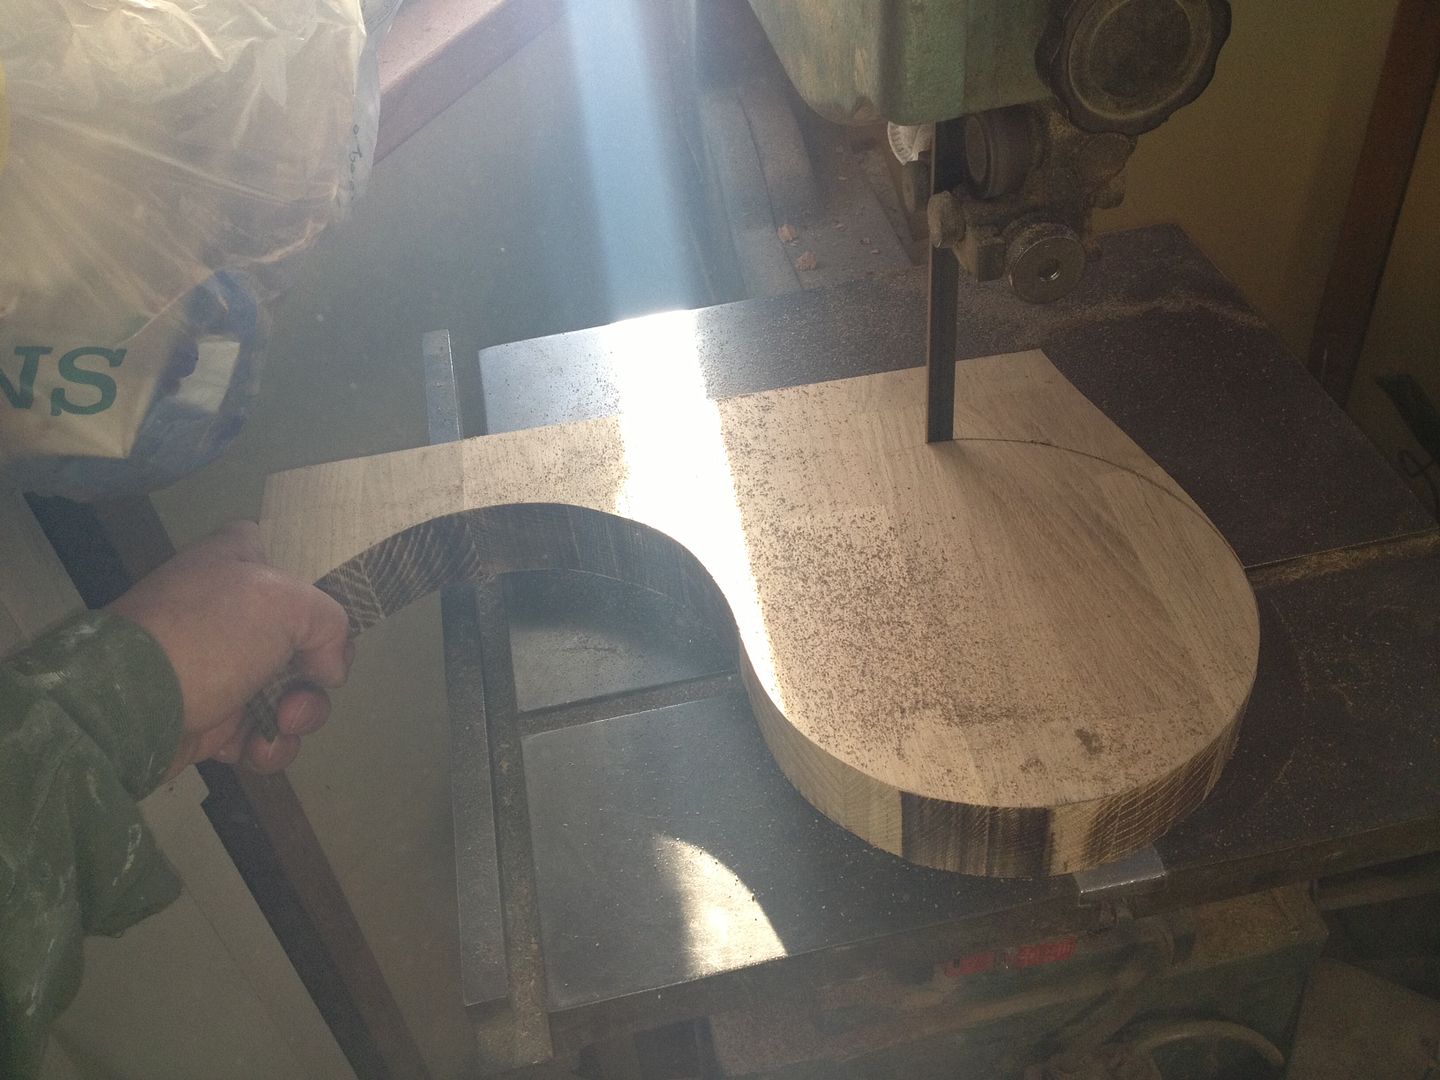
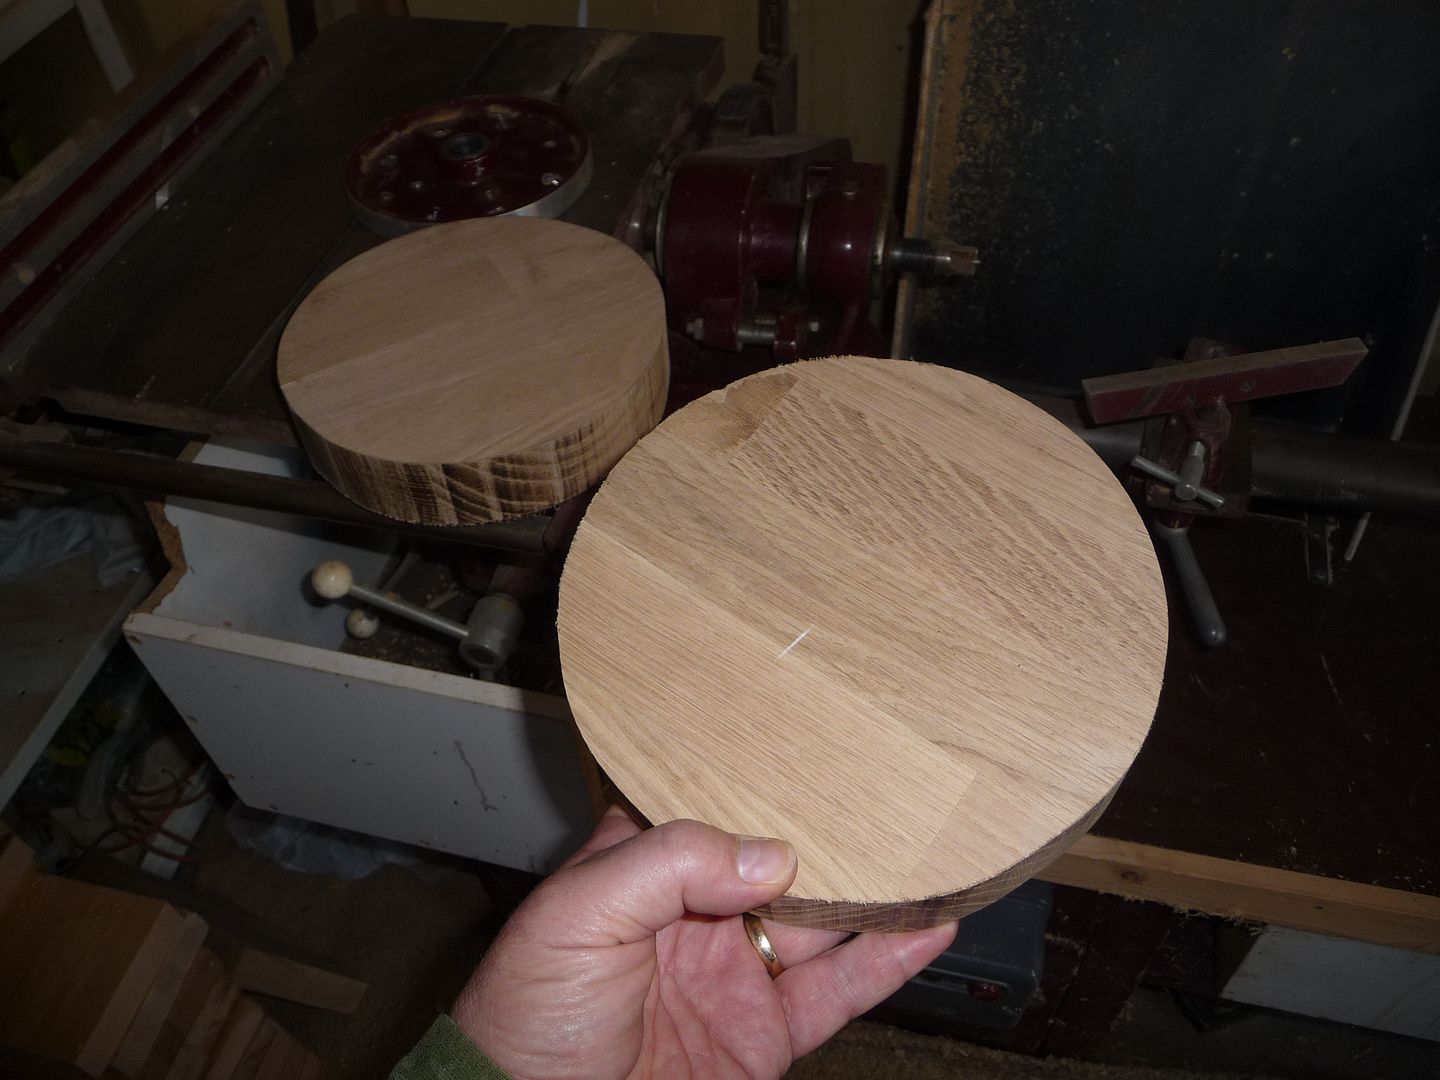
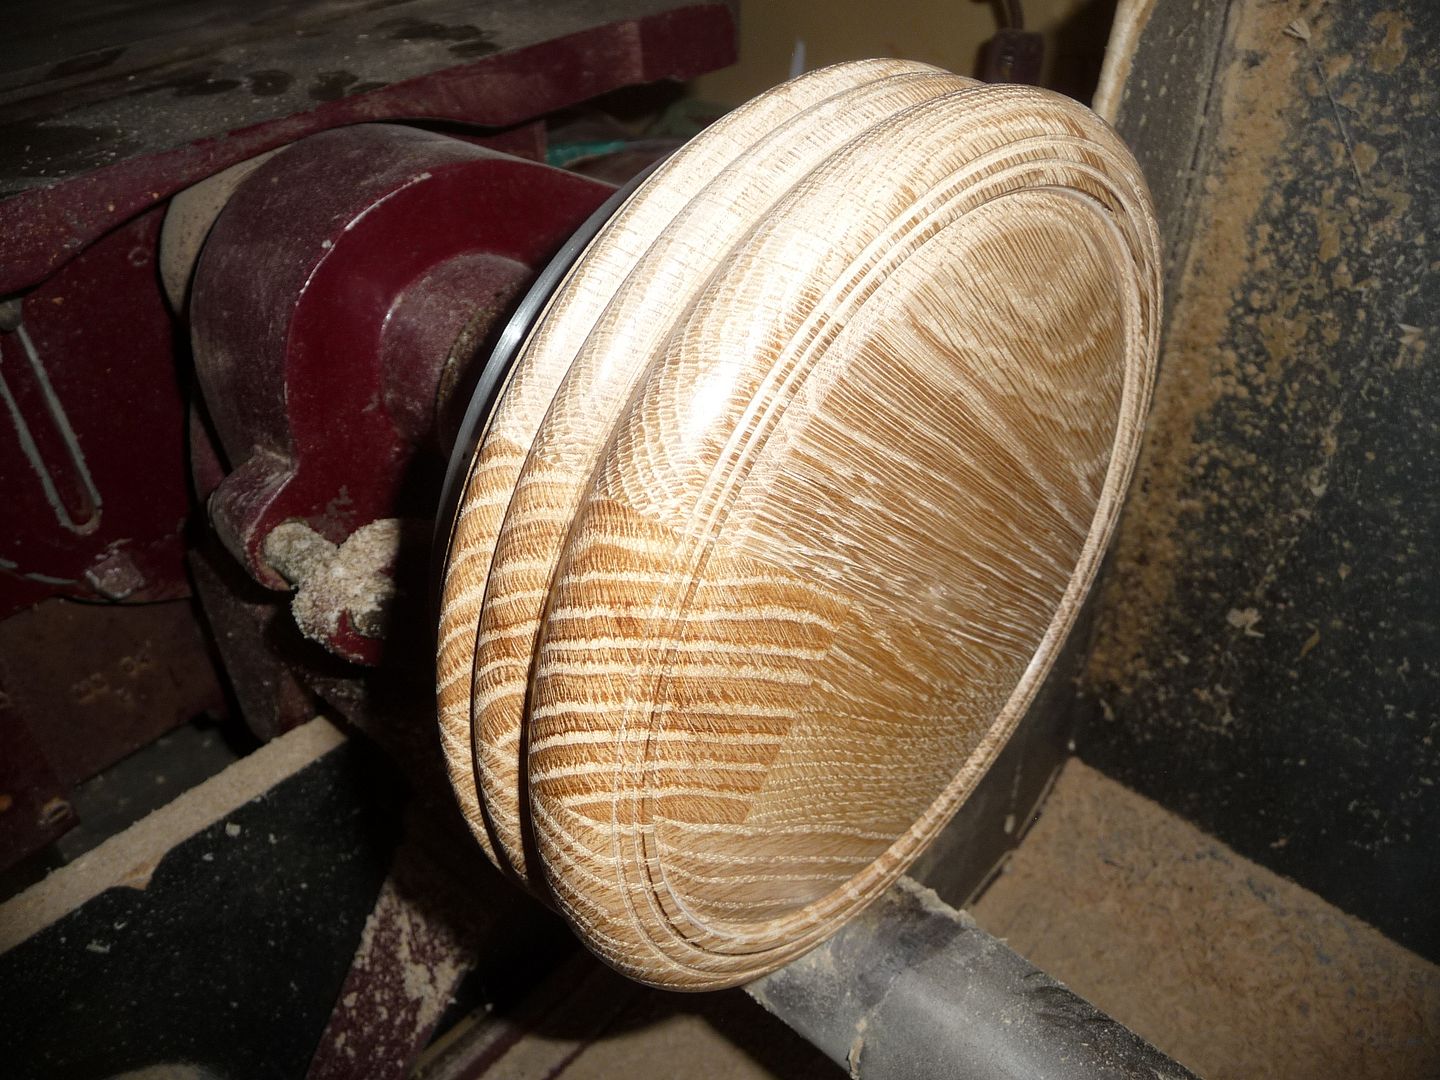
Chunk of laminated oak.
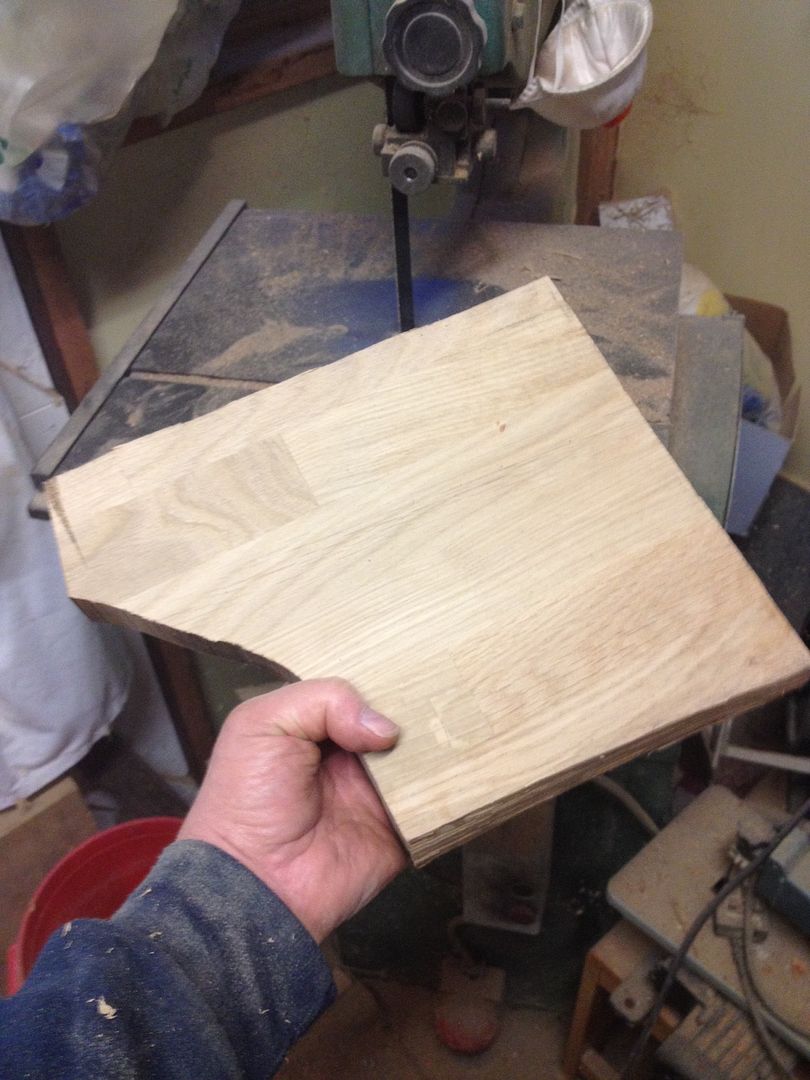
Got to this point, liked it, but it was not what I had planned.
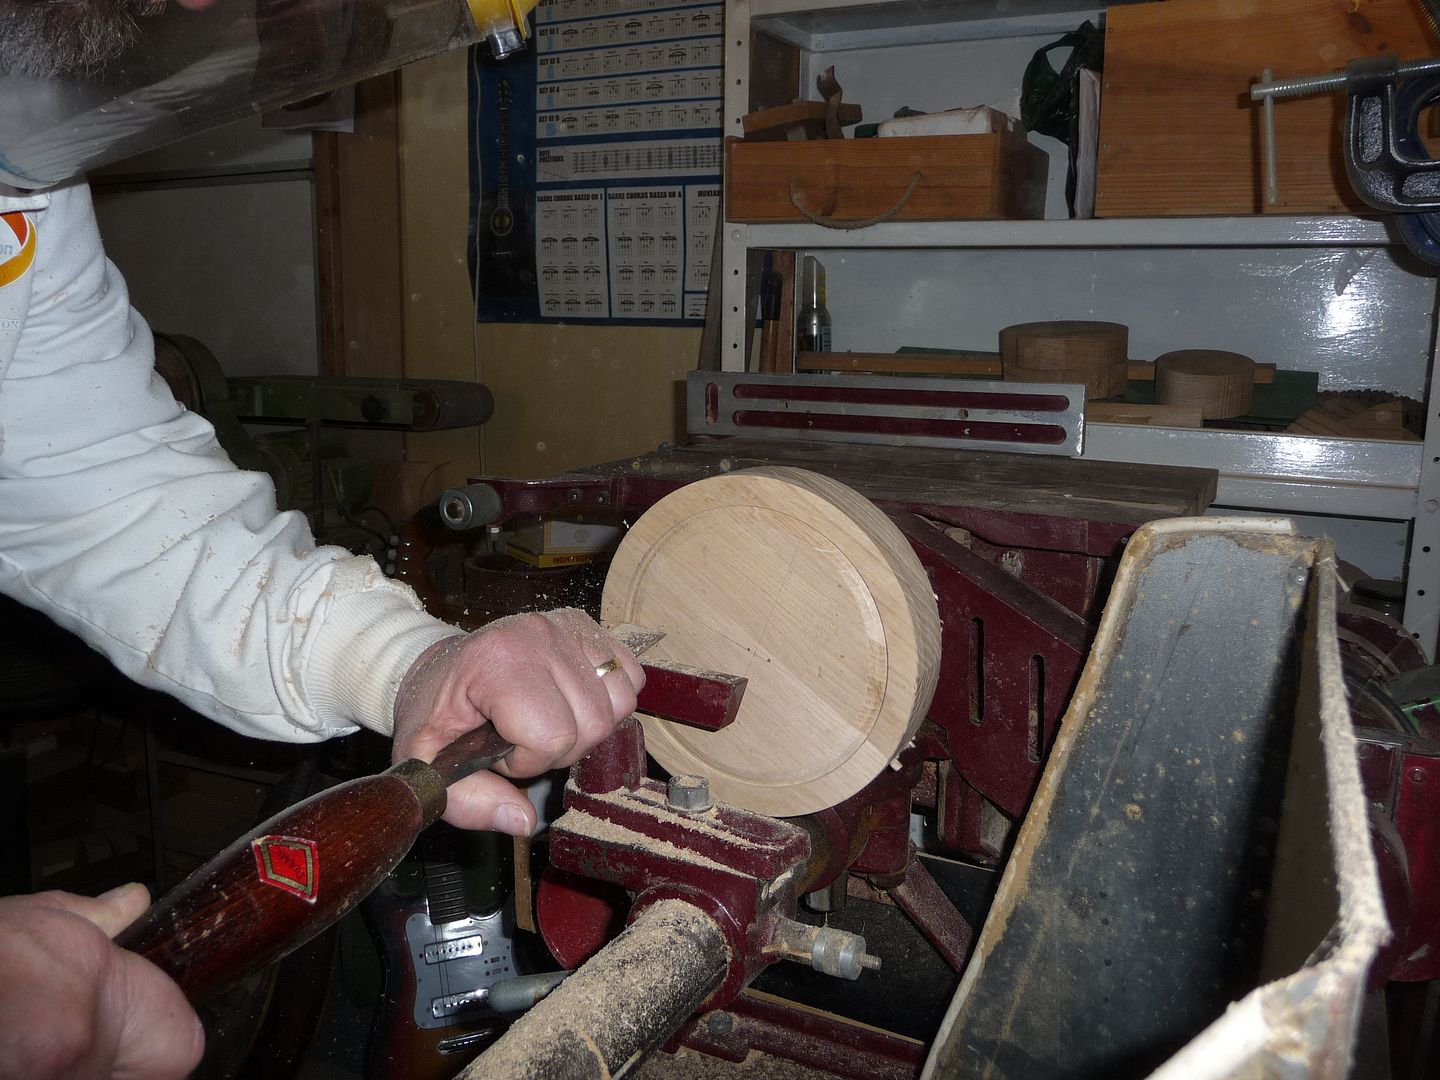
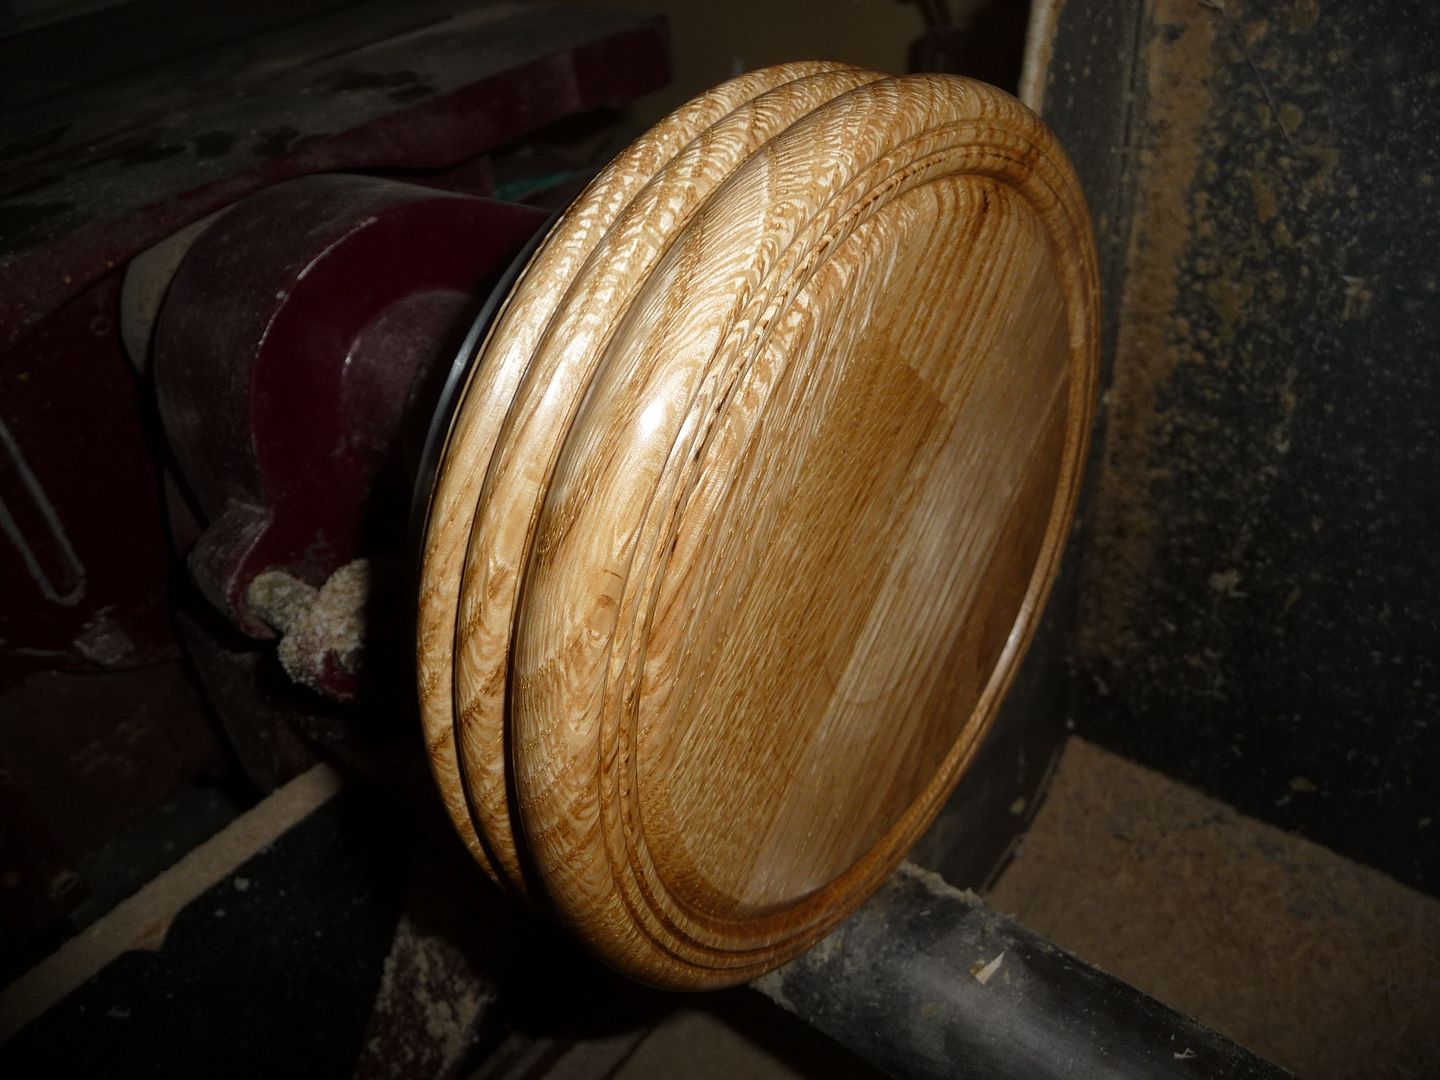
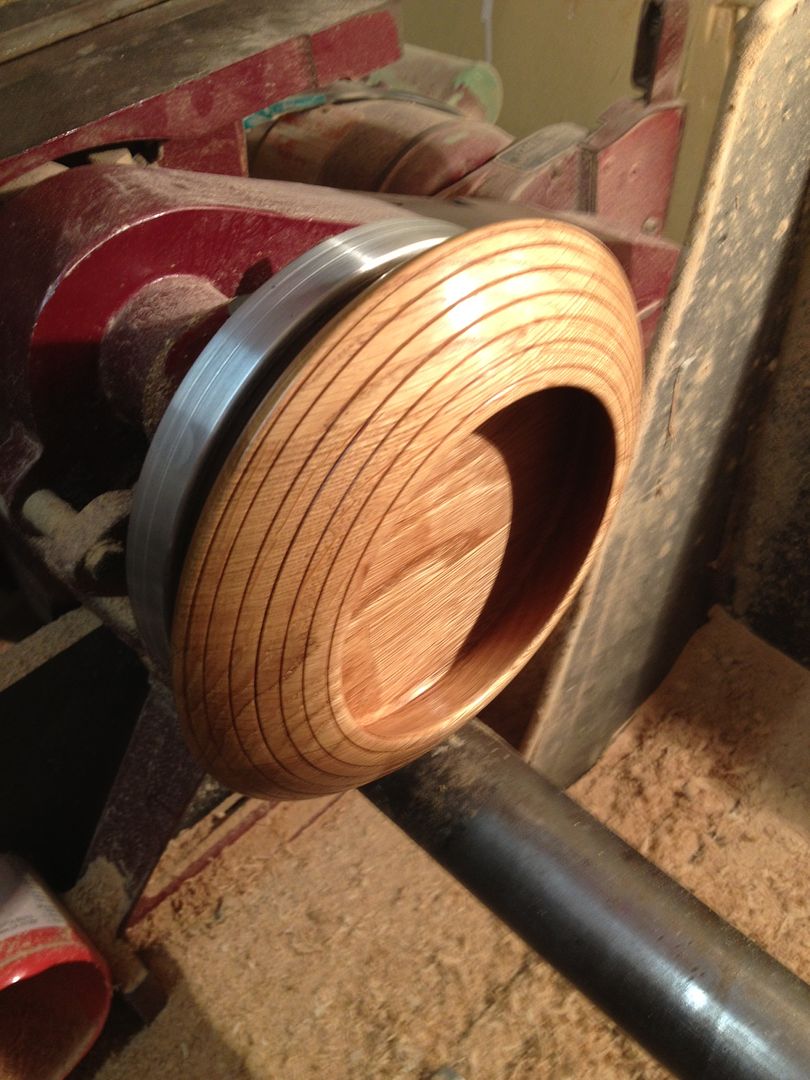
Needed a bit more detail.

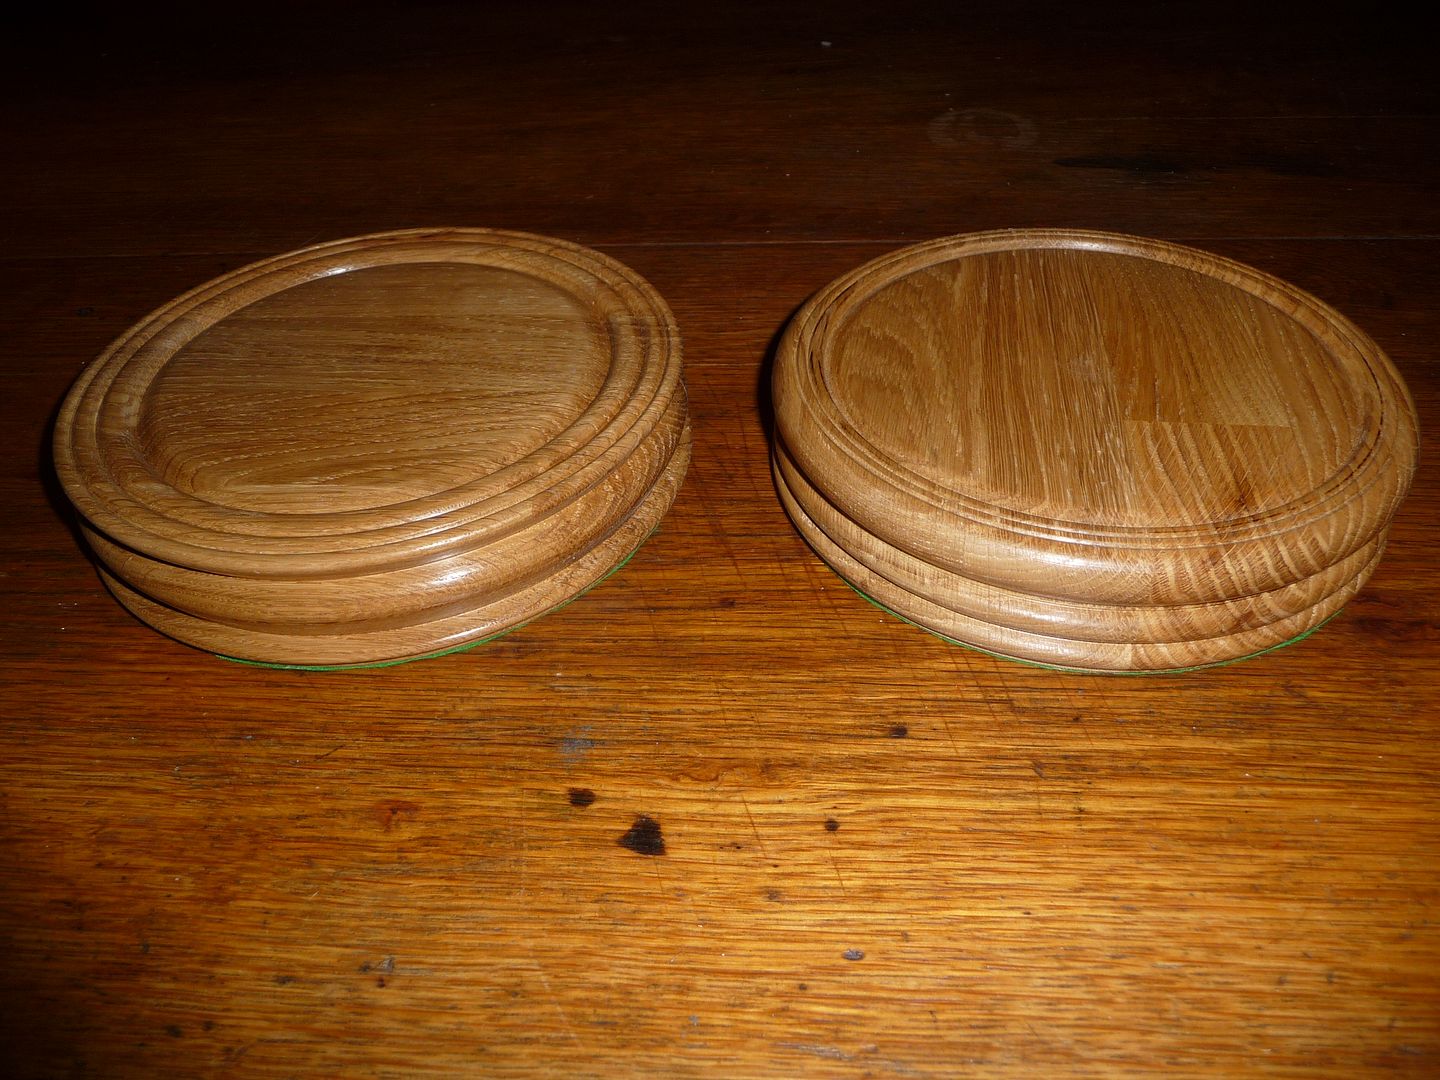
And done.
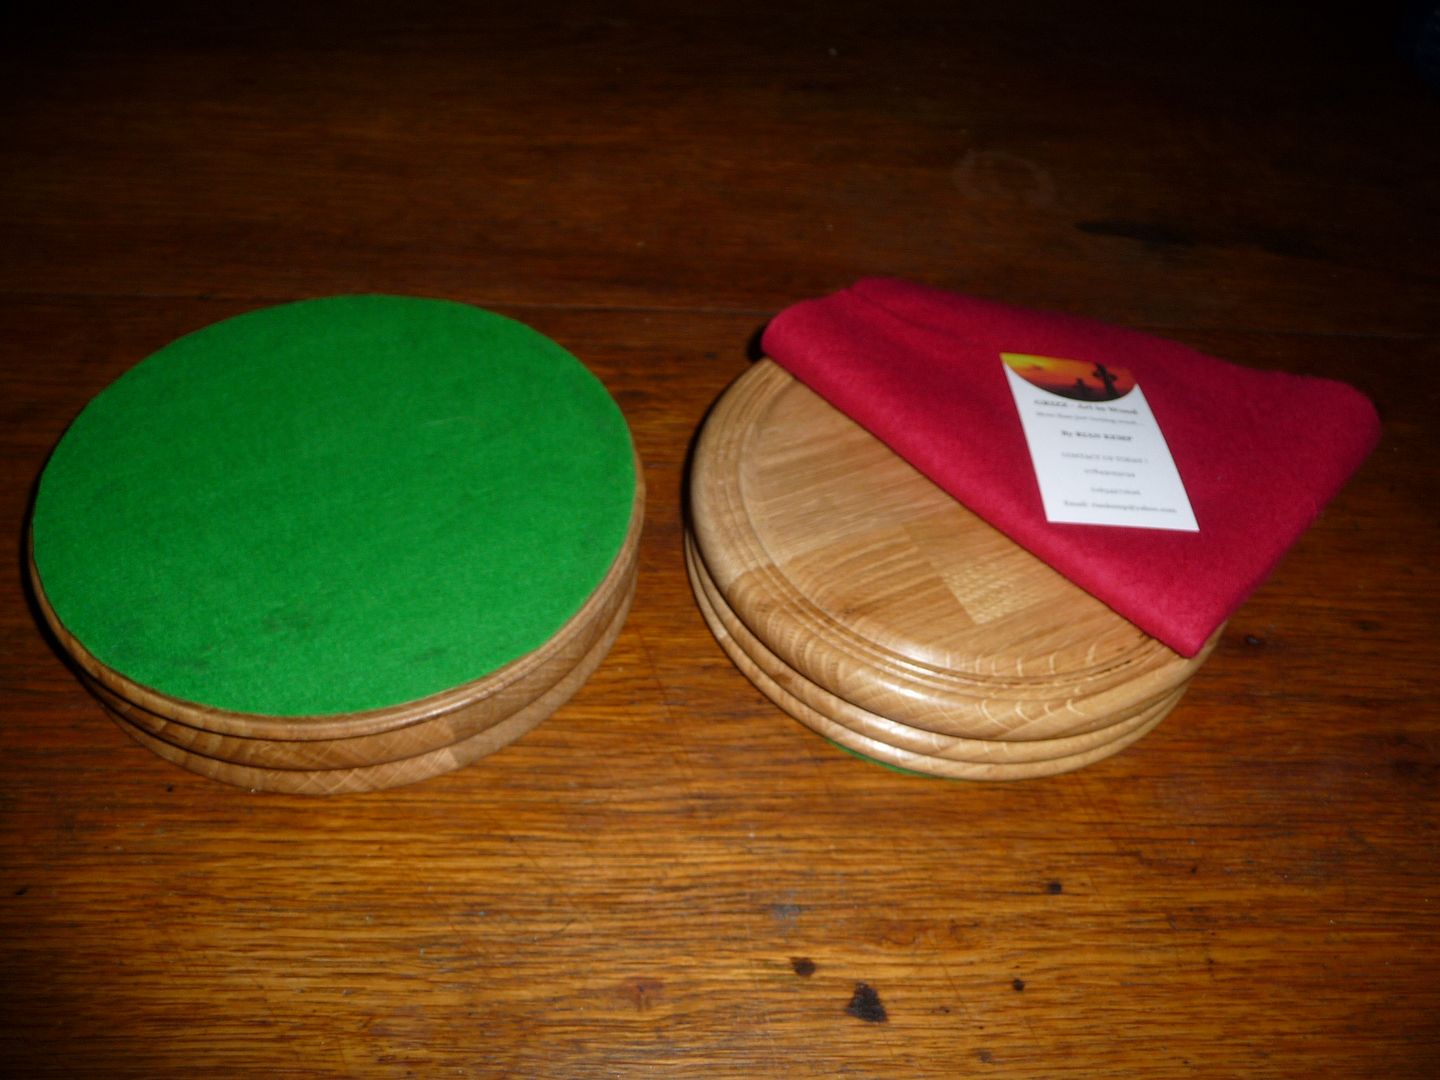
Still needed a bit of finishing and another coat of wax.
Greetings from England.
Rian.
Hoping to get it all done in time.


 Danny
Danny