Dean_A's Build--FINISHED!!!

Anything to do with mechanical, construction etc

Postby Rick Sheerin » Thu Apr 30, 2009 3:34 pm

Beautiful job Dean, love the red wheels with the baby moons, gives it a nice vintage look. :thumbsup:
Rick S
1996 Casita Spirit Deluxe 17ft

Image
Careful with that Axe, Eugene
User avatar
Rick Sheerin
500 Club
 
Posts: 679
Images: 100
Joined: Thu Dec 09, 2004 4:32 pm
Location: Liverpool, NY

Postby rmclarke » Thu Apr 30, 2009 6:18 pm

Dean,

Super job....very classy!! :applause: :applause:
And now you get to use it!! :thumbsup:

Richard
"When a hammer is the only tool you own, every problem begins to look like a nail..."
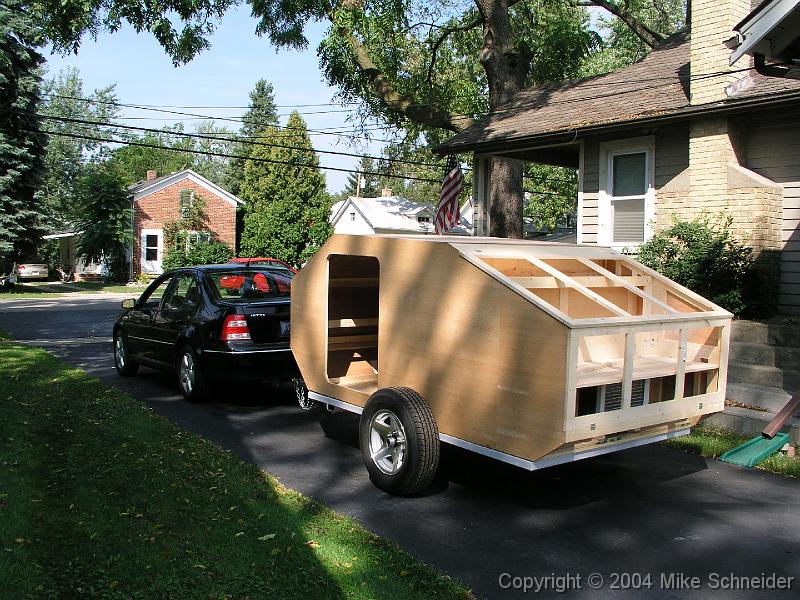
ImageFrom this: Image to this: Image Finally!!
User avatar
rmclarke
The 300 Club
 
Posts: 384
Images: 231
Joined: Mon Apr 09, 2007 3:22 am
Location: North Jefferson State

Postby Dean_A » Thu Apr 30, 2009 6:33 pm

Rick Sheerin wrote:Beautiful job Dean, love the red wheels with the baby moons, gives it a nice vintage look. :thumbsup:


Thanks! And just for the record, they are not really the hot pink that shows in the original photos. They are a nice vintage cardinal red. Here is a color-corrected photo:

Image
User avatar
Dean_A
Gold Donating Member
 
Posts: 597
Images: 55
Joined: Sat Oct 21, 2006 5:24 pm
Location: San Diego, CA
Top

Postby aggie79 » Sun May 03, 2009 7:45 am

Incredible job Dean - from the design to execution! :applause: :thumbsup: :applause:

The way my build is going, 4 1/2 years seems about right.
Tom (& Linda)
For build info on our former Silver Beatle teardrop:
Build Thread

93503
User avatar
aggie79
Super Duper Lifetime Member
 
Posts: 5405
Images: 686
Joined: Tue Aug 07, 2007 5:42 pm
Location: Watauga, Texas
Top

Dean A's Build--Updated 09/20/09

Postby Dean_A » Sun Sep 20, 2009 4:39 pm

Finally took a break from camping long enough to start some of my "upgrades". I added a sliding tray for the cooler this weekend.

Image
User avatar
Dean_A
Gold Donating Member
 
Posts: 597
Images: 55
Joined: Sat Oct 21, 2006 5:24 pm
Location: San Diego, CA
Top

Great Job!

Postby SATEAR » Tue Sep 22, 2009 2:26 pm

I am new to the forums and found this post. I have a tear similar--'47 Kitt that I am rebuilding/restoring. I am down to removing frame rust at this time.

I see that your hatch does not have a handle, do you just hold it down with the side clips? How does that work?

Did your hatch give you much trouble?

Hope mine comes out as good as yours!

Gabe
User avatar
SATEAR
Teardrop Advisor
 
Posts: 78
Images: 75
Joined: Sat Sep 19, 2009 2:47 pm
Location: San Antonio,Texas
Top

Re: Great Job!

Postby Dean_A » Tue Sep 22, 2009 3:03 pm

SATEAR wrote:I am new to the forums and found this post. I have a tear similar--'47 Kitt that I am rebuilding/restoring. I am down to removing frame rust at this time.

I see that your hatch does not have a handle, do you just hold it down with the side clips? How does that work?

Did your hatch give you much trouble?

Hope mine comes out as good as yours!

Gabe


Thanks! My hatch just has a grab handle on the back for lifting. All the latching/locking is done by the adjustable/lockable draw latches on the sides. They do a great job and were very easy to install. They require very little in the way of precision when it comes to installing them, and they snug the hatch down tight against the seals.

My hatch didn't give me any particular trouble. I only had to build it once, thank goodness. Of course, the building only came after hours of obsessive planning. I'm sure yours will come out fine. Just take your time and think it through. :thumbsup:
Image
Image
User avatar
Dean_A
Gold Donating Member
 
Posts: 597
Images: 55
Joined: Sat Oct 21, 2006 5:24 pm
Location: San Diego, CA
Top

Thanks for the info.

Postby SATEAR » Tue Sep 22, 2009 3:23 pm

By the way, did you have to buy new aluminum skins? I can't find any for less than $48 a sheet. Did you have better luck on the price?

Gabe
User avatar
SATEAR
Teardrop Advisor
 
Posts: 78
Images: 75
Joined: Sat Sep 19, 2009 2:47 pm
Location: San Antonio,Texas
Top

Where did the hatch latches come from?

Postby SATEAR » Tue Sep 22, 2009 3:45 pm

Did you find them on the web or locally?

Thanks,
User avatar
SATEAR
Teardrop Advisor
 
Posts: 78
Images: 75
Joined: Sat Sep 19, 2009 2:47 pm
Location: San Antonio,Texas
Top

Re: Thanks for the info.

Postby Dean_A » Tue Sep 22, 2009 4:28 pm

SATEAR wrote:By the way, did you have to buy new aluminum skins? I can't find any for less than $48 a sheet. Did you have better luck on the price?

Gabe

I had to buy new everything, as this was scratch built, not a restoration. I found the aluminum locally, but I don't think I beat your price.
User avatar
Dean_A
Gold Donating Member
 
Posts: 597
Images: 55
Joined: Sat Oct 21, 2006 5:24 pm
Location: San Diego, CA
Top

Postby vrodjason » Wed Sep 23, 2009 7:01 pm

Very nice! I hope when I finally build mine it turns out half as nice!
User avatar
vrodjason
Teardrop Advisor
 
Posts: 73
Images: 1
Joined: Wed Aug 26, 2009 6:37 am
Location: Oak Hill OHIO
Top

Postby Wig » Fri Sep 25, 2009 3:01 am

I like the top shelf it looks like it holds a lot of stuff.
Scott & (Megan)
User avatar
Wig
Teardrop Master
 
Posts: 115
Images: 1
Joined: Wed Sep 09, 2009 6:31 am
Location: Greenville Tx.
Top

Postby Minicamper42 » Fri Sep 25, 2009 7:11 pm

It took a while to get through all the pages...and like this awesome TD it was worth every minute...very professional job in deed...if I was to meet you at a camp site, I'd swear you bought that from a dealer...then again, you would never find that kind of quality at a dealer...enjoy the TD for many years :applause: :applause: :applause:
I wish I had a million bucks
Minicamper42
Teardrop Builder
 
Posts: 33
Joined: Wed Sep 23, 2009 10:54 pm
Location: Chaparral NM
Top

Postby Dean_A » Fri Sep 25, 2009 7:15 pm

Minicamper42 wrote:It took a while to get through all the pages...and like this awesome TD it was worth every minute...very professional job in deed...if I was to meet you at a camp site, I'd swear you bought that from a dealer...then again, you would never find that kind of quality at a dealer...enjoy the TD for many years :applause: :applause: :applause:

Thanks! I have to say, people are very surprised when I tell then I built it myself. They often don't believe me. I bust my buttons every time it happens! :) :) :)
User avatar
Dean_A
Gold Donating Member
 
Posts: 597
Images: 55
Joined: Sat Oct 21, 2006 5:24 pm
Location: San Diego, CA
Top

Postby SIXTOTWO » Mon Sep 28, 2009 12:13 pm

Dean_A wrote:
Miriam C. wrote::applause: :applause: :thumbsup:
Way cool. Can you tell me about the hatch supports or where I can get detailed information? I might have to change my plan. 8)

I think you will at least be campable by July. :applause:


Miriam, I got the hatch supports through Austin Hardware. I like the low-tech nature of these props vs. the gas lifts. I did have to do some modification to these though. Shortened them up and removed one of the brackets. Easy stuff. They have more sizes and configurations now, but at the time I got mine, they only had one length and one type of bracket, so I had to make do. I ended up cutting mine down to about 18.5" Let me know if you want more info, or better pics.

--Dean


Hey Dean,

I'd like to see some more of those pictures on your hatch support. We're ready to put the same supports on our tear. Saw them first here on your thread and they looked like what we wanted. Ordered and received them within three days.
How did you figure out the right place to put them and how long the supports should be?? Is there some kind of formula for supporting the weight in the right place? We already took the one bracket off on each support.

Thanks so much!
Q


Image this photo helped a lot.
Terry and Sue Landis
BUILD THREAD
Image Image
******Embarassing our kids, just another quality service that we offer!******
User avatar
SIXTOTWO
Donating Member
 
Posts: 323
Images: 216
Joined: Sat Aug 09, 2008 1:26 pm
Location: Green Lane, PA
Top

PreviousNext

Return to Teardrop Construction Tips & Techniques

Who is online

Users browsing this forum: No registered users and 9 guests