Side seam question
My TTT will be taller than 48" so I will need a seam on the side.
Question.
Is it better for the seam to run verticle or horizontal?
Rob
Question.
Is it better for the seam to run verticle or horizontal?
Rob
or t n ttt for short (tnttt.com)
https://www.tnttt.com/


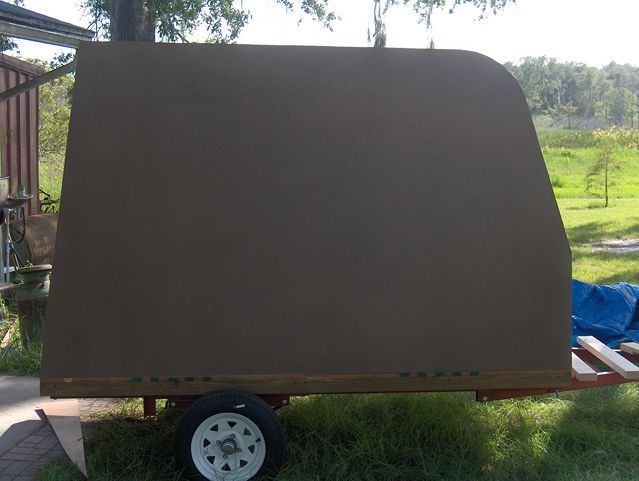
mikeschn wrote:I made my seam vertical. It's backed up with a 1x3 piece of wood, and screwed in on both sides. I plan on filling the joint with Epoxy putty and sanding it flush. I think it'll be both strong and invisible!
Mike...
 Could I talk you into doing that soon so I can copy.
Miriam C. wrote:mikeschn wrote:I made my seam vertical. It's backed up with a 1x3 piece of wood, and screwed in on both sides. I plan on filling the joint with Epoxy putty and sanding it flush. I think it'll be both strong and invisible!
Mike...
Mike are you painting or staining?
Miriam
mikeschn wrote:Miriam C. wrote:mikeschn wrote:I made my seam vertical. It's backed up with a 1x3 piece of wood, and screwed in on both sides. I plan on filling the joint with Epoxy putty and sanding it flush. I think it'll be both strong and invisible!
Mike...
Mike are you painting or staining?
Miriam
I am painting for sure... I'm gonna try to make it look like a Coleman tent...
I did some sanding and some more puttying tonight.
I think after I sand tomorrow, it'll be ready for paint.
Yes, I am taking pictures...
Mike...
