Trim curvy cuts thingies
Well, me and Auntie M wuz-a-thanken and discussing how to make the cuts for 2" wide WOOD trim on the sides of our TD's. Ya know the curvy part... She was talking about eyeballing it and making my butt splice pucker in the process. 
I am of the impression, that is if I did that, I'd just waste{edit sp} a lot of wood. I think one would have to have a compound miter saw or something that could cut angles precisely. But, I am NO woodworker...
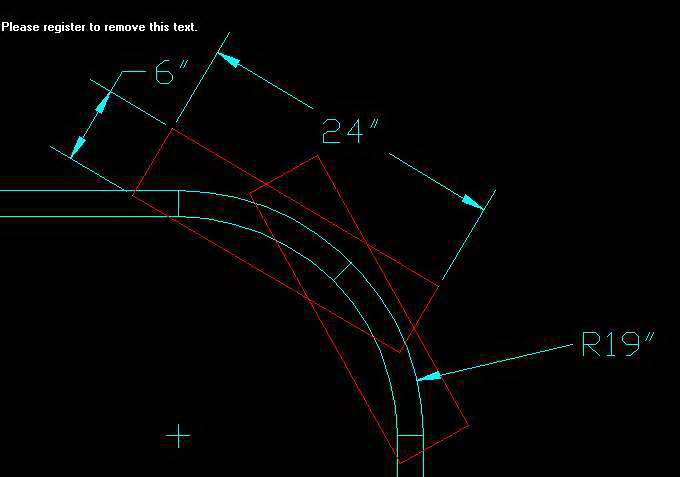
I figure I would have to use a 6" or so board to cut out 2 pieces for the 19" radius on the Generic Benroy for example.
(had to find a freebee program to convert the file)
Red is the board, Cyan is the trim to be cut out. The cuts are 90* and 45*
Maybe I'm confused about how to do this
Any input would be appreciated.
Mk
Miriam C. wrote:
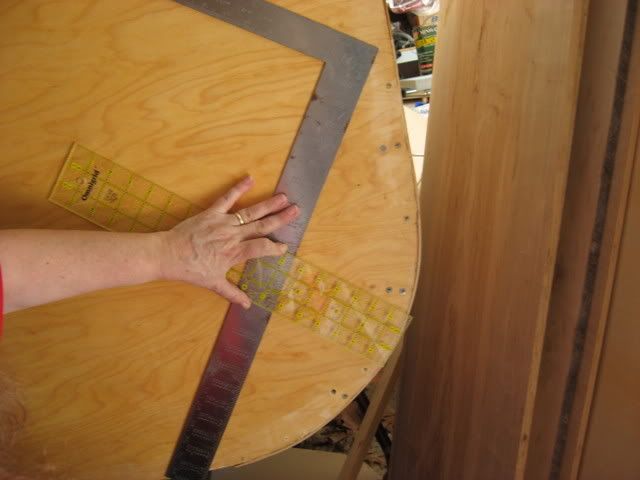
Now if we cut the outside curve and overlay the boards then mark where they come together real carefully and cut a little wide and then sand real carefully, it might make a really big mess---or it could work.
Now if you have a good way then I am all eyes.
Miriam
I am of the impression, that is if I did that, I'd just waste{edit sp} a lot of wood. I think one would have to have a compound miter saw or something that could cut angles precisely. But, I am NO woodworker...
I figure I would have to use a 6" or so board to cut out 2 pieces for the 19" radius on the Generic Benroy for example.
(had to find a freebee program to convert the file)
Red is the board, Cyan is the trim to be cut out. The cuts are 90* and 45*
Maybe I'm confused about how to do this
Any input would be appreciated.
Mk


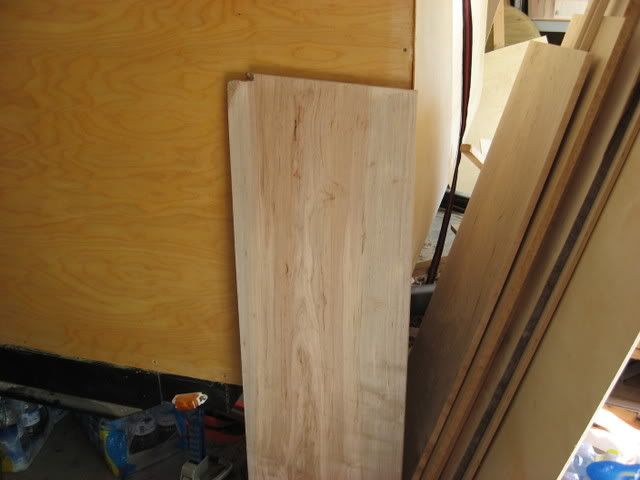
 I'm just preparing myself for that curve cut. I still can not find the 1/4" thick wood for the top trim... Lowes didn't have it.
  Guess I will have to get the cabinet guy to plane down 1/2 boards for me.