Aluminum Molding
Hi All,
This weekend I installed the aluminum molding around my door frames and the galley wall tops.
I've never worked with aluminum before and it took me a bit to figure out a good method to cut, trim, and install the molding.
I thought I'd share what worked for me...
The walls on my trailer are 1.5" thick so I used 3/4" angle, but I had to trim one side down to 3/8" to bend.
I used a metal cutoff blade on my table saw for the cut and trim of the molding. Home Depot sells them for about $5.00. You'll need eye protection, gloves, and long sleeve shirt.
I also masked the piece I was cutting, I found that it helps reduce the amount of flying particles.
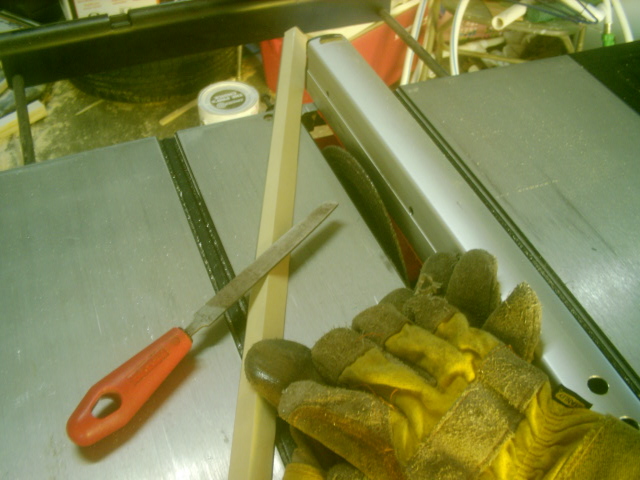
I trimmed the angle molding to 3/8" on one side...
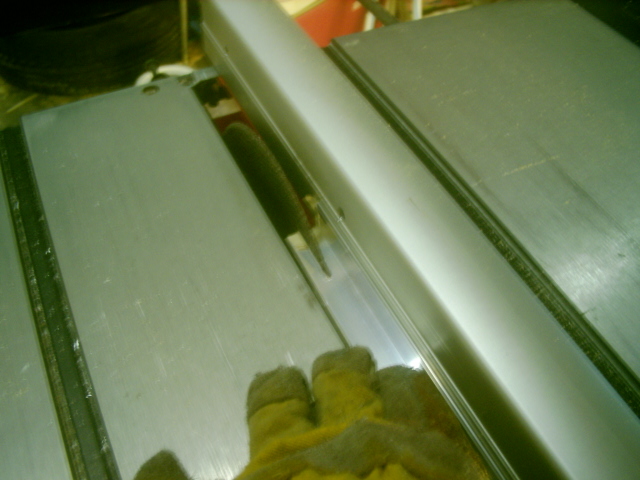
Shown are the rough pieces of molding after cutting...
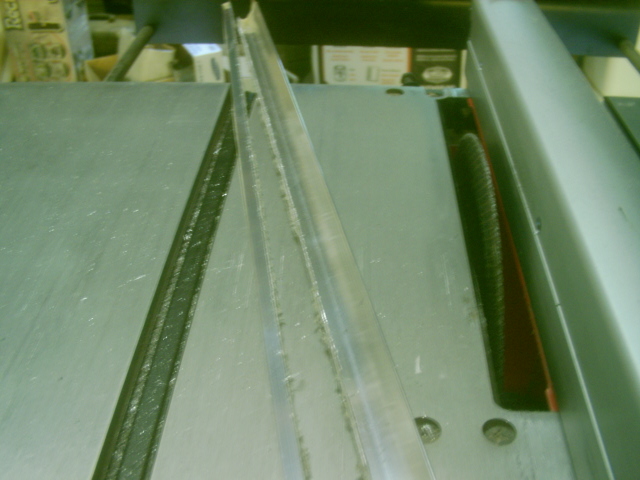
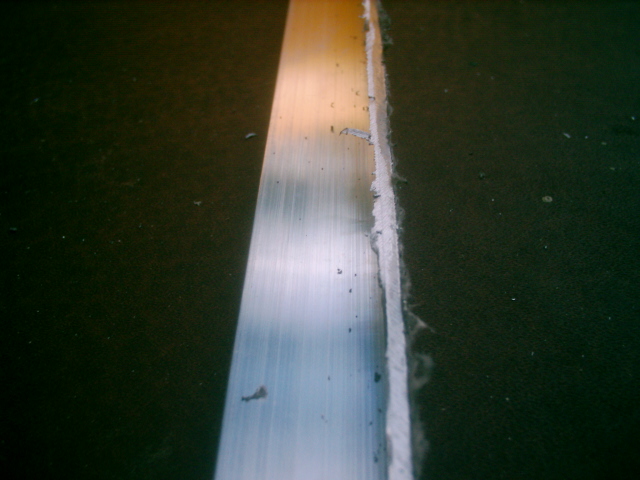
Then I filed the molding, which was easy, just time consuming...
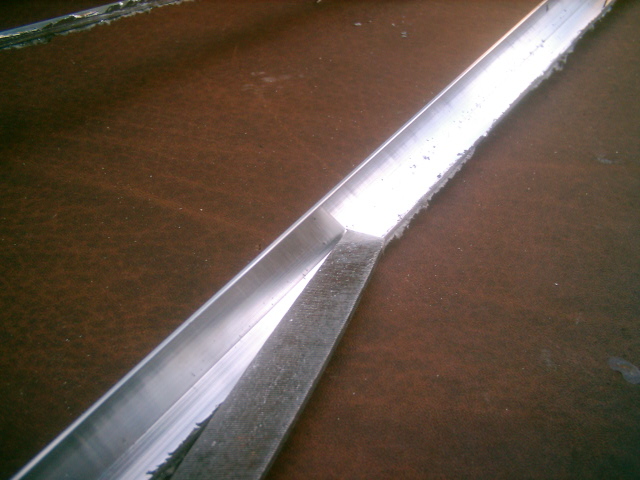
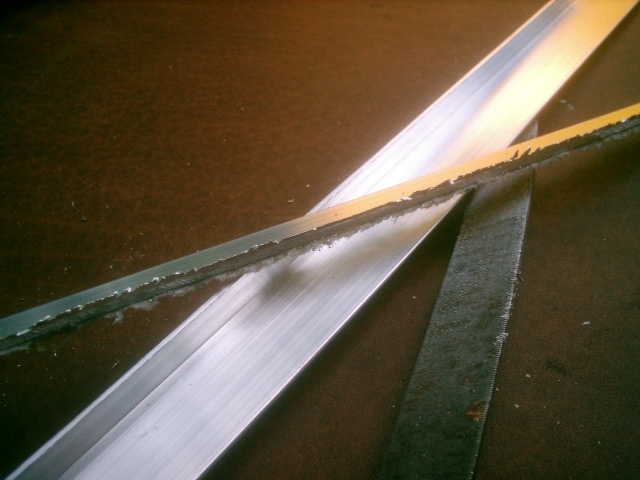
Here is the clean molding and the rough piece of scrap...
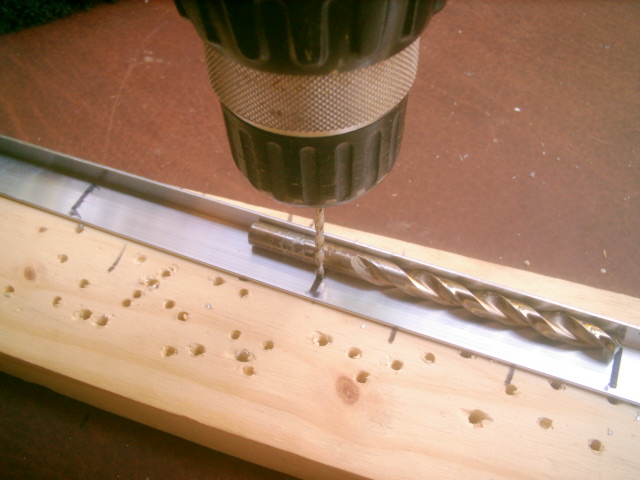
Next I marked the spacing for the screw holes and used a drill bit as a quick center guide...
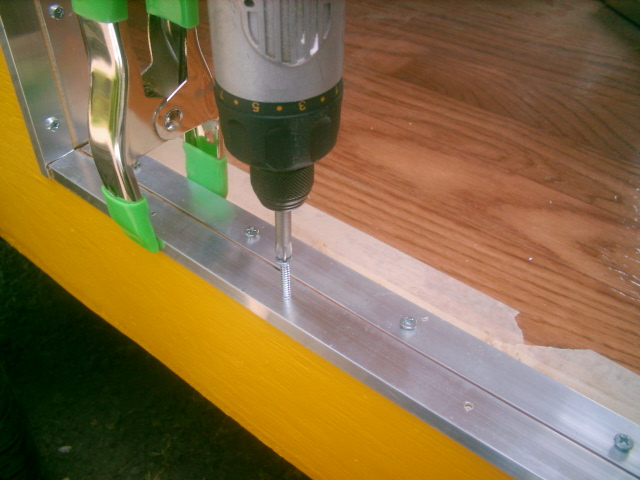
Here I temporarily install the molding, notice the clamps to hold it in place...
Next I countersunk the holes for the screw heads to sit flush...
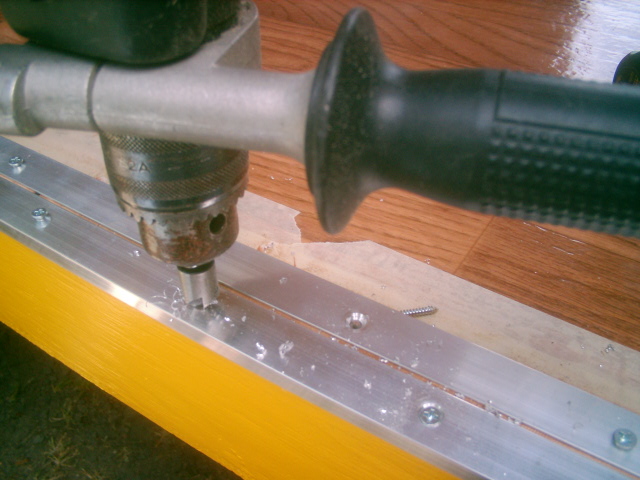
Here is the Galley Wall top with one piece of molding...
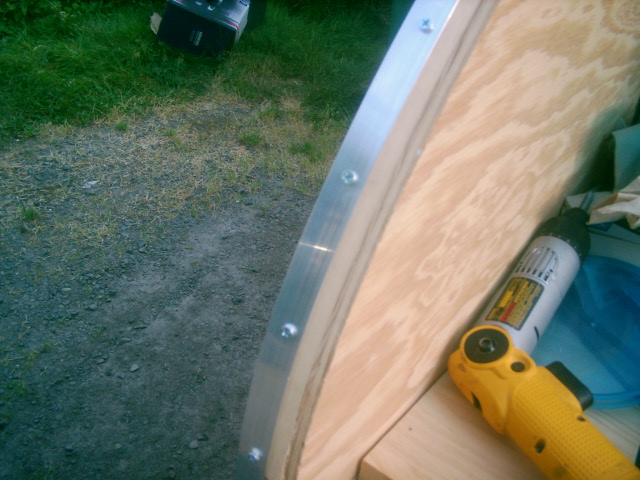
I was able to bend the molding on the wall without having to heat the molding. I used clamps and to keep the molding close to the wall and went slow and gentle...
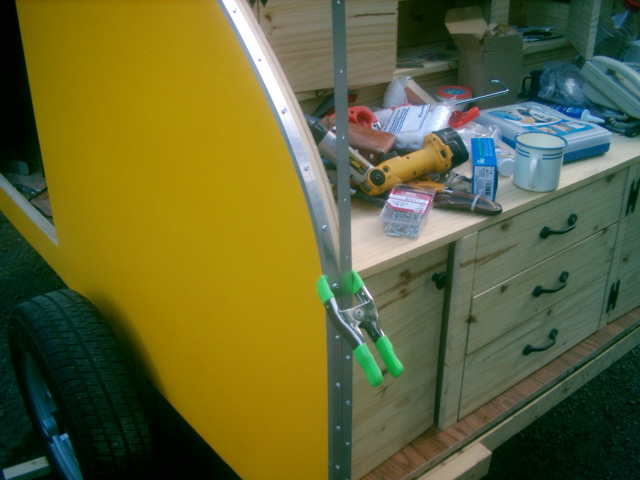
Ta Daaa...
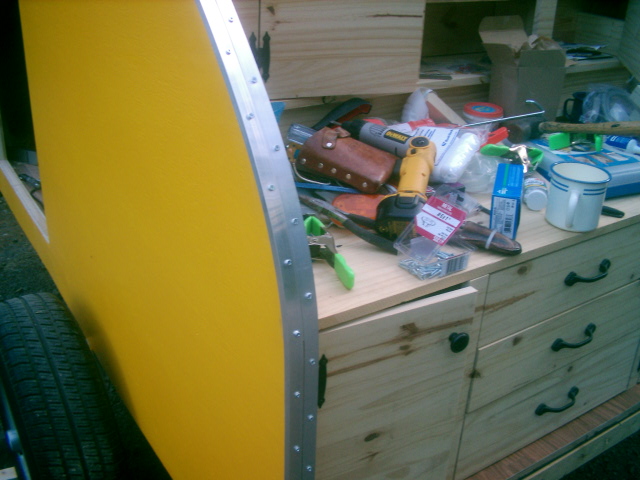
Hope this helps...
-phil
This weekend I installed the aluminum molding around my door frames and the galley wall tops.
I've never worked with aluminum before and it took me a bit to figure out a good method to cut, trim, and install the molding.
I thought I'd share what worked for me...
The walls on my trailer are 1.5" thick so I used 3/4" angle, but I had to trim one side down to 3/8" to bend.
I used a metal cutoff blade on my table saw for the cut and trim of the molding. Home Depot sells them for about $5.00. You'll need eye protection, gloves, and long sleeve shirt.
I also masked the piece I was cutting, I found that it helps reduce the amount of flying particles.
I trimmed the angle molding to 3/8" on one side...
Shown are the rough pieces of molding after cutting...
Then I filed the molding, which was easy, just time consuming...
Here is the clean molding and the rough piece of scrap...
Next I marked the spacing for the screw holes and used a drill bit as a quick center guide...
Here I temporarily install the molding, notice the clamps to hold it in place...
Next I countersunk the holes for the screw heads to sit flush...
Here is the Galley Wall top with one piece of molding...
I was able to bend the molding on the wall without having to heat the molding. I used clamps and to keep the molding close to the wall and went slow and gentle...
Ta Daaa...
Hope this helps...
-phil


