Making my aluminum trailer shine
I previously hijacked Danny's (halfdome,danny) thread on polishing aluminum. I figured I better start my own thread to show my results and explain my method. The following comes from Danny's original thread. My next post will continue with my progress.
Danny, I think I am about to hijack your thread, but only because we are using a similar process. Here are pics of my effort so far (EDIT by me--I had previously written I had used Nuvite C7 when I had in fact used F7. I have changed all references to read F7--sorry):
First compounding stage using compound polisher and Nuvite F7. At this stage just one pass working on a relatively small 2X2 section:
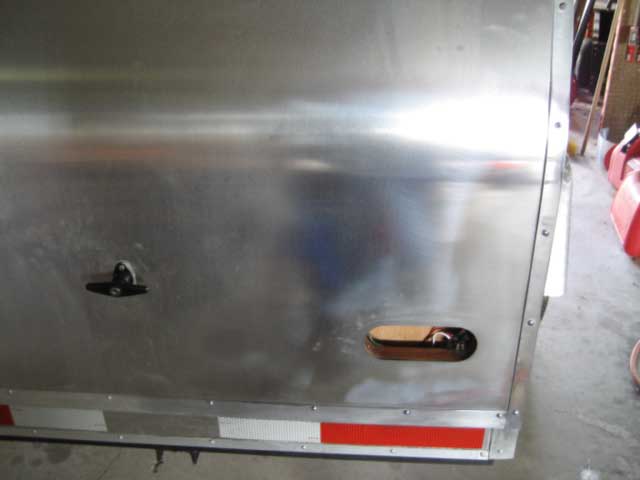
After completing a larger section, the difference is really showing:
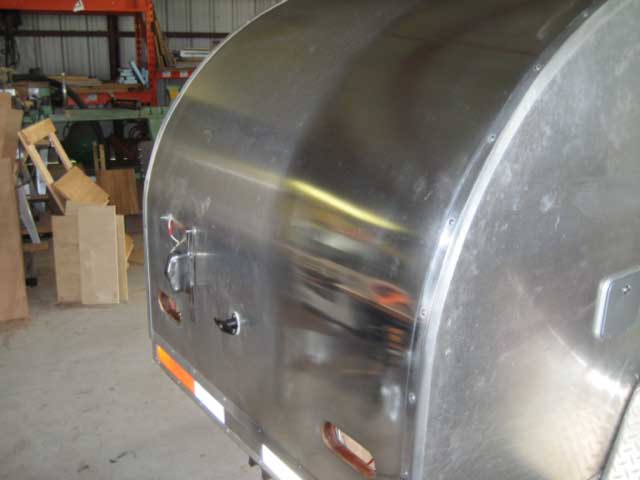
Another view of the same area:
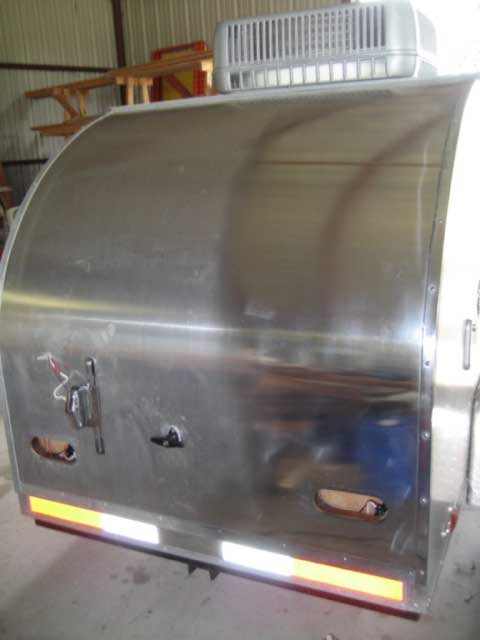
A view of the hatch after completing compounding, then going over with the Cyclo polisher and Nuvite F7 :
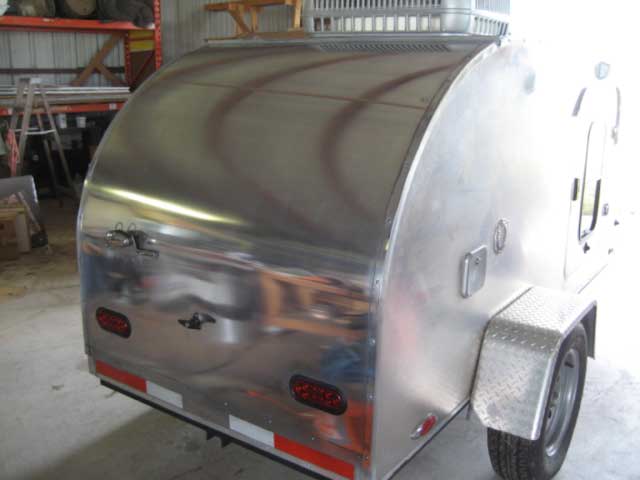
Here is a comparison with where I am on the hatch and what I was able to do on the highly corroded test piece (test piece is on right, reflection on left is the hatch). The test piece had 3 passes with the compound polisher and Nuvite F7, one pass with the Cyclo and F7, and one pass with the Cyclo and Nuvite S:
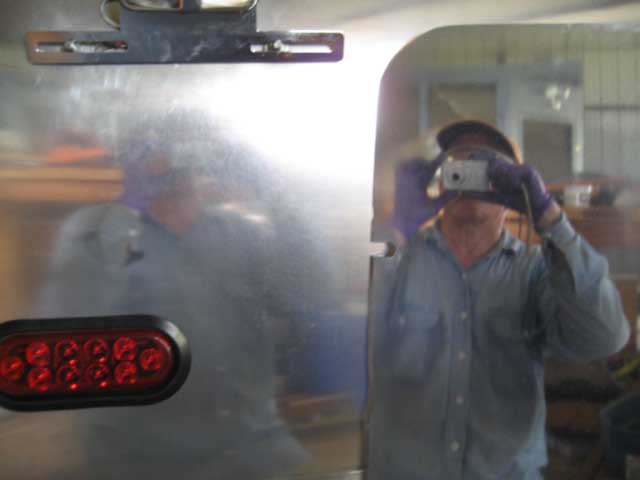
I did a lot of experimenting on the test piece using the polishing steps suggested on the Perfect Polish website. I can achieve a mirror finish, but it would take 5 or 6 passes with the compound polisher using Nuvite F7 (which is a polish with moderately aggressive cutting capability), a couple of passes with the Cyclo and F7, and a couple of passes with the Cyclo and Nuvite S (their finish grade polish).
The multiple passes are necessary to remove sandpaper or Scotchbrite pad induced scratches. On the test piece, the pits from corrosion never went away, although they should (maybe) with multiple passes. Deeper scratches take multiple passes until the edges of the scratch are "rounded" and blended in.
I'm not sure I want to achieve a mirror finish--that wasn't my objective. I did want a shiny finish and found I was already having corrosion formation that had to be addressed. I know the Nuvite is probably the most expensive route, but I am trying to follow a proven process.
Danny, I think I am about to hijack your thread, but only because we are using a similar process. Here are pics of my effort so far (EDIT by me--I had previously written I had used Nuvite C7 when I had in fact used F7. I have changed all references to read F7--sorry):
First compounding stage using compound polisher and Nuvite F7. At this stage just one pass working on a relatively small 2X2 section:
After completing a larger section, the difference is really showing:
Another view of the same area:
A view of the hatch after completing compounding, then going over with the Cyclo polisher and Nuvite F7 :
Here is a comparison with where I am on the hatch and what I was able to do on the highly corroded test piece (test piece is on right, reflection on left is the hatch). The test piece had 3 passes with the compound polisher and Nuvite F7, one pass with the Cyclo and F7, and one pass with the Cyclo and Nuvite S:
I did a lot of experimenting on the test piece using the polishing steps suggested on the Perfect Polish website. I can achieve a mirror finish, but it would take 5 or 6 passes with the compound polisher using Nuvite F7 (which is a polish with moderately aggressive cutting capability), a couple of passes with the Cyclo and F7, and a couple of passes with the Cyclo and Nuvite S (their finish grade polish).
The multiple passes are necessary to remove sandpaper or Scotchbrite pad induced scratches. On the test piece, the pits from corrosion never went away, although they should (maybe) with multiple passes. Deeper scratches take multiple passes until the edges of the scratch are "rounded" and blended in.
I'm not sure I want to achieve a mirror finish--that wasn't my objective. I did want a shiny finish and found I was already having corrosion formation that had to be addressed. I know the Nuvite is probably the most expensive route, but I am trying to follow a proven process.


