Hatch -Match
Good afternoon fellow garage mongers! I'm slowly working my way into the dreaded "hatch zone",and have had a stare-down with these ribs I've cut out,such as they are  Now I'm going to reveal my geometery ineptness. Before I cut these wrong,and have to start drinking heavily, what is the best way to scribe the proper angle on the top of these ribs for the right cut to match the last spar between the hinge and the hatch. Does that make sense? Anyway, any help would be appricieated.........Thanks guys and gals
Now I'm going to reveal my geometery ineptness. Before I cut these wrong,and have to start drinking heavily, what is the best way to scribe the proper angle on the top of these ribs for the right cut to match the last spar between the hinge and the hatch. Does that make sense? Anyway, any help would be appricieated.........Thanks guys and gals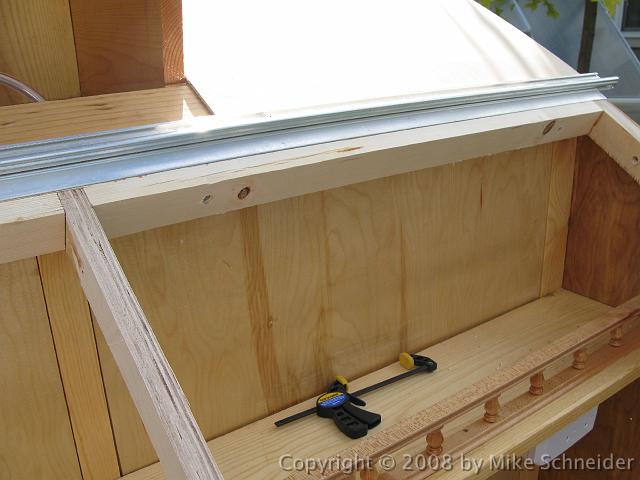

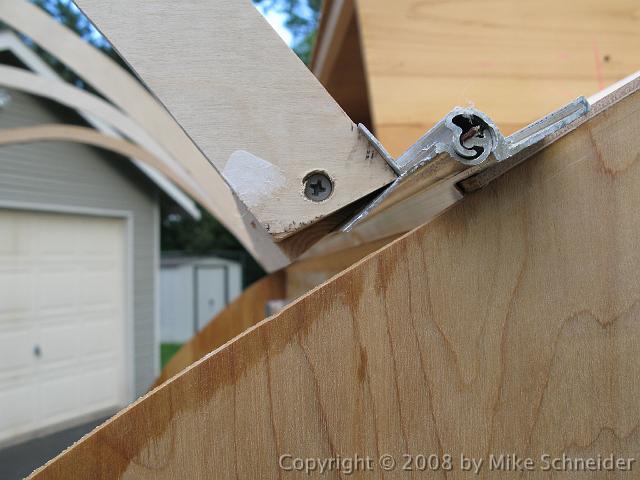
 If it still bothers me in a week, I'll have to glue in a tiny piece to make it look right, otherwise, who cares...

 If you make your mark where the hatch spar joins and cut back the distance of your end board+ whatever gap you need for the hinge you are using you should be there. Thing is too long is fixable and too short is too.
  You just double the end board.