McBrew's Cub Build
I've been fooling around with my HF trailer for a couple of months, but I have finally made a little progress "above the floor." Here are a few pictures that my fiancee (Brandy) took while I was "working." I am cutting a template from MDF board. Later, I'll clamp plywood to it and use a router to make my inner and outer walls.
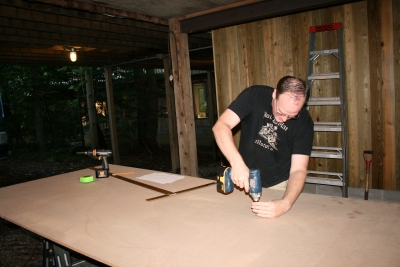
Here I am placing screws for the string.
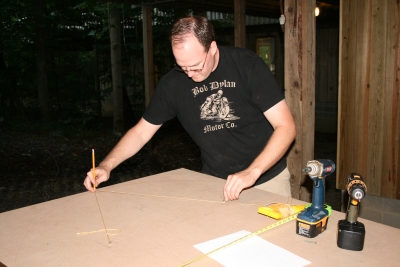
Drawing the curves.
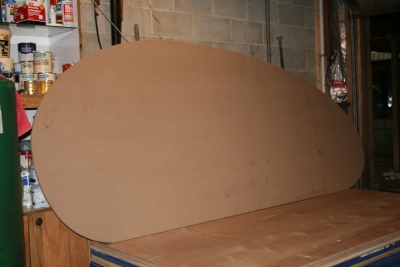
Here is the rough cut shape.
The next step is to belt-sand it down to the exact shape. I'll get that done sometime this week.
Here I am placing screws for the string.
Drawing the curves.
Here is the rough cut shape.
The next step is to belt-sand it down to the exact shape. I'll get that done sometime this week.


 Great profile Greg! Now for some real sawdust!


 . Oh well. The axle is clamped into position... I just need to drill and bolt it onto the frame. I guess I'll need to remove the axle and bolt the brackets to the frame, then reinstall the axle to the brackets.
