Finally got some updated pictures
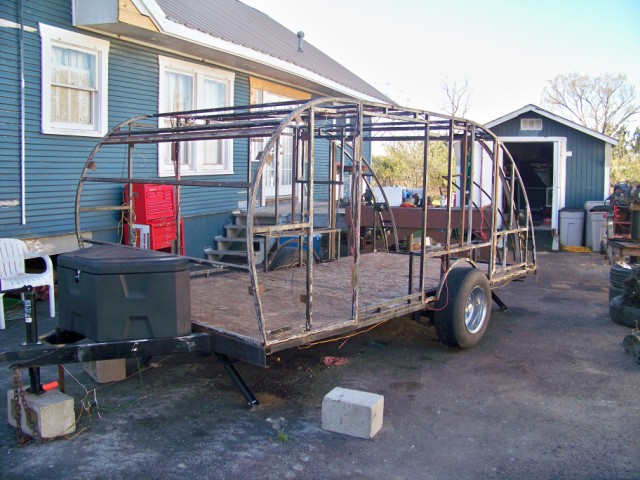
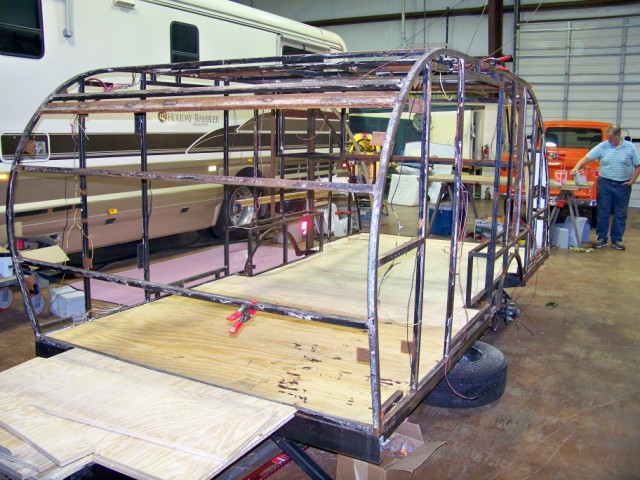
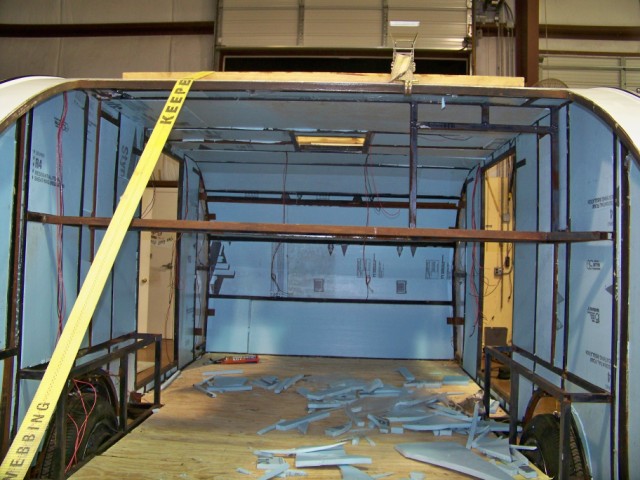
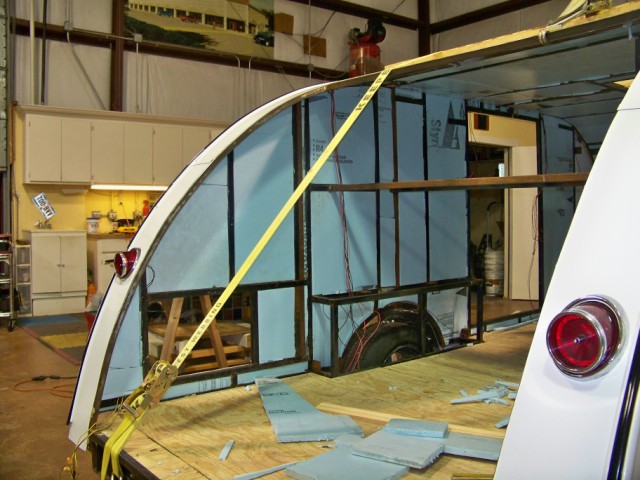
Well thanks to hurricane IKE we had to re-skin our teardrop. We had our teardrop tucked up next to our house for the storm but when half of my carport collapsed a piece of flashing peppered the top and the side. When went to buy more tin the color didn't quite match so we decided a re-do was in order. So we stripped her to the bones and started all over.
 [/img]
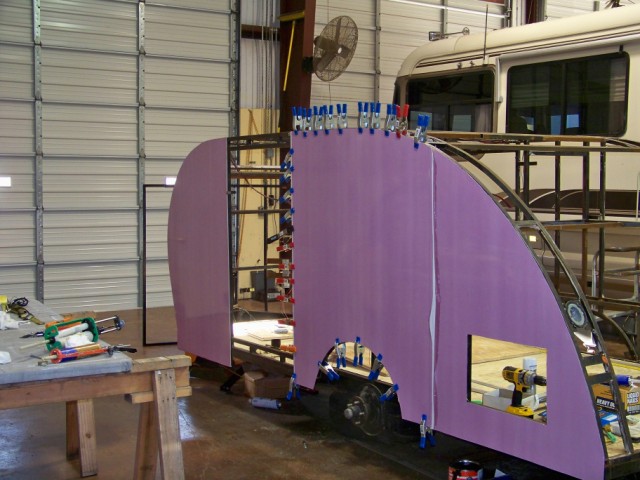
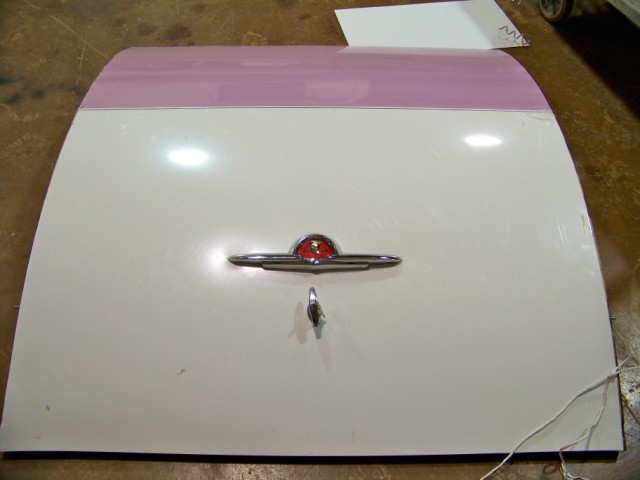
And before anyone asks no it is not going to be lavender
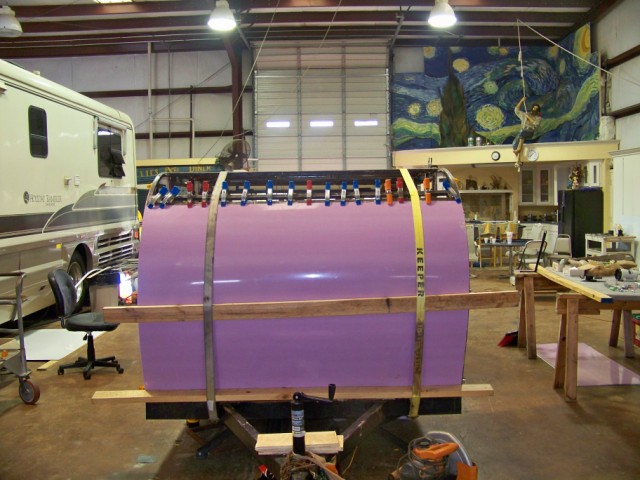
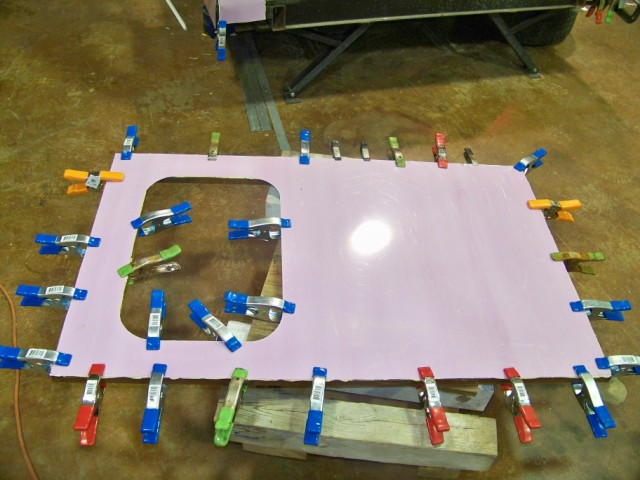
I didnt know I would need so many clippy's

I plan on starting on the interior tomorrow and hope to have it camp able in 2 to 3 weeks if the whole Tx title fiasco doesn't kill us
there are other pictures in our album.
We really hope to see all the TX tear droppers at Spinnernuts Guadalupe Gathering it is going to be a great weekend.
Big DE
http://www.tnttt.com/viewtopic.php?t=27032
And before anyone asks no it is not going to be lavender
I didnt know I would need so many clippy's
I plan on starting on the interior tomorrow and hope to have it camp able in 2 to 3 weeks if the whole Tx title fiasco doesn't kill us
there are other pictures in our album.
We really hope to see all the TX tear droppers at Spinnernuts Guadalupe Gathering it is going to be a great weekend.
Big DE
http://www.tnttt.com/viewtopic.php?t=27032


 . We look forward to camping with you and hopefully you might be able to make it too Spinnernuts Guadalupe gathering in august.

 I was wrong.after reading the SMDS I found out that it sets up in about 10 minutes. so buy the time I got ready to stick the second sheet of AL the epoxy was hardening up in the mixing tip rendering it useless. So I had to decide which were the most important seams to be glued and use it there. So for the rest of the trailer we used liquid nail construction. We had used it before and it was a real pain in the butt to get it off the frame when we stripped it. I did use a bead roller for all the seams and it overlapped each seam 1 inch. Then we used liquid nail on the inside gluing from behind. But if you ever happen to be coming thru Tx. on your way to a gathering and you see white AL sheet metal littering the highway just go ahead and pick it up and bring it to me ill be at the gathering.
