Page 1 of 1
Ultralight wall laminations

Posted:
Sat Jan 02, 2010 1:48 pmby Larry C
New builder here,
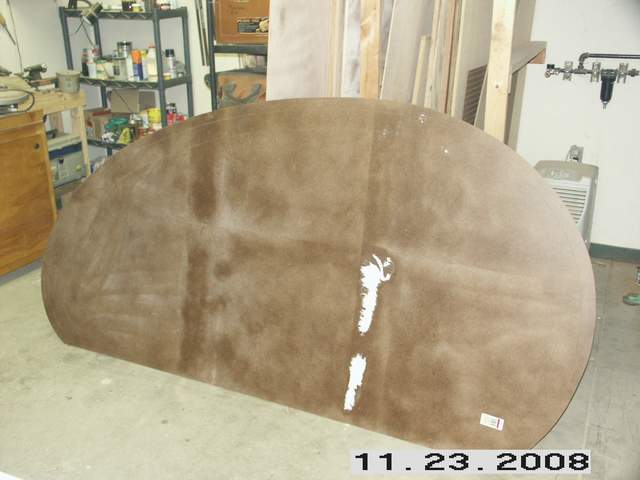
I am planning to build Mike's Ultralight design with some mods. I have several questions, but the first one is the wall profile laminations that Mike used by glueing thin strips around dowels. I am looking for more detailed info on this method. I searched the forum, but don't see where others have used this method. I know it looks pretty straight forward and I have used the method in strip kayak building, I just like having as much info as I can before starting. Any help appreciated........
Larry
Posted:
Sun Jan 03, 2010 11:37 pmby wannabefree
Larry -
You won't find a lot on this site, but there is some because I put it there. Try searching for "bent lamination" and you'll come across what I have done for side molding. Also google it. Boatbuilding sites will have some good info.
If I recall what Mike did correctly, the dowels were set into a sheet of particle board or such and used as a form. That's one good way to make a bending form. You can also just cut the profile out of scrap and use that as a form, which is how I did it.
Have LOTS of clamps on hand!
Posted:
Mon Jan 04, 2010 12:01 amby starleen2
Used the same method on the lady bug WW
[/img]
Posted:
Mon Jan 04, 2010 12:10 amby dwgriff1
The advantage is that it gives you a good crisp, properly smoothed edge. I did not do it that way, but I wish I had.
The jig would not have to be dowels. A sheet of cheap chip board could be cut to make a jig. Seems that might be easier.
If the walls were framed, one could even use that framing for a mold. That is what I did for the front laminations on my woody.
dave
Posted:
Tue Jan 05, 2010 3:32 pmby Rock
Larry,
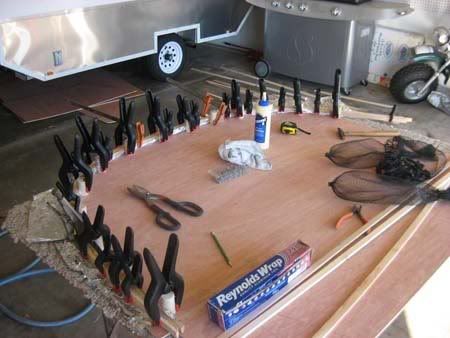
I followed Mike's method except that I glued all the strips togther at once due to the long open time afforded by epoxy.
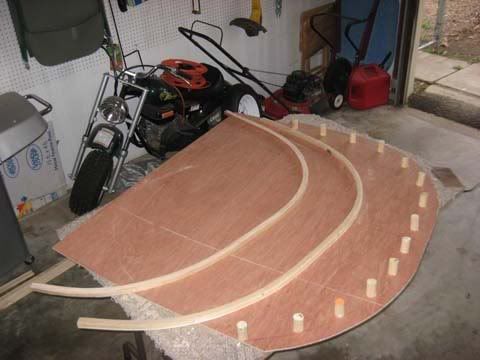
Made an 1/8" MDF template from Mike's XY coordinates in the PDF plan:
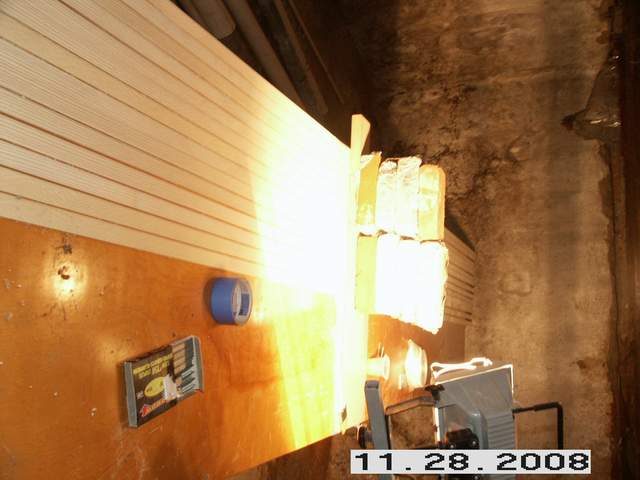
I'm fortunate to have a nice tablesaw so I was able to saw up clear (knot free) framing lumber into even 1/8" strips. Following the method used to joint plywood for my Pygmy kayak, I end glued them with epoxy and fiberglas tape to get 16' lengths. (Weight and a little heat in the nasty cold basement)
Mounted the template to 3/4" MDF and used the "offset dowel" method in Mike's PDF to get the laminations dead nuts. As mentioned glued them all up at once with every single clamp I owned.
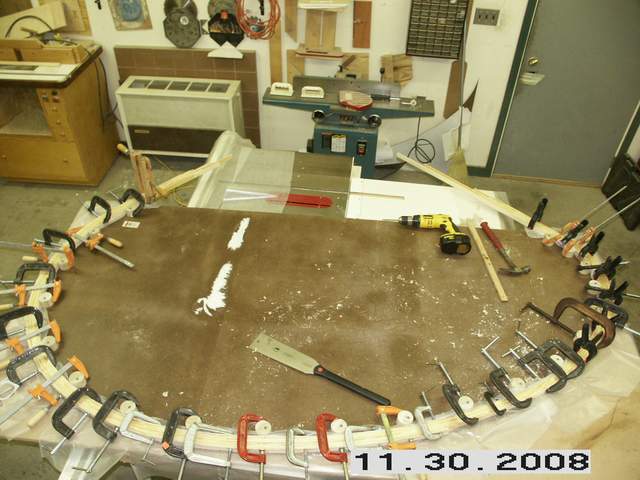
Very happy with the results of this method.
Eric
Posted:
Tue Jan 05, 2010 4:40 pmby mikeschn
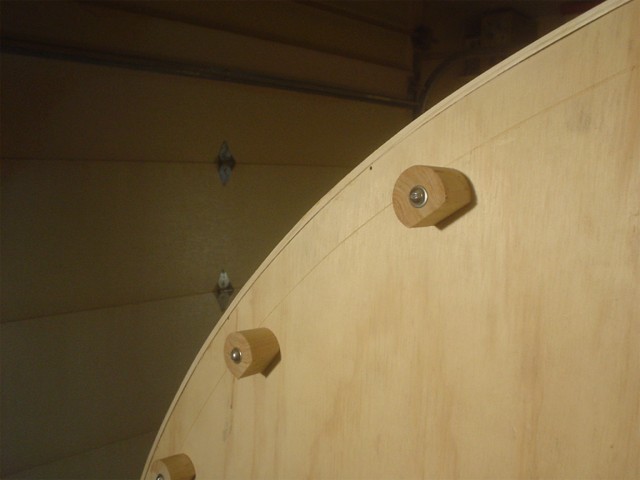
First I drew a line representing the inside of the profile on the top of the table.
Then I bought a dowel, and cut it up into short lengths... 1" I think. Then I drilled 11/64" holes in the end of the dowels... Anywhere but the center.
Then I screwed the dowels to the table top. Because the screw was not in the center, I could rotate the dowel around until it matched up with the line perfectly.
I used Titebond III to glue the strips together.
Mike...
Posted:
Tue Jan 05, 2010 6:52 pmby Larry C
Thanks All.....
I now have a better idea of the process. I have used the method in boat building for stem laminations, but this is a small lamination and is glued in place. I have the equipment to cut the strips and lots of clamps.
I see Mike used 8' and Rock used full length strips, butt glued and taped both sides (Pygmy panel method). I would think the thickness build-up would be an issue, especially if several strips had joints on top of each other. How did you handle that, Rock. I can work this out myself, just wondering what you all did.
Thanks,
Larry
Posted:
Tue Jan 05, 2010 7:57 pmby Juneaudave
Just a slight mod on the technique (probably no better or worse), I drilled the hole in the center of the dowels, and then took a chisel and whacked off a flat side to clamp to...that helps keep the clamp and dowel from rolling when your in a hurry...
Posted:
Wed Jan 06, 2010 8:55 amby Rock
Larry,
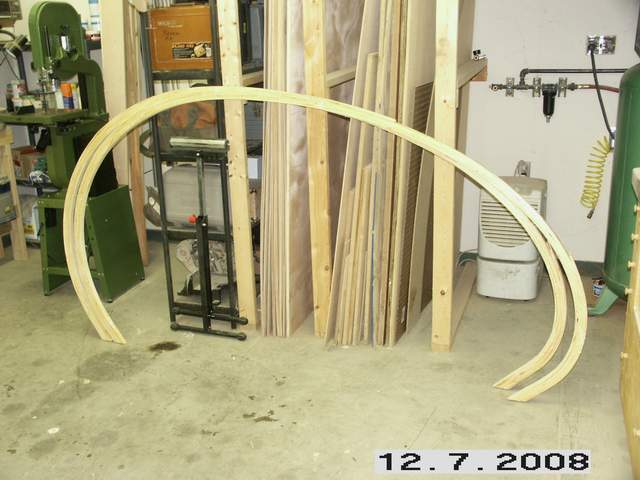
When end gluing the strips the weight of the bricks helps keep the "bumps" minimized. Still they are there. So I made sure to offset the bumps in the lamination. Like laying up a brick wall or laying shingles - keep offsetting. The 16' length gave me plenty of latitude to do that.
In the end I had only a couple of "bumps" in the finished profile which I quickly whacked off with a hand plane. Even if I hadn't I don't think anyone would see in the finished product.
Eric
Posted:
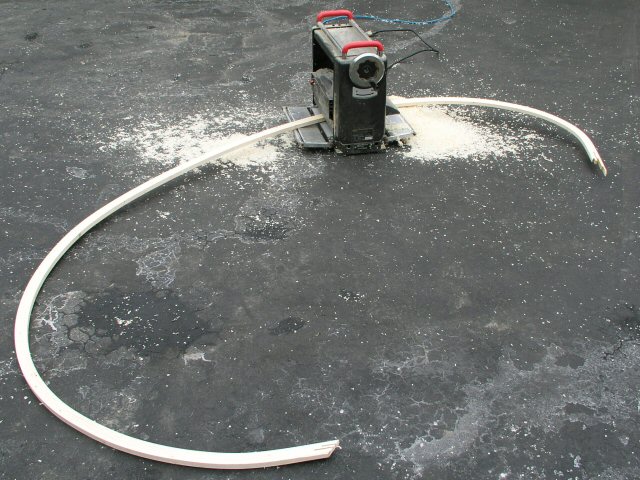
Wed Jan 06, 2010 4:31 pmby mikeschn
I ran my laminate profile thru a planer. I'll be back with a pic.
Mike...
P.S. Here it is...