Page 1 of 2
Fastening/setting the roof panels while the epoxy sets

Posted:
Mon Sep 20, 2010 11:06 amby tcolar
I'm about ready to set my roof up (walls up, roof spars already installed).
I'm using laminating epoxy to set them.
While it seem to easier to put the "inside panel" first (ply/foam sandwich) , i think i might put the outside one first because it's the one I want to make sure is set correctly and I want to avoid fasteners on the outside, whereas on the inside I don't care and will use them.
Now the question is what are the best techniques to set the roof panels in place and keep them there while the epoxy sets (in particular for vertical surfaces and curves) ?
- It does not seem I can use clamping in this case (90 degree angle)
I'm thinking one of the following:
- Using screws to secure into the spars from the outside ... then while the epoxy sets, remove them and patch the holes ?
- pre-gluing little "tabs" on the inner side of the outer skins(where they will line-up with the spars) and use that to clamp, screw into the spars from the inside ?
- Other ideas ??
The reason i don't want to leave screws in, is not so much for look but worries that they will wiggle loose and create a path for the water to go in.
Note: The finish will be CPES + Colorcoat (like boat hull paint).
Posted:
Mon Sep 20, 2010 11:47 amby Darren
Not sure if this is the right answer but I used strap clamps to hold my roofing in place while the glue dried. Get a few of them. I had 2 but more would have helped out a lot.
Posted:
Mon Sep 20, 2010 12:09 pmby tcolar
Didn't even know strap clamp existed, sounds like at least a couple of them would be handy for sure.
Posted:
Mon Sep 20, 2010 12:21 pmby Darren
I use them a lot now. Never needed them before I knew they existed.

Harbor Freight has them for cheap. Looks like Ratchet Tie-Down is the name they use.
http://www.harborfreight.com/2-inch-x-2 ... 66883.html
Posted:
Mon Sep 20, 2010 12:24 pmby tcolar
Cool, love that store .. their 9.99$ 18v cordless drill is the most used tool on the trailer and already has been way worth it, even though I expected it to not last very long.
I don't think all their stuff are good, but not as bad as you would think either.
Posted:
Mon Sep 20, 2010 12:31 pmby bobhenry
I used 4 1/1/2" heavy duty ratchet straps.
If you place scrap foam under the strap it will protect the face and equalize the pressure.
On vertical surfaces like your front use a strongback with a standoff
( a good straight 4x4 with a large block of 3-4 2x4's stacked in the middle) this will create lateral pressure to the vertical face otherwise it would simply pull straight down.
Posted:
Mon Sep 20, 2010 12:54 pmby tcolar
Not sure what a strongback with a standoff means (sounds like a military fighting strategy

)
Will try to see if i can get a visual on Google.
Posted:
Mon Sep 20, 2010 12:56 pmby tcolar
Ha, I see, like this:

Makes sense, thanks.
*EDIT*...I edited your pic using
www.tinypic.com to make it easier to view for all...especially those on dial up..........madjack

Posted:
Mon Sep 20, 2010 1:14 pmby madjack
...straps are OK, as is fastening with screws and then removing them latter...I believe Doug Hodder does that on all his builds....
madjack
Posted:
Mon Sep 20, 2010 1:18 pmby tcolar
Thanks for editing the pic, should have done it, didn't think of it, just snagged it of Google.
Both the wall and the pic are much bigger than needed
Thanks for the info.
Posted:
Mon Sep 20, 2010 1:27 pmby bobhenry
Here is a poor rendition of what I was trying to say.
(Paint sucks wish I was a cads guy)
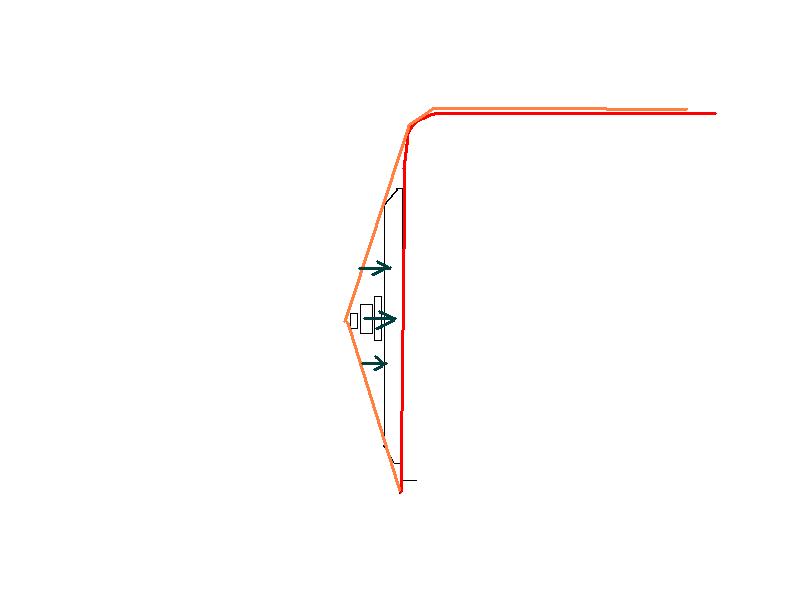
The orange is the strap the red is the profile. Maybe this will help a bit
Posted:
Mon Sep 20, 2010 1:36 pmby tcolar
Yep, I understand that, thanks.
Posted:
Mon Sep 20, 2010 2:52 pmby schaney
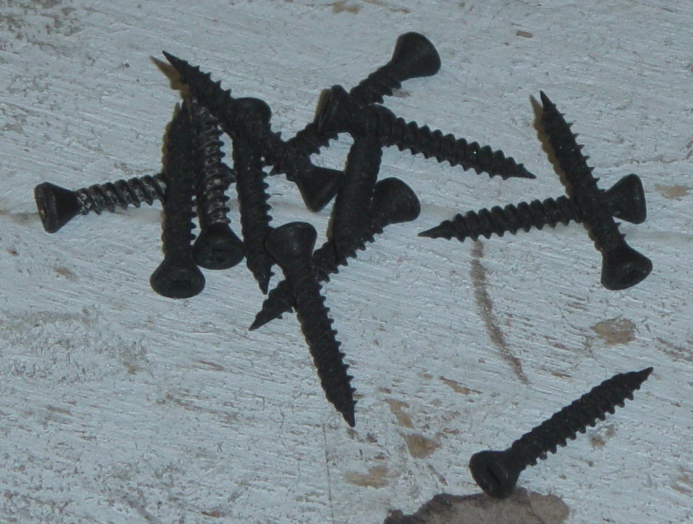
Tcolar, I'm a fan of using trim head screws where clamping isn't easy. I leave them in for some added strength. I use the excess epoxy from gluing to fill the holes, so far, haven't had any back out on me.
Posted:
Mon Sep 20, 2010 4:38 pmby aggie79
schaney wrote:Tcolar, I'm a fan of using trim head screws where clamping isn't easy. I leave them in for some added strength. I use the excess epoxy from gluing to fill the holes, so far, haven't had any back out on me.
I used screws (self drilling) too, but with PL Premium instead of epoxy as an adhesive. After the PL Premium set, I removed the screws and filled the holes. Then a single coat of epoxy was applied as a seal coat before the aluminum was installed.

It took quite alot of time to fasten everything, but the PL Premium had a long working time. You may want to consider how much working time you'll have with the epoxy.
Posted:
Mon Sep 20, 2010 4:44 pmby tcolar
Yeah, I think I will go with the screw method ... makes sense and is a pretty flexible & simple method.
With the epoxy i have and the medium hardener and temps around 60F here, I should have quite a lot of working time, at least 2 hours.
@aggie79 Those are some pretty tight curves ... looks great !
Thanks.