Newbie - Wall Attachment Question
It appears the most popular methods of attaching walls to the frame are:
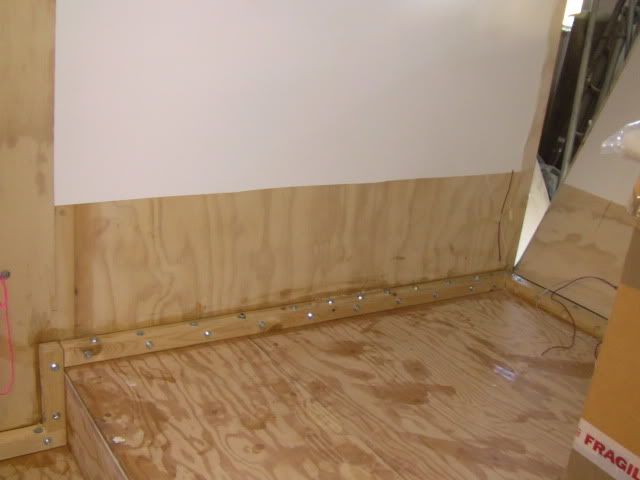
A) Place the walls on top on the floor. This gives a few more inches to the cabin height but will narrow the distance between the walls.
B) Make the floor slightly wider than the frame and notch the walls to slip over the floor edge and cover the frame. Can give you the full width of the frame but will lose a few inches in cabin height. May interfere with fenders and tires.
Does anyone have any other pro / cons to these methods? Thanks.