Page 1 of 2
Frp pebble side down

Posted:
Mon Jul 18, 2011 4:48 pmby jtsarby
I decided to use frp to skin my camper. I want a smooth surface however the smooth Frp is $20 higher than the pebbled Frp. Would there be any problem with buying the pebbled finish an attaching it to the camper smooth side out?
Posted:
Mon Jul 18, 2011 4:55 pmby aggie79
I don't believe the back side of the FRP has gel coat. This may not matter if you plan to paint the FRP. I think the real issue will be how to adhere/attach the FRP pebble-side down. You won't be able to glue it, but I guess you could float it and capture the edges with trim.
Posted:
Wed Jul 20, 2011 3:01 amby dh
Pebble side out might look interesting... I think having to finish it and figuring out how to attach it might not outweigh the $20 per sheet.
Posted:
Wed Jul 20, 2011 5:50 amby bobhenry
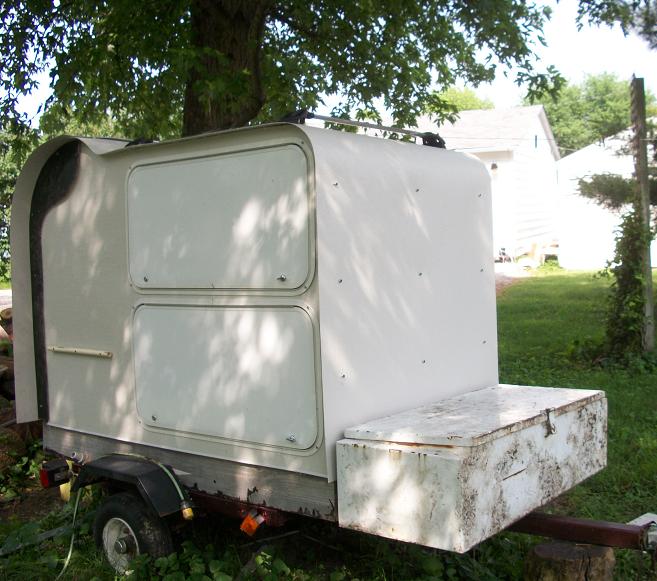
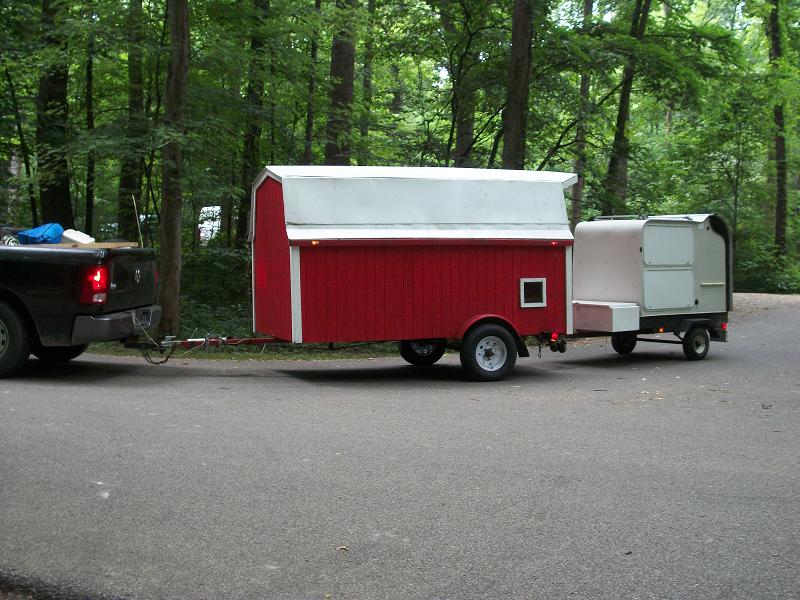
Just finished the chuck wagon with the pebble faced FRP. The distressed face is to aid in hiding any surface scratches and future damage. I loved working with the stuff. Cuts with a fine blade in a circular saw , a jig saw, router, I even used a power planer to level out some unsteady jig saw cuts. I used no glue, the bay doors and and the screws are all that hold the FRP on. I used nothing under the roof panels but the 12" on center spars. Several of our group have used it for roofing and the material holds up admirably.
One word of serious warning..... Do not be a macho dumb ass like me!
The dust and shards produced while cutting the FRP are not friendly to the eyes. Wear complete wrap around eye protection. The trailer is done and I still am having serious eye infections. It has been 3 weeks since I was cutting and sawing this stuff and I am still tossing drops in my eyes and having goop and green discharges oozing out of the corners of my eyes. So please protect your eyes
Posted:
Wed Jul 20, 2011 8:47 amby wagondude
bobhenry wrote:One word of serious warning..... Do not be a macho dumb ass like me!
The dust and shards produced while cutting the FRP are not friendly to the eyes. Wear complete wrap around eye protection. The trailer is done and I still am having serious eye infections. It has been 3 weeks since I was cutting and sawing this stuff and I am still tossing drops in my eyes and having goop and green discharges oozing out of the corners of my eyes. So please protect your eyes
......And your lungs as well.
Bill
Posted:
Wed Jul 20, 2011 1:41 pmby dh
I'm glad you posted pics of the chuckwagon... and not your eyes.
Bob, could you clarify ''distressed'', did you mount it pebble side in as sugested in the OP?
Posted:
Wed Jul 20, 2011 2:02 pmby bobhenry
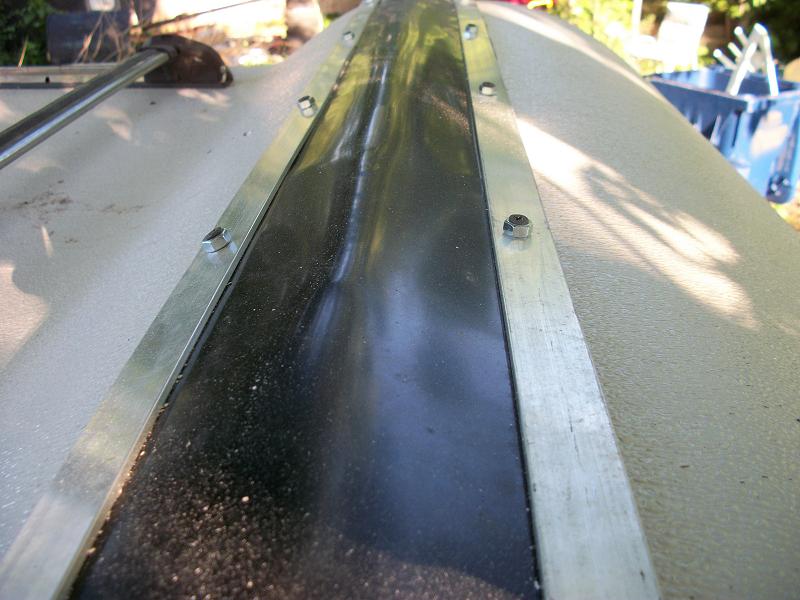
Pimples out
Posted:
Wed Jul 20, 2011 3:48 pmby aggie79
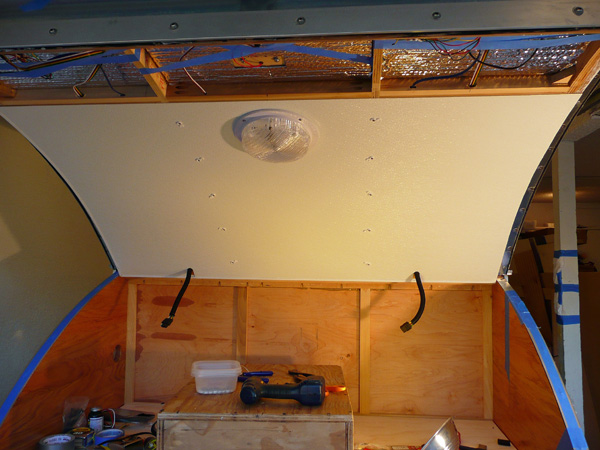
BTW - I used FRP on the underside of my hatch - pebble side facing out.
Like Bob said, when you cut/drill the stuff, shavings and chunks fly everywhere.
Posted:
Wed Jul 20, 2011 6:27 pmby CarlLaFong
I have installed quite a bit of FRP, in restrooms and kitchens, when I was a working carpenter. The back side, of all the stuff that I ever used, was ugly. It has no shine, to give it some "tooth", so the adhesive will stick
Posted:
Wed Jul 20, 2011 10:02 pmby jtsarby
I am planning on painting the smooth side.
Posted:
Wed Jul 20, 2011 11:15 pmby CarlLaFong
jtsarby wrote:I am planning on painting the smooth side.
Shouldn't be a problem then. If you're going to use adhesive, rough it up real good.
Posted:
Thu Jul 21, 2011 11:43 amby halo1
Looks good in the lid area, Im taking the plunge and using frp pebble side out, I think it will hold up just fine. I had other ideas but there slowly fading away lol.
FRP
Posted:
Thu Jul 21, 2011 11:26 pmby Visionquest
Check out the ROAM build if you haven't already. The FRP pebble side out looks very sharp on this trailer.
Posted:
Fri Jul 22, 2011 10:38 amby b.bodemer
Like bobhenry cautioned: be careful when cutting. I wore long sleeves,gloves and eye protection. The finer the cut the more dust. I vacuumed everything up right away.
Barb
attachment means
Posted:
Mon Jul 25, 2011 6:40 pmby pmspirito
what did you use to attach the FRP to the underside of the lid?
Screws or those plastic drive in rivits. are the holes drilled oversize to allow for movement.
I plan to use FRP on the ceiling of my cargo conversion.
thanks for the cutting info.