Page 1 of 1
Interior trim

Posted:
Wed Nov 20, 2013 7:33 amby drgrumpus
I've got my headliner in and have 1/8 to 3/16 gap between it and walls. I've been searching for some sort of flexible beading to dress these corners. So far 1/4 inch quarter round is all I can find. Would have to steam and bend it around 20 inch radius.
Any alternatives????
Mike
Re: Interior trim
Posted:
Wed Nov 20, 2013 7:42 amby rowerwet
home depot sells a rubber type molding that looks lke wood, it may be a special order
Re: Interior trim
Posted:
Wed Nov 20, 2013 8:44 amby KCStudly
Some people have used hemp rope for a rustic twist (but I'm personally not a big fan of the look).
If the 1/4 round is too marginal in size to cover your gaps, consider making your own using a 3/8 round over bit and router. You could try cutting kerfs in the back of the 1/4 rnd and see if that helps you form it to the curve(?).
Re: Interior trim
Posted:
Wed Nov 20, 2013 9:07 amby corncountry
I used a plastic molding, called shoe molding. It measures 3/8 by 5/8. It bent nicely around my 20 in. radius.Got it from the big box stores.
Jim
Re: Interior trim
Posted:
Wed Nov 20, 2013 9:56 amby bobhenry
I hid mine with rope lights!
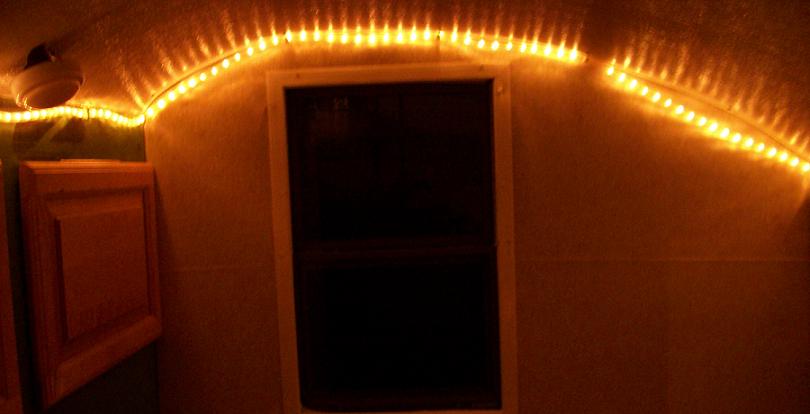
Trim with some ambient lighting

Re: Interior trim
Posted:
Wed Nov 20, 2013 6:16 pmby Roo Dog
Mike,
We obtained a roll of small flat section rubber molding from the local hardware store, adhesive on one side as bought. Reduced the overall width with scissors.
Went on like a treat over the interior trim. Easy to replace if needs be. Been there over two years now.
RD

Re: Interior trim
Posted:
Wed Nov 20, 2013 7:08 pmby tony.latham
If you decide to go with steam bending, a piece like that would be easy to steam in a piece of plastic pipe. I've done it. The trick is to move fast and have your bending jig all set up and ready for it to go in and cool. I can envision using dowels set in a piece of plywood for this task. There is some rule of thumb about time in the steam based on thickness. I don't recall but I'm sure it's on the 'net somewhere.
I had the same problem inside my hatch but didn't have the tight radius to contend with –so no steam needed. Glue and crown staples had me fixed up in no time.
I spent many a night lying in bed trying to find tomorrow's solution!
TL
Re: Interior trim
Posted:
Wed Nov 20, 2013 7:53 pmby oakinteriors1
Just make it.....
Cedar trim....do it and the cabinets first then lay the inside skin on top then add the spars etc...
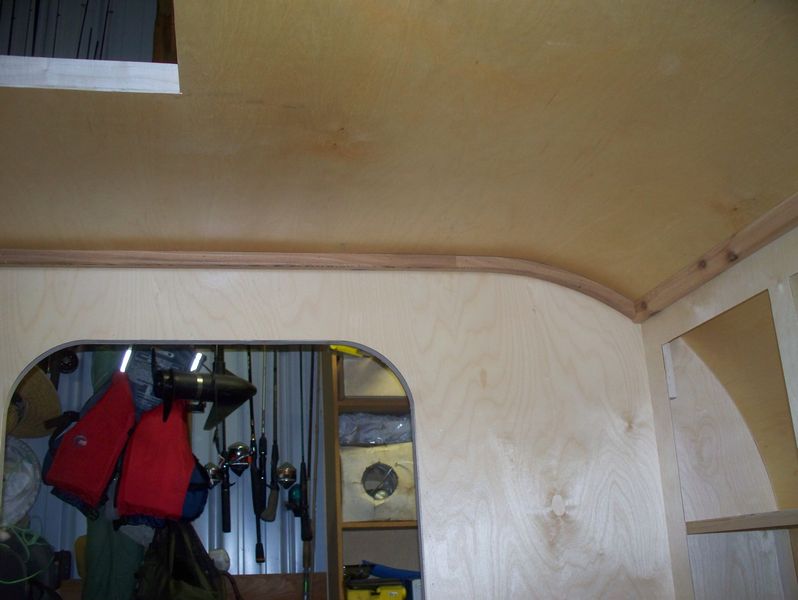
- tn_100_4042.JPG (47.79 KiB) Viewed 737 times
Re: Interior trim
Posted:
Wed Nov 20, 2013 10:16 pmby Campin' Texan
I used this
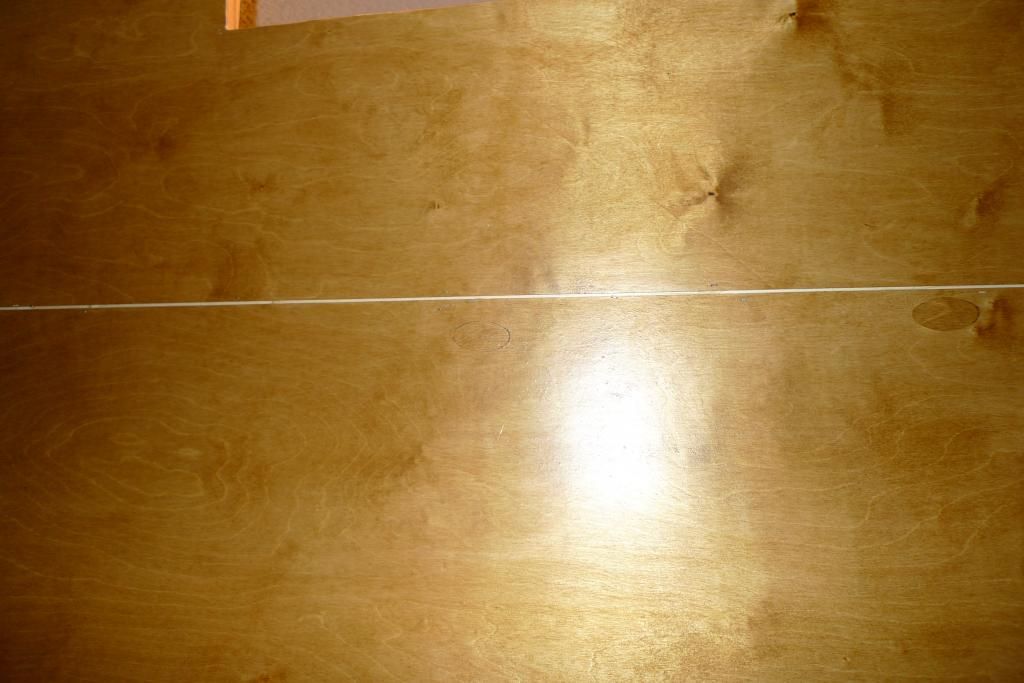
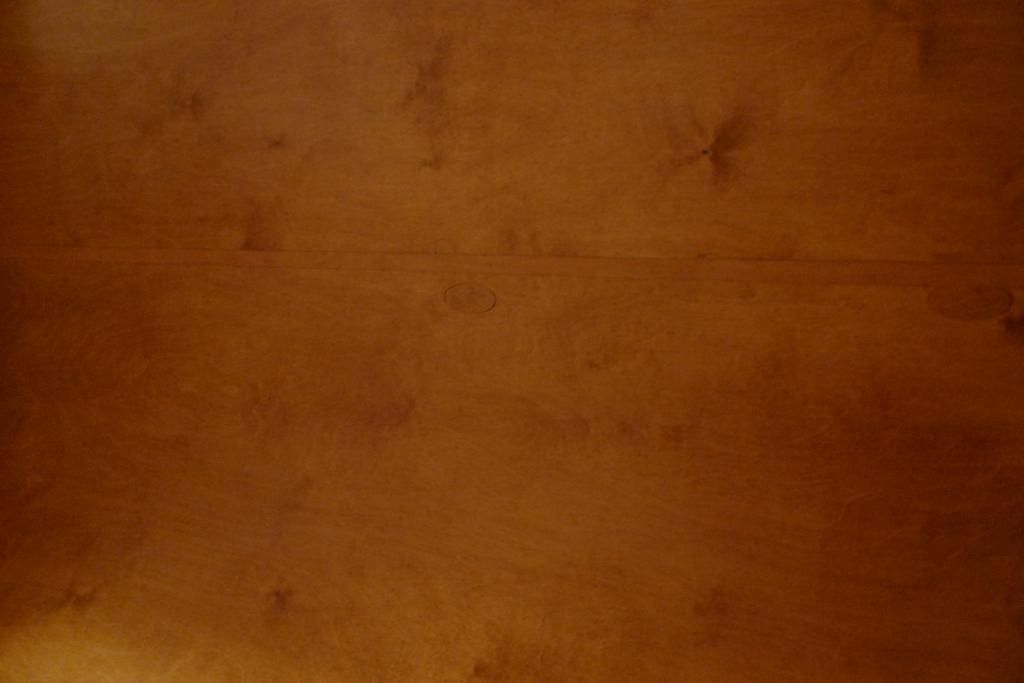
real wood veneer. It stained to match my birch perfectly. It comes in a couple different types of wood. The iron on adhesive has held up great. I had a small gap between sheets of plywood on my ceiling. This worked great to cover the gap and cover nails. Here's some before and after pics.
before
after
Re: Interior trim
Posted:
Thu Nov 28, 2013 7:43 pmby rowerwet
Re: Interior trim
Posted:
Sat Dec 07, 2013 9:27 pmby rick e
oakinteriors1 wrote:Just make it.....
Cedar trim....do it and the cabinets first then lay the inside skin on top then add the spars etc...
tn_100_4042.JPG
Nice, this would be my preferred trim. The plastic stuff is useful though, I haven't seen the rubber.