Page 1 of 1

Help with wall/hatch design

PostPosted: Tue Aug 04, 2015 10:26 pm
by TimC
I may have messed up when I cut the wall profile for the hatch area. Below are three photos of the dado I cut in the wall. The wall thickness is 1-1/4". The dado is 1/2" x 1/2", leaving 3/4" thickness on the original profile shape. I've seen many different designs so I'm not too worried that I can't overcome this obstacle. Any suggestions on how to build the hatch without modifying the wall too much? Thanks.

Image

Image

Image

Re: Help with wall/hatch design

PostPosted: Wed Aug 05, 2015 7:46 am
by KCStudly
So, what is the problem again? :thinking:

I guess it all depends on what the plan for the hatch and seal is in the first place, whether or not there is a problem. More details please.

Are you attempting to use <edit> Steve's </edit> method or something else?

Re: Help with wall/hatch design

PostPosted: Wed Aug 05, 2015 9:49 am
by dales133
Im pretty sure what ever your concern is it can be rectified but yea.... we need more informarion on what youd planned and where you think youve gone wrong.

Re: Help with wall/hatch design

PostPosted: Wed Aug 05, 2015 9:54 am
by TimC
Guess I'm jumping the gun on this question. I'm still working on cabinets, so, it will be a while before I need to figure this all out. I did look back at the S. Frederick hatch method and I will adapt to that somehow. Originally I was going to overlap the double 1/8" lauan hatch skin over the wall profile. I now think that 1/4" lamination of lauan will flex too much after a while. I'm thinking maybe I will CAREFULLY cut 1-1/2" of the existing profile off saving the cut-off for my outer hatch frames.

I don't know what I was thinking when I cut/routed this part of the profile out...

Re: Help with wall/hatch design

PostPosted: Fri Aug 07, 2015 7:57 am
by noseoil
How about a slice of 1/2" material to pad out the inner wall faces & make a "lip" which protrudes up past the 1/2" rabbet a bit on the inside? This would help keep any water which leaks past the seal in a small "gutter" and rolling down to the floor, so it can be directed outboard and escape.

I used 1/2" birch plywood to make mine & mounted a strut attachment to this inner face as well.

Re: Help with wall/hatch design

PostPosted: Sat Aug 08, 2015 9:27 am
by TimC
noseoil wrote:How about a slice of 1/2" material to pad out the inner wall faces & make a "lip" which protrudes up past the 1/2" rabbet a bit on the inside? This would help keep any water which leaks past the seal in a small "gutter" and rolling down to the floor, so it can be directed outboard and escape.

I used 1/2" birch plywood to make mine & mounted a strut attachment to this inner face as well.


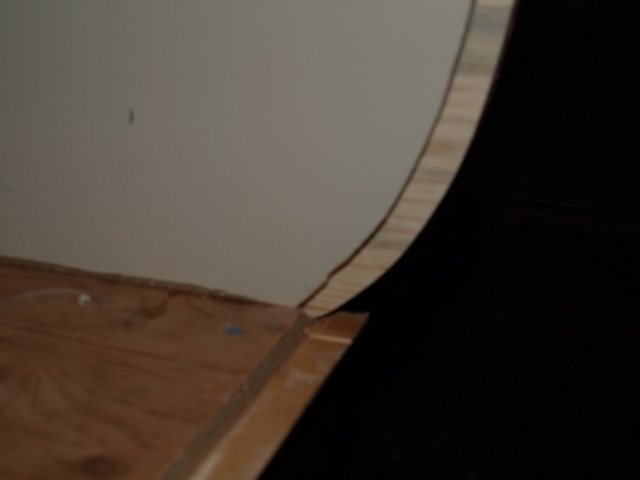
Do you have a photo or sketch of what you are describing? I get what you mean about the 1/2" filler and the lip, but not sure how it all finishes up. I may be looking at my hatch all wrong, but, I see two 1/8" lauan plys laminated together to top it off. I'm a bit worried it won't stand up to time just hanging there. I know I'm probably making too much of this hatch build.

I'm just finishing up my foot board cabinets today, then on to the galley cabinets. It will be a while before I get to the hatch. I've slowed down on the work pace as I realize this build is going to take much more than the month which was my original estimate.

Re: Help with wall/hatch design

PostPosted: Wed Aug 12, 2015 9:23 pm
by TimC
I trimmed the profile and routed out a "gutter" on the exterior side. It turned out a little sloppy, but, workable. The cedar siding took a beating on the edge with a lot of tear out. I was impatient and didn't take the time to put on masking tape to eliminate the tear out. Guess I'll do a trim piece along the outside edge all the way from front to back to hide my opps.

Image

Image

Thanks all for the suggestions. I appreciate them all.

Re: Help with wall/hatch design

PostPosted: Thu Aug 13, 2015 7:56 am
by KCStudly
I had similar issues with splintering while cutting Red Grandis, until I was reminded of the trick to score your cut lines with a razor knife first (Thanks to GPW). Made all the difference in the world.

Re: Help with wall/hatch design

PostPosted: Thu Aug 13, 2015 10:16 pm
by noseoil
Sorry I didn't get back to you sooner, didn't see the thread again until now. Here's a shot from inside with the 1/2" spacer & an extra piece for the strut mount fastened in place.

Image

Here's the rough-in for that part, being fit to the inside & curve & checked.

Image

Re: Help with wall/hatch design

PostPosted: Fri Aug 14, 2015 1:27 pm
by TimC
noseoil wrote:Sorry I didn't get back to you sooner, didn't see the thread again until now. Here's a shot from inside with the 1/2" spacer & an extra piece for the strut mount fastened in place.

Image

Here's the rough-in for that part, being fit to the inside & curve & checked.

Image


OK, I was thinking something else. I will probably incorporate trim like this in my hatch as the smaller gutter I routed may not give much protetion in a driving rain (or driving in the rain. A few more interior tasks to get done and family up for the weekend so it slow down here til next week.