Page 1 of 1

Edge Trim Bending

PostPosted: Sun Dec 06, 2015 12:59 pm
by ocasioc25
Hello all,
I am in the process of installing the sides on my teardrop. So far I've cut one side and ready to install it with contact cement. I'm just going to go around the perimeter of the trailer side, the doors and windows only. It doesn't get that hot or cold around here or where ever I'm going for the aluminum to warp. Sanded all the wood filling covering cracks and screw holes and already cut the aluminum sheet. I am in Delaware and after looking around all over I did find a place that has aluminum sheets that are 10'x5' just down the road from me. After checking in Maryland, Pennsylvania and New Jersey all over the net. Rierson is the place in case any body needs the info. They have a minimum of $300.00 sales purchase. 10'x5'x.050" are the sheets I purchased. Now here comes the question. I went with the teardrop pattern which has that radius in the front and end. Where can I purchase the edge trim and the real question is how do I bend it around the edge with out crimping it?

Any help will be appreciated.

Thank you

Carlos

Re: Edge Trim Bending

PostPosted: Sun Dec 06, 2015 2:28 pm
by dales133
Depends on the trim tou get but if its pre aneled or deadsoft it should bend easy.
I just phoned around caravan repair or parts placez and eventualy found some in mill finnish an hour away

Re: Edge Trim Bending

PostPosted: Sun Dec 06, 2015 3:55 pm
by halfdome, Danny
To make the aluminum edge trim softer to avoid kinking it you'll need to anneal the aluminum.
Use a candle to smoke one side of the trim and then use a propane or map gas torch to burn off the smoke.
Image
It's a delicate process, as too much heat and the aluminum will break off.
I prefer map gas as it's a little hotter.
I put the trim on a couple sawhorses and do it outside because of the possibly of a fire and the gases annealing produces.
You'll need to isolate the trim from plastic sawhorses or you'll get melted plastic on the trim.
If you have a really tight radius like about 6" (see my signature photo) you'll need to hog out the inside to a point that the trim will not wrinkle too much.
I use a small dead blow to massage the trim to the desired shape on a scrap of plywood of the same radius.
For the larger radius I use the teardrop profile to massage, screw down the trim, then massage some more until the trim has taken the desired shape.
You'll then need to remove the trim and apply the proper sealant to the trim, screw threads and then screw the trim down permanently.
It's a time consuming process, so be patient and you'll be happy with the results.
:D Danny

Re: Edge Trim Bending

PostPosted: Sun Dec 06, 2015 11:39 pm
by KCStudly
Somewhere I read the advice to form the trim over your plywood sides before putting the aluminum skins on. That way you avoid the chance for dings, dents and scratches while getting the trim into shape. Makes sense to me.

Edit to clarify, in case it wasn't obvious - then you set the trim aside until after you are done skinning; and then put the trim on permanently.

Re: Edge Trim Bending

PostPosted: Mon Dec 07, 2015 12:54 am
by dales133
KCStudly wrote:Somewhere I read the advice to form the trim over your plywood sides before putting the aluminum skins on. That way you avoid the chance for dings, dents and scratches while getting the trim into shape. Makes sense to me.

Edit to clarify, in case it wasn't obvious - then you set the trim aside until after you are done skinning; and then put the trim on permanently.

I did this and fitted mine first.
Made life alot easier

Re: Edge Trim Bending

PostPosted: Mon Dec 07, 2015 9:06 am
by tony.latham
I've purchased trim from three sources and all of it has been soft and easy to work with.

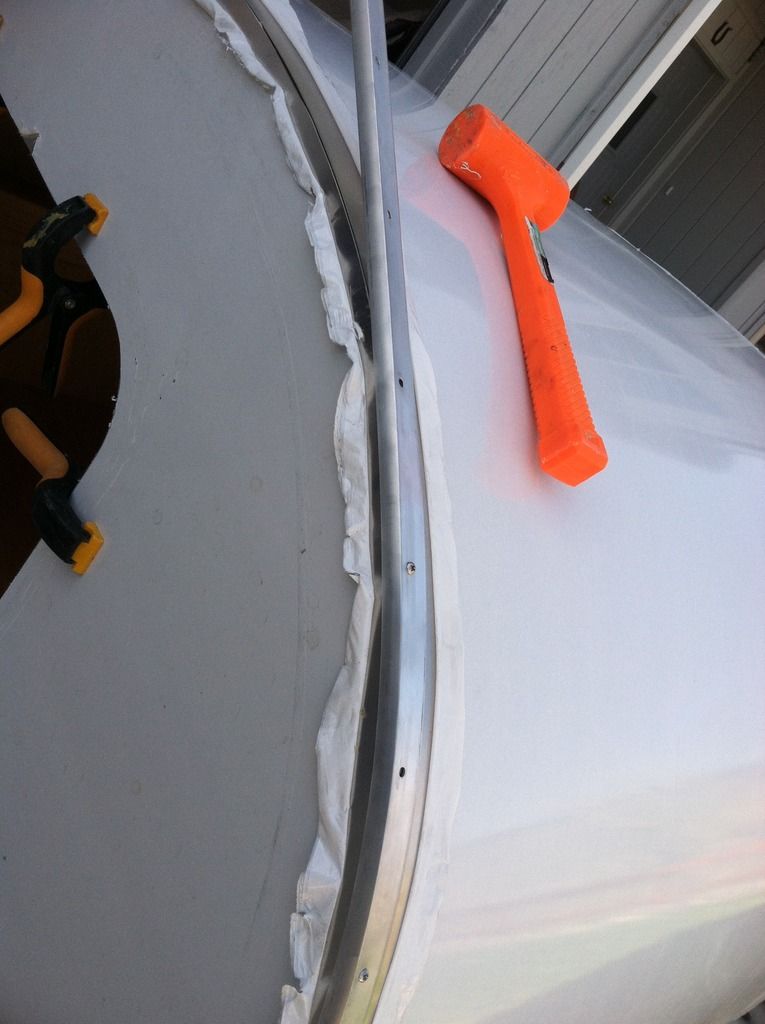
For the wall-roof junction, I dry-fit the trim by starting at the front and work up and to the rear. I bend by hand as needed but also use gentle persuasion with a dead-blow hammer* ($5 at Harbor). In the photo below, you can see that I've left the vinyl protection on the aluminum to avoid any scratching. Once the trim is fitted, I remove the piece, remove any aluminum drill shavings, add sealant to the edge and screw hole, re-attache, and clean up any squeege out.

Image

It's easy! :thumbsup:

Tony

*I've never used the trim that has the oval vinyl insert and would shy away from using a dead-blow hammer with it since it'd easily damage the side channels that holds the vinyl.

Re: Edge Trim Bending

PostPosted: Mon Dec 07, 2015 2:57 pm
by halfdome, Danny
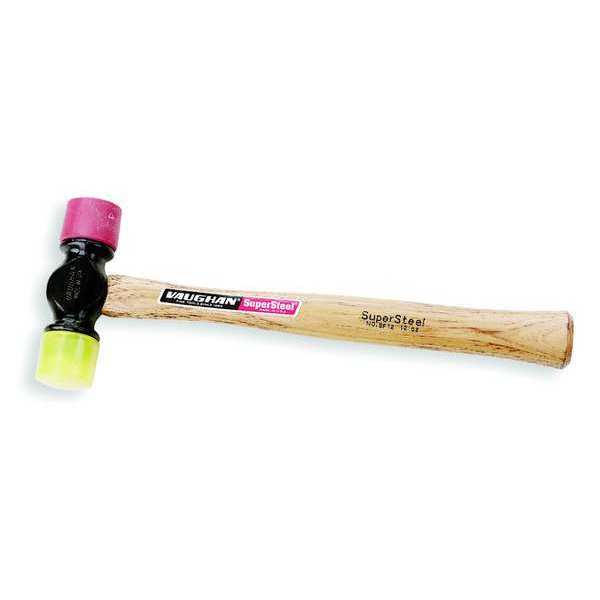
I have the larger dead blow's but I use this kind of dead blow on the trim, etc.
It's smaller & can be used more precisely so you won't damage the trim or the aluminum clad teardrop like a larger, hard edged one would do.
I use the soft end the most.
I trim the teardrop with RV insert molding and don't have a problem massaging it with this dead blow.
Image
It's only $12.77 and ships FREE from zoro.
:D Danny

Re: Edge Trim Bending

PostPosted: Mon Dec 07, 2015 10:29 pm
by noseoil
If you have to use a dead blow hammer on the insert-molding type of trim, use a block of soft wood which will fit between the flange edges & gives a bit of a push to the radius. Just make sure to use a bunch of small gentle taps and keep the block moving, not big ones to make the bends. It's really easier than it sounds. Do small steps, not big stuff & you'll be fine. Start with a flat section & fasten it down with a couple of screws, then work the end into the curves.

Re: Edge Trim Bending

PostPosted: Tue Dec 08, 2015 10:05 am
by ocasioc25
I would like to thank all the comments and suggestions. Now I need to get to work. Oh yeah, I need to purchase the trim.

Thanks

Carlos