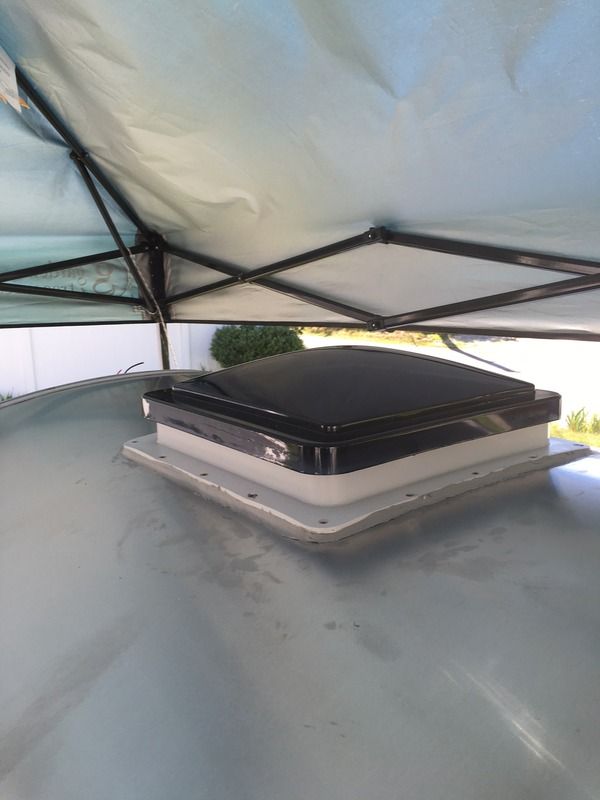
Installing a fantastic fan on curved roof.
I created this build with a continued radii over the entire roof. The problem was to install the fan on the curved roof with a factory installed look. I built the opening with 2x3 wood framing and sanded in the radius best I could to match the roof radius by running a level across the entire roof side by side checking until the radius closely matched the side walls. I slightly flattened the opening so as not to pressure the plastic exterior of the fan frame too much when mounting the fan. I put a few extra thickness of butyle tape on the front and back edges to fill the gap because of roof radius. I then started from front center mtg hole and screwed in the fan frame and worked my way towards the rear mounting screws slowly tightening from side to side forward to rear until the fan frame formed the slight curve radius of the roof until completely sealed down tight on the tape. (patience is key, if you crack the frame here it will cost you a new fan.) The final process is to use self leveling caulking over the screws and edges which hasn't been completed just yet in this photo. For the interior I purchased a fan frame interior trim cover used on air stream trailers. This fit nicely for the fantastic fan 14 x 14 opening. And to accommodate the interior curve of the roof running from front to back I turned the air stream frame 90 deg.