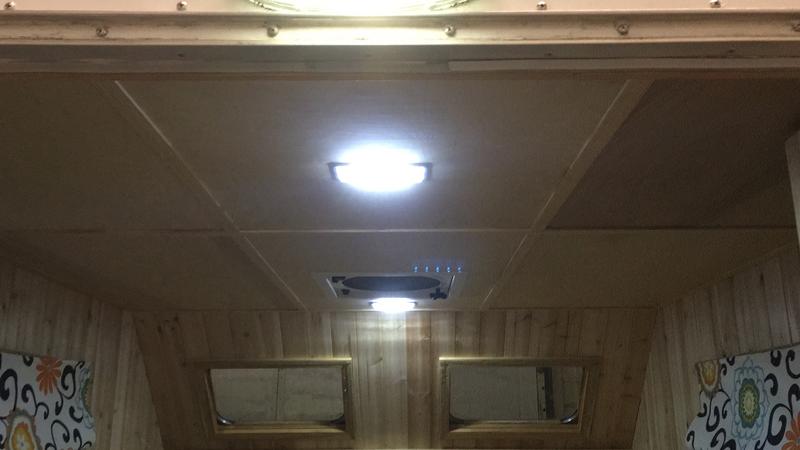
Installing the Headliner
I'm not anywhere's near the point of installing the headliner but have a question regarding this.
After you lay panel that will be the headliner on the 2 ledges created by the two side walls.... and then the spars are installed... would you nail through what would
wind up being the cabin's interior surface of the headliner panel into the spars? Or is the headliner inner surface just glued to the spars?
I'm thinking I'd not like to see nail holes on the interior surface but can't really see it being done otherwise.
Any insights on how others have done this would be a help.
thanks
John


 Danny
Danny