Page 1 of 1

Applying Edge Molding

PostPosted: Tue Dec 14, 2021 7:10 pm
by Capebuild
I'm starting to think about the edge molding which will be applied to the roof corner encompassing where the roof meets the side wall. My roof and sidewalls will be covered with .040 aluminum sheet which I intend to adhere with Wilsonart contact cement, so NOT floating the aluminum. I recently purchased a piece each of two styles of edge molding from Vintage Technologies (see attached) to kind of get a feel for which one to use. One molding has a 5/8 inch leg that wraps around the side wall and the other has a 3/8 inch leg. I'm thinking the 3/8 version will be easier to bend around the curved surfaces. I have a couple of questions.

1). Aside from the 3/8" version being easier to bend, is there a good reason I should rethink using the 3/8 inch version and consider the 5/8" version?

2). What are suggestions for putting under the molding, between the molding and the aluminum skin. I've watched a few YT videos and one person uses butyl tape.... another uses VHB tape... so any help there would be appreciated.

Any other suggestions on how to apply the moldings would be helpful....surprisingly there's not a whole lot of installation instruction that I could find.... so any help would be great.

Thanks.

John

Re: Applying Edge Molding

PostPosted: Tue Dec 14, 2021 8:07 pm
by airdonut41
My personal experience was that the 5/8" leg was quite easy to bend. This stuff is REALLY soft, and I basically bent it as I went along.

I used butyl tape as a seal. It was fairly easy to work with and inexpensive, and I'd do it again that way. VHB would be good, too, but just make sure you clean the crap out of your skin before applying.

Re: Applying Edge Molding

PostPosted: Tue Dec 14, 2021 9:24 pm
by linuxmanxxx
You can get a caulk size tube of e6000 glue on Amazon and that stuff sticks and much cleaner than butyl tape. Silicone sux period as well as caulk.
Steve

Sent from my Pixel 4a (5G) using Tapatalk

Re: Applying Edge Molding

PostPosted: Tue Dec 14, 2021 10:29 pm
by tony.latham
I vote for the 3/8". When you get to that tight curve at the bottom, you'll have to relieve the leg to keep the buckles out I think. And that's even with the 3/8" stuff.

:thinking:

Tony

Re: Applying Edge Molding

PostPosted: Tue Dec 14, 2021 11:03 pm
by halfdome, Danny
I like the 5/8" leg because of the coverage at the galley lid.
I do have to anneal it and at some areas I have to take it on the wheel of my 2" edge sander to release the tension.
My edge sander has a 5" rubber wheel on one end that makes this task a piece of cake so to speak. :thumbsup:
Here I've sanded it on the tongue box roll pan.
Like Tony said, it could be a problem even with the 3/8"
Image
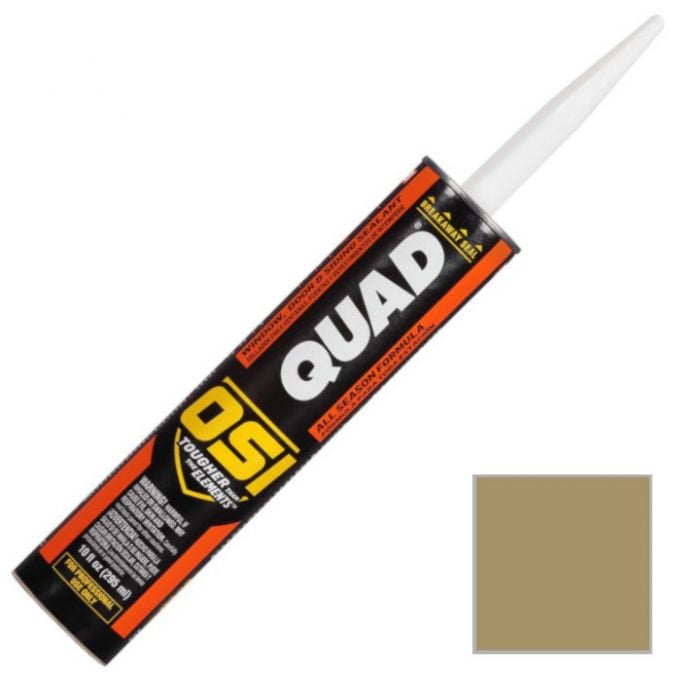
I use OSI Quad to seal it and the screws.
Image
:D Danny

Re: Applying Edge Molding

PostPosted: Wed Dec 15, 2021 12:31 am
by DezPrado
For what it's worth, I went for the smaller leg when I first built mine 11 years ago, because that was available in stock at the time. Bent it nicely around the curves with judicious thumps with a rubber mallet, and it worked well. Couple of years later had to replace some of it due to damage (parking issues in the wild.story for another time!).
Replaced the whole lot with the longer leg option, same technique but took a bit longer to do, more care required but achieved the aim with admirable results. Also had some advice from an aircraft skin specialist too. Better weather seal imho. I must have done the job well because someone noticed it, and stole the teardrop from me four weeks ago from my home back yard overnight.(Swines! :x :fb )
My new build, sometime 2022 will be the same but with all my subsequent mods incorporated from the get go, including the longer leg edge moulding.

Re: Applying Edge Molding

PostPosted: Wed Dec 15, 2021 4:19 pm
by KCStudly
Someone on here (forget who to give credit to) used the technique of forming the corner trim before the aluminum skin went on. Then set it aside in a safe place and installed after skinning. The rationale was that any errant rubber hammer blows wouldn't dent the finished skin that way, and the fit was close enough to work on final installation. Even though my build doesn't use trim, I always thought this was good advice, planning ahead.

Re: Applying Edge Molding

PostPosted: Thu Dec 16, 2021 12:23 pm
by Capebuild
Thank you all for the responses and suggestions. I've decided to go with the 5/8" leg. I do think it will look better although probably a bit more effort to get neatly around the roll pan curves. I'll try some different things (like annealing and removing some material on the inner curve). I saw this YT video where indelible marker is applied to area to be annealed. The aluminum is then heated using a MAP gas torch. When the marker disappears, the metal is "properly" annealed (the theory being the marker dissolves and a similar temperature as the annealing). I'll try it.

KCStudly wrote:Someone on here (forget who to give credit to) used the technique of forming the corner trim before the aluminum skin went on.

I like that suggestion. Thanks for mentioning it, KC.

And DezPrado, sorry to hear about your trailer being "swined" away. Drag.

Thanks again.

John

Re: Applying Edge Molding

PostPosted: Thu Dec 16, 2021 1:29 pm
by halfdome, Danny
John, I haven’t heard of the marker method but only candle smoke soot.
I found out that if you remove all the soot the trim will break off.
I try to limit heating to under 20” in length at a time moving back and forth not concentrating on one spot.
:D Danny